Re: V6 into a RHD Chrysler Neon mk1
Posted: Mon Nov 14, 2011 7:06 pm
The wind was off the sea and bitterly cold, so not much done
com[ared to what I wanted to do.
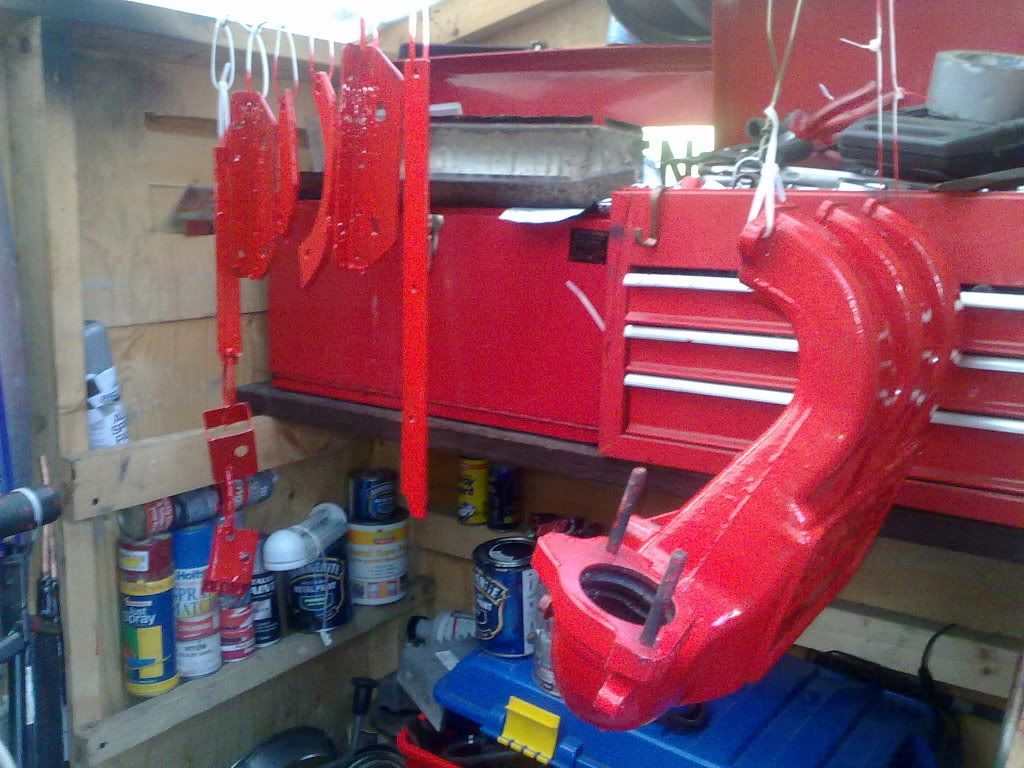
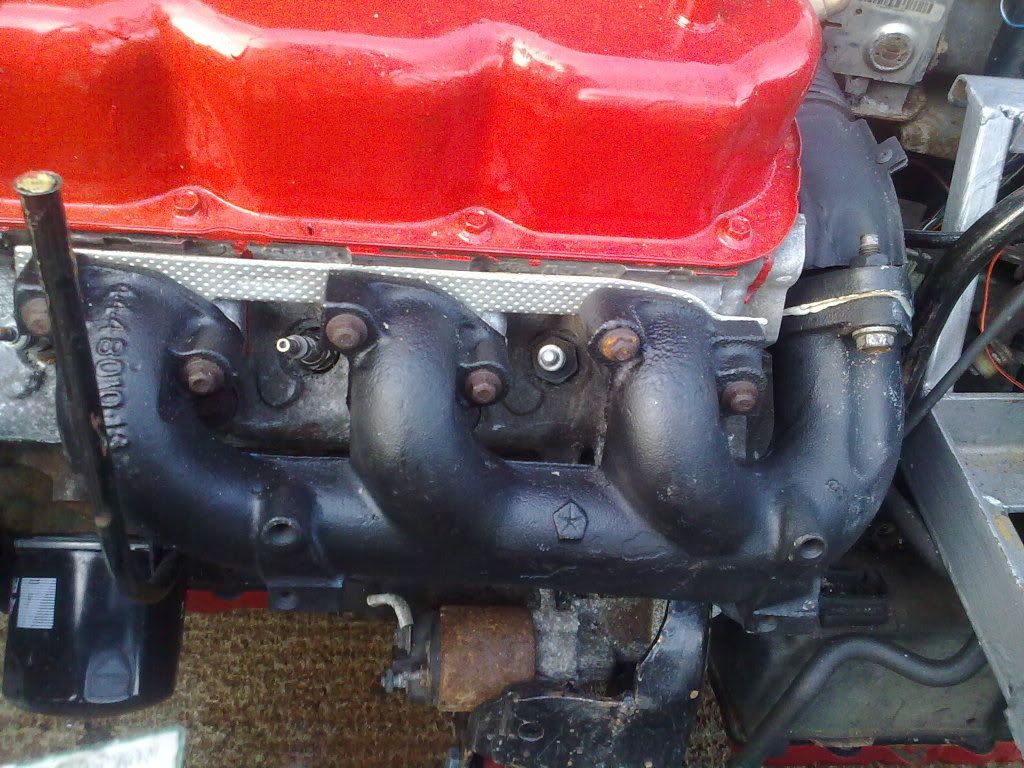
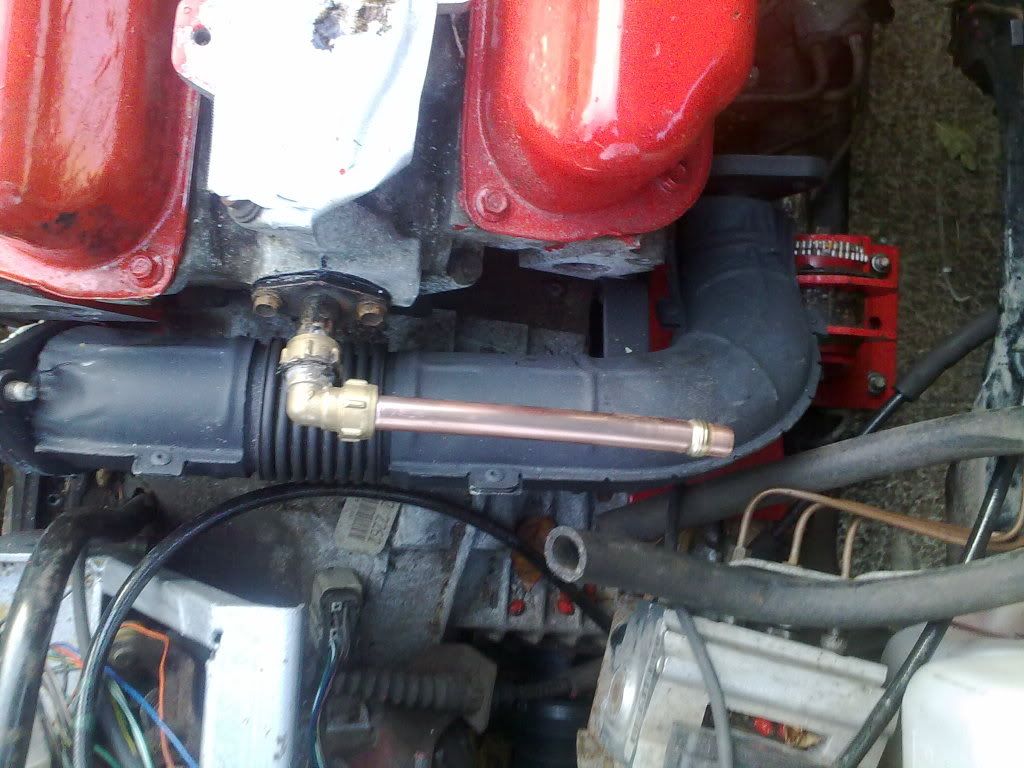
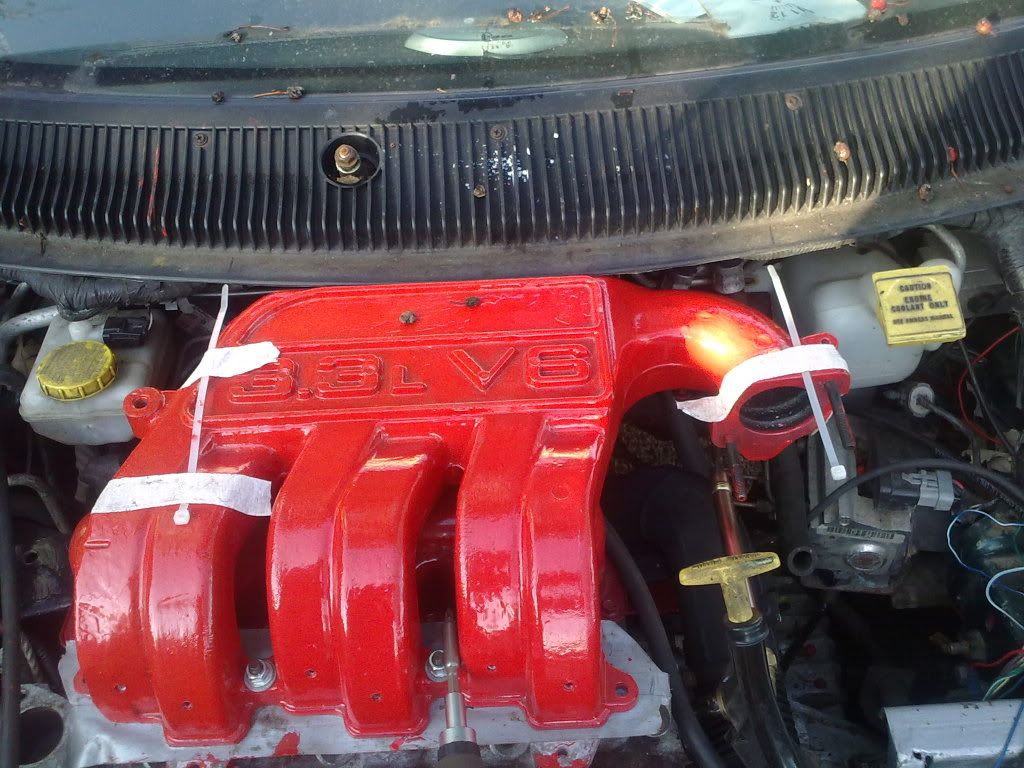
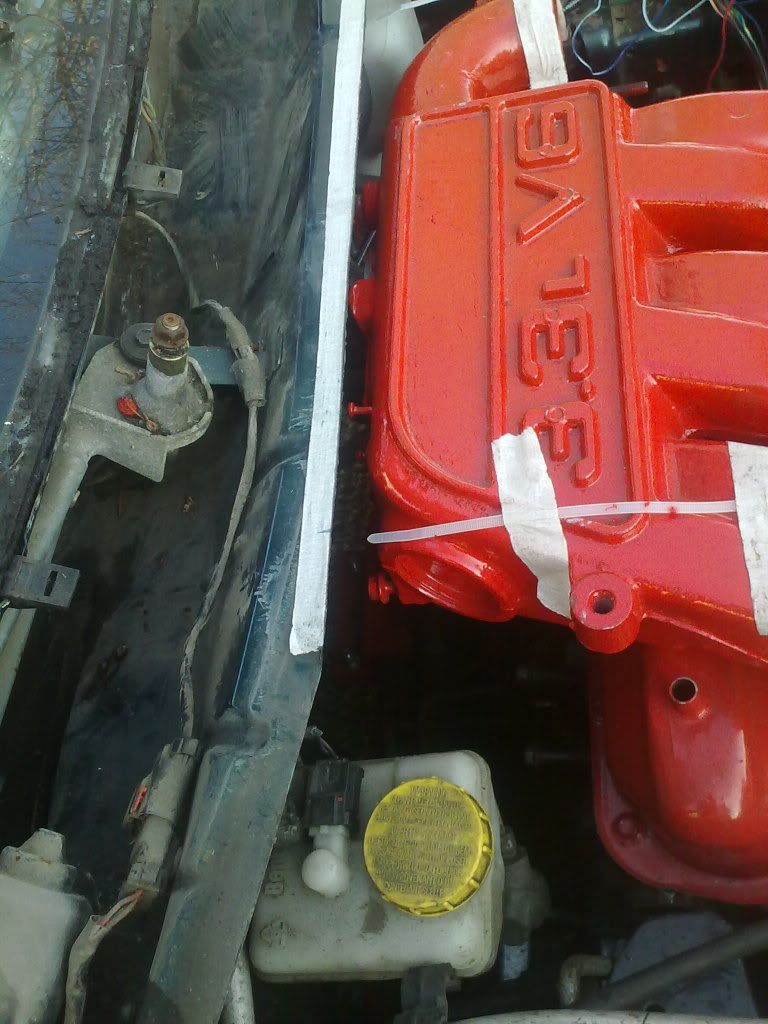
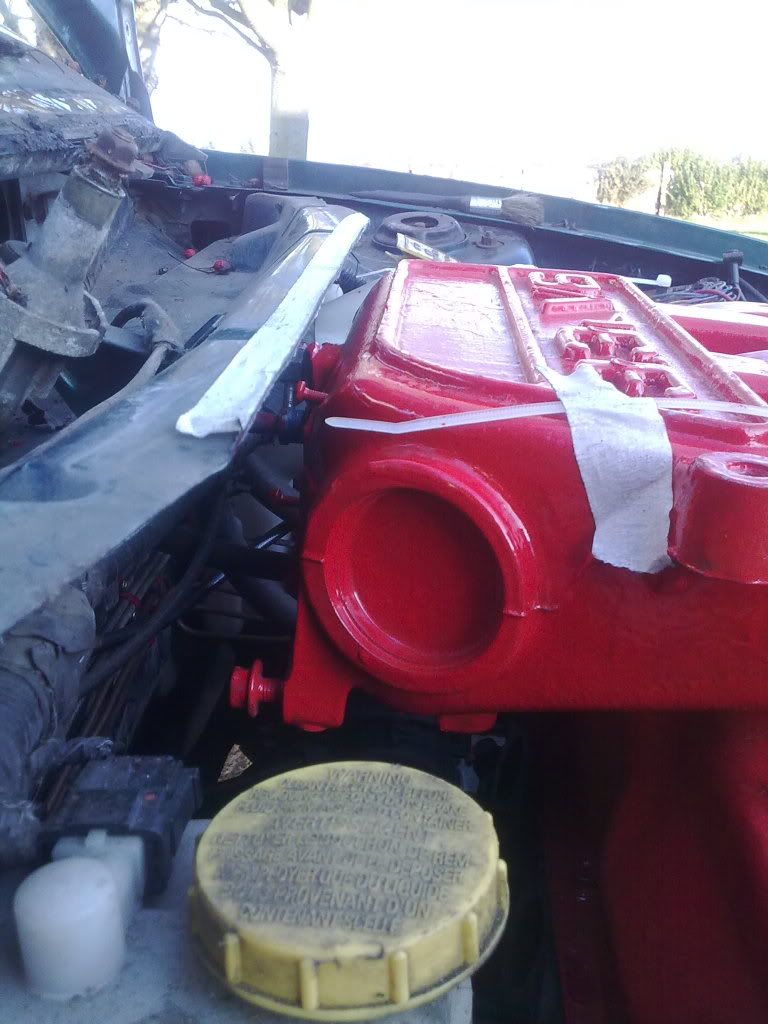
The intake manifold had the burnt paint wire brushed off and
the welded closed holes flatened.
Then new fixing holes drilled and tapped.
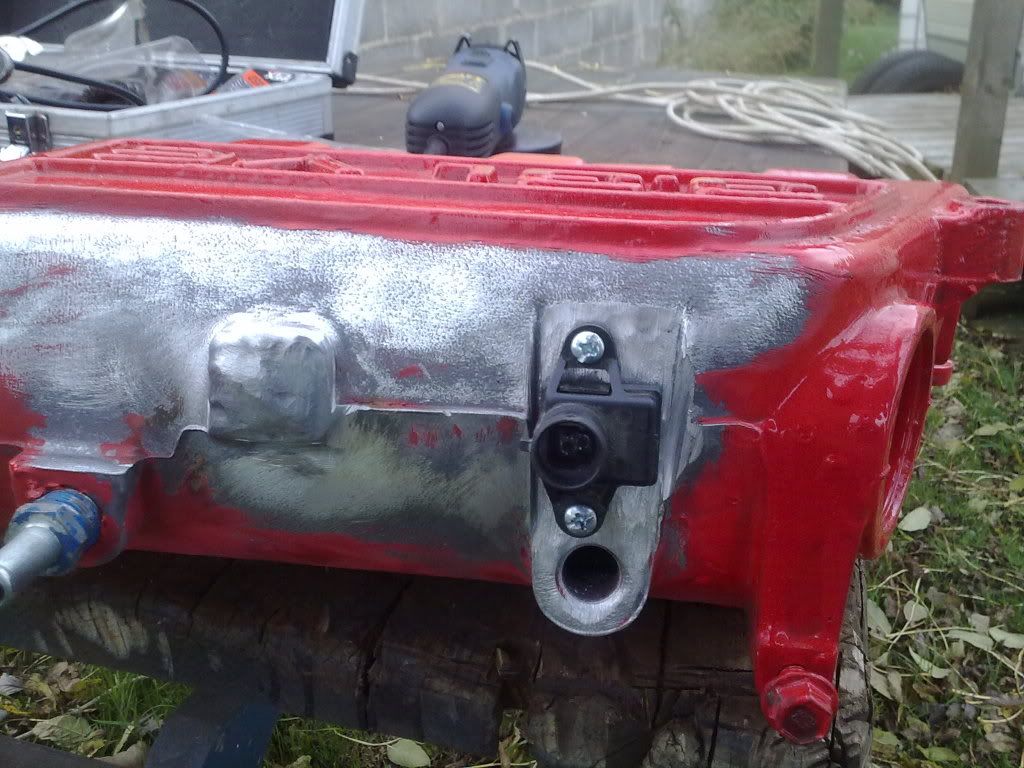
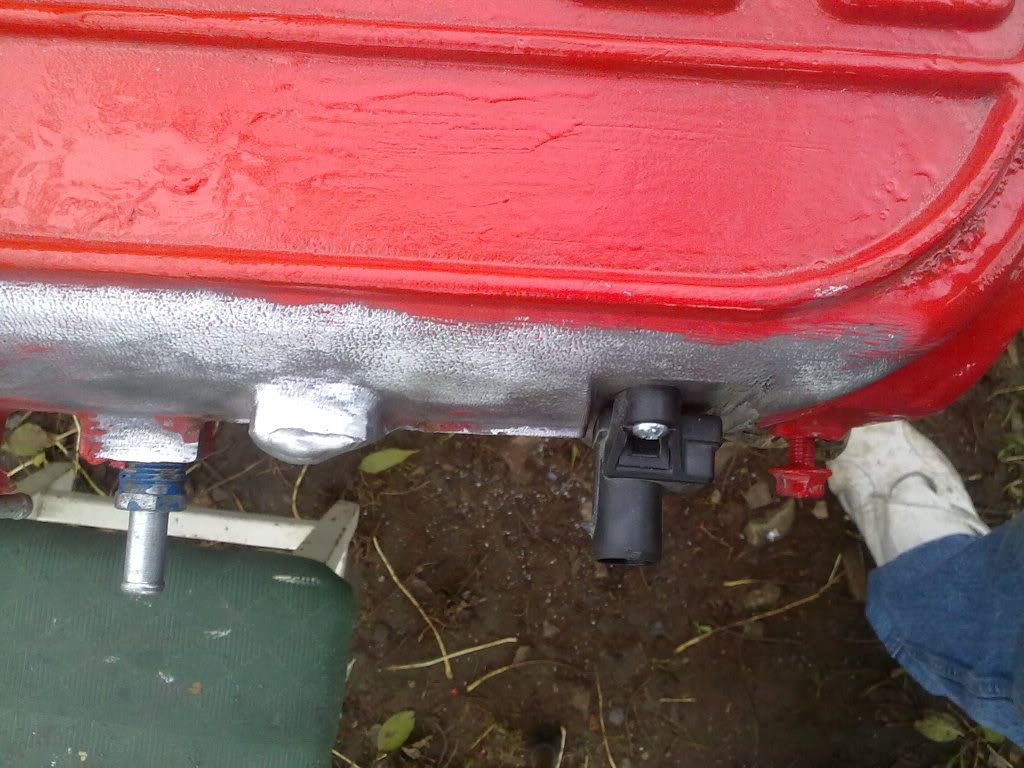
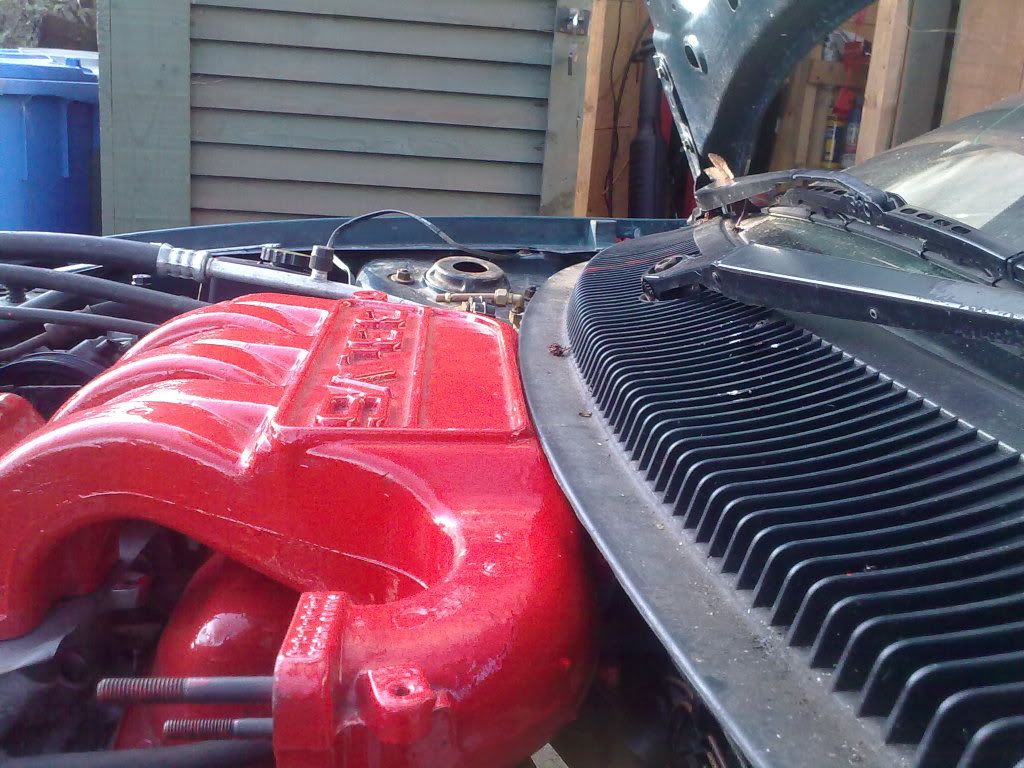
The map sensor has been removed and the intake manifold is
awaiting a coat of paint.
No more pictures for today as the phone battery went flat!!!
The bottom fixing brackets for the cooling fans were trimmed
and filed ready for painting.
The right upper radiator fixing/support bracket was made out
of angle iron, it needs drilling for the fixing bolts.
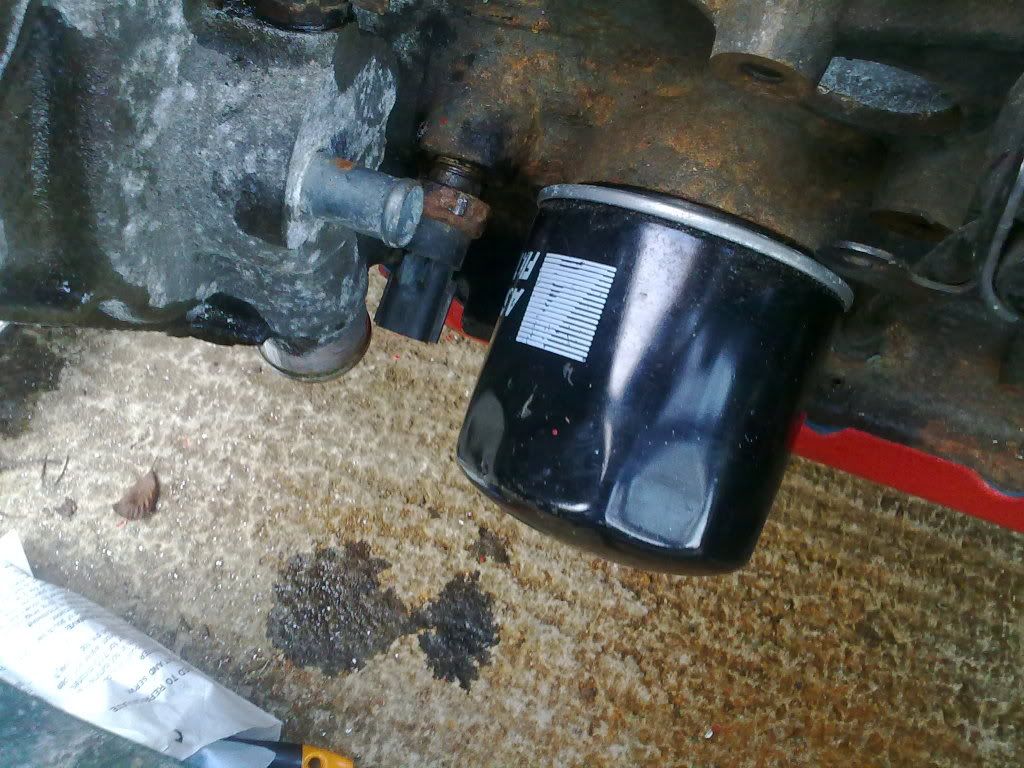
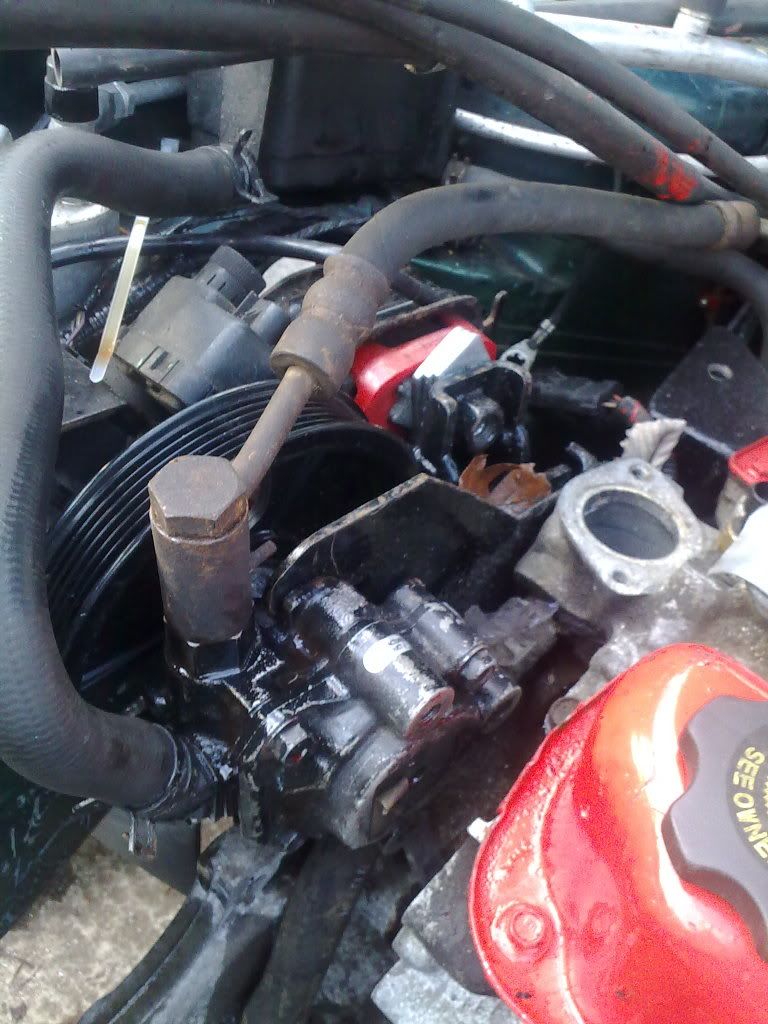
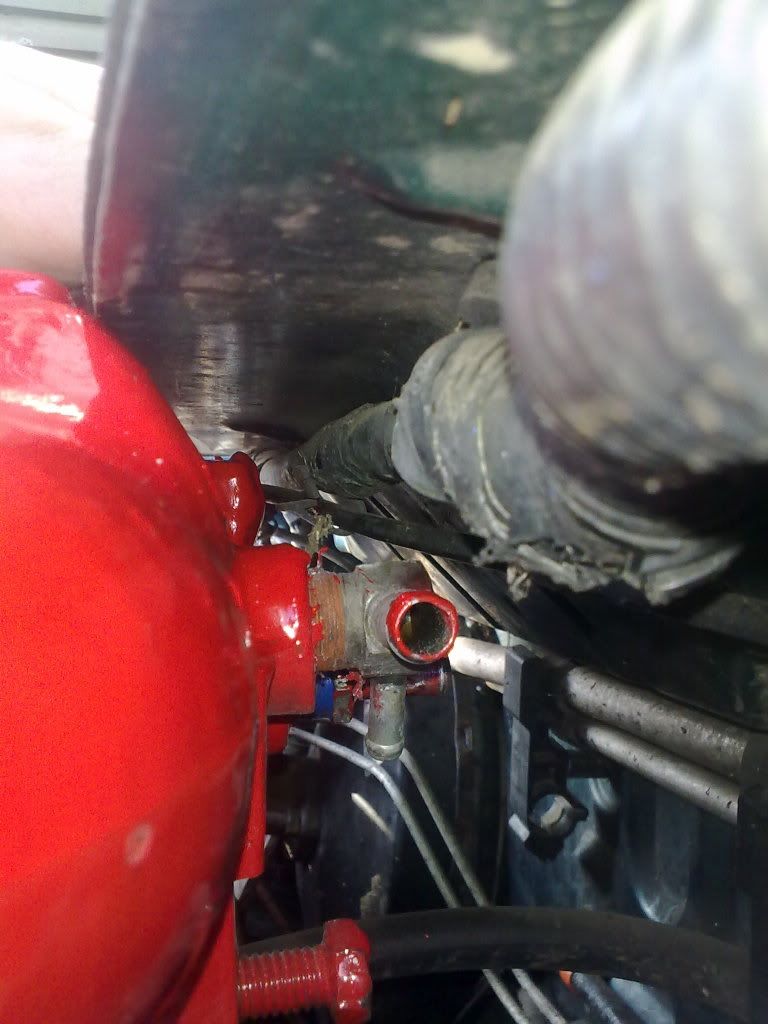
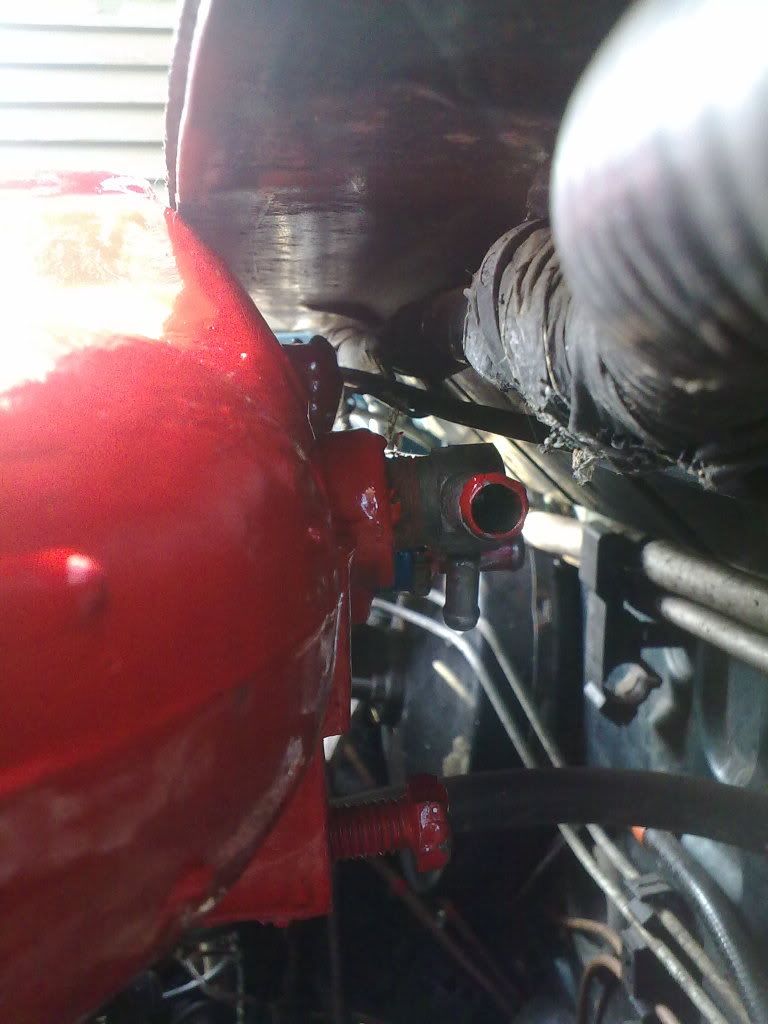
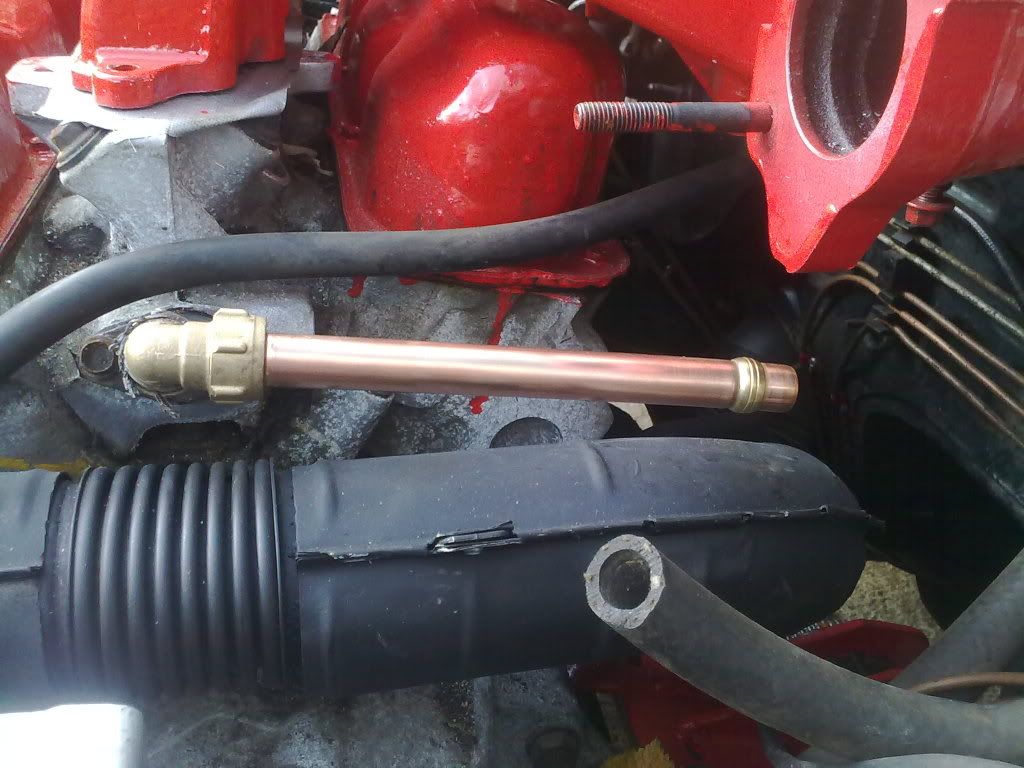
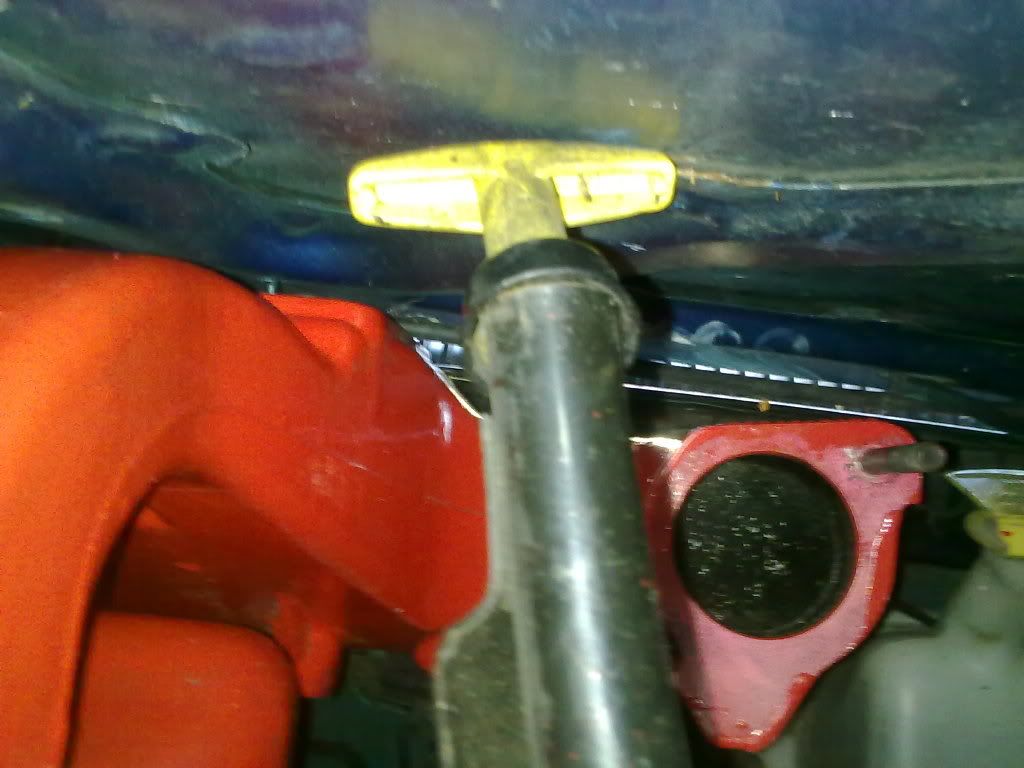
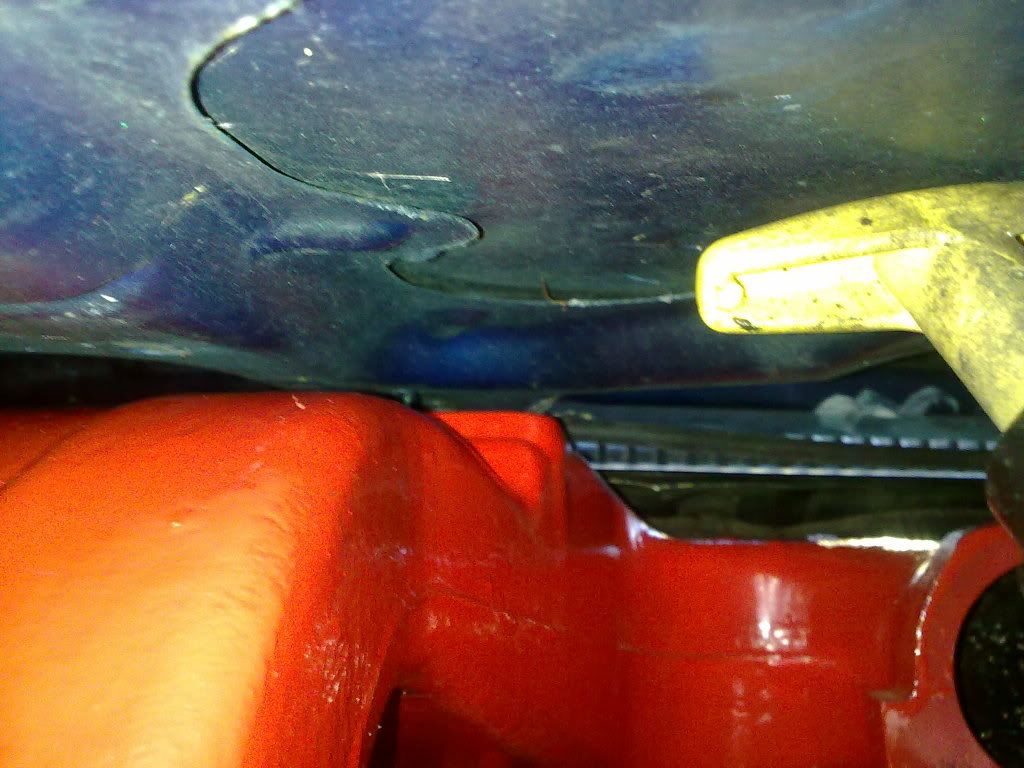
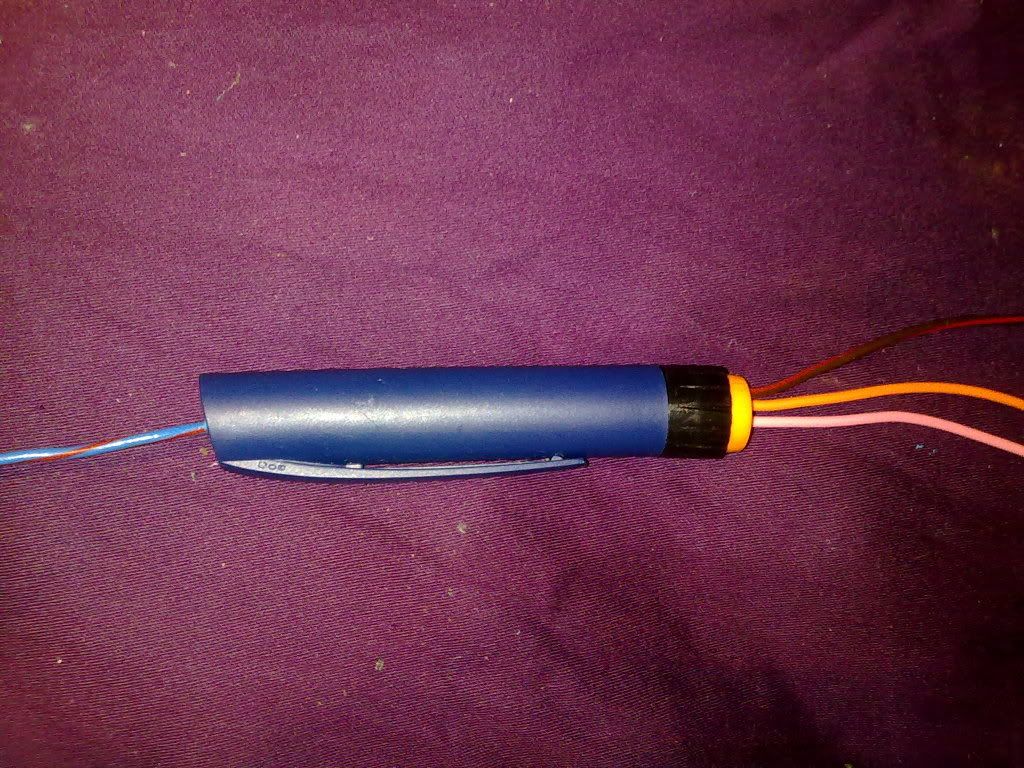
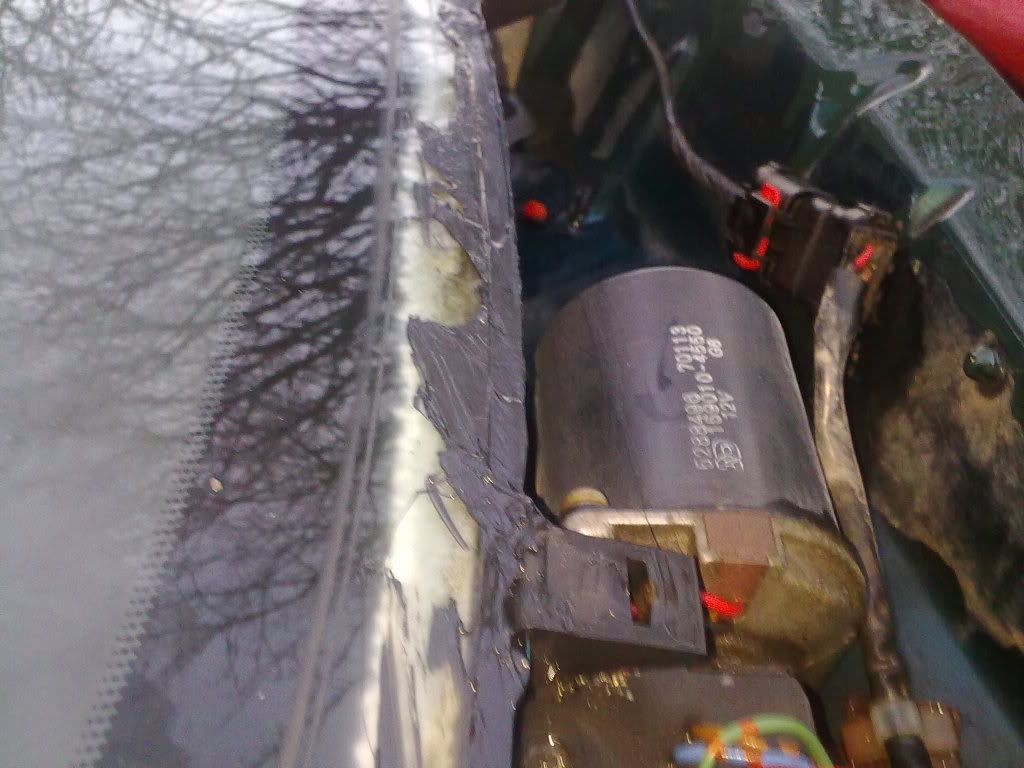
THAT BLOODY BOLT!!! The one that snapped on the water
pump. I used a industrial dremmil bit in the drill and put a
dip in were the bolt body was, this was to suposed to stop
the drill bit slipping and going at the wrong angle.
As you can tell it didn't go straight and true, but at a
slight angle!
I ended up putting a slightly larger drill bit through, so
I can slide a bolt through from either side and use a nut &
washer on the other end.
It's done and it will do the job that's all that matters!!
It means I can start looking at assembling the ancillaries
again.
Painting tomorrow.
com[ared to what I wanted to do.
The intake manifold had the burnt paint wire brushed off and
the welded closed holes flatened.
Then new fixing holes drilled and tapped.
The map sensor has been removed and the intake manifold is
awaiting a coat of paint.
No more pictures for today as the phone battery went flat!!!
The bottom fixing brackets for the cooling fans were trimmed
and filed ready for painting.
The right upper radiator fixing/support bracket was made out
of angle iron, it needs drilling for the fixing bolts.
THAT BLOODY BOLT!!! The one that snapped on the water
pump. I used a industrial dremmil bit in the drill and put a
dip in were the bolt body was, this was to suposed to stop
the drill bit slipping and going at the wrong angle.
As you can tell it didn't go straight and true, but at a
slight angle!
I ended up putting a slightly larger drill bit through, so
I can slide a bolt through from either side and use a nut &
washer on the other end.
It's done and it will do the job that's all that matters!!
It means I can start looking at assembling the ancillaries
again.
Painting tomorrow.