Page 26 of 139

Re: V6 into a RHD Chrysler Neon mk1

Posted: Tue Oct 11, 2011 7:38 pm
by Mitsuru
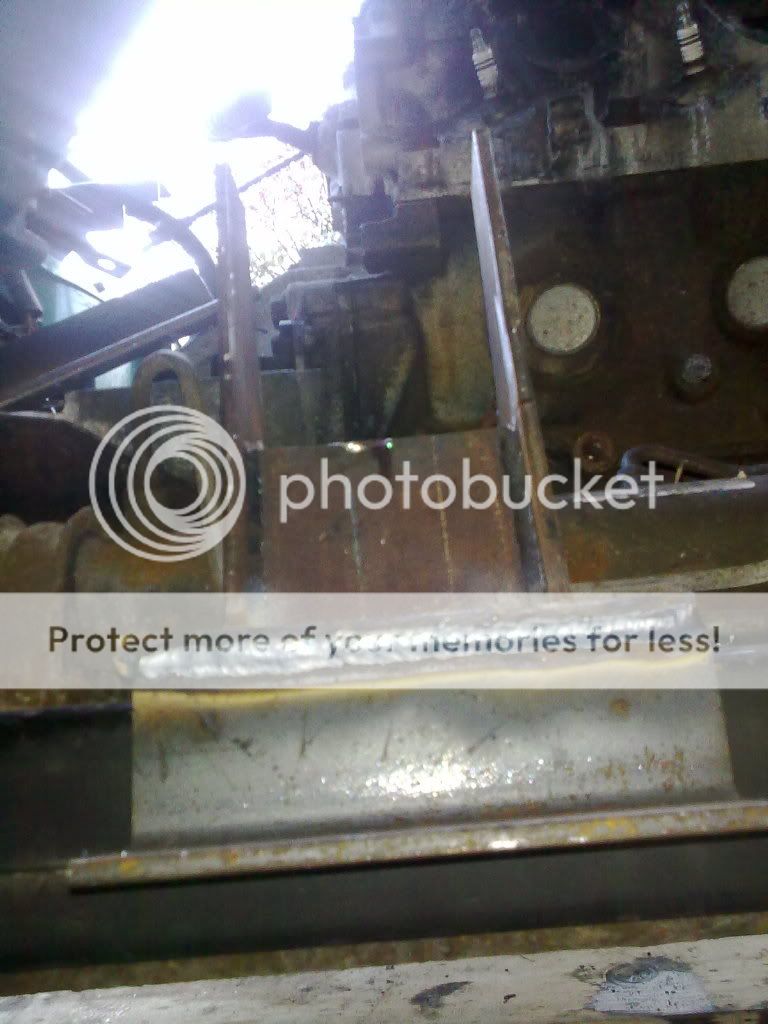
I managed to do a little on the car, I drilled the holes
for the bolt to go through the front mounts for the bolt
to take the weight and kick of the engine.
Only to realise when I went to put a bolt through that I
didn't have a bolt long enough! another item for the
shopping list!

I pushed the car forward and cleaned out the pit that the
car has been parked over for so long. All the leaves and
rubbish that has been blown into it.

Then I pulled the car back onto it. Yes I said pull, my legs
couldn't handle this but I used the end of the pit to hold
onto and pull the car back with a good grip of the tow hitch.

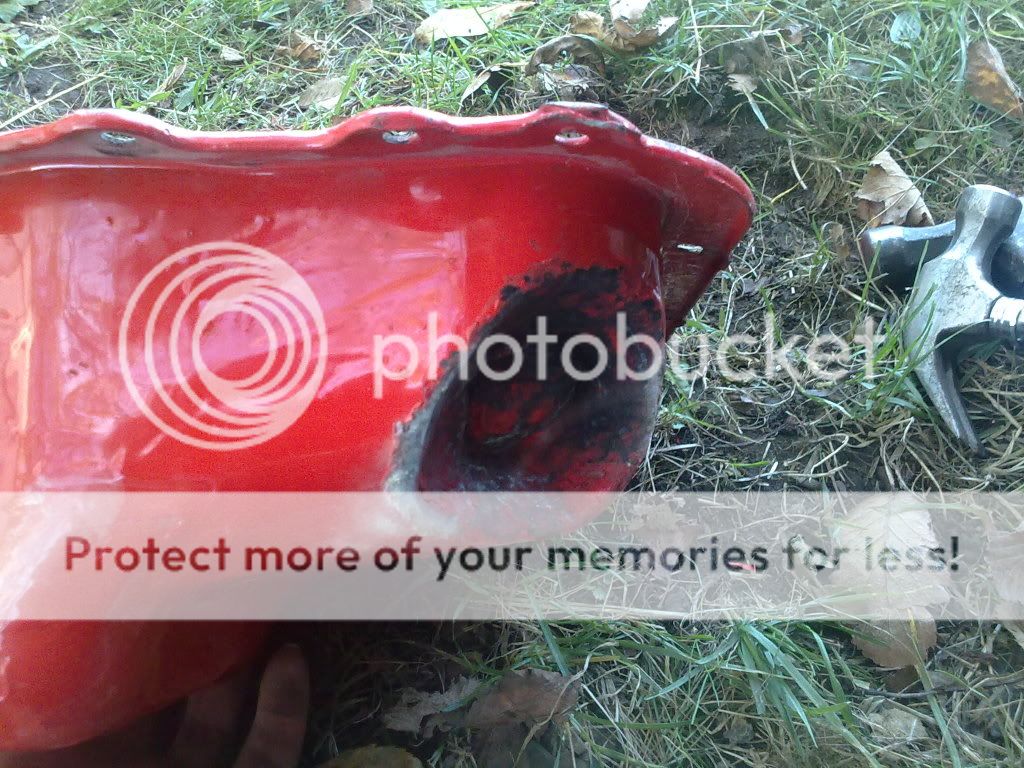
As I had used the grinder to cut the exhaust just infront of
the join after the cat, I thought it best to get the remaining
bit of tubing out of the join ready for the cat and pipe to go
back, the pipe needs to be a couple of inches than before.

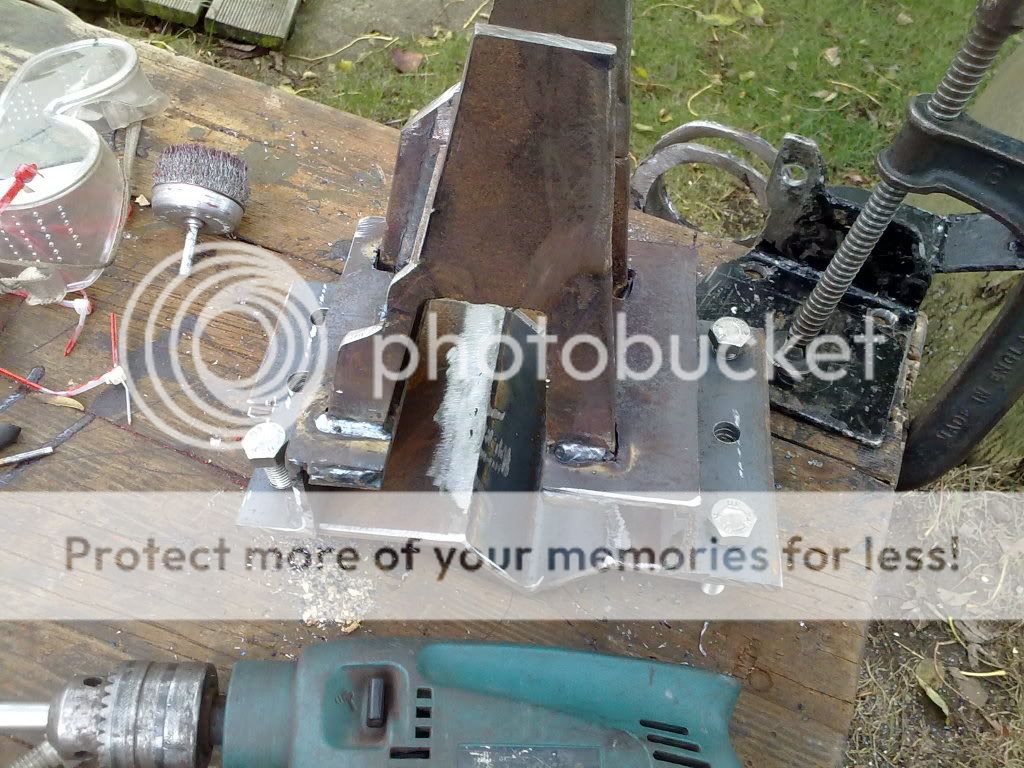
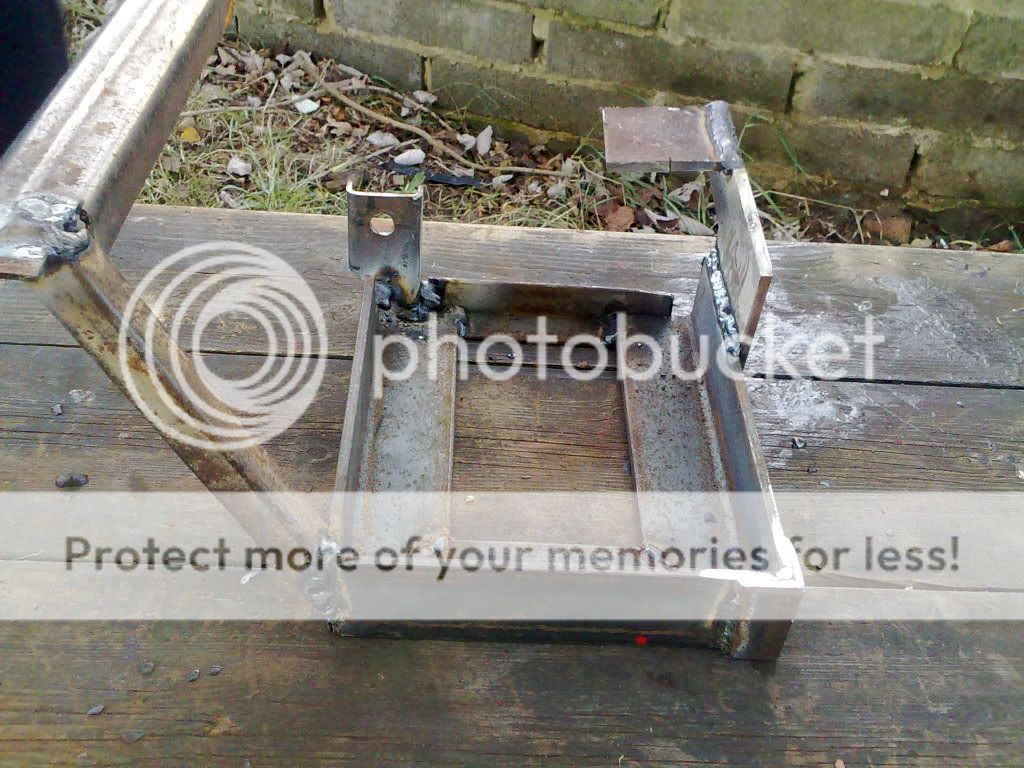
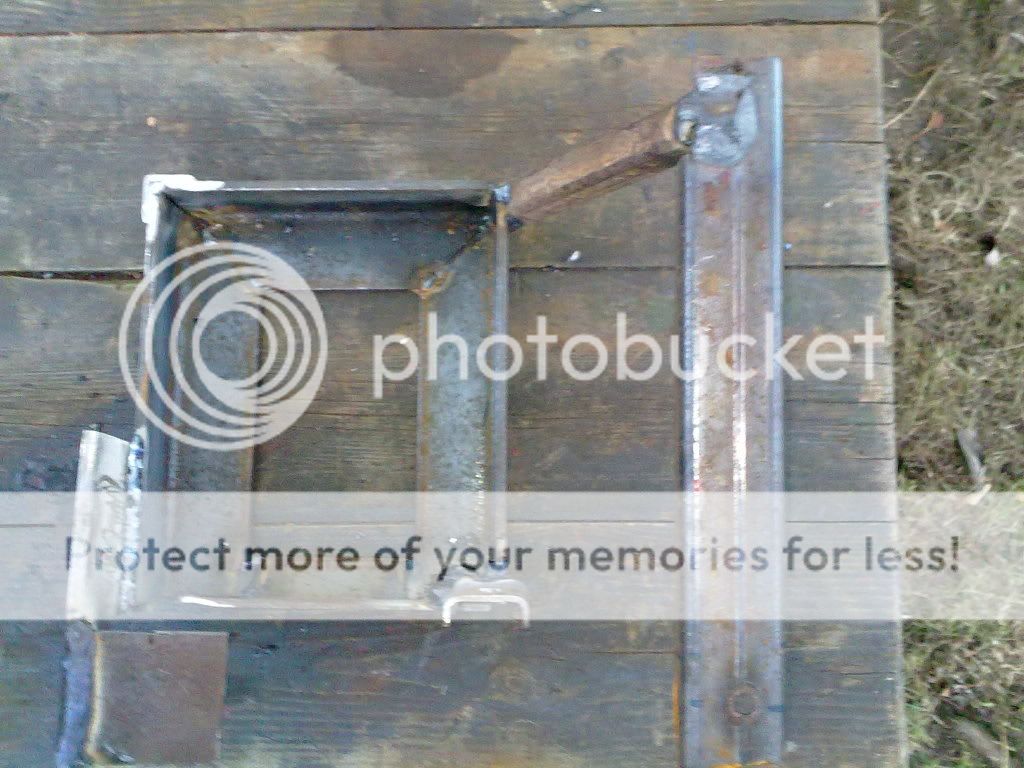
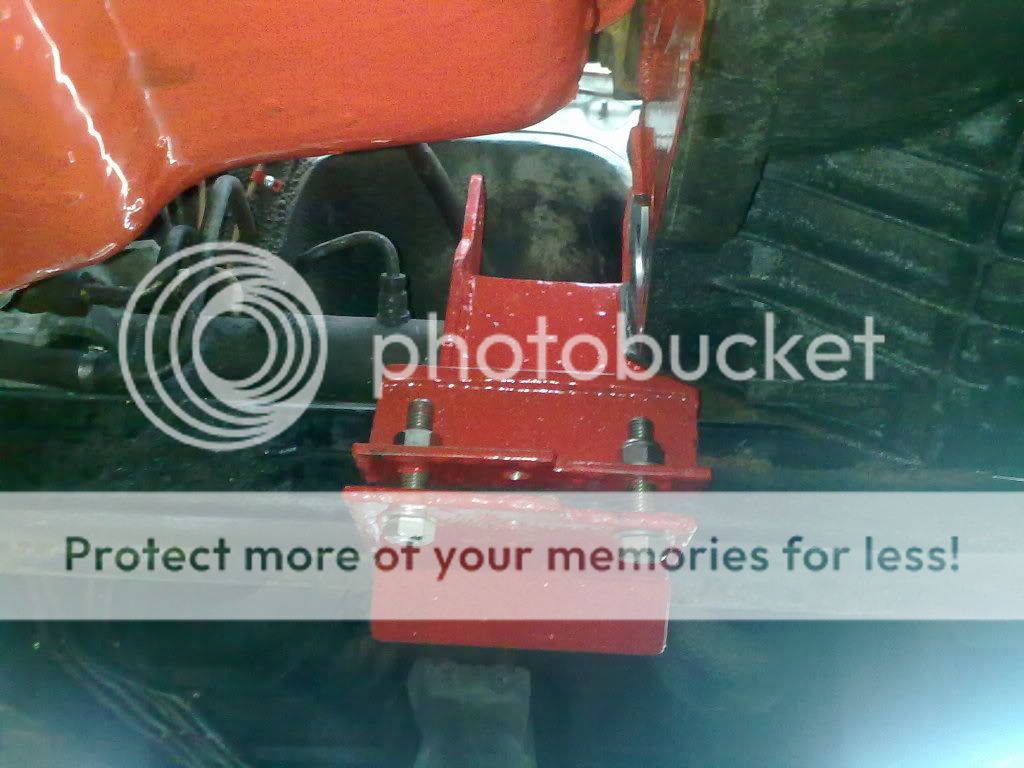
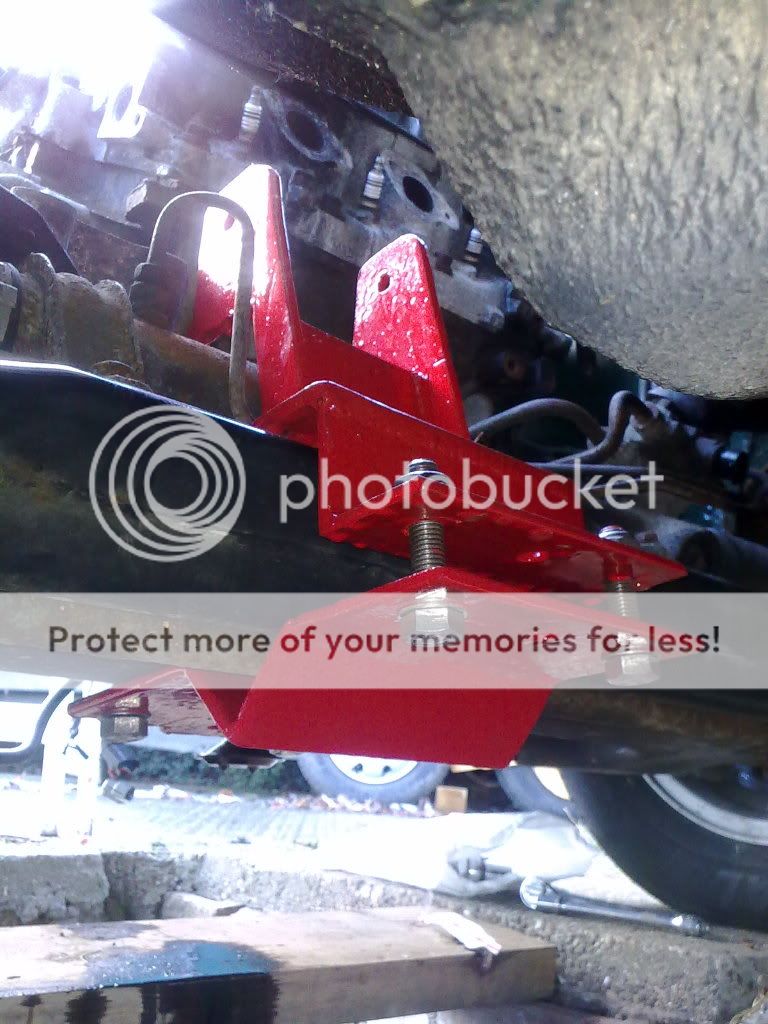
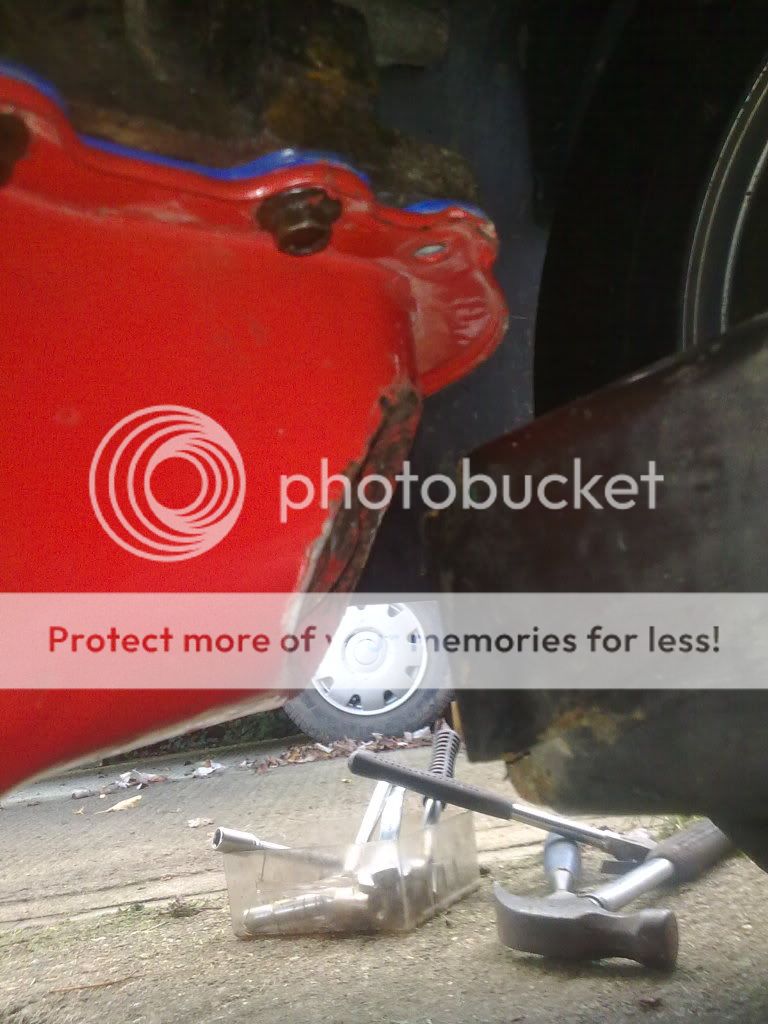
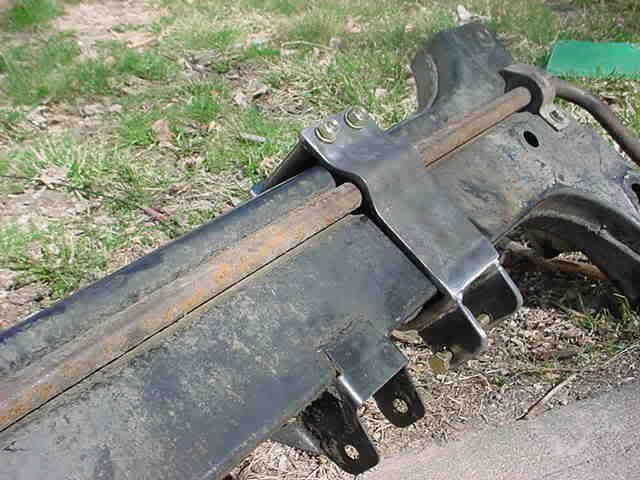
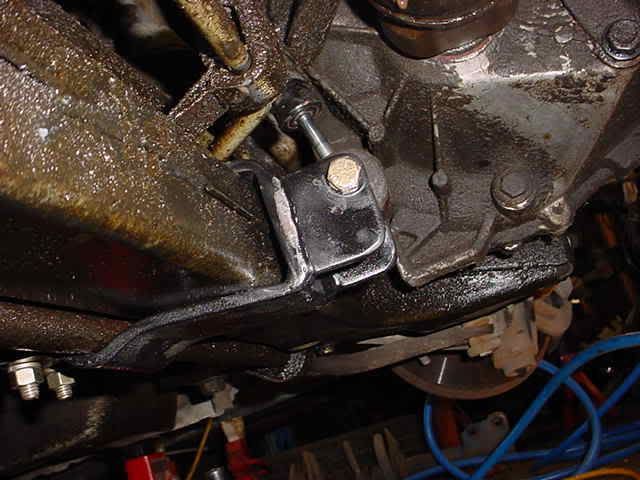
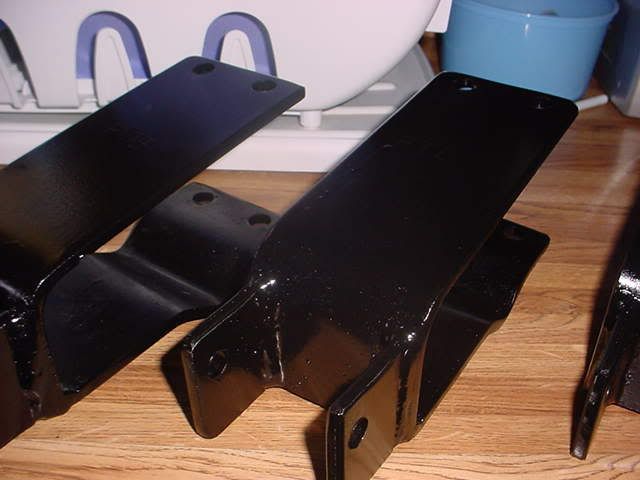
I did place the A frame part of the rear engine and
transmission mount in place, so I could mark where it needs
a little trimming after it had been added to.
If I had realised how I was eventually going to fix it to the car,
I would have made the foot plate overlap the subframe, rather
than have to add the extra bits on to sort this mistake out.

Image

Re: V6 into a RHD Chrysler Neon mk1

Posted: Wed Oct 12, 2011 6:33 pm
by Mitsuru
Well it has done nothing but rain all day, so I was
confined to my little tool shed!
I sanded down the Engine Oil Pan ready for a second
coat, and also cleaned and degreased the front
exhaust manifold and connecting pipe after removing
the pop riveted heat shield.

Image

Image

Oh to avoid the spray paint getting on the tools and
everywhere else. I spent £1.50 on a cheep shower
curtain, and draped it over the tool boxes.

Please remember my little tool shed is only four foot
deep and eight foot wide, and is full of tools and parts.

As I my knees were like ice I thought it best to just
spray the exhaust manifold parts and down tools for the
day.

Image

So they will be ready for a second coat of paint in the
morning before going to collect the right hand drive shaft.

Mother had managed to pop to the Post Office Sorting Office
in Hartlepool, and collect a parcel which was too big for the
letter box.

Image

Oh yess!!! Just a little toooo big for the letter box :lol:
I need to get a second coat of paint on the Engine Oil Pan in the
morning too. So it can be fitted friday morning.

Re: V6 into a RHD Chrysler Neon mk1

Posted: Wed Oct 12, 2011 8:33 pm
by JPB
You're lucky, my postie would have found a way to fold that, just like he did with my specially ordered, 0.080" copper head gasket for the Rebel back in 1997. :evil:

Re: V6 into a RHD Chrysler Neon mk1

Posted: Thu Oct 13, 2011 5:20 pm
by Mitsuru
I have decided to have a change of tactics on the
Transmission's Oil Pan, as I can't find the right size nut
or the correct bit to tap a hole to use the drain plug.
So I will forgo installing a drain plug on the oil pan till
next year when I plan on giving the car a FULL service to
make sure everything is okay.

That means I can fully paint both oil pans for a second
coat of red hammerite.

Image

The Exhaust manifold and connecting pipe got another layer
of high heat paint (650 degrees C this time)

Image

But the first task of the day was heading upto to Gateshead
to collect this little beauty!!

Image

So thats both drive shafts sitting there ready, I have the correct
bolts for the front engine mount.
Weather permitting tomorrow it's out with the grinder and drill.

Re: V6 into a RHD Chrysler Neon mk1

Posted: Fri Oct 14, 2011 9:54 pm
by Mitsuru
As I wanted to make sure that the Catalytic Converter was
okay and had not rotted, Off came the heat shield which
was only help in place by tabs of metal folded around the
seam of the Cat.

Out came the drill with wire brush attachments, and was
de-rusted to check for any little holes.

Image

Luckily there are no holes, but the the next picture shows
silvery metal that came out the pipe and there is a tiny bit
of a rattle!!!!

Image

Another can of high heat paint used.

Image

The front engine mount bolt holes were drilled, unfortunately
they are about half an inch out, I will have to get it sorted
when I get the car off the pit as I need to put the jack under

the engine to lift it into place.
I trimmed the rough edges and drilled 6 holes for the bolts to
clamp the unit together.

Image

A quick measure up and 2 more holes drilled, a little more trimmed.
Then I was too far gone, I was ready to collapse I grabbed the tin of
paint which I didn't care what colour it was, I just wanted to give it a
first coat of paint before locking the tool shed door.
Guess what colour it happened to be?

Image

I didn't collapse, I tripped and well the floor of the shed is now red pokadots!!
Paint not blood!

Image

Its just as well that I have a well tocked first aid box, spray iodine and dressings.
I managed to take a chunk out of my leg with the lower crank shaft pulley falling
on me.

Re: V6 into a RHD Chrysler Neon mk1

Posted: Sat Oct 15, 2011 1:05 pm
by Mitsuru
As I have a deadline to aim for I didn't want to be wasting time or
money. So I bought the a control arm bushing kit off a fellow Neon
enthusiast off the neons.org forum.

He sent it in a United States Postal Service box which, was damaged
on UK soil and what was left of the box and it's contents placed in
a Royal Mail marked Clear plastic bag tie wrapped at the top.

With some of the contents in the bag, and not much in the box.
So exactly what is missing?

Image

Image

Image

Image

I have tried to contact the Royal Mail/parcel force, which when they
want to are the same company but when you want anything they are
separate companies!!

I finally got to to speak to a person on the phone!!
but not at the local sorting office, a call centre lord knows where!
Only to be told by the woman at the other end
"The sender must file a complaint or claim at their end, even if it
was damaged at this end!"
She wouldn't go into it any further as she saw no point.

I don't think I asked for insurance to be placed on the parcel when
I arranged the transaction. I have contacted him and he will call into
his post office to see whats the next thing to do.

Below is a small picture of what should have been in the box.

Image

I have had to purchase full control arms/wishbones with the bushings
already in off ebay. But they aren't a full front kit!
Hopefully I can use what I have in a box to make up a kit of sorts
out of spares I have for previous cars!

But what a waste of time and money!!! because of the royal mail!

Also after yesterdays trip and fall, I have been in pain as I had
fallen at an angle. So I have taken it easy today, the heaviest thing
I have lifted is a paint brush to give those rear engine and
transmission mounts a second coat of paint.

Re: V6 into a RHD Chrysler Neon mk1

Posted: Sat Oct 15, 2011 2:53 pm
by Mitsuru
I forgot to say, the parcel arrived yesterday and I had been
waiting on a reply from th seller before I posted the pictures.

The usual price for the wishbones/control arms are about
£70+ each, but I managed to get them for £19.99 each.

Re: V6 into a RHD Chrysler Neon mk1

Posted: Sun Oct 16, 2011 7:25 pm
by Mitsuru
Dad did the final bit of welding on the battery tray & fusebox support.
It still needs trimming and a bolt hole drilling before a coat of paint.

Image

Image

The A frame over the steering rack was bolted up with stainless steel
nuts and bolts that I had previously bought for bolting in the LPG tank.

Image

Image

Image

I cleaned the base of the transmission with wire wool removing any oil
and dirt before bolting up the transmission oil pan and gasket.
However I have lost 2 bolts for it somewhere, keeping another off so I
can find a suitable replacement.

Image

I had to beat the tab over a bit to stop it hitting the fly wheel.

Image

I had to do a bit more panel beatingon the engine oil pan, this
time to create a bit of space so any movement of the engine
would mean that the subframe would punch a hole in the
engine's oil pan, then I had to undo it a little for the oil strainer
pipe.

Image

Image

Image

Image

The paint brush will come out and I'll get the scrapes and dents painted
back up to protect the metal once all bolts are in and the mount is in.
The oil filter went on no problem, so I dropped the radiators in to check
for clearances.

Image

Re: V6 into a RHD Chrysler Neon mk1

Posted: Sun Oct 16, 2011 10:40 pm
by JPB
I'm assuming that you'll be fitting some sleeves to those bolts through the A-frame to prevent the frame being bent when they're tightened up finally?
Also, I'd have to question whether stainless is the best choice for that application.

Those safety-related concerns aside though, this is suddenly gathering momentum and I'd bet on it being ready for your target date.

Re: V6 into a RHD Chrysler Neon mk1

Posted: Mon Oct 17, 2011 12:43 am
by Mitsuru
JPB wrote:I'd have to question whether stainless is the best choice for that application.
The bolts were bought from a marine supply, and were for use on boats.
I have yet to adjust it to the right position, lock nuts and spring washers
are ready to be fitted when I do.
The bolts are to hold the A frame and bottom plate in place, There will be no weight on the bolts.
To be honest, if you had seen what had been used on the manual V6 swap, mine is overkill!!!

Remember that bracket that slip under the steering rack clamped over the sub frame and only
bolted and clamped properly on one end? It's the one from which I drew My inspiration for mine?

Image

Image

Image

Jim in the states only had a simple bobble the exactly how it is in the above
pictures, with the same bracket. That was till he bent his strut when his v6
kicked back under launch and bent it.
He has since doubled his up using the same bracket but double the bobble
strut. I'm using a proper engine mount and have used twice+ the thickness
I could have used. Actually what is refereed to as a bobble strut is a
threaded bar with some nut, washers and suspension bushings.
(pic and quote from neons.org)
UptownSport wrote:I always try to stock some-

$42 + $5 US priority ship
(greasable, sealed rod end, Stainless rod, 6160 spacers)
Image

$36.50 + $5 Priority Ship
Basic Bobble
Image
So I think that doing it my way, means the weight is resting equally on the
subframe, and more towards the centre so it mirrors the position of the front
engine/transmission mount.