V6 into a RHD Chrysler Neon mk1

Post pictures and stories about your cars both present and past. Also post up "blogs" on your restoration projects - the more pictures the better! Note: blog-type threads often get few replies, but are often read by many members, and provide interest and motivation to other enthusiasts so don't be disappointed if you don't get many replies.
Message
Author
User avatar
Mitsuru
Posts: 2300
Joined: Thu Jan 06, 2011 1:42 am
Location: County Durham

Re: V6 into a RHD Chrysler Neon mk1

#211 Post by Mitsuru »

What did I do today?
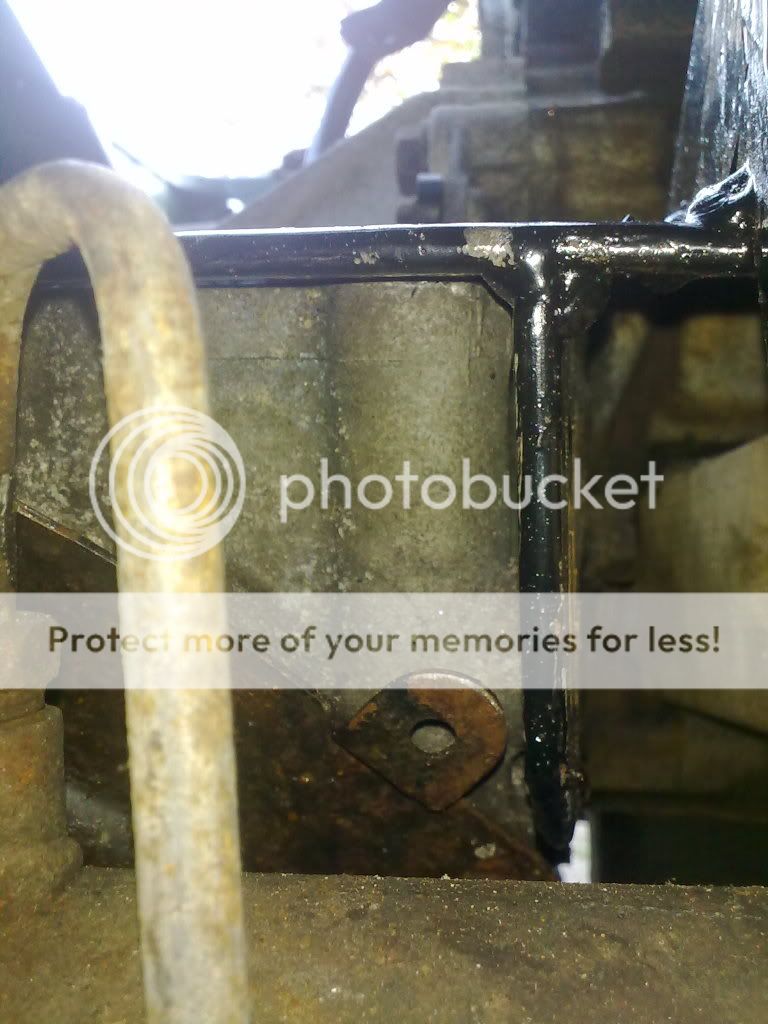
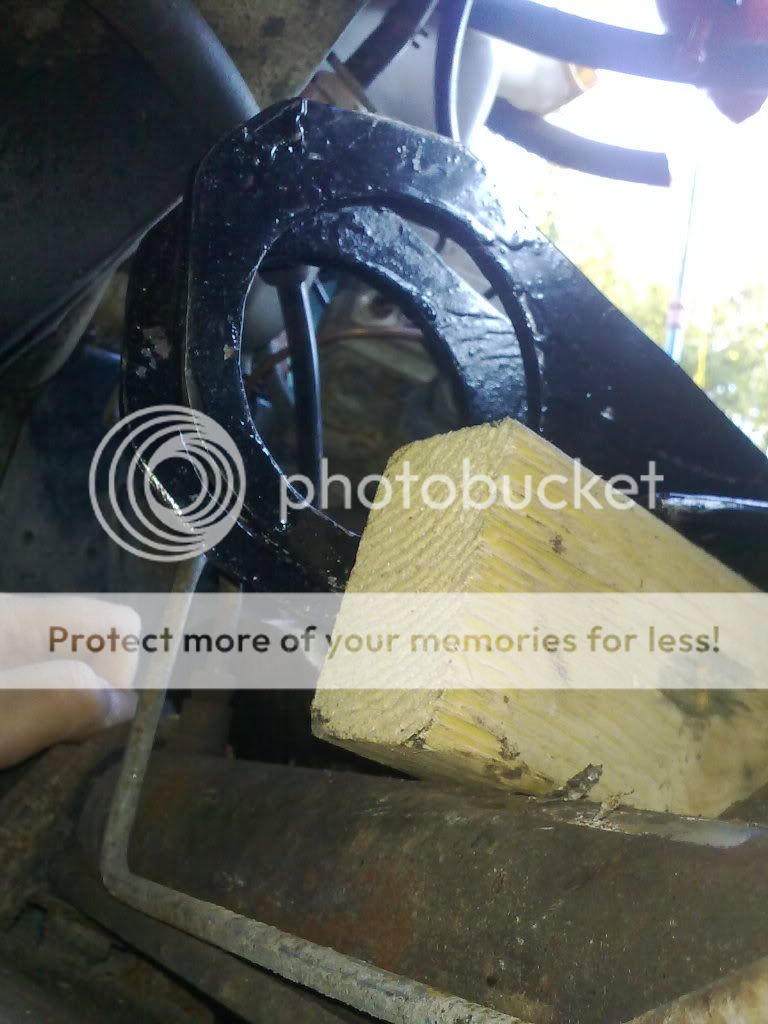
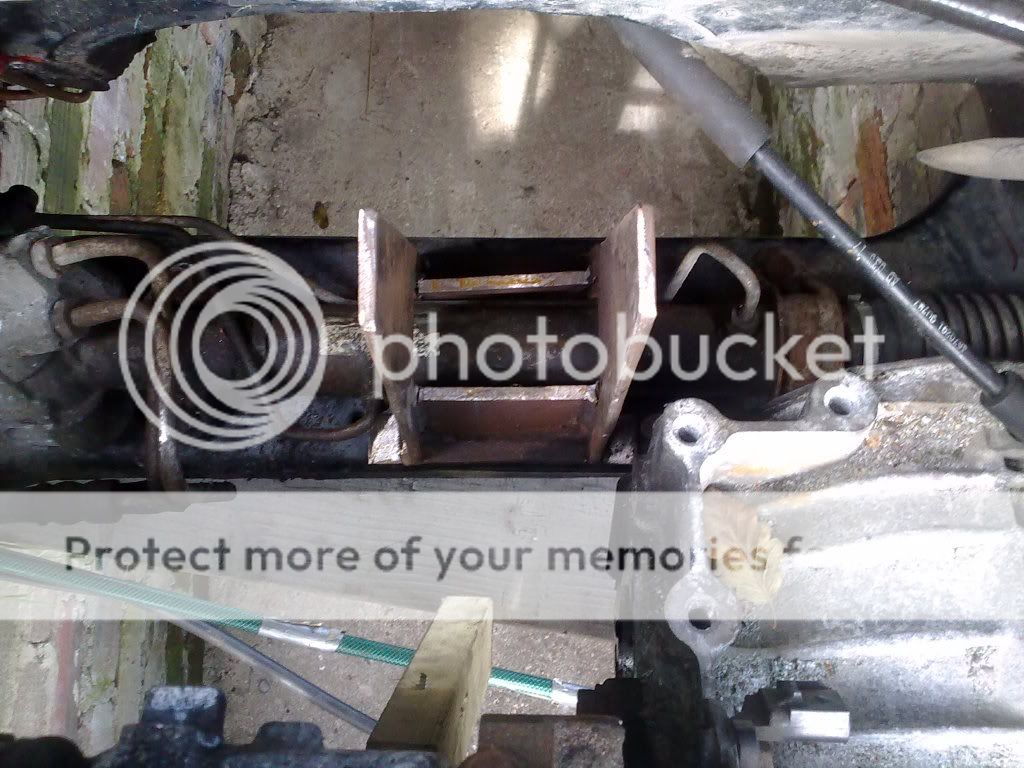
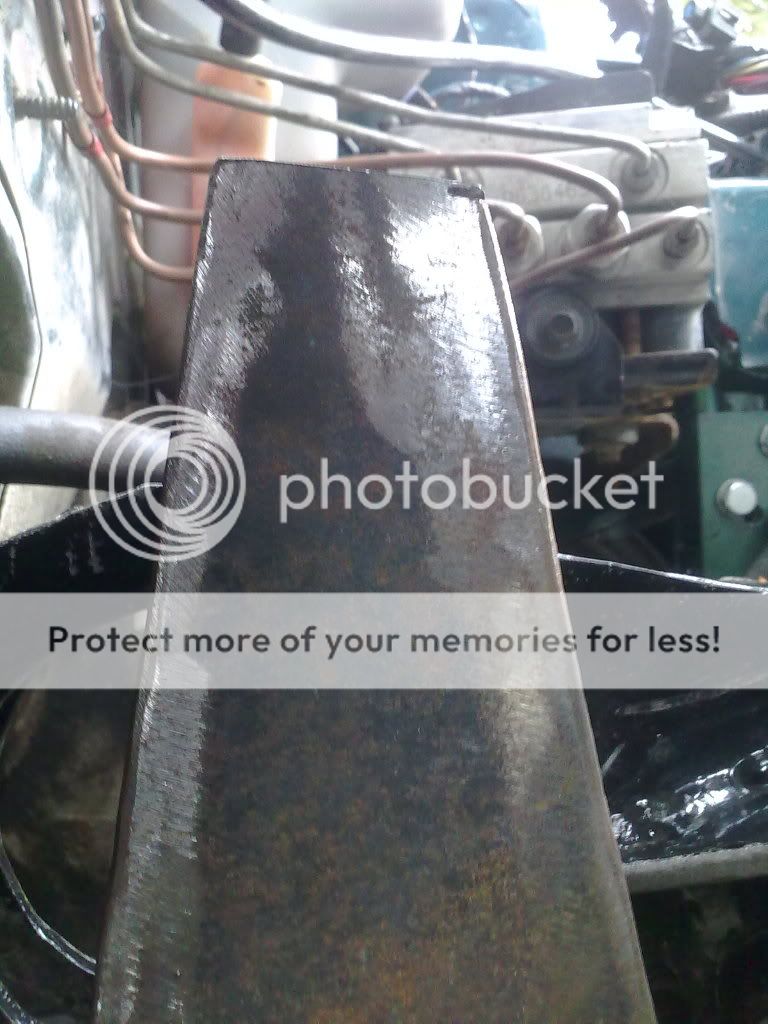
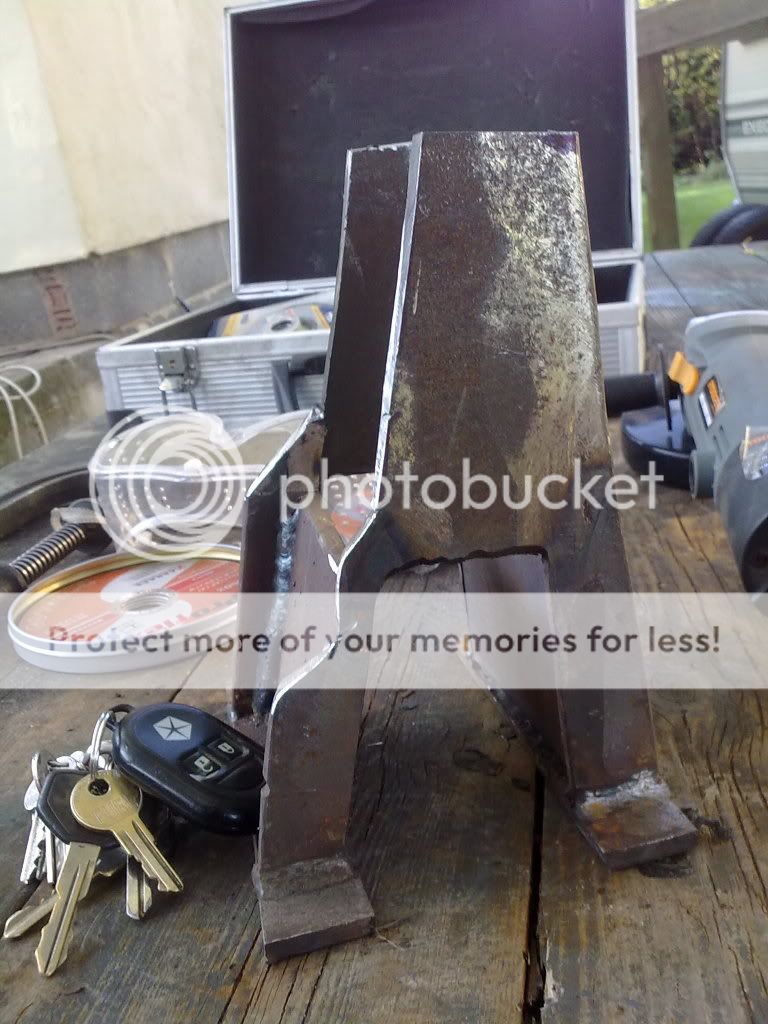
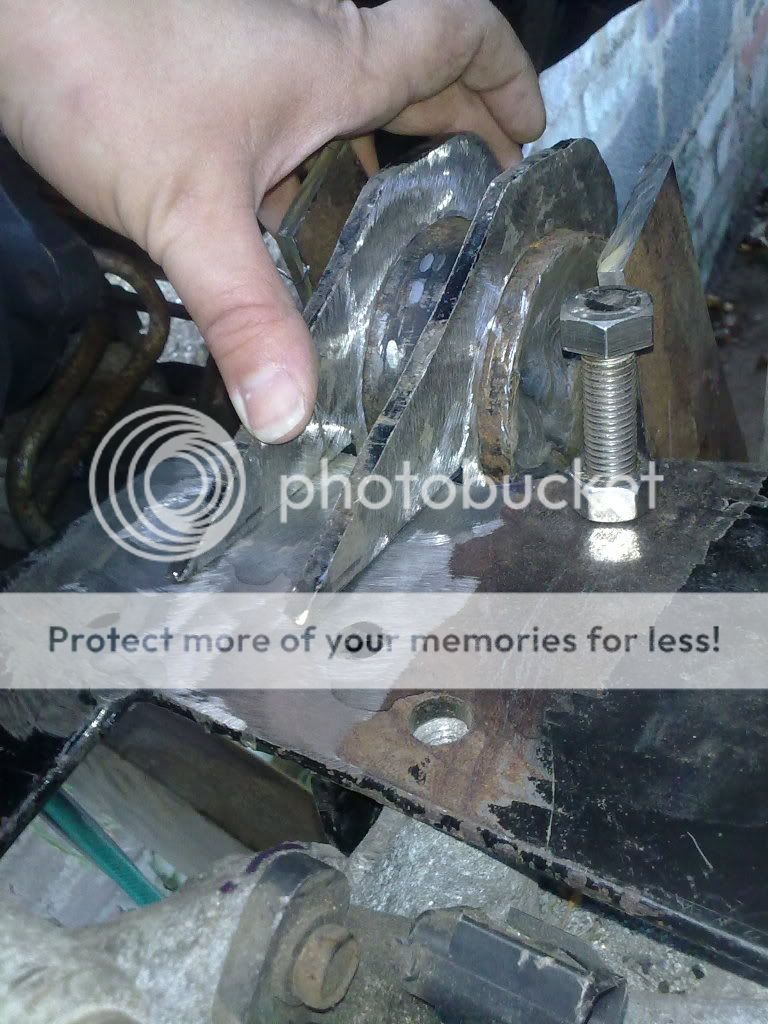
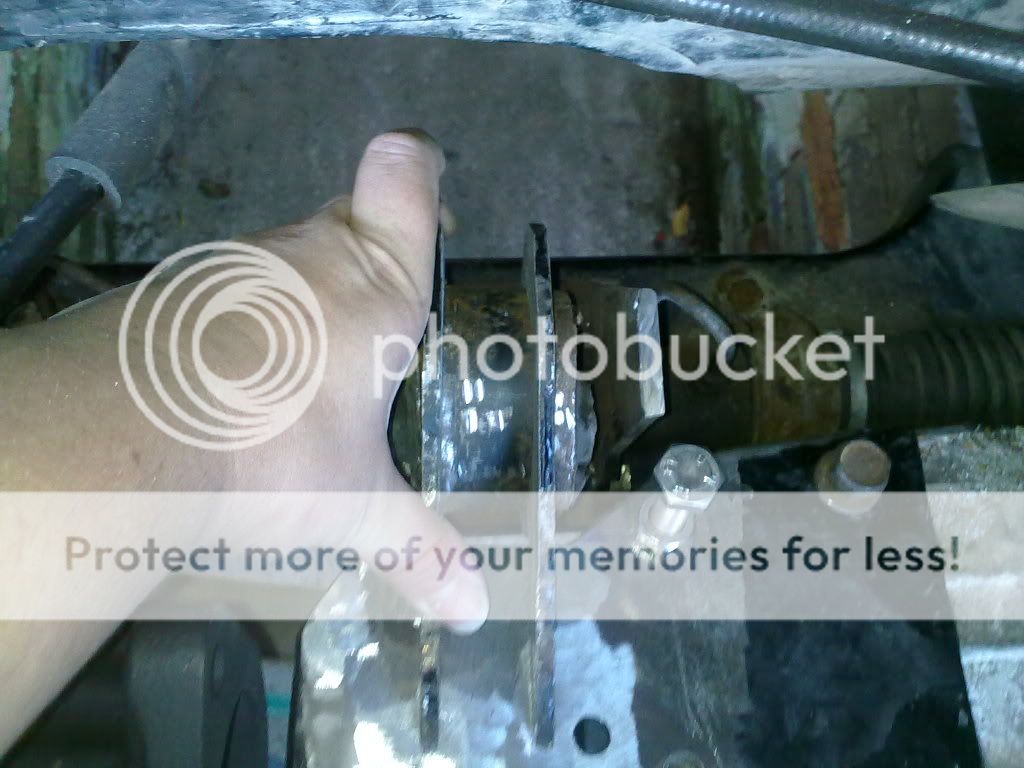
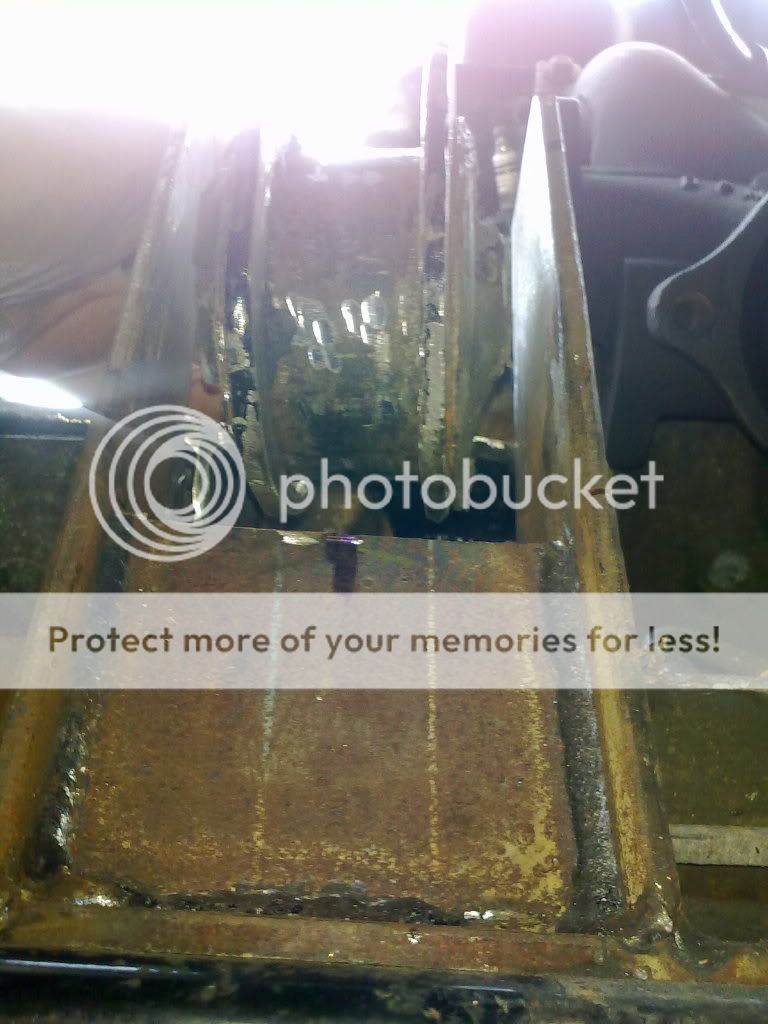
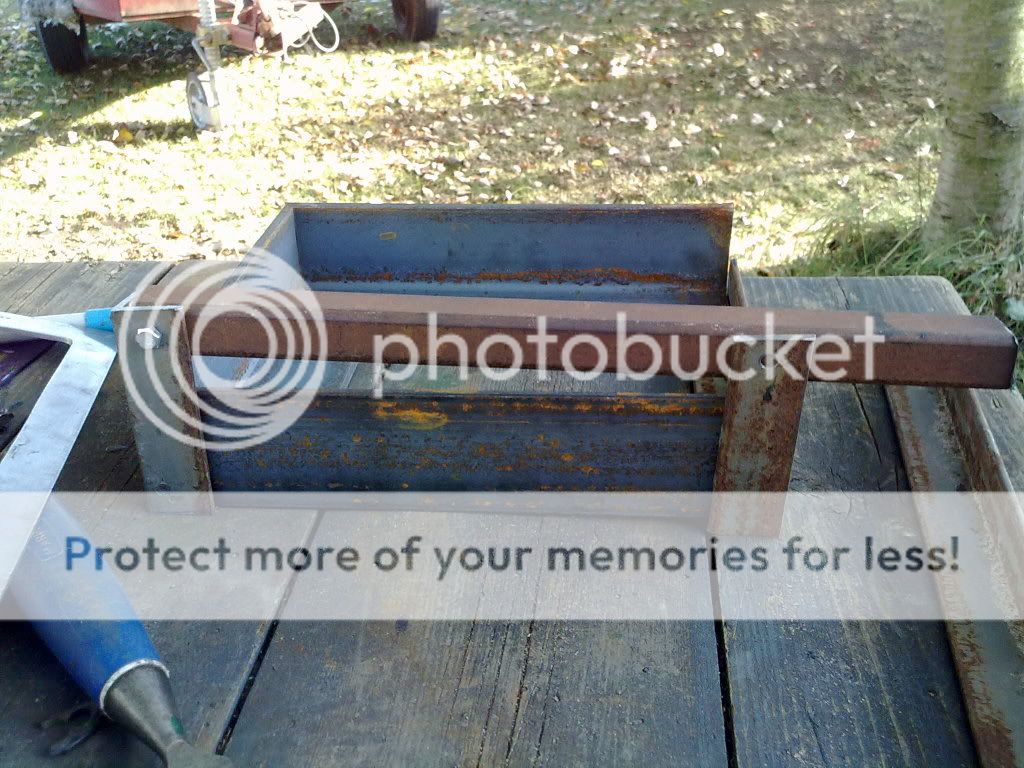
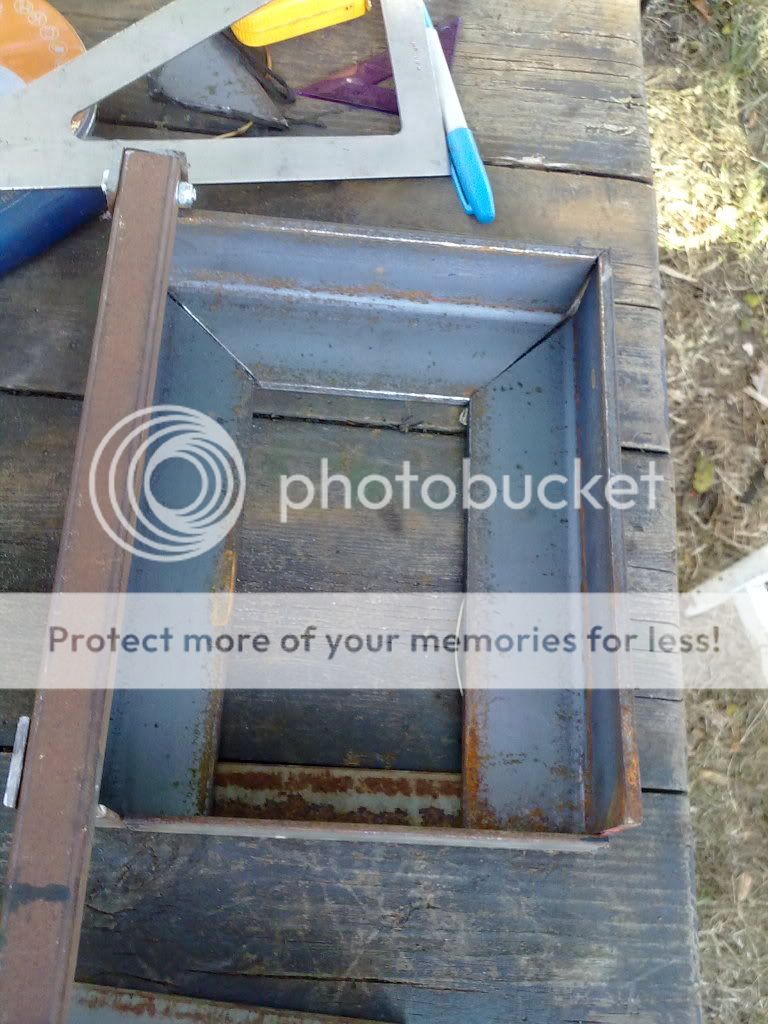
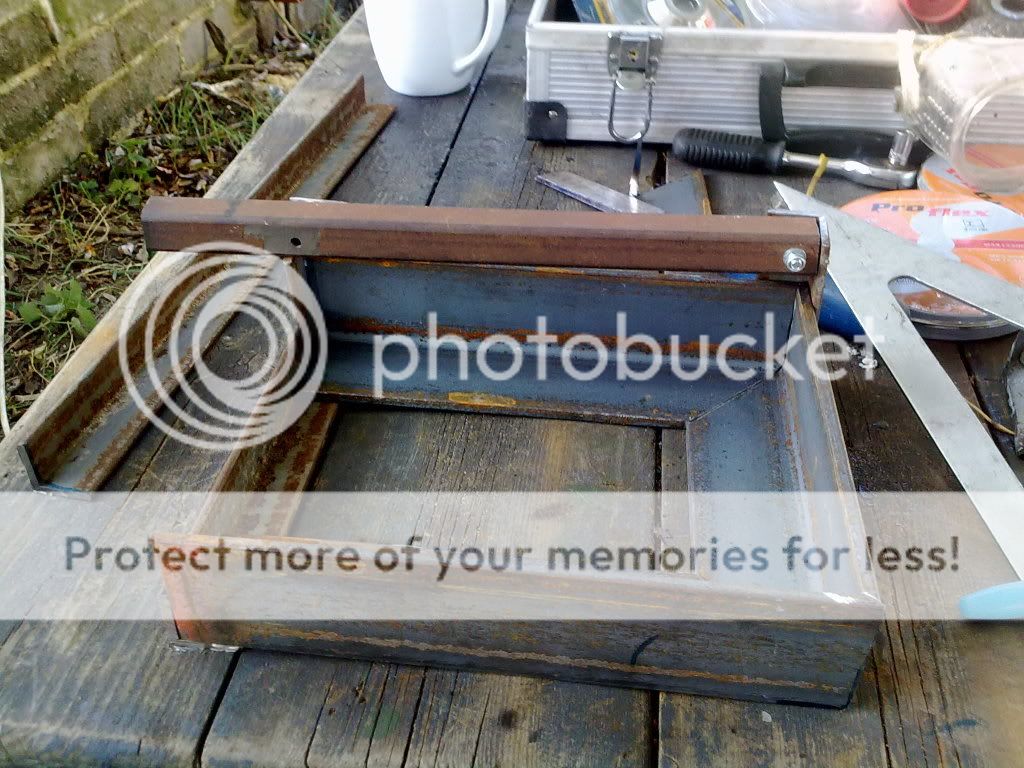
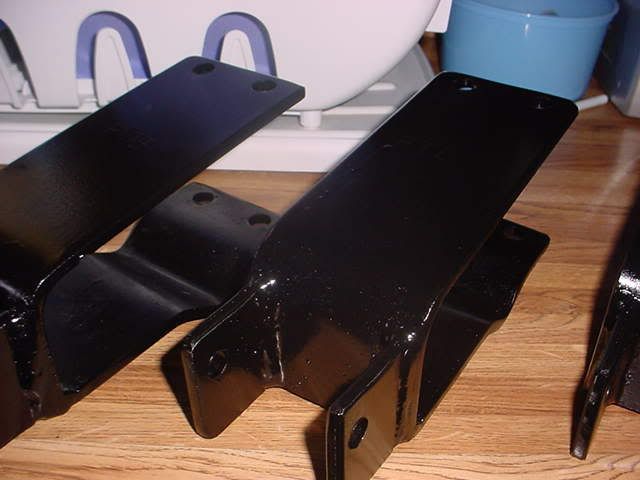
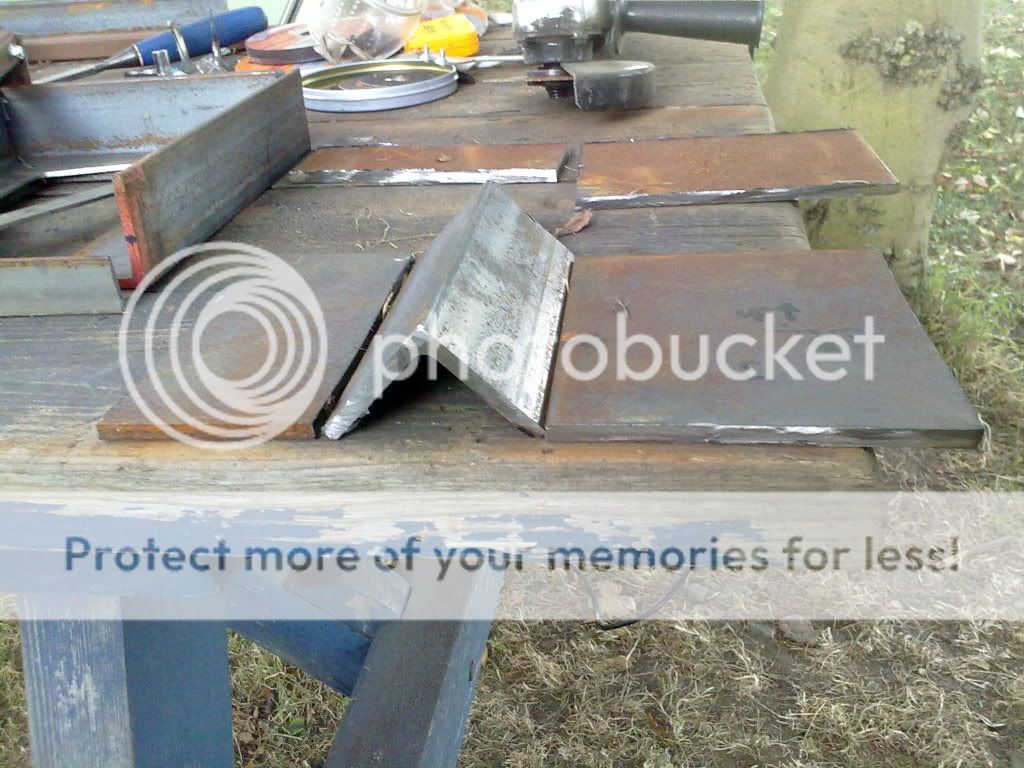
Well I got the grinder out and cut off the excess metal.
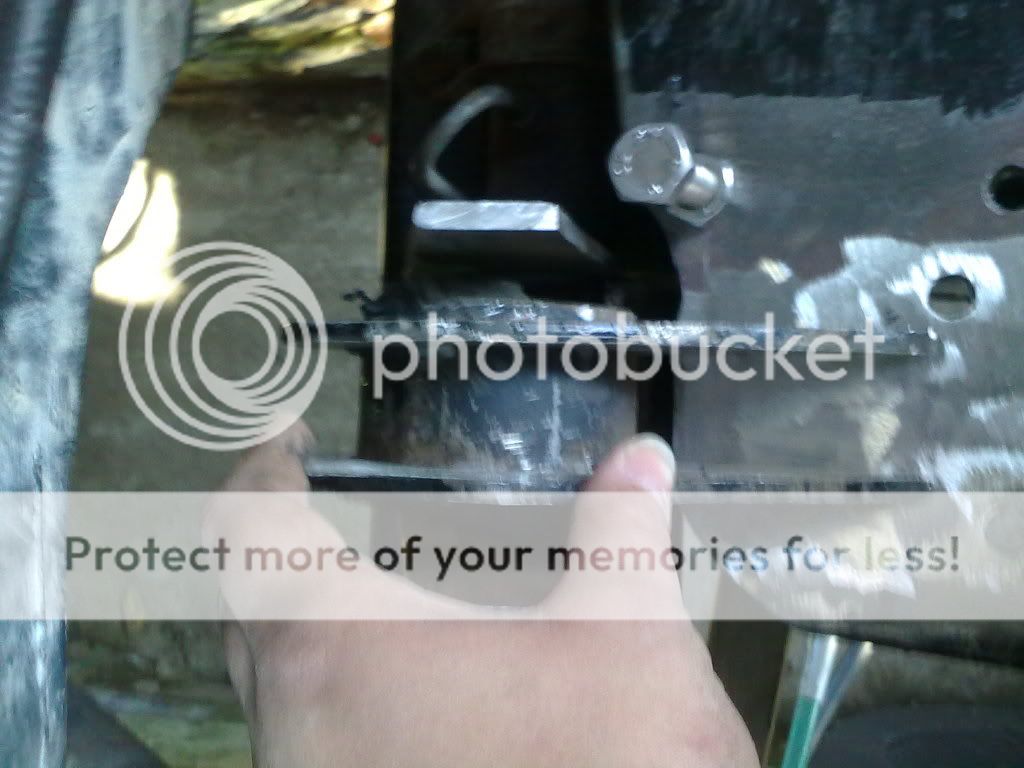
Then while it was still warm a quick coat of black paint.

Image

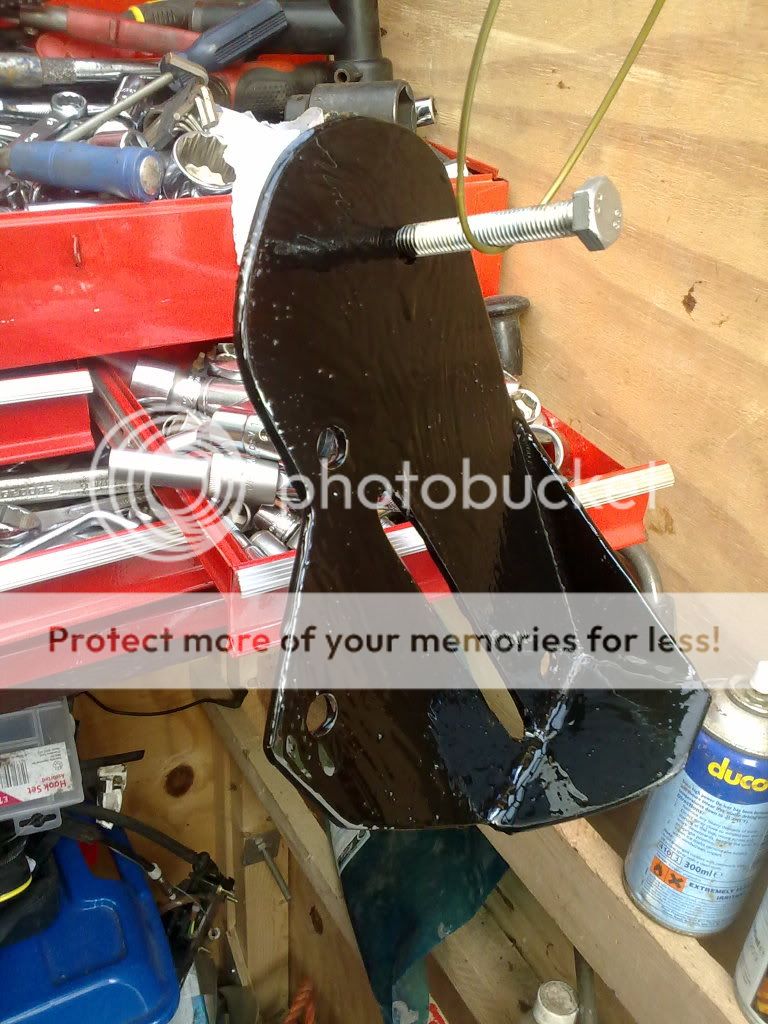
Oh bugger!! I forgot to drill a hole in the top for the bolt which
pulls he pulley up!!! I will get it when the paint has dried.

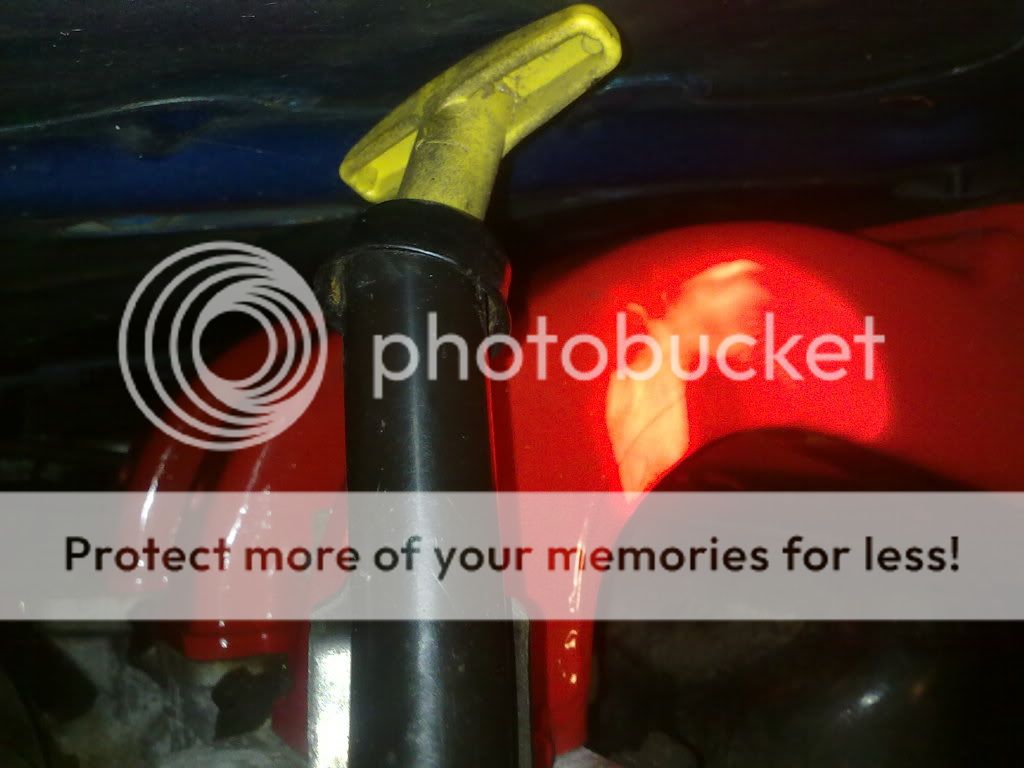
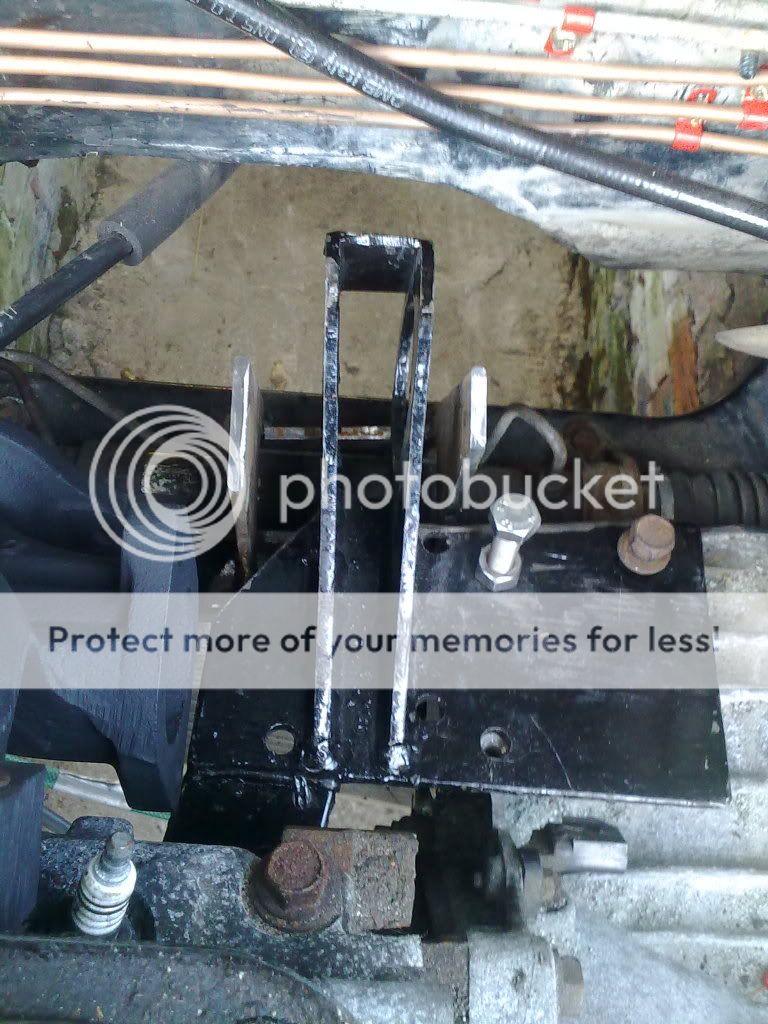
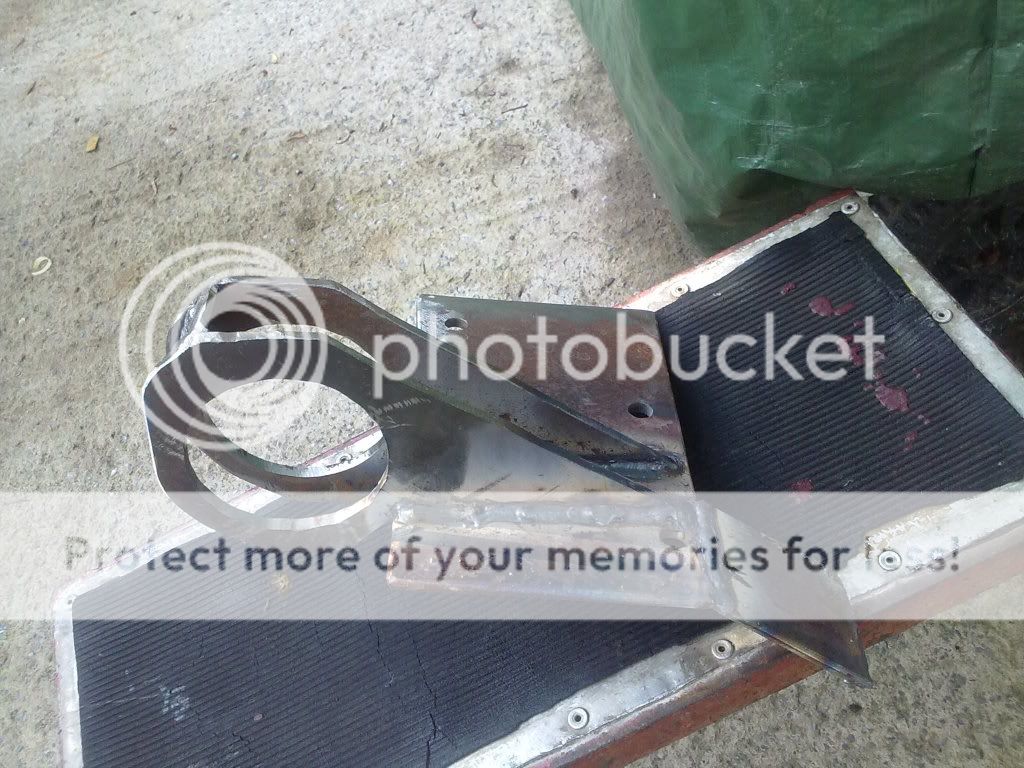
With the black gloss hammerite out I gave the bonnet/hood
prop a quick coat of paint too!

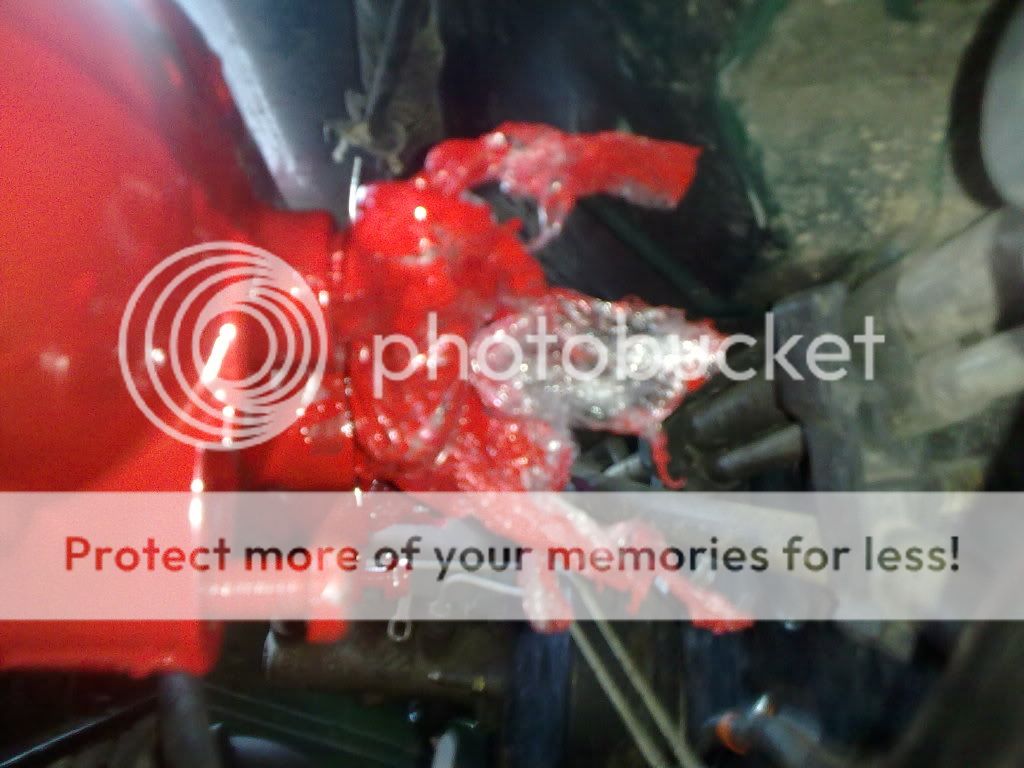
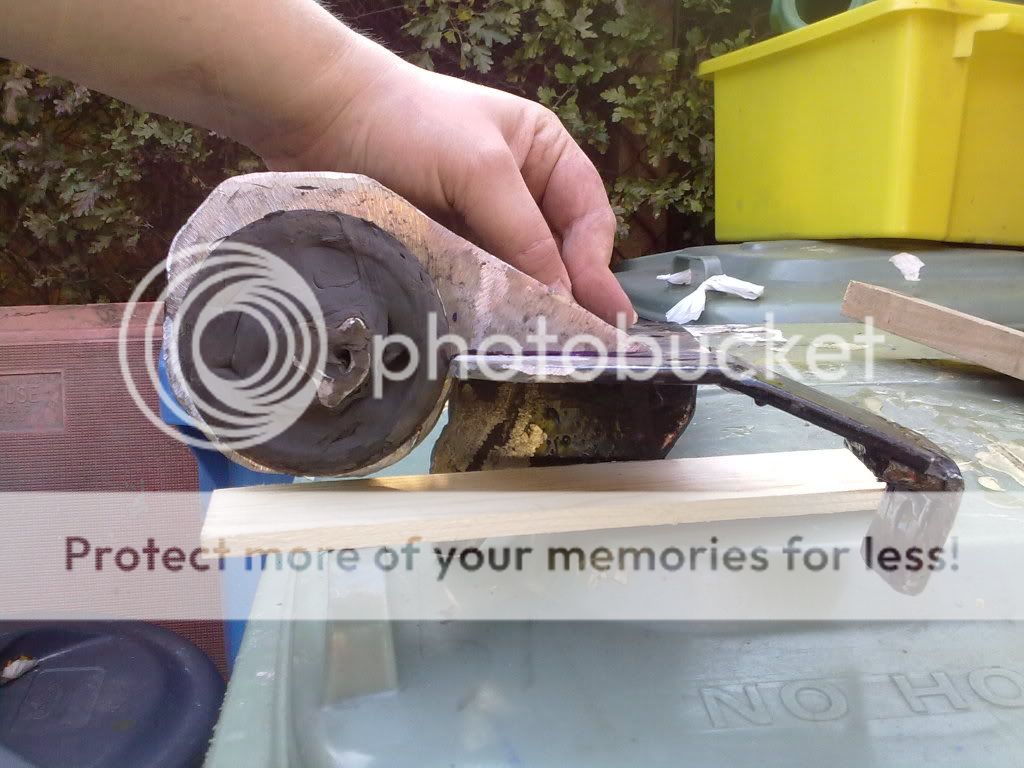
Then I got this stuff out!!

Image

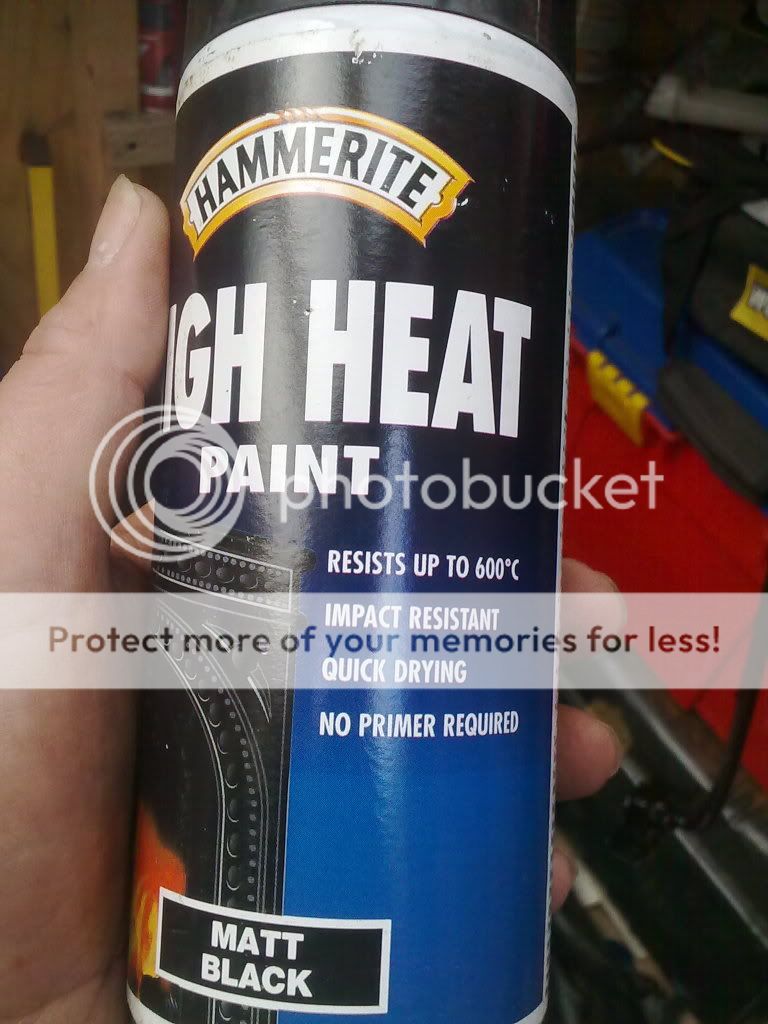
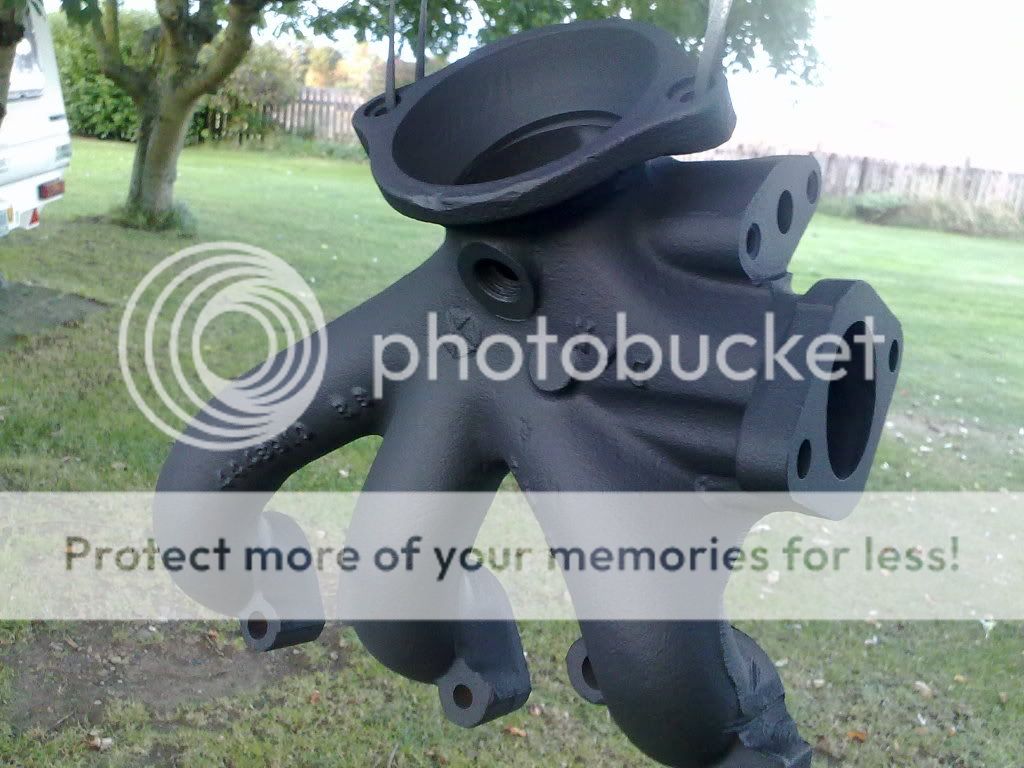
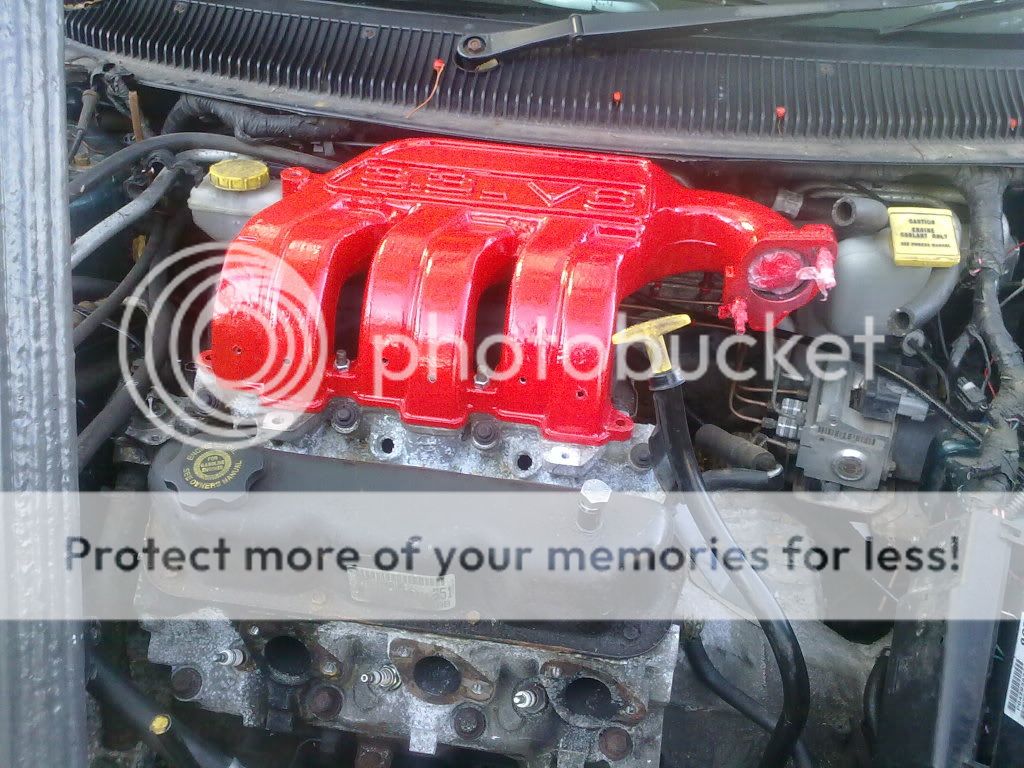
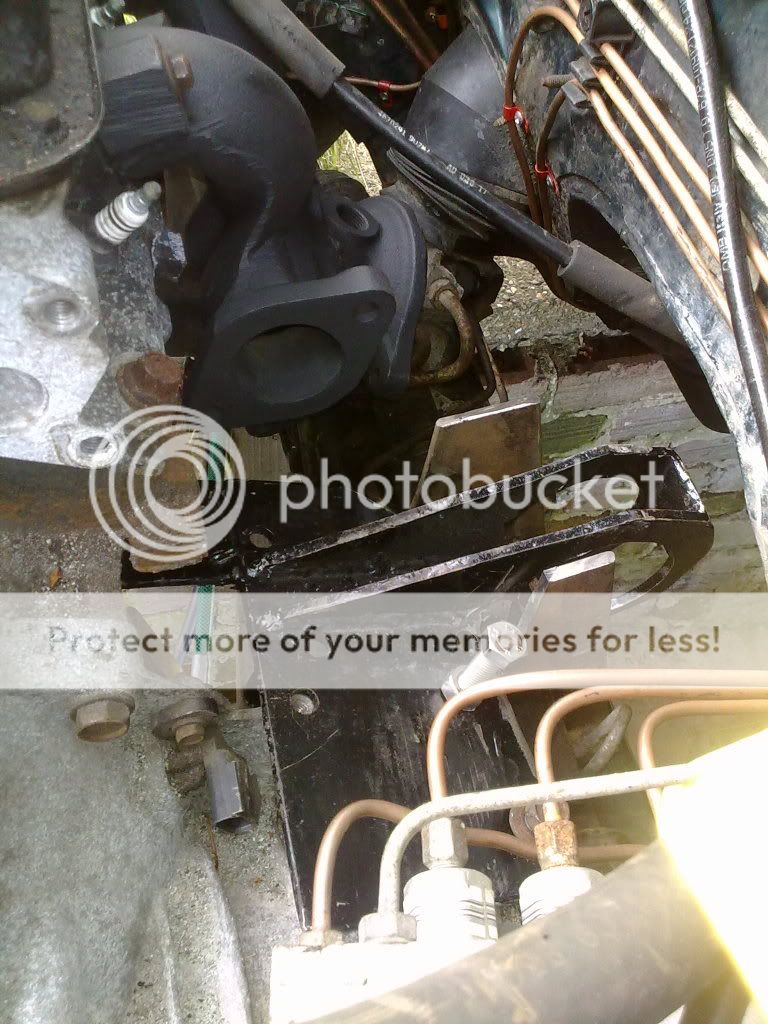
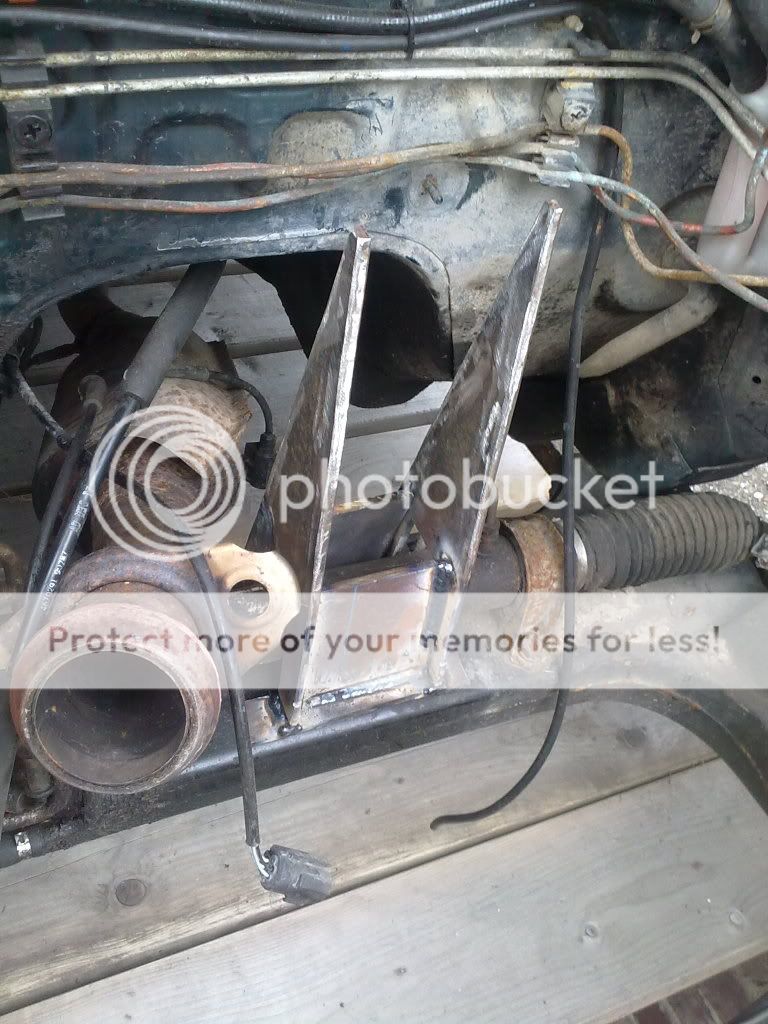
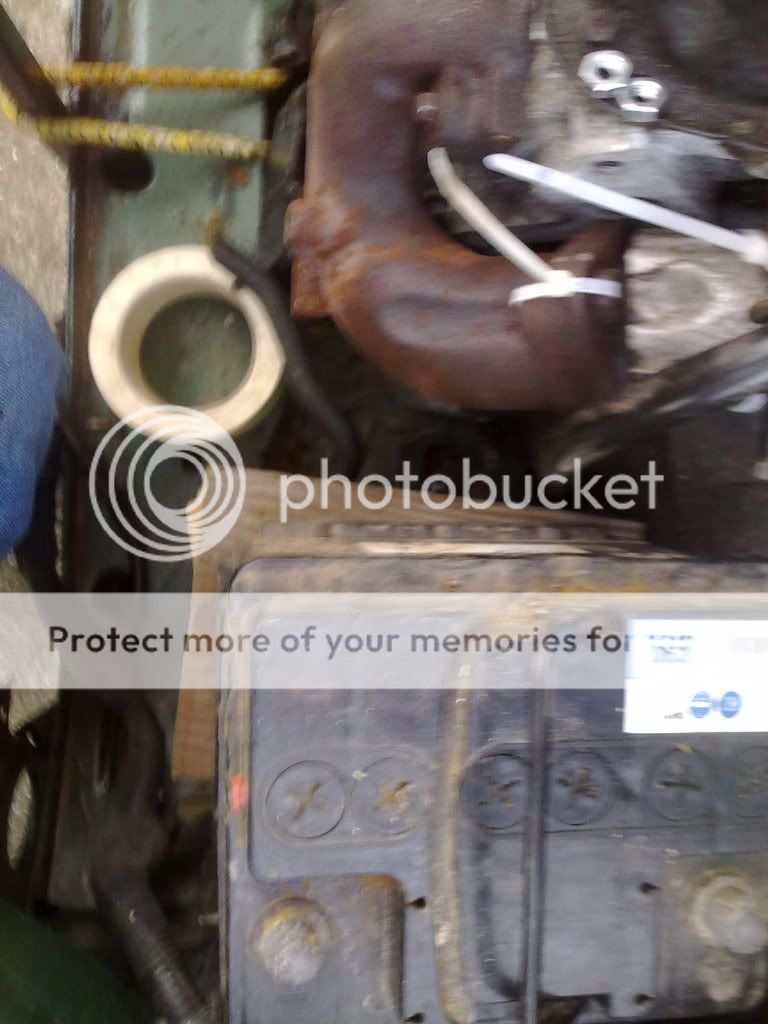
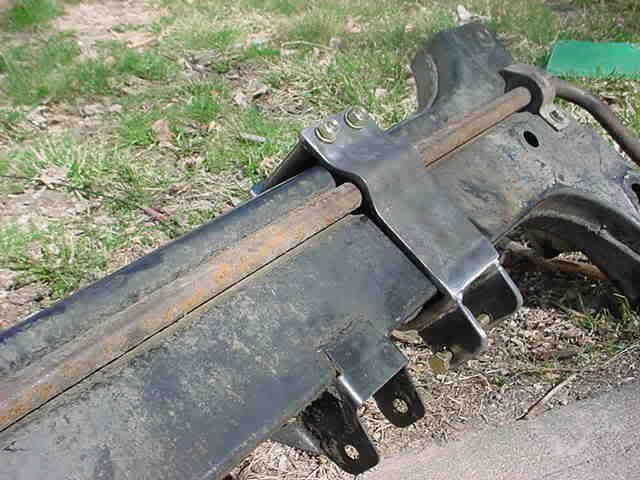
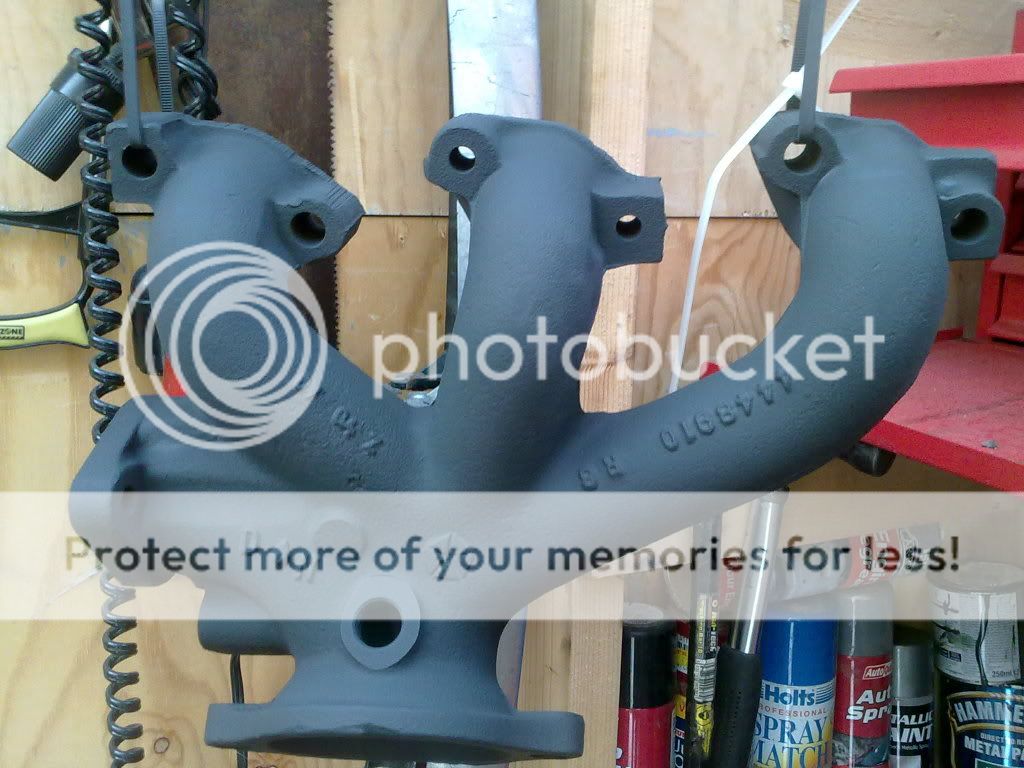
I got the rear exhaust manifold for the V6, and used wire brush
attachments on the drill to clean off rust and dirt.
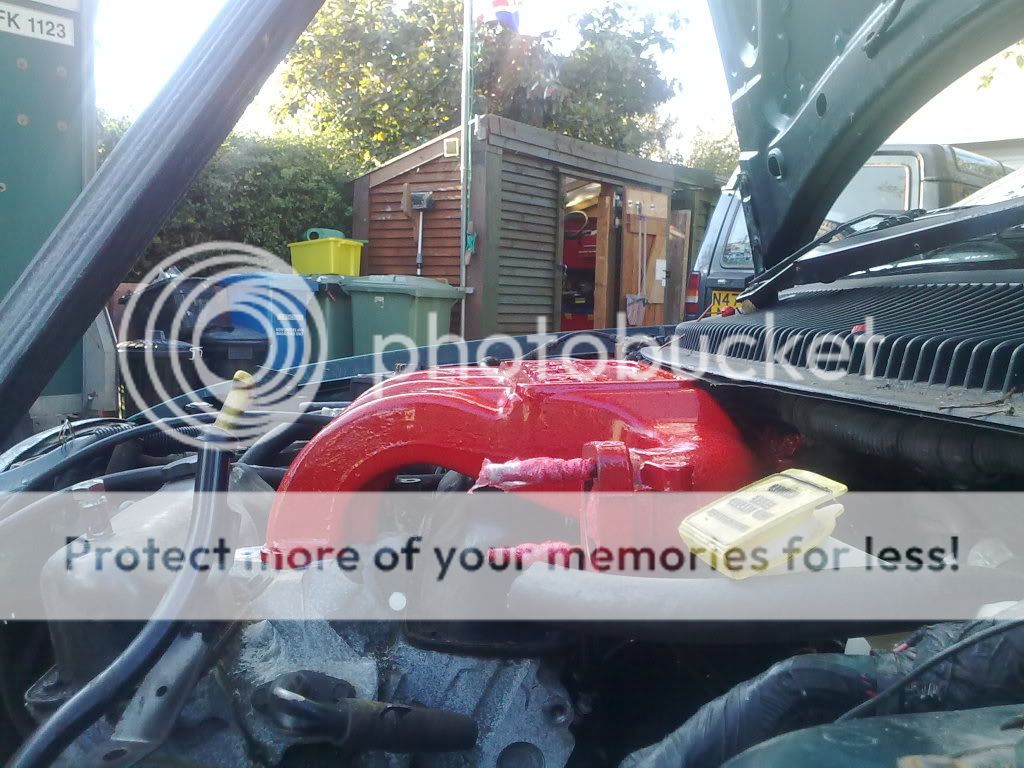
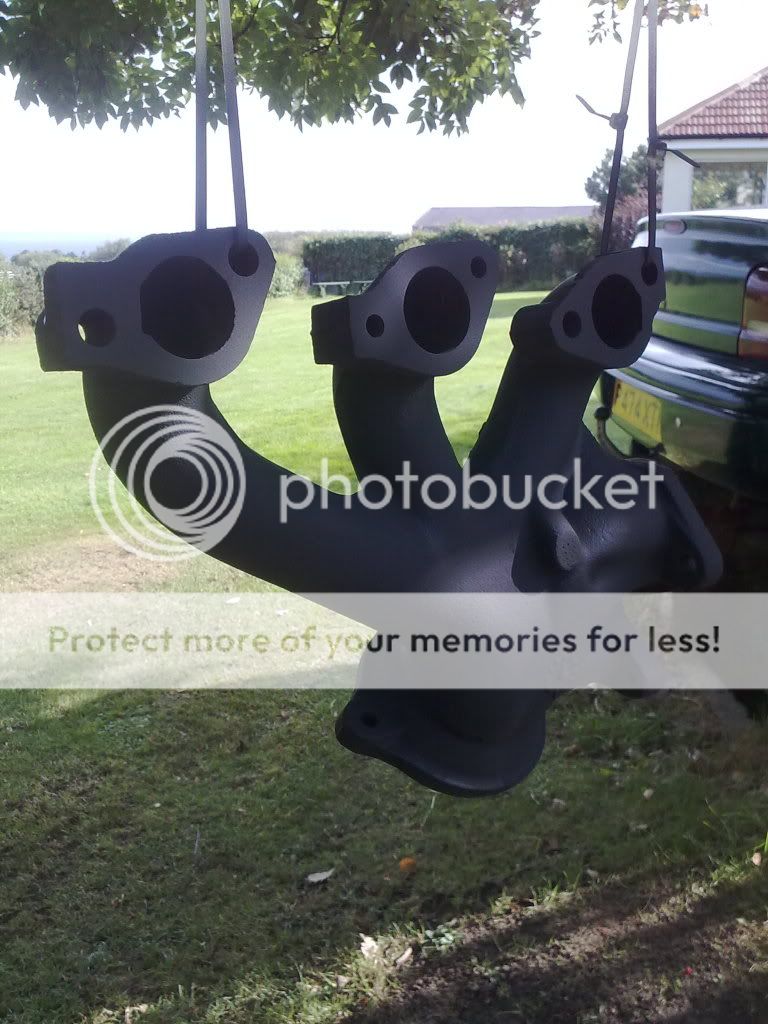
I then hung the manifold from a washing line between the trees.
As the wind wa blowing out to sea no paint got near the car!

1st coat

Image

Image

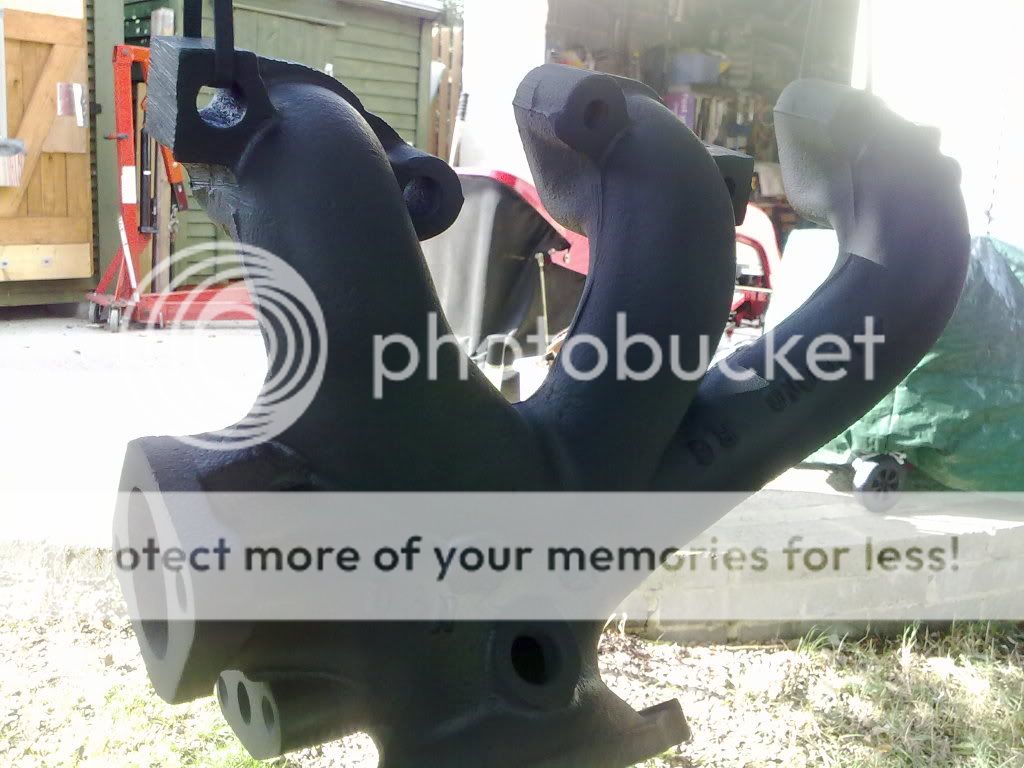
After 30 min 2nd coat and brought into the tool shed to dry.
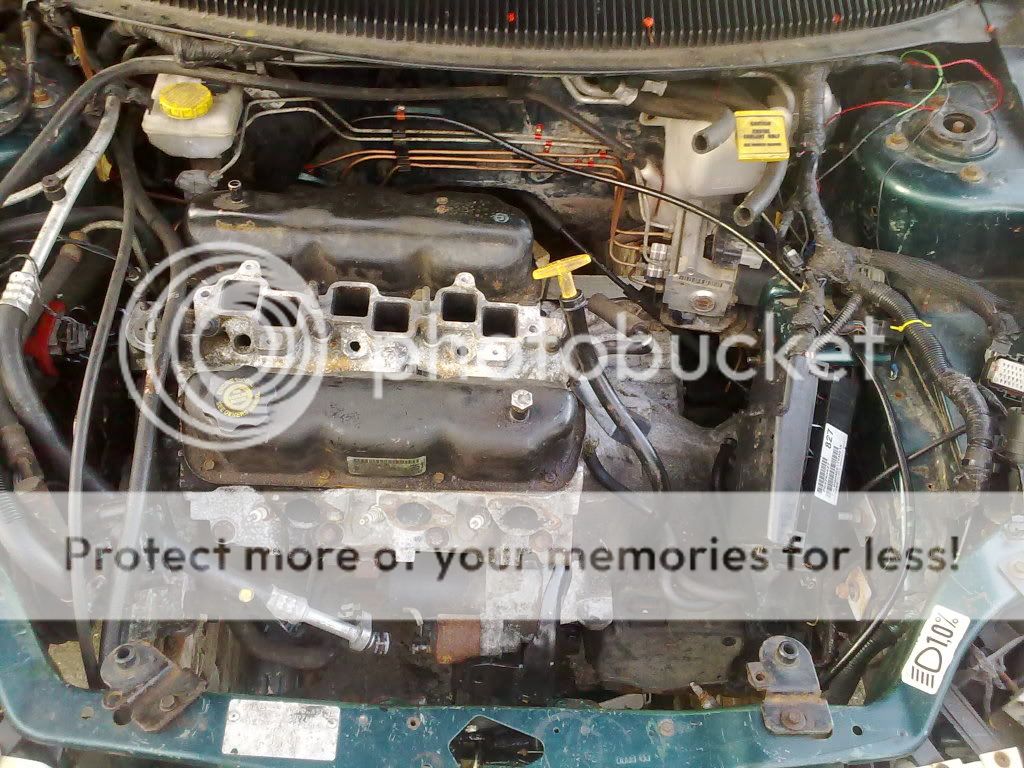
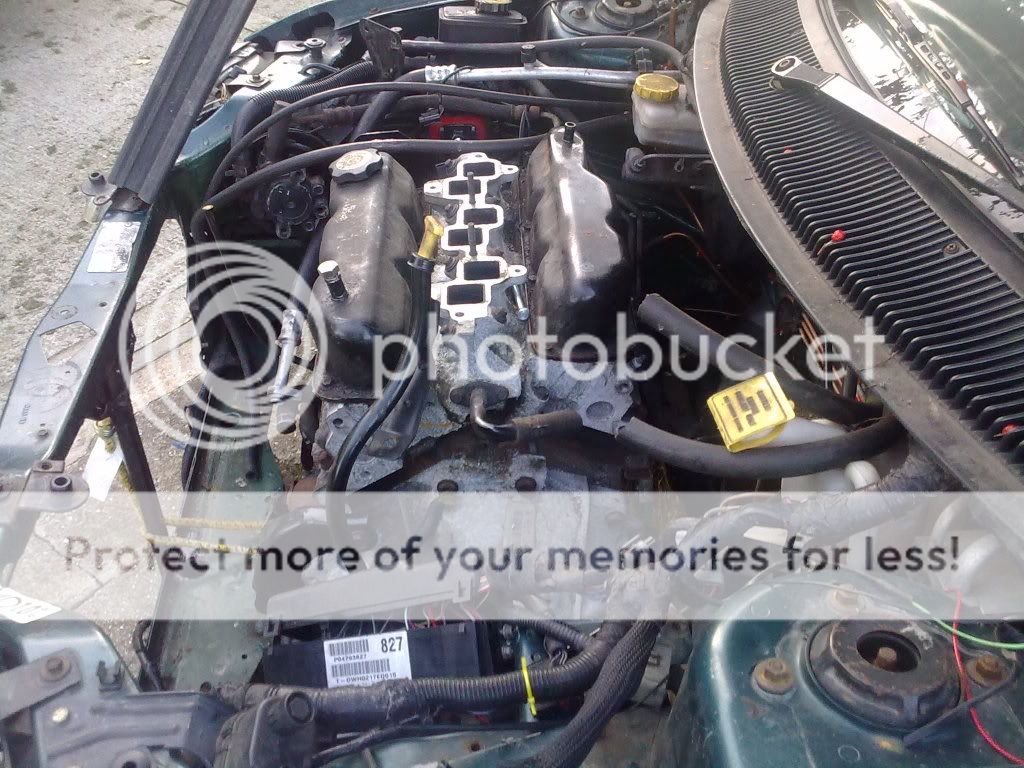
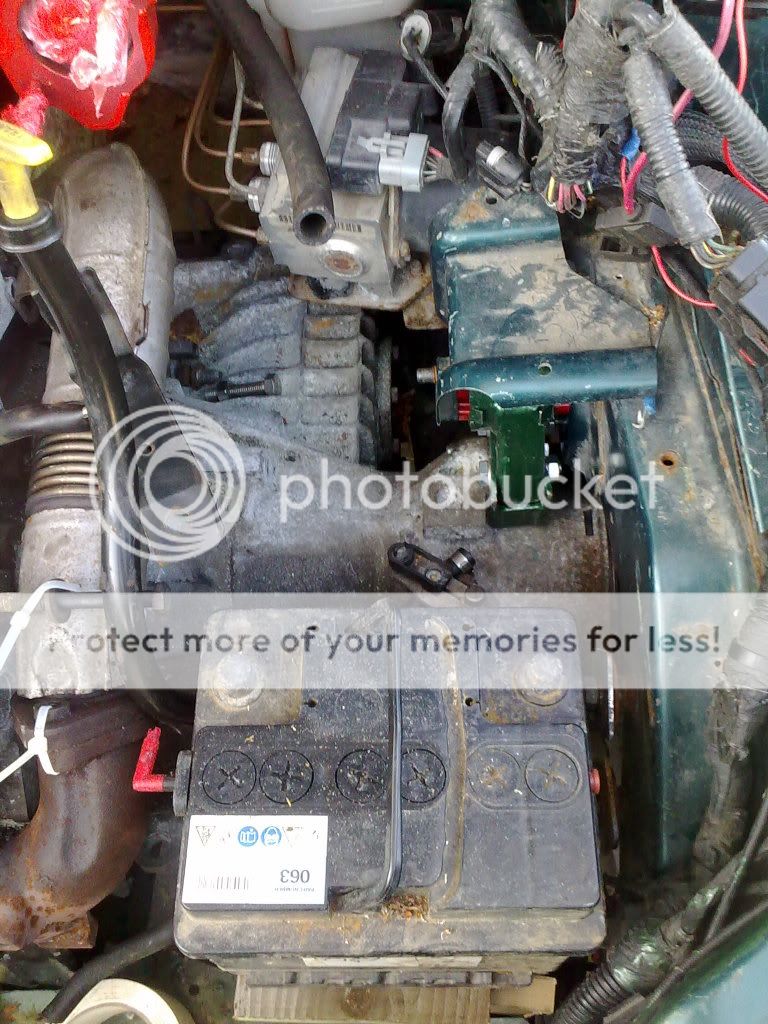
I might take the rest of the exhaust manifold off and paint it
with the same stuff!! What do you think?

I think I should have used this heat paint than the red standard
hammerite on the brake calliper! I might do that on a rainy day
in the tool shed.

Image


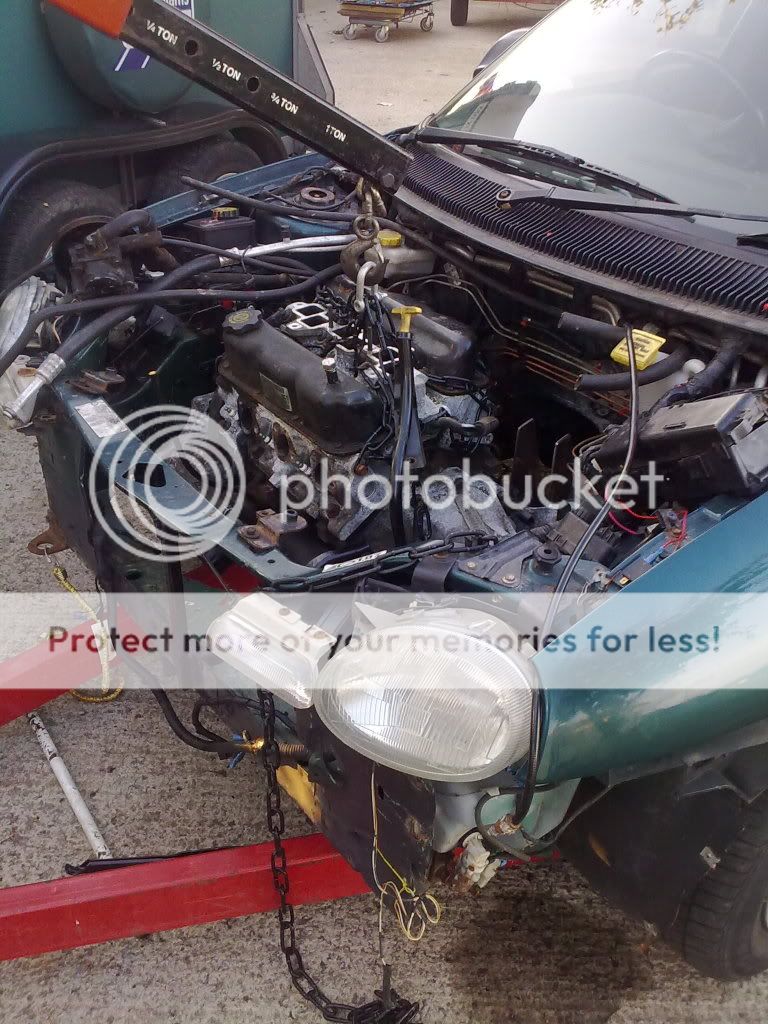
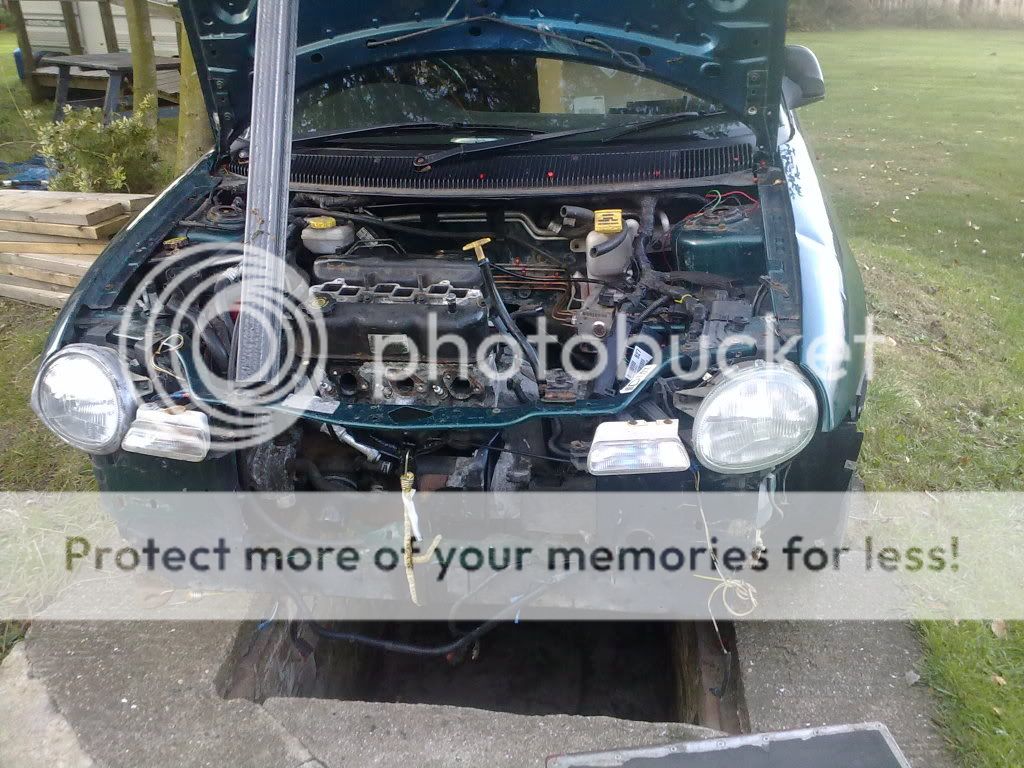
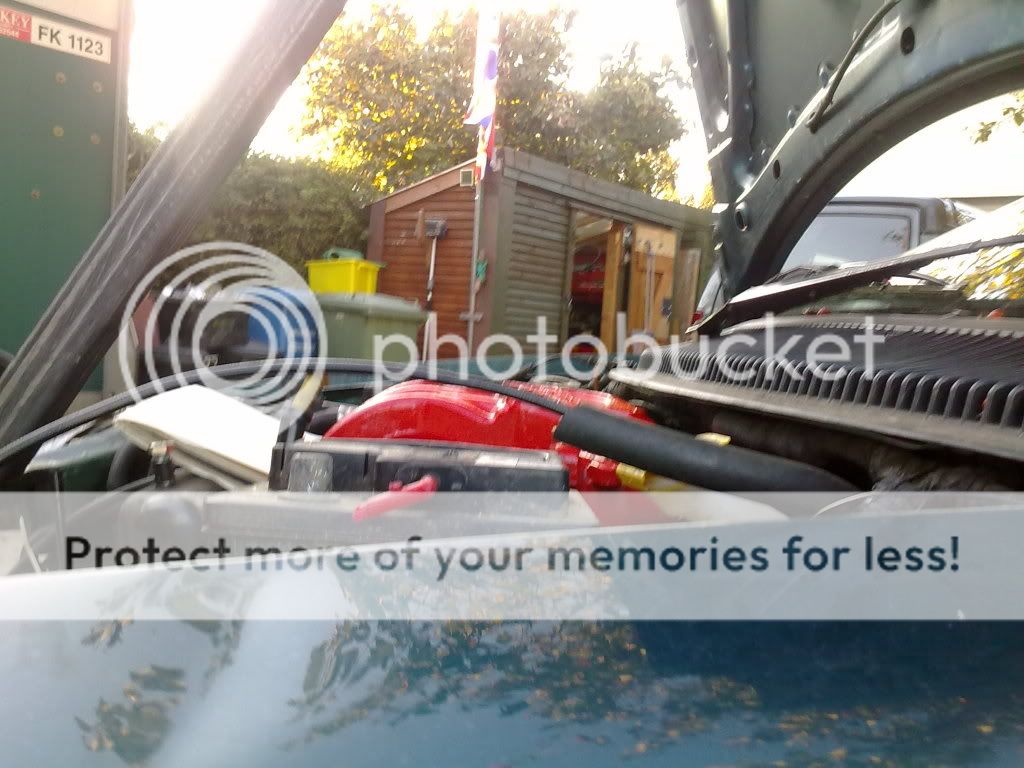
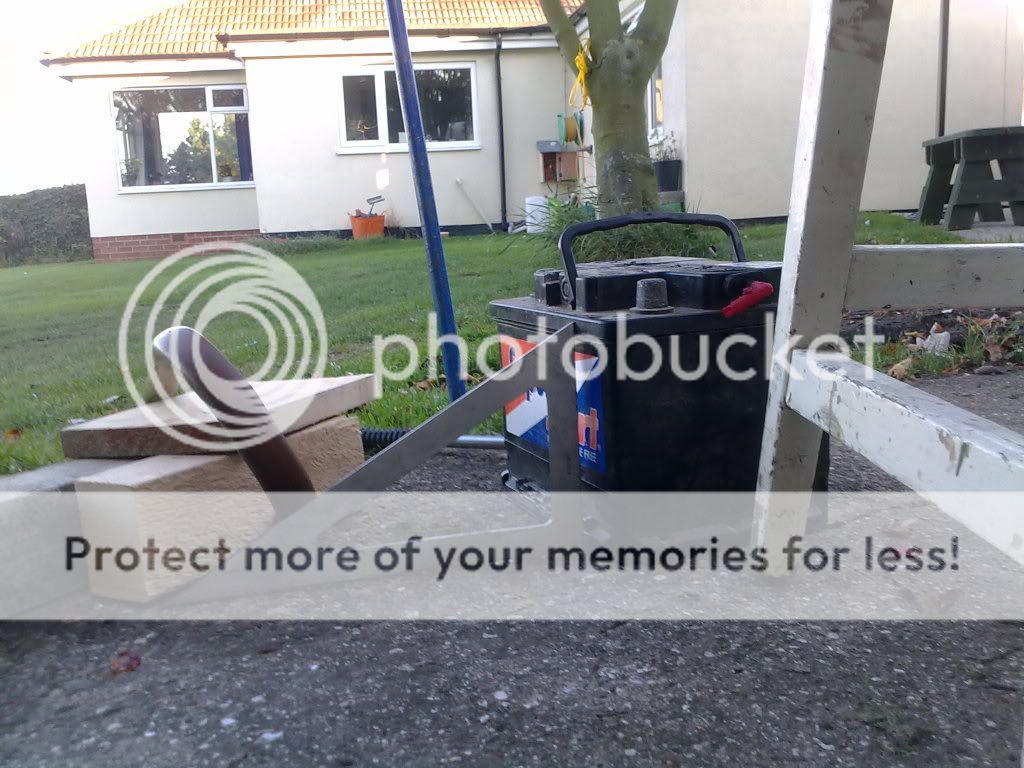
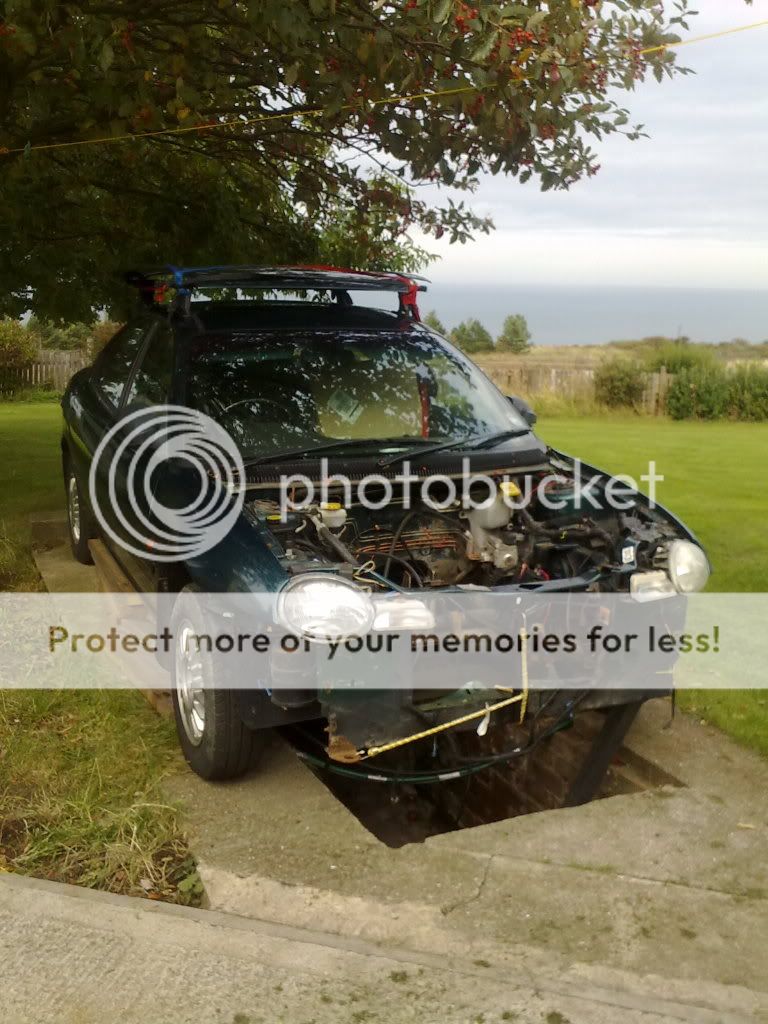
Then I got mother to help me get the bonnet/hood strapped down
onto the roof rack, so ready for engine and transmission.

Image

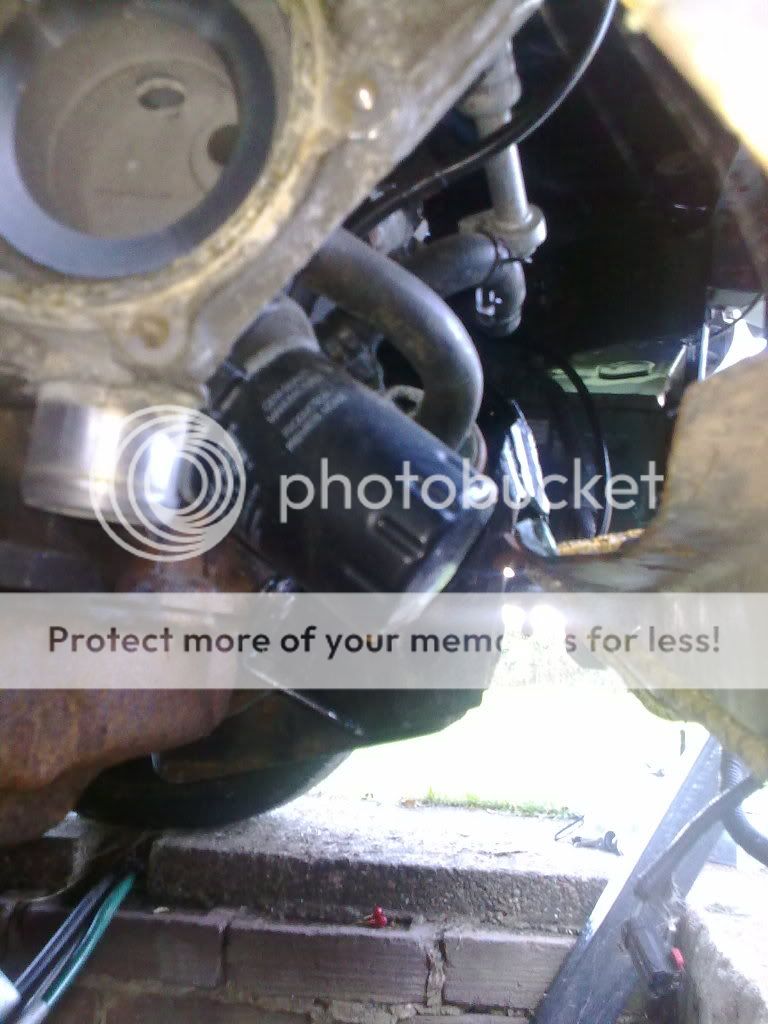
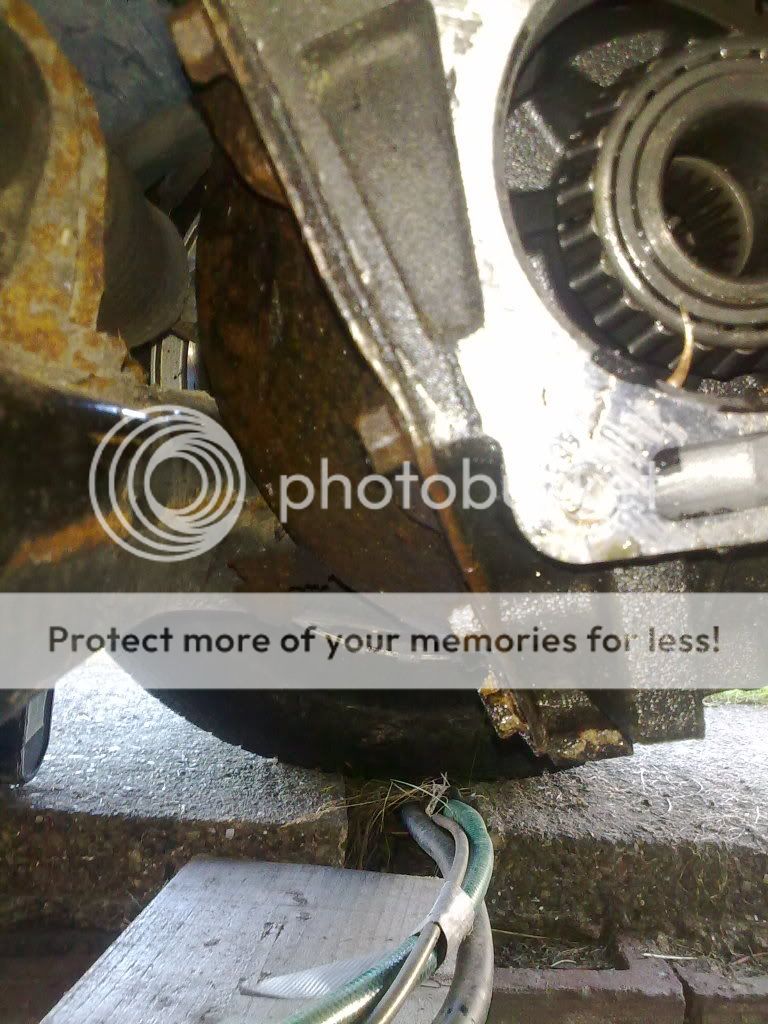
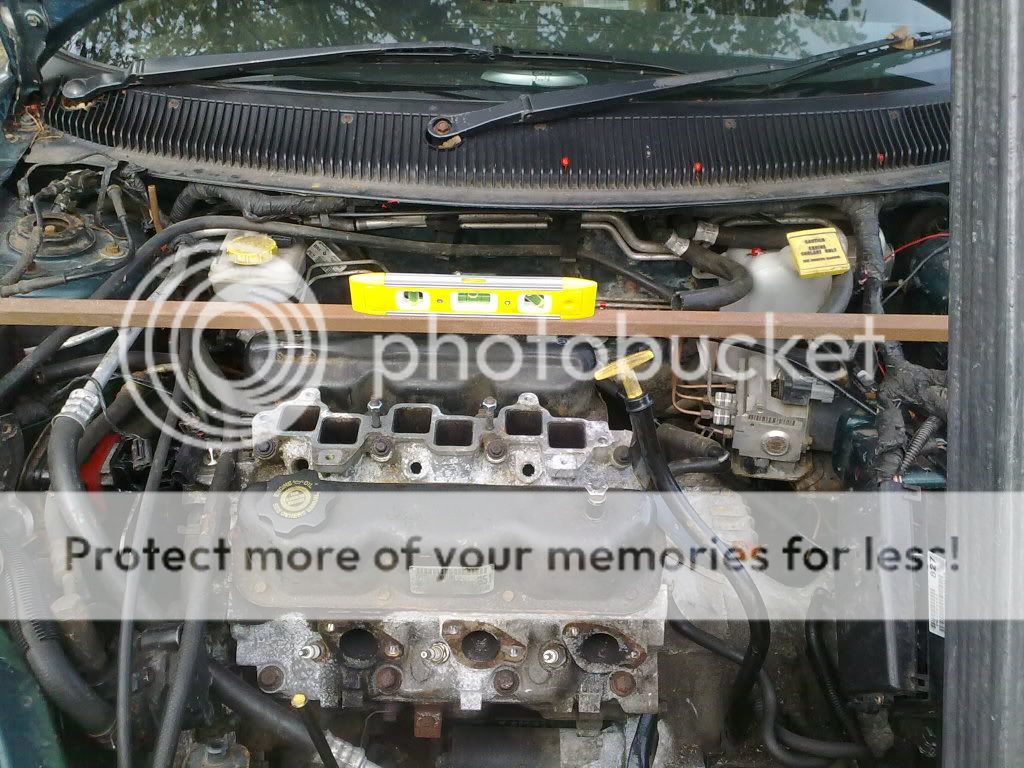
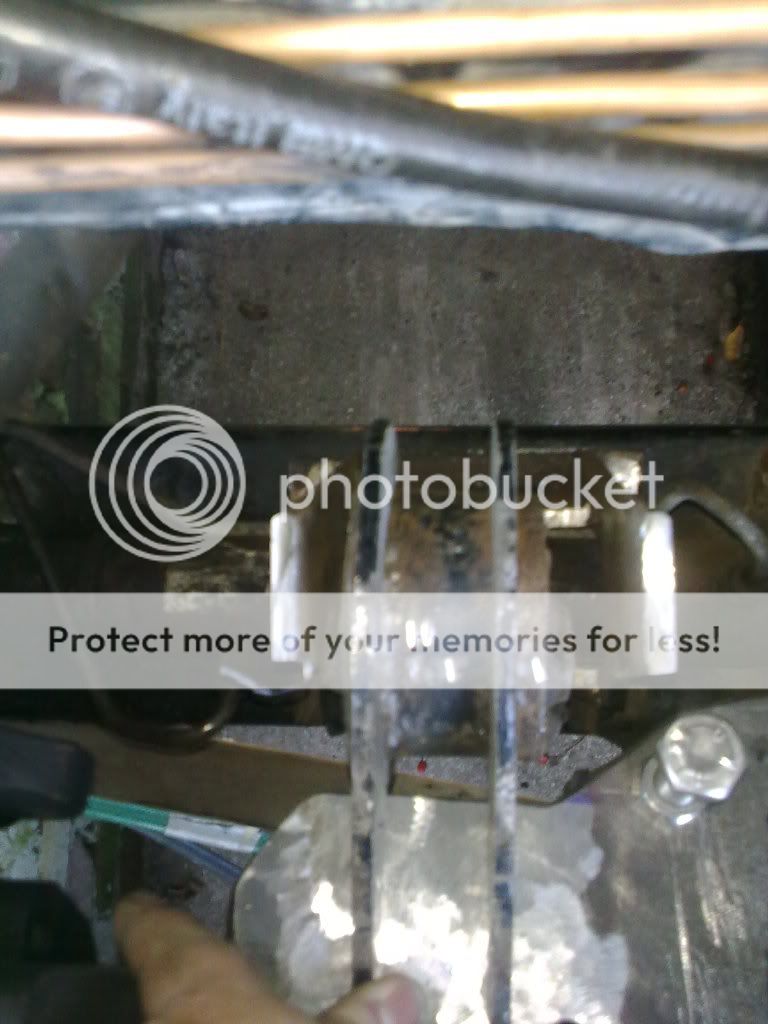
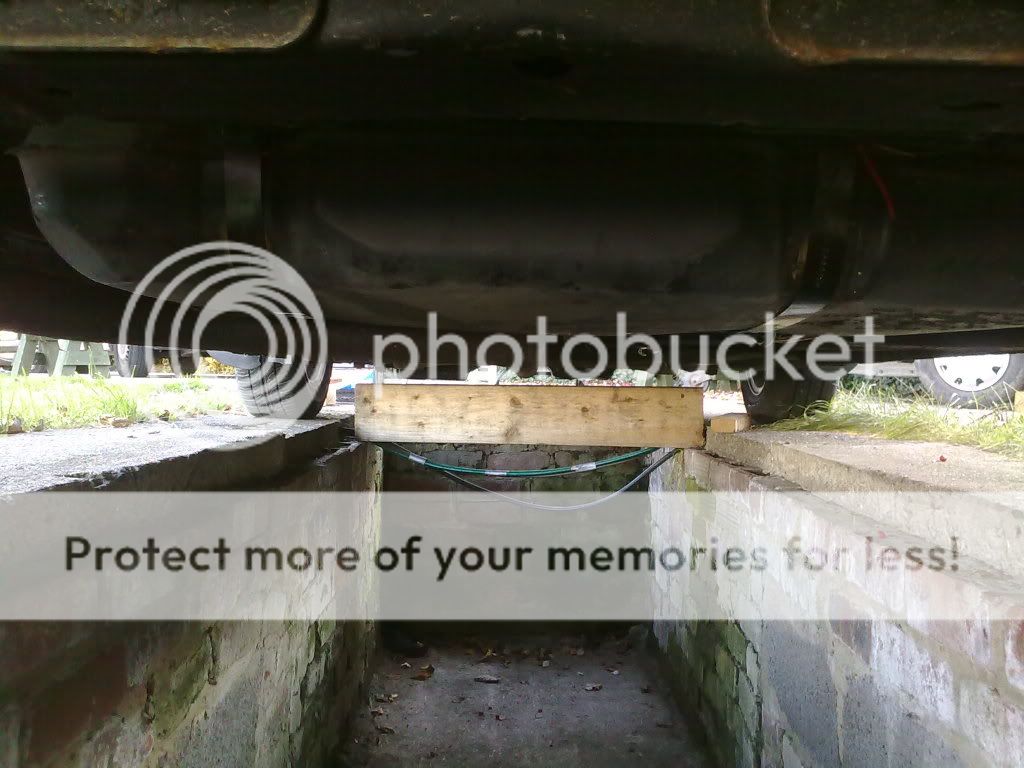
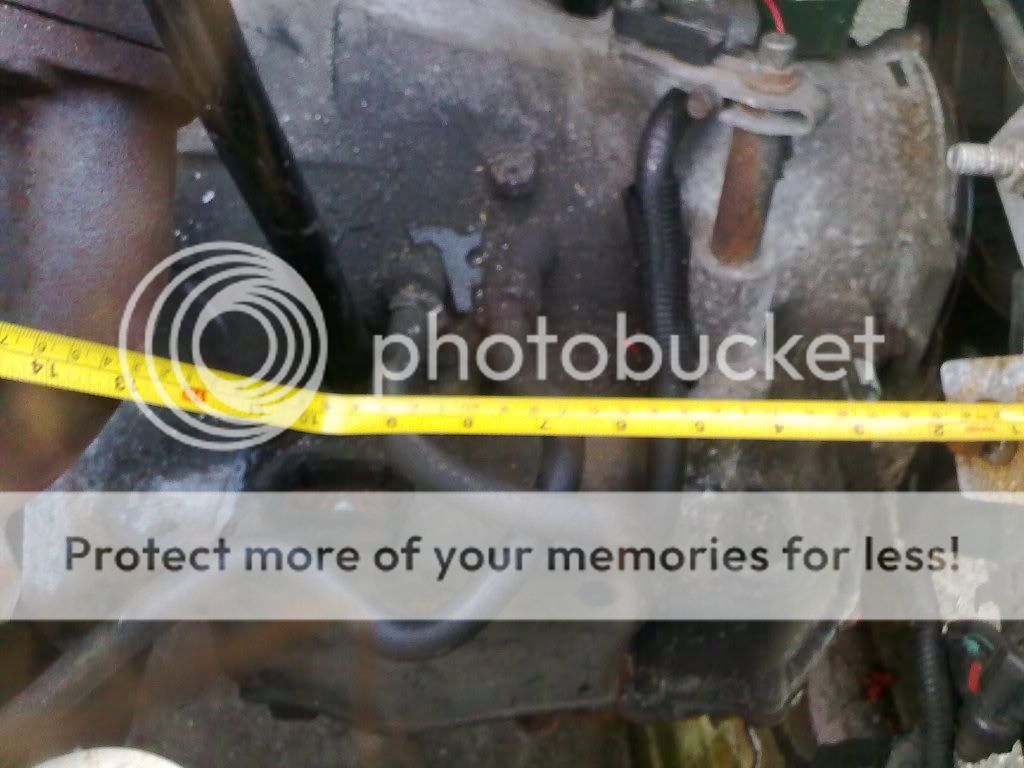
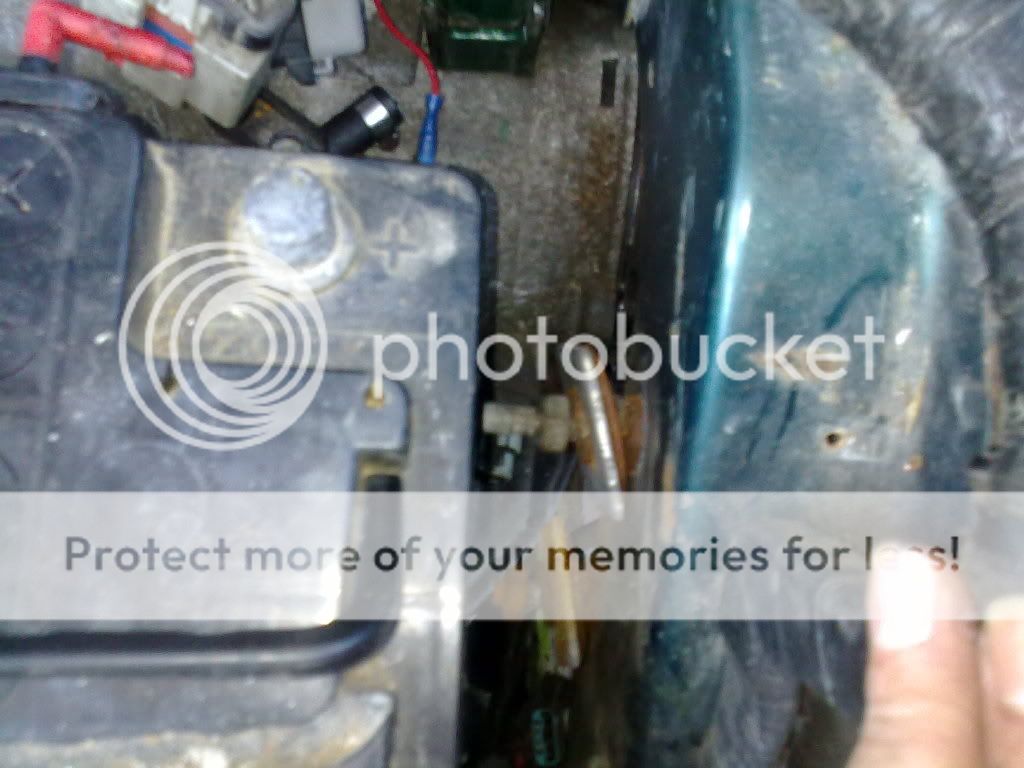
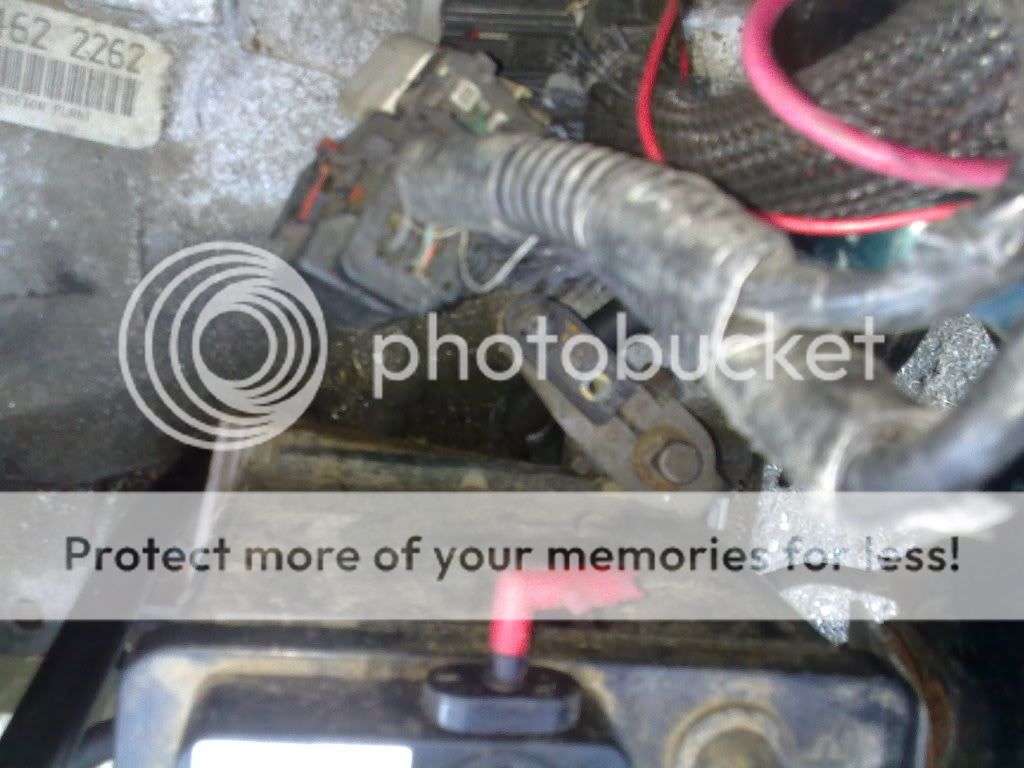
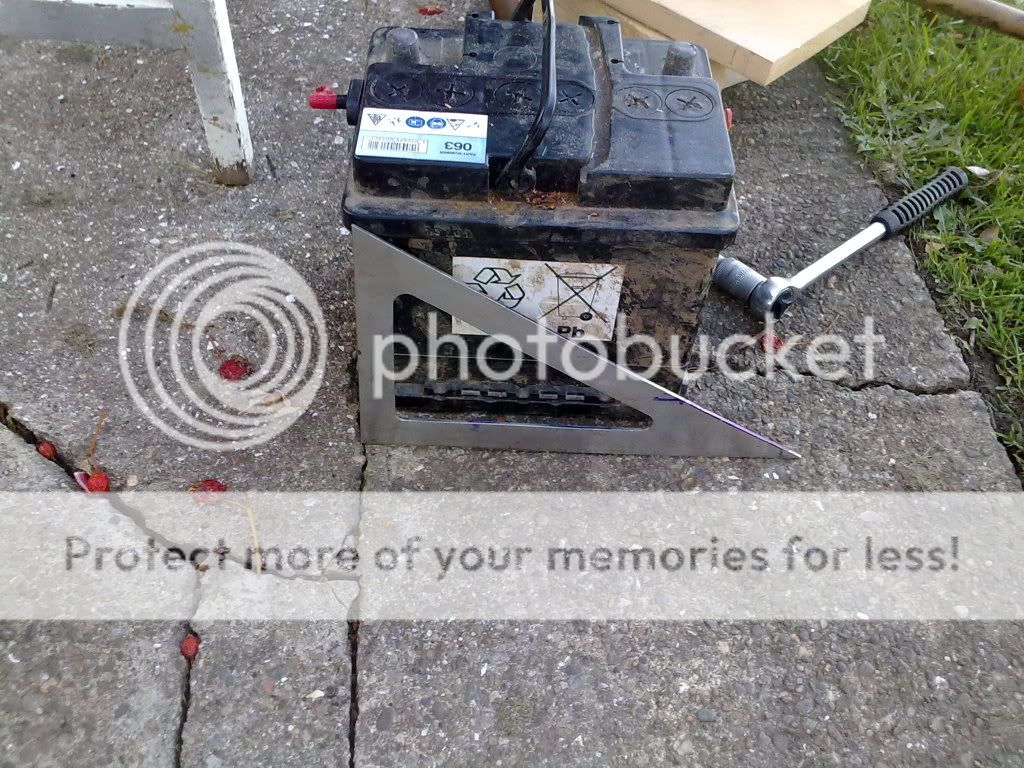
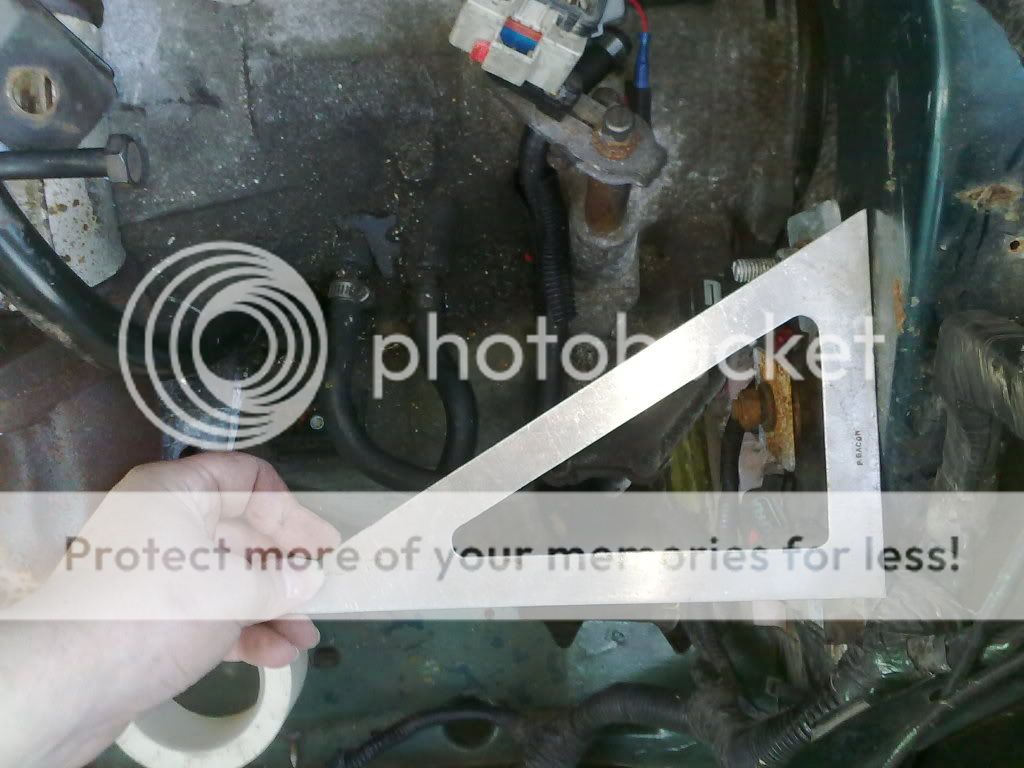
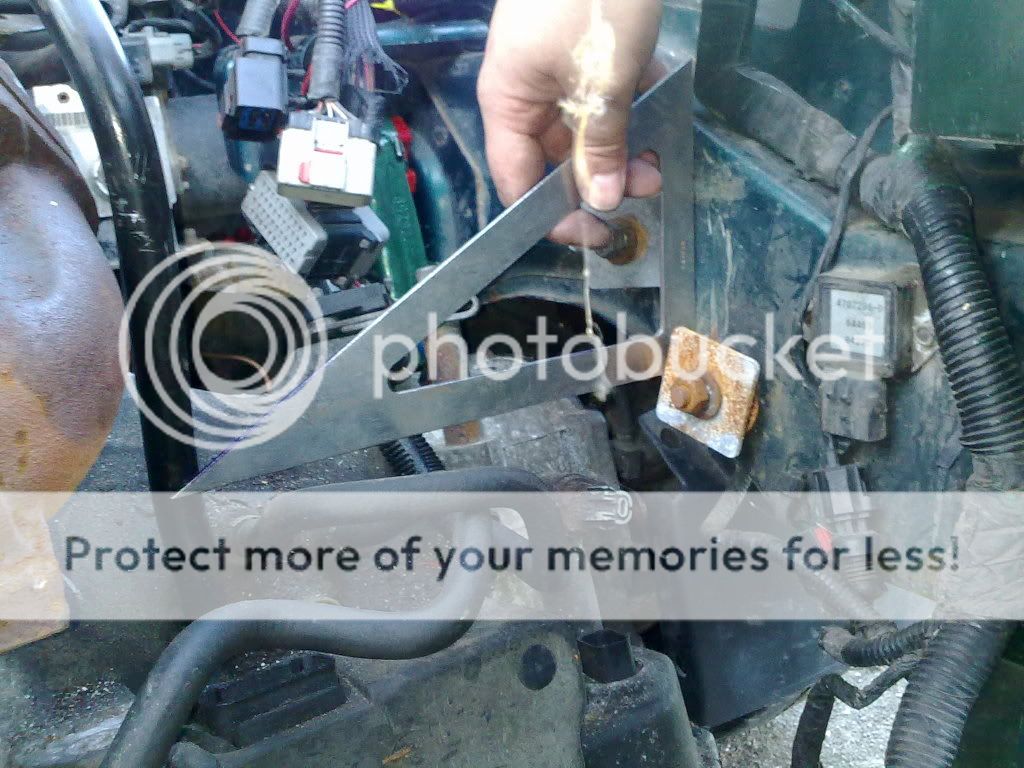
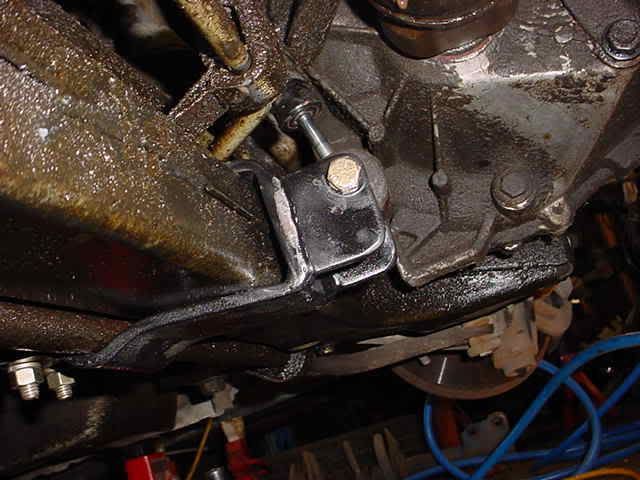
I have yet to remove the crank shaft pulley off the engine, I stopped
when I couldn't feel my legs or feet, and I knew they were as cold as
ice! Even after a hot bath & over 90 min soaking in it my legs went
icy again quickly when I got out. Thats me on the nerve suppressors
& painkillers tonight when I get heat into my legs. And with those
meds that could mean I'm up all night again!
I'm Diabetic,& disabled BUT!! NOT DEAD YET!!
User avatar
Mitsuru
Posts: 2300
Joined: Thu Jan 06, 2011 1:42 am
Location: County Durham

Re: V6 into a RHD Chrysler Neon mk1

#212 Post by Mitsuru »

I missed a bit on the manifold, so that had to be painted.

Image

The crank shaft pulley came off rather easily!
I then took the front exhaust manifold off, and the bolted
the chain to the engine..

Image

It lifted in over the bar and into the engine bay way too
easily. Then there was a bit of trouble getting the mounts
lined up because of the inserts.
The front engine mount bracket has been put on too.

Image

The bonnet/hood went back on to protect the engine incase
it rains tonight! The car was then pushed back onto the pit.

Image

Image
I'm Diabetic,& disabled BUT!! NOT DEAD YET!!
User avatar
Mitsuru
Posts: 2300
Joined: Thu Jan 06, 2011 1:42 am
Location: County Durham

Re: V6 into a RHD Chrysler Neon mk1

#213 Post by Mitsuru »

I thought I had better check the clearances again, as it has
the inserts in the mounts that are being used.
(Side engine mount & side transmission mount)

So I put the intake manifold on with 2 nuts to hold it in place.

Image

Image

I put a torch were the ecu normally sits and closed he bonnet,
this gives a better/clearer idea of what space is available.

Image

Image

So about an inch clearance between the bonnet and manifold.

I need to trim just a little around the front engine mount, as it is
just a little too close so when the engine moves it would touch.

Image

A view along the front of the engine and the cross member. The
Bolt that snapped off on the water pump housing is clearly visible
Just above where the pipe goes on. Nice bit of clearance a the front.

Image

The subframe and the oil pan are a little close, when te front and rear
engine/transmission mounts are in it will lift another 1/2 to 1 inch.
After that when I do an oil change I will remove he oil pan and see if
I can alter iy a little before it gets painted and refitted.

Image

And the back plate of the transmission ha was touching the last time
on the bulge part.

Image

Image

Image

Image

Image

Now for the rear engine & transmission mount.

Image

Image

Image

That part is fine, but the bit that goes over the steering rack,
that needs a little trimming as the A frame is a little too far
forward. So much so I may need to take a little notch out of the
bit that bolts onto the engine/transmission to help so the A
frame doesn't become structurally compromised!
I'm Diabetic,& disabled BUT!! NOT DEAD YET!!
jagdude
Posts: 26
Joined: Tue Apr 12, 2011 7:27 pm

Re: V6 into a RHD Chrysler Neon mk1

#214 Post by jagdude »

Getting close now!!! Great thread.

Jim
User avatar
Mitsuru
Posts: 2300
Joined: Thu Jan 06, 2011 1:42 am
Location: County Durham

Re: V6 into a RHD Chrysler Neon mk1

#215 Post by Mitsuru »

Measuring 18 inches from a bolt hole at the base of the A pillar.
I placed a bar across the engine bay and placed a spirit level.

Image

Close enough do you think?

Image

Well the engine's intake manifold plate is 4 inches below the bar at
either end of the plate so it's level!

I trimmed a bit on the mounts.

Image

They hit each other si grinder again!!!

Even after a little trimming the mounts a bit more they are still out!!

Image

The A frame is catching on the back plate of the transmission.

Image

This shows how much further back I thought the A frame would be
compared to what it actually is!!

Image

Image

Image

(I think I mixed the pictures up!!Whoops :? )
I'm Diabetic,& disabled BUT!! NOT DEAD YET!!
User avatar
Mitsuru
Posts: 2300
Joined: Thu Jan 06, 2011 1:42 am
Location: County Durham

Re: V6 into a RHD Chrysler Neon mk1

#216 Post by Mitsuru »

As dad has seen the slight miss incremental differences, he said
he would weld it at the weekend after I have altered it.

Which also gives me time to mock up a battery box/tray and
fuse box holder. And if I'm lucky and enough space a place for
the LPG vaporiser and the LPG ECU and transmission ECU.

Mock up in cardboard, then use the cardboard to make the bits
in the metal plate I have left. and ready for dad to weld with
the rest. I must remember to place the rads in ready before I
measure up !

Anything in the fabricating I've forgot, please remind me!
I'm Diabetic,& disabled BUT!! NOT DEAD YET!!
User avatar
Mitsuru
Posts: 2300
Joined: Thu Jan 06, 2011 1:42 am
Location: County Durham

Re: V6 into a RHD Chrysler Neon mk1

#217 Post by Mitsuru »

The space between the intake manifold and the fire wall.

Image

The A frame before

Image

The A frame for the rear engine mount after a little more trimming.

Image

The rear engine and transmission mount before

Image

The rear engine and transmission mount after cutting.
(before welding)

Image

And when placed in position.

Image

Image

Image

Image

Image

While retrieving the phone from the pit under the car, I noticed that
the oil pans for the engine and transmission are level with the exhaust!

Image

From engine bay wall to transmission oil level pipe is 24cm or 9.5 inches

Image

Where I think the battery should go, I'm not relocating it to the boot/trunk.

Image

And there is space for the water pipes to be run so the LPG vaporiser can
be bolted under the washer bottle again.
(must check and see if the bracket is still there!)

Image

Using a bit of wood I dropped a battery into the engine bay.

Image

Image

Image

Image

Image

Those bolts need trimming for more battery space.

I then tried it a different position turning it 90 degrees.
which would be too close to the gear selector

Image

Image

Mother came home from work while I was thinking this out.
Where mam wanted me to mount the battery, on top of
the transmission mounting bracket!!

Image

Image

Image

Image

I don't think so I wouldn't close the bonnet as it would cross
the terminals. Remember that lancia beta coupé automatic
that Jeremy Clarkson drove across Africa?

Using the set square as a reference with the battery of a battery.

Image

Image

Image

Where the battery could go?

Image

Image
I'm Diabetic,& disabled BUT!! NOT DEAD YET!!
User avatar
Mitsuru
Posts: 2300
Joined: Thu Jan 06, 2011 1:42 am
Location: County Durham

Re: V6 into a RHD Chrysler Neon mk1

#218 Post by Mitsuru »

Please note I am near the bandwidth/viewing gig limit on
my photobucket account.
So if the images don't show it might not be you!
I have received a courtesy email from photobucket AGAIN!
I have very limited funds so therefore I have no funds to
spare to upgrade the account to a paid for account, which
means if they do stop temporary, please wait till account
reaches its monthly reset.
I'm Diabetic,& disabled BUT!! NOT DEAD YET!!
User avatar
Mitsuru
Posts: 2300
Joined: Thu Jan 06, 2011 1:42 am
Location: County Durham

Re: V6 into a RHD Chrysler Neon mk1

#219 Post by Mitsuru »

I raided dad's metal supply, I cut a bit of box section down the middle.
This allows me to use the 2 bolts that were welded to the engine bay
wall.

The other piece was drilled and bolted to an already tapped hole
previously used by the old battery tray.

Image

This is roughly were the Voyager fuse box and the battery will go, I
think?

Image

Image

The front fixing hole of the fuse box sitting on the Top bar.

Image

The Voyager Fuse board overlaps the top battery box bar by 2 inches.
But considering that the battery will easily clear this,I'm not bothered.

Image

And is very close to the Coolant bottle.

Image

Do you think it will be okay there?
I mean the washer bottle filler neck sits on top of the the ecu/pcm on these
neons, so I was hoping it will be okay!
I will place the Voyagers ecu/pcm in the same spot where the neon's was
previously.

I then started making the top front section of the battery box/tray.
It is nut and bolted as it is still in the mock up stage.
Once all parts cut, it will be welded.

Image

I took the same piece turned it upside down to show the clearance for the
pipes that will be underneath.

Image

I still need to trim those pieces as the transmission fluid level pipe is too close.
I still have plenty of space for the battery.

I need a bit of angle iron wide enough for the battery to sit on, I will get that
in the morning. dad will have plenty to weld at the weekend.
With doing as much as I have, I will be resting most of Friday and grinding etc.
This is because I came close to putting myself back into hospital with
ketoacidosis, the joys of being diabetic and pushing myself.
(Just incase you need to know what it ishttp://en.wikipedia.org/wiki/Ketoacidosis)
I'm Diabetic,& disabled BUT!! NOT DEAD YET!!
User avatar
Mitsuru
Posts: 2300
Joined: Thu Jan 06, 2011 1:42 am
Location: County Durham

Re: V6 into a RHD Chrysler Neon mk1

#220 Post by Mitsuru »

Well so much for a day off!!!
After mother drove me into town to get some angle iron, I got hove and
out came the grinder. Don't worry I didn't push or over do it today.

2" x 2" angle iron cut and will be the base for the battery holder/tray.
I may need to trim a little more off the width say about 0.25" to 0.5"
as of that bloody transmission fluid level pipe!

Image

Image

Image

Using fattirebycle's bobble strut mount as inspiration.

Image

Image

Image

I started by making the bottom fixing plate for the rear Engine & Transmission
mount A frame. Please note 6" wide.

Image

And more bits cut for fixing the A frame to the bottom plate. Where his only
bolts on one side, mine will have to plates/brackets, one front and one back
that will bolt to the A frame and to the bottom plate.
I am using the same thick metal plate I used for constructing the main parts
of the rear mounts and brackets for this fixing bracket/setup.
I'm Diabetic,& disabled BUT!! NOT DEAD YET!!
Post Reply