MGB ROadster 1979 Full Resto

Post pictures and stories about your cars both present and past. Also post up "blogs" on your restoration projects - the more pictures the better! Note: blog-type threads often get few replies, but are often read by many members, and provide interest and motivation to other enthusiasts so don't be disappointed if you don't get many replies.
Message
Author
75nut
Posts: 151
Joined: Wed Jun 22, 2011 7:31 pm

Re: MGB ROadster 1979 Full Resto

#11 Post by 75nut »

Break between Christmas and New Year and the wait for the Saab Fule Pump delivery gave me a chance to crack on with the MGB. Was goign to do a bit on the Alfa's but the weather was to bad to work outside.

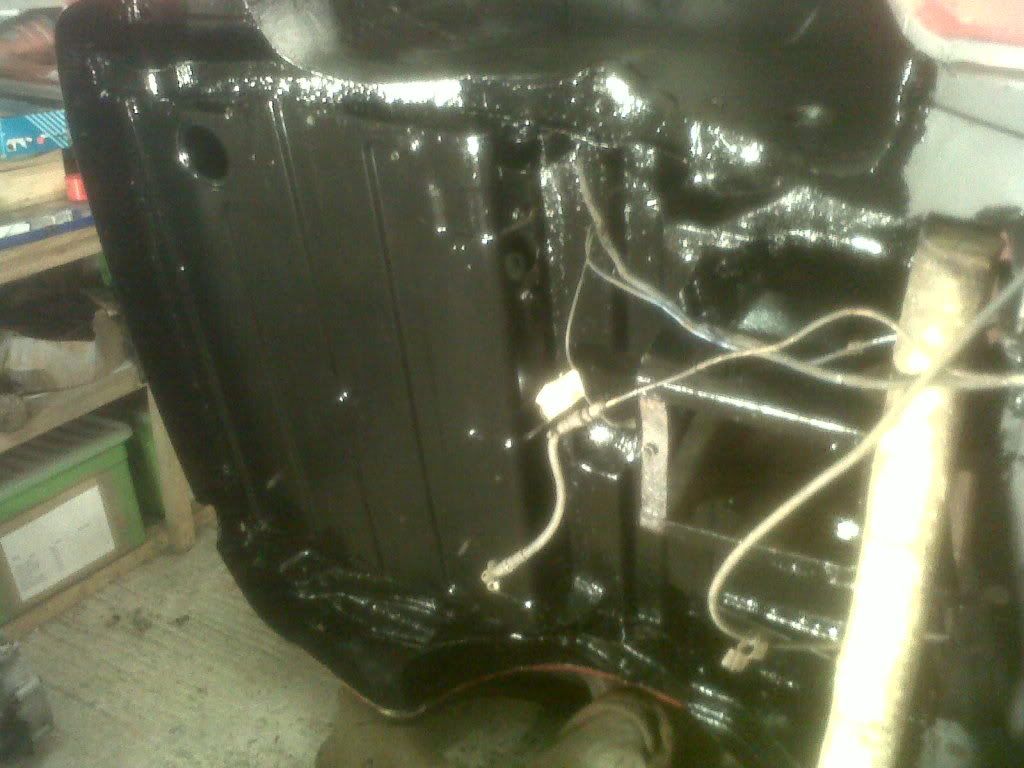
Now its on its side I all the underseal has been stripped and Kurust applied everywhere, then Hammerite to be followed with stone chip and then underseal.

Of course the underseal removal revealed some more rot in areas I had not seen before from just crawling around underneath.

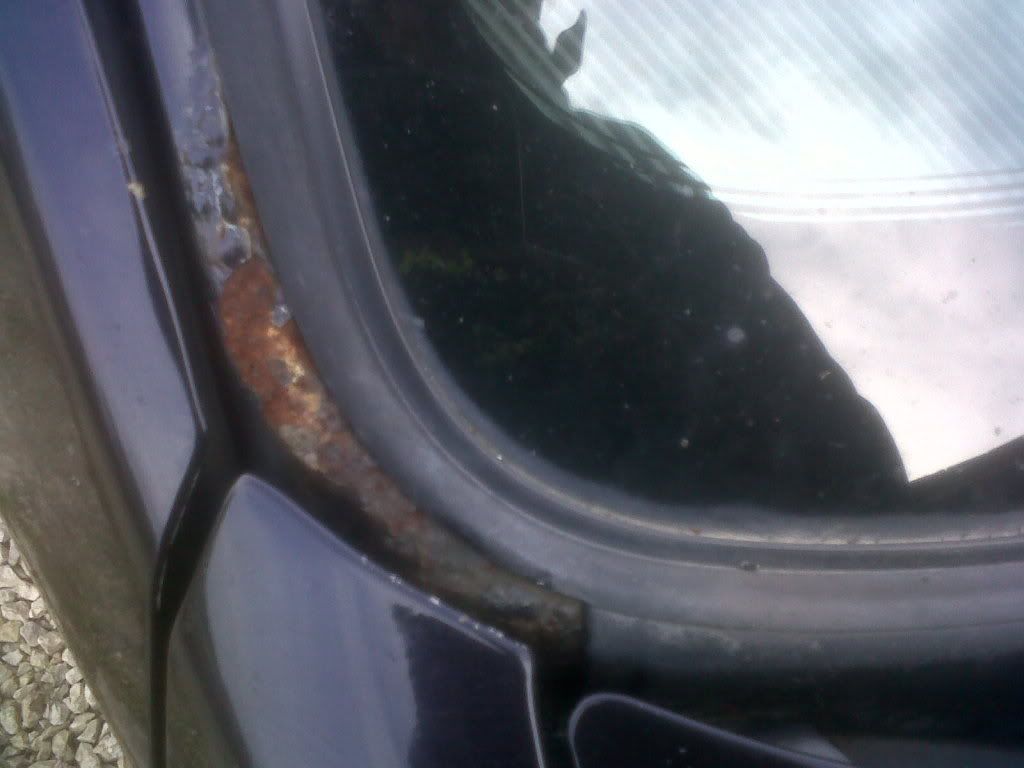
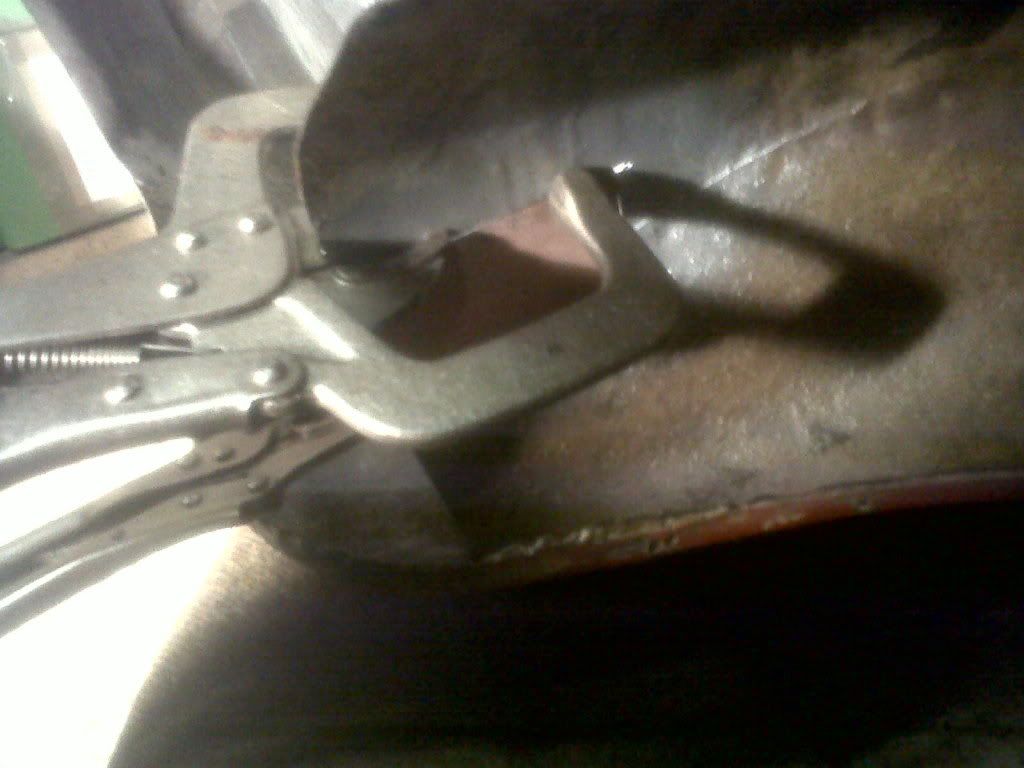
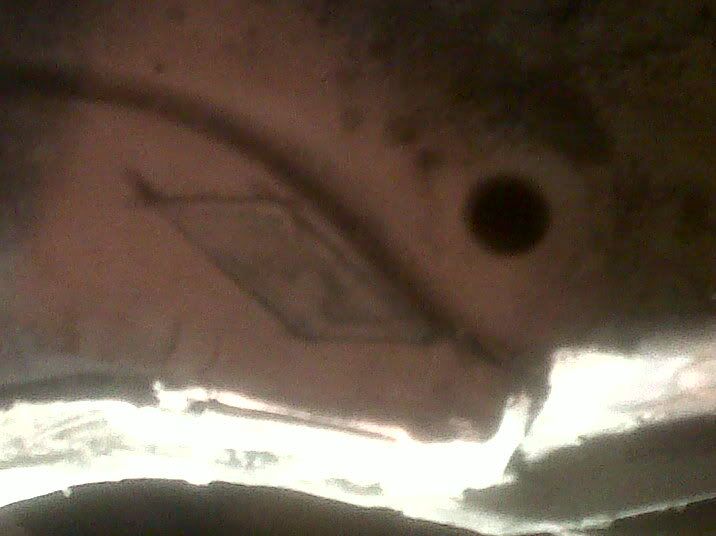
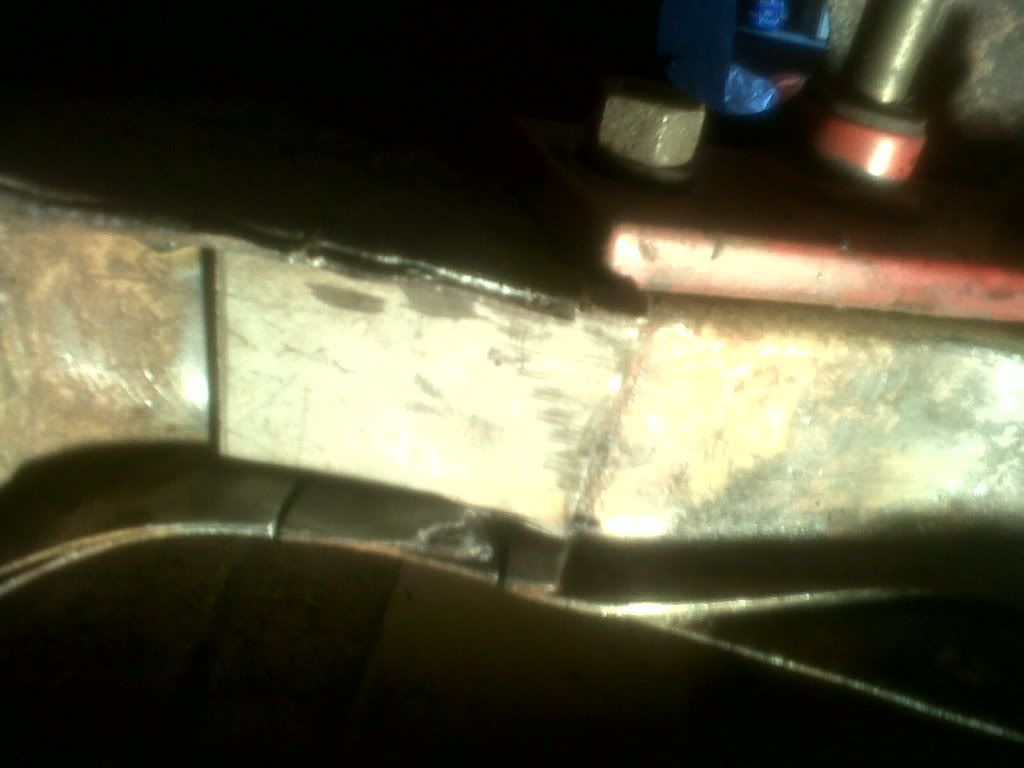
Rear driver arch was first up , rot in the seam on inner wheel arch -

Image
Image

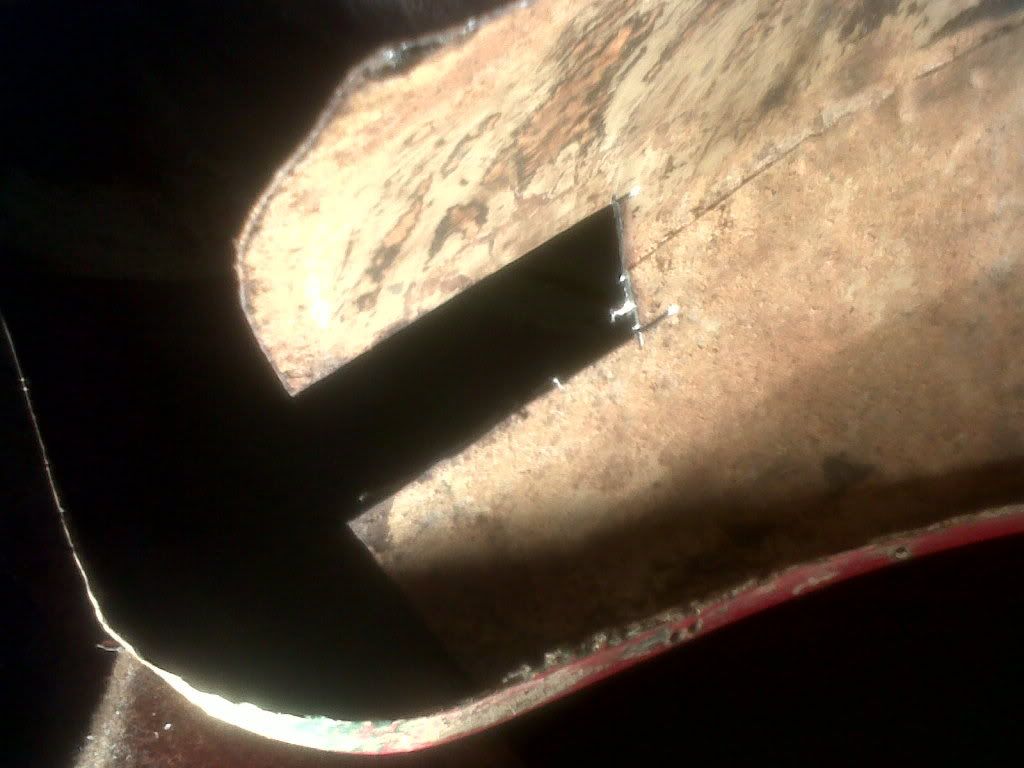
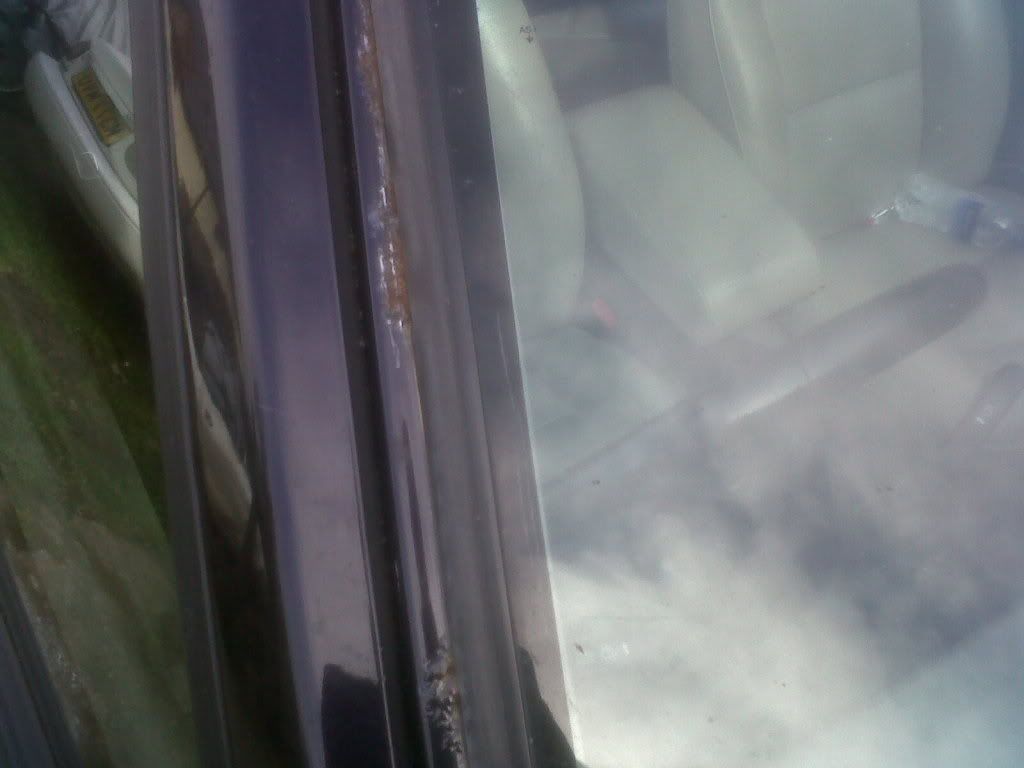
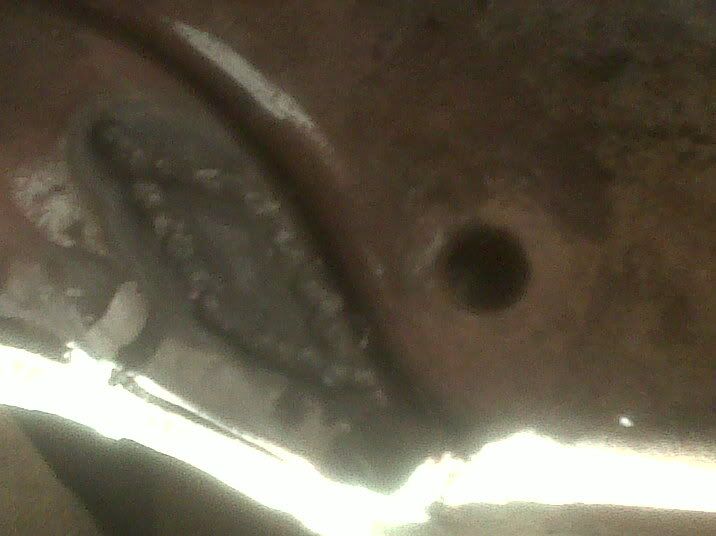
more on the same wheel arch arch, pin holes enlargend to big holes -
Image
Image

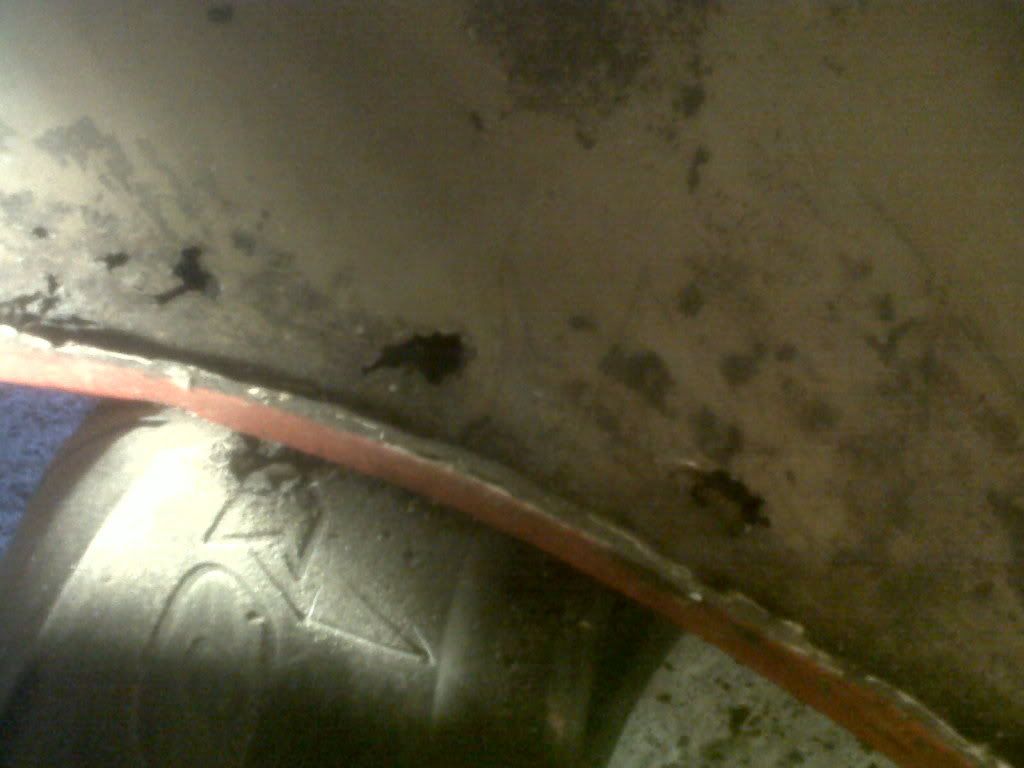
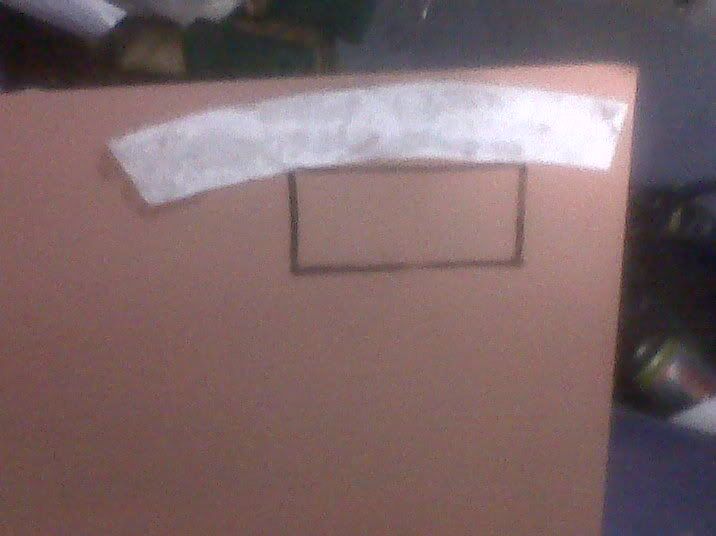
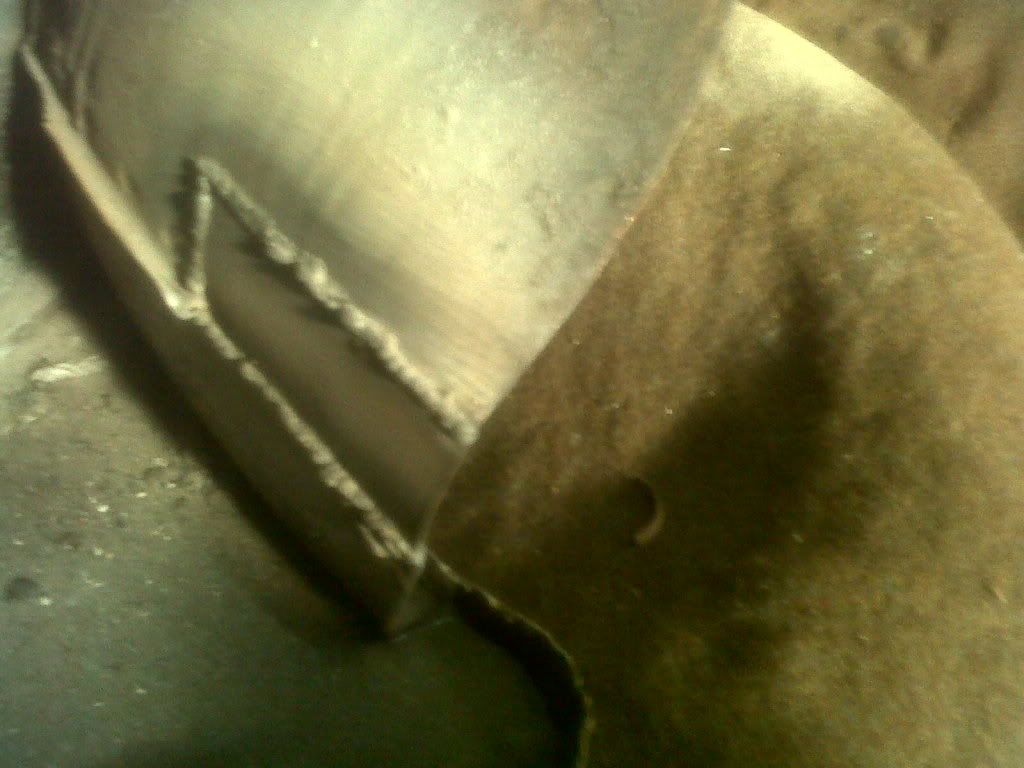
got send copper weld through not zinc the other day, very expensive hope its worth it! cover my new panel and marked out the repair sections -
Image

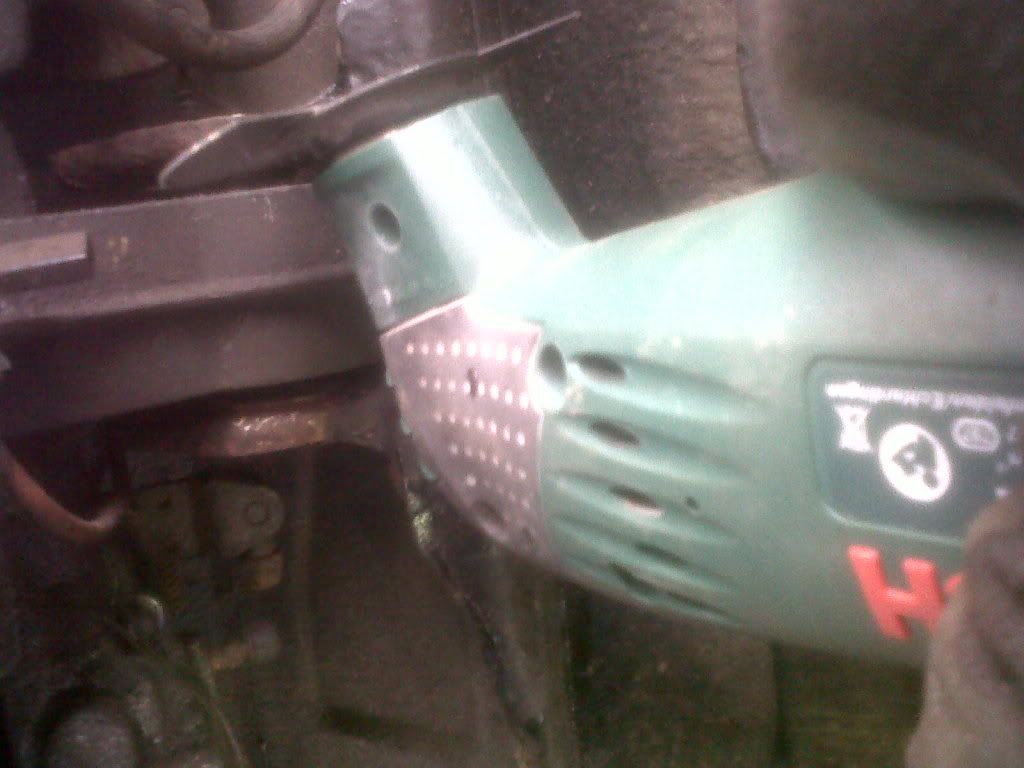
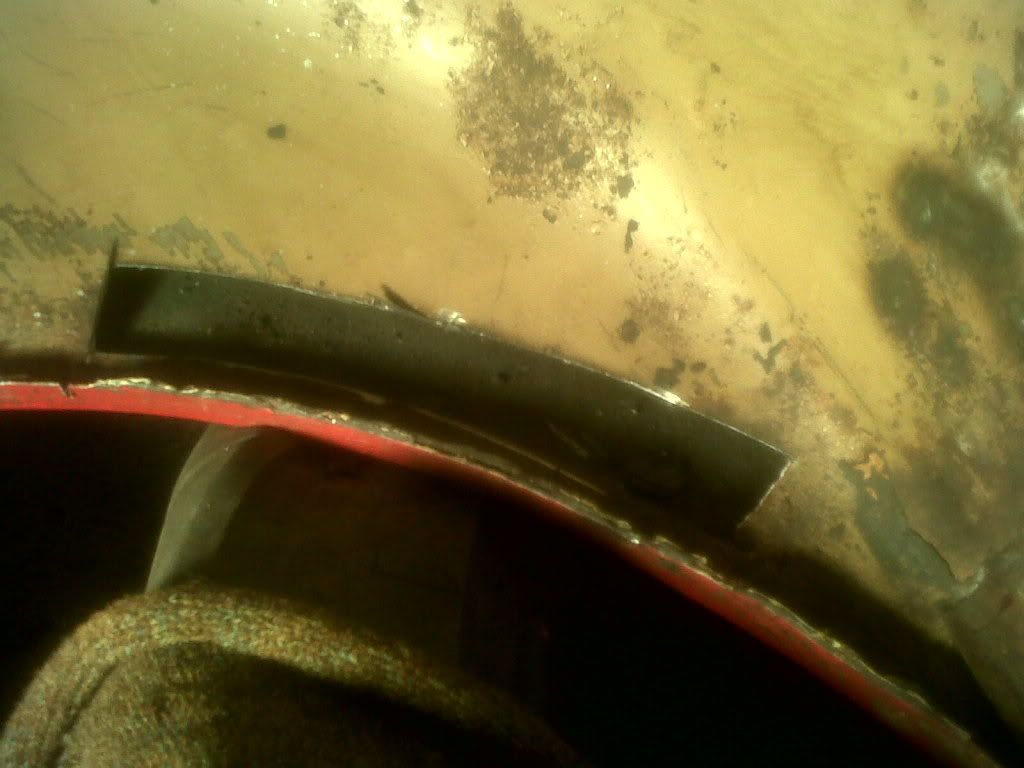
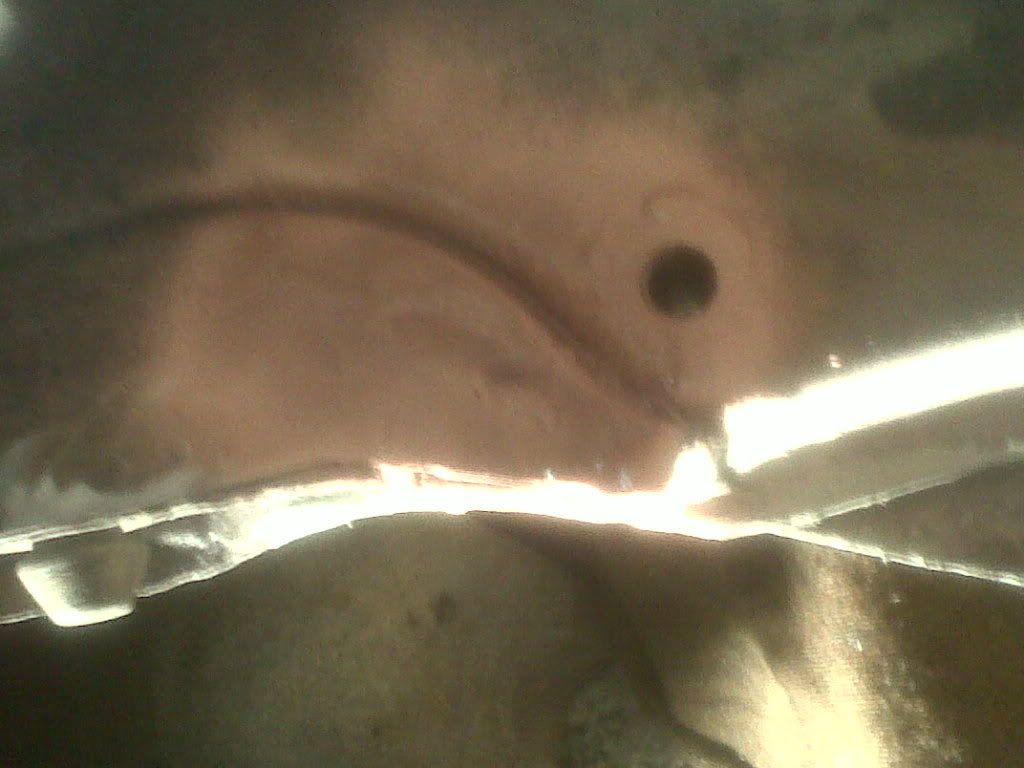
Good access meant I could butt weld the repair panels and with the edge of the arch I could weld from behind to keep it neat and avoid a load of grinding. Still using gassless and Father Christmas chose to but me a cordless impact wrench instead -
Image
Image
Image

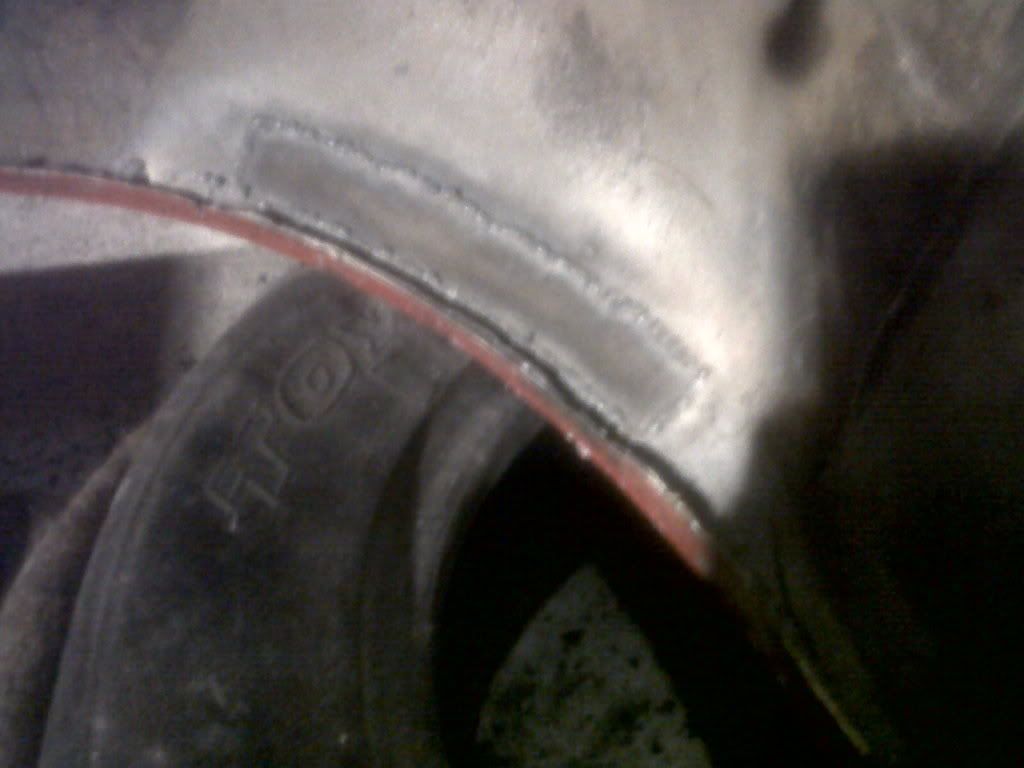
These repairs where treated to zinc primer then Hammerrite and then stone chip and waxoyl after.

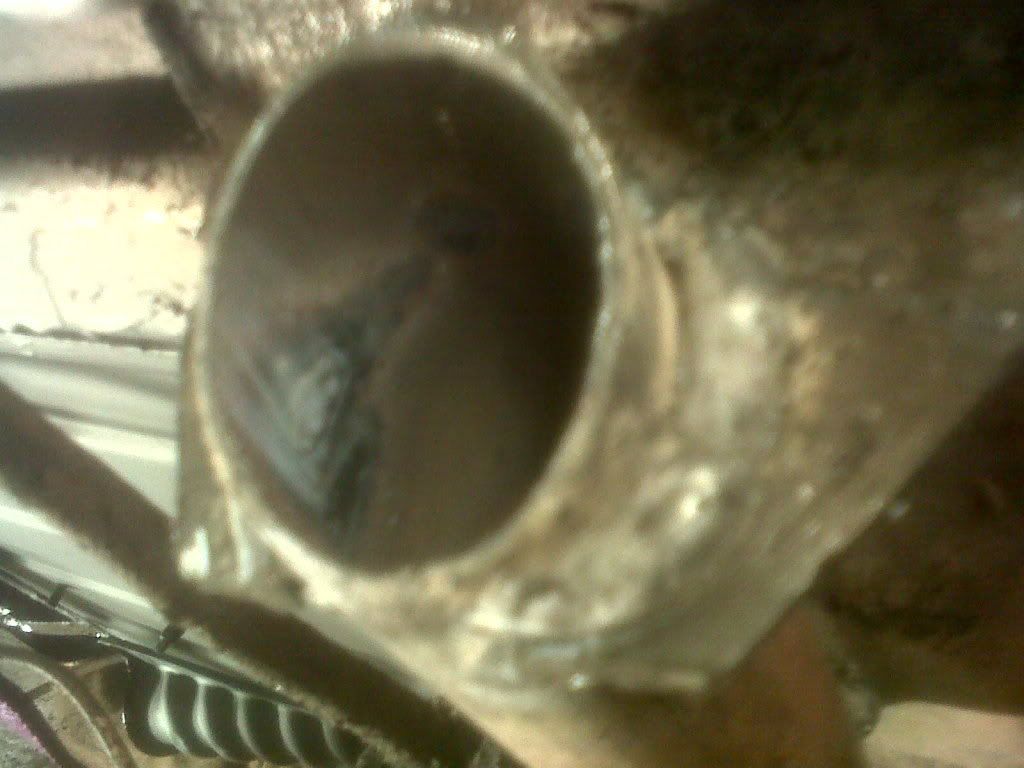
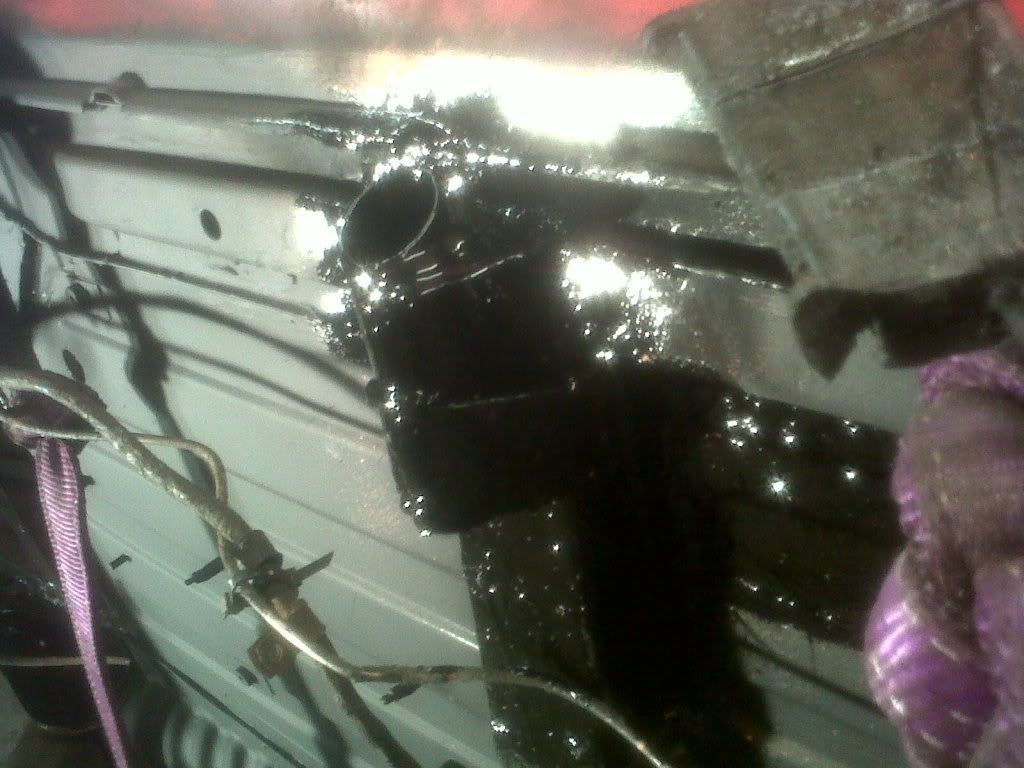
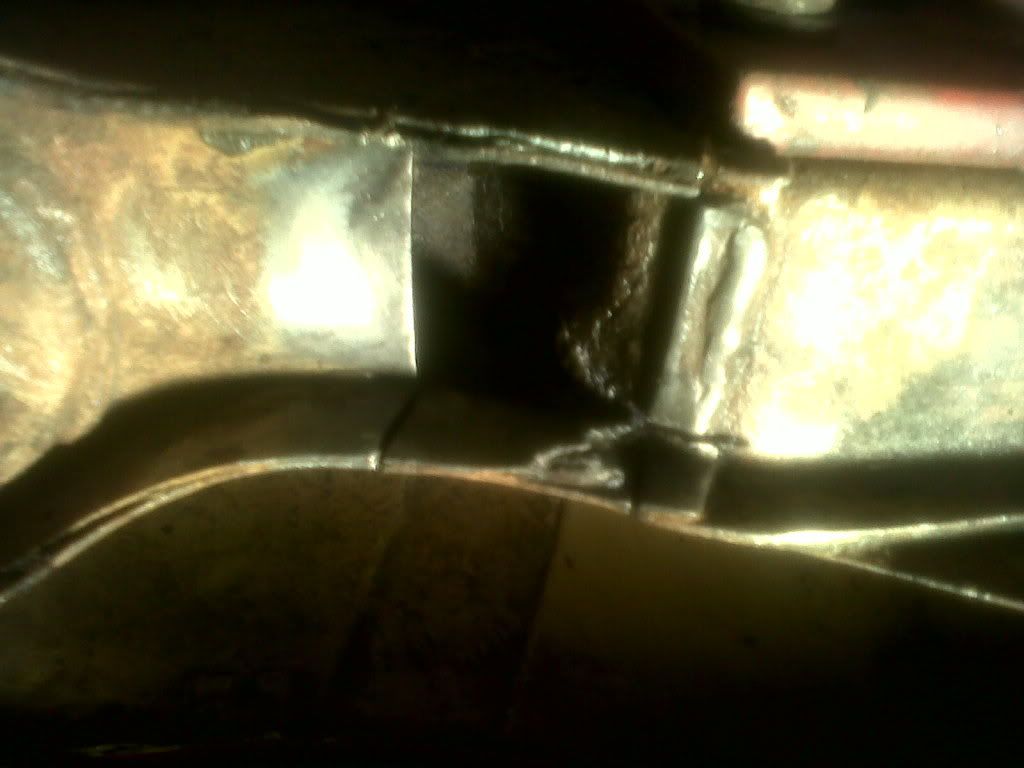
THen remembered I had not replace the jacking point I removed when replacing the new outriggers so stripped back the underseal etc I had added ready to weld a new one on. But the old one was behond repair and I could not wait for a new one to arrive so set about forming one.

Luckily I had cut up a bmw for anothe rproject I had ont he go and the pipe was the same guage and diameter as the jacking point! So stripped the paint andzinc primed.
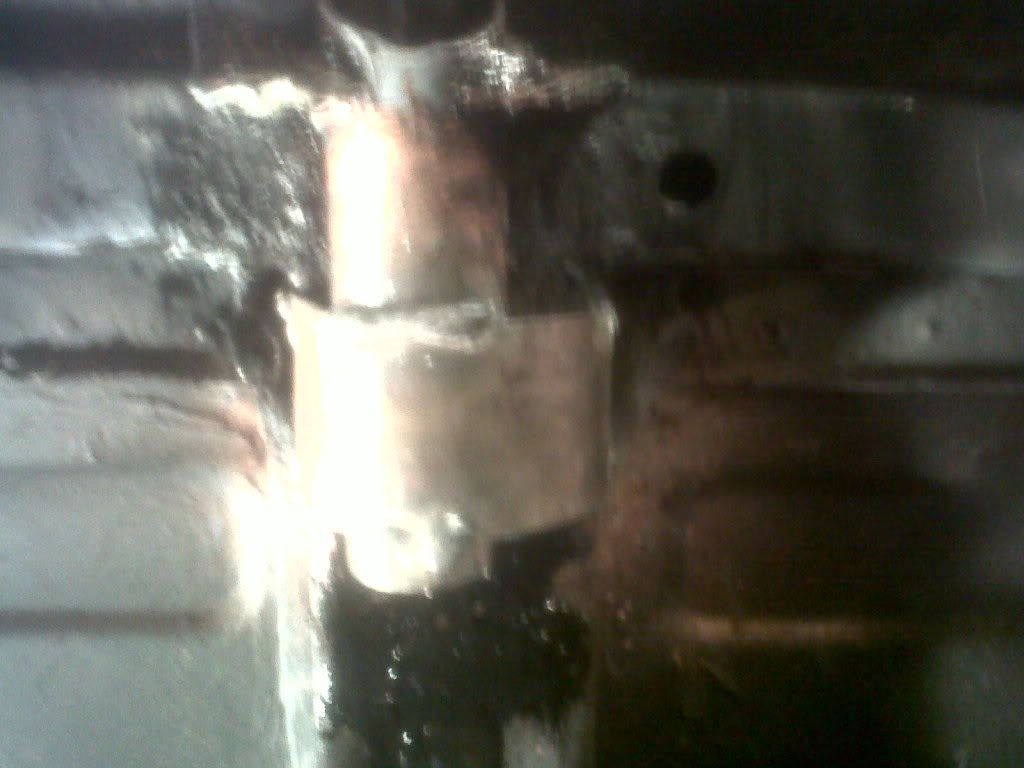
I had to build the front back up where the front of the pipe rests as it was cut off , I made it bigger ready to trim and cut a semi circel out before welding it for the pipe to push in snuggly to it.
Image
Image
Image
Image
Image

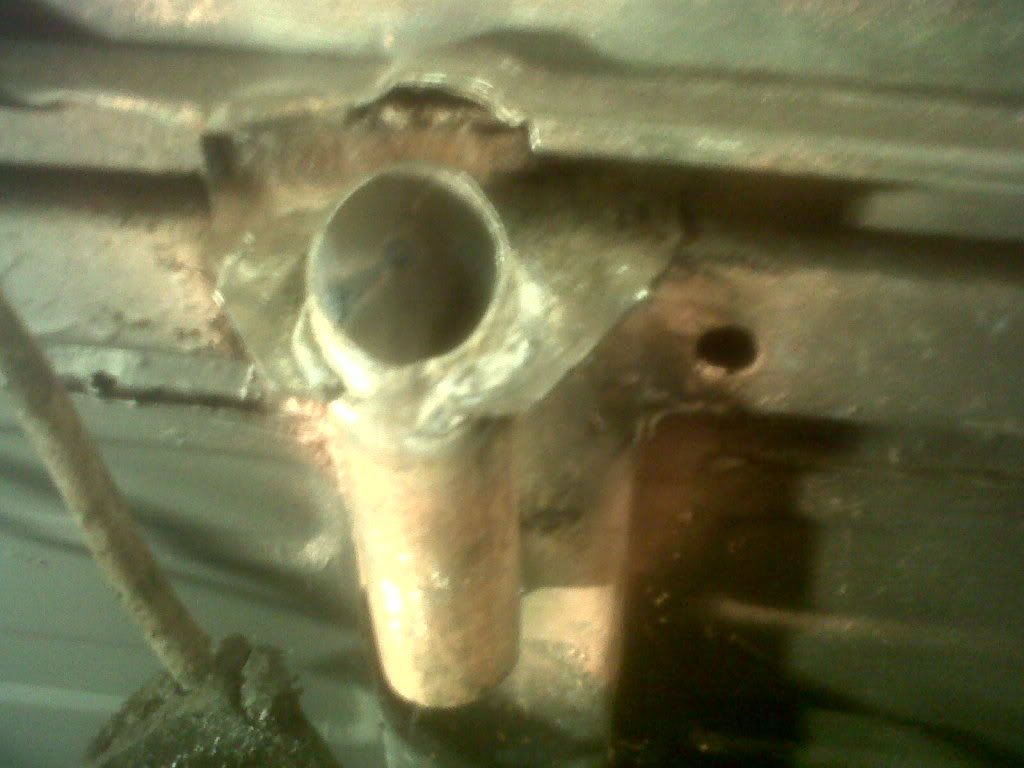
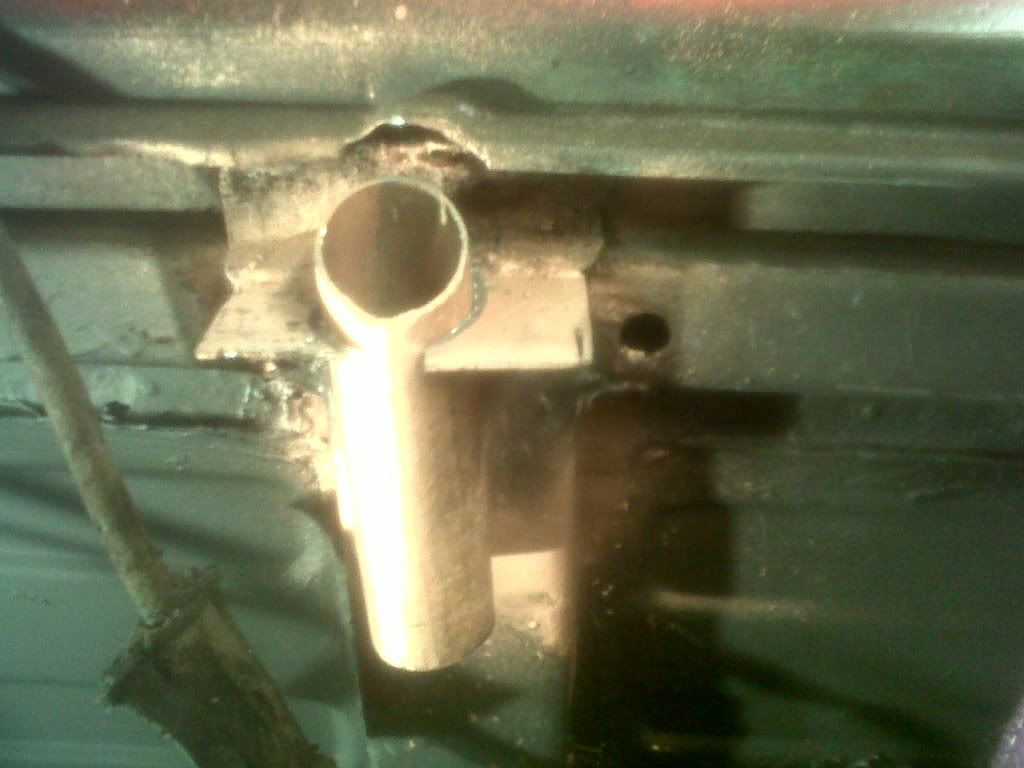
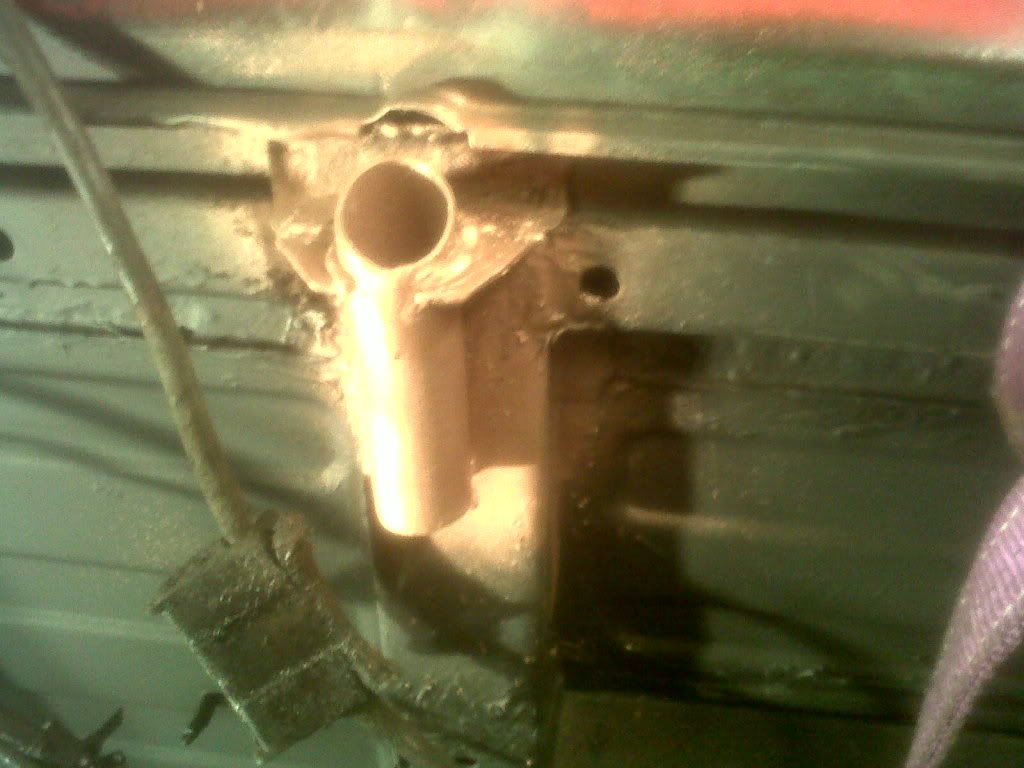
The back of the pipe was welded to the top of the outrigger also then the stipped that goes over the top of the pipe at the back and welded to sides ouf outrigger. Icoated what I knew I was not welding to in weld thru and hammerite to make sure the underside was protected.
Image
Image
Image
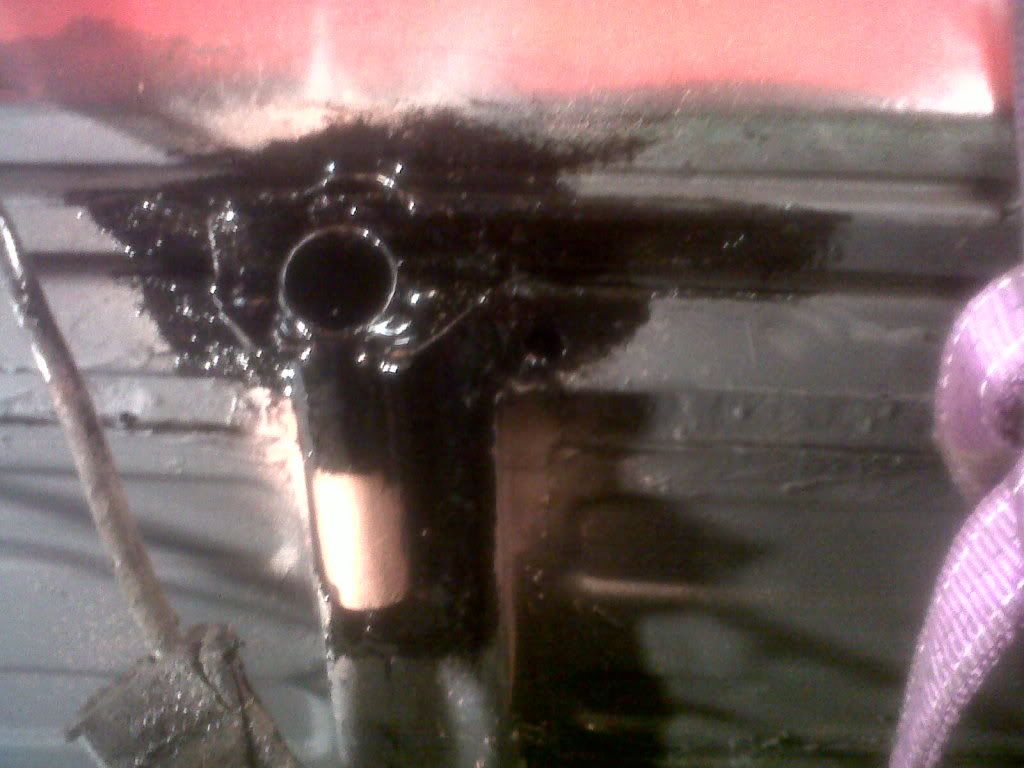
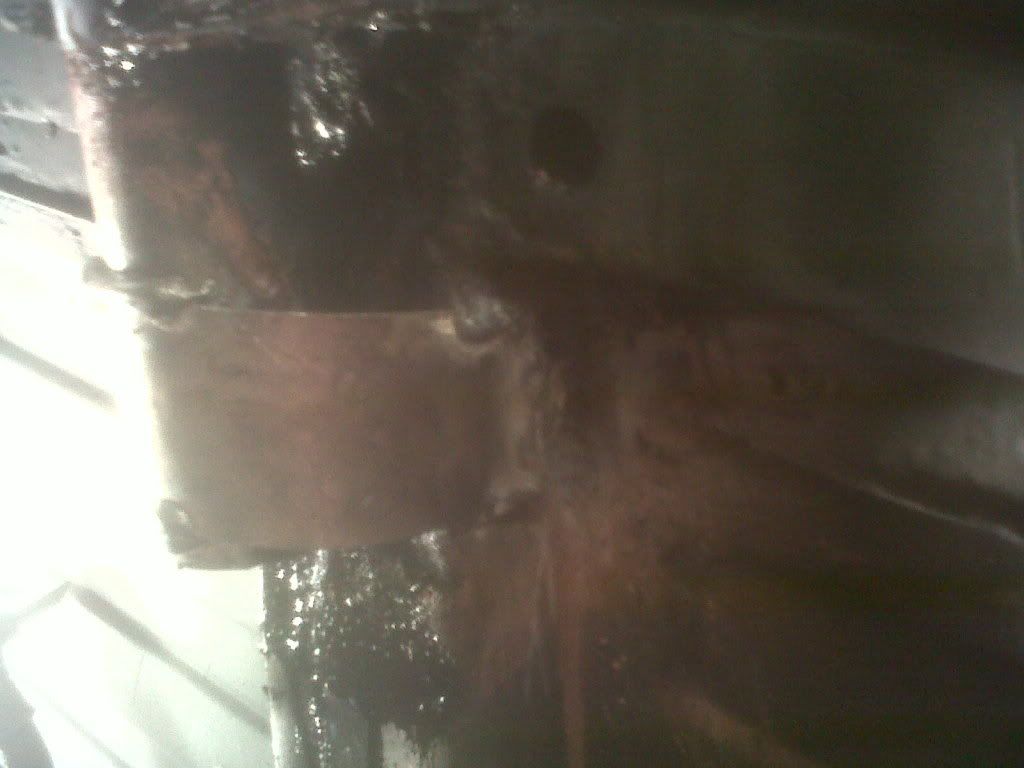
The the whole lot was covered again in copper then hammerite.
Image
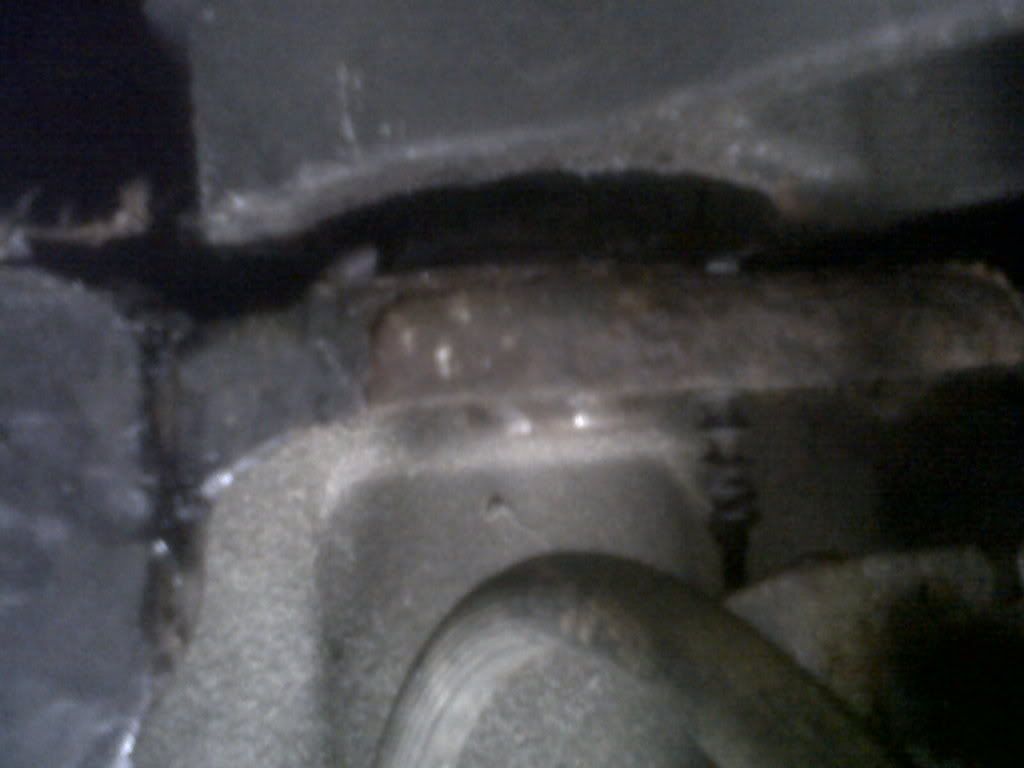
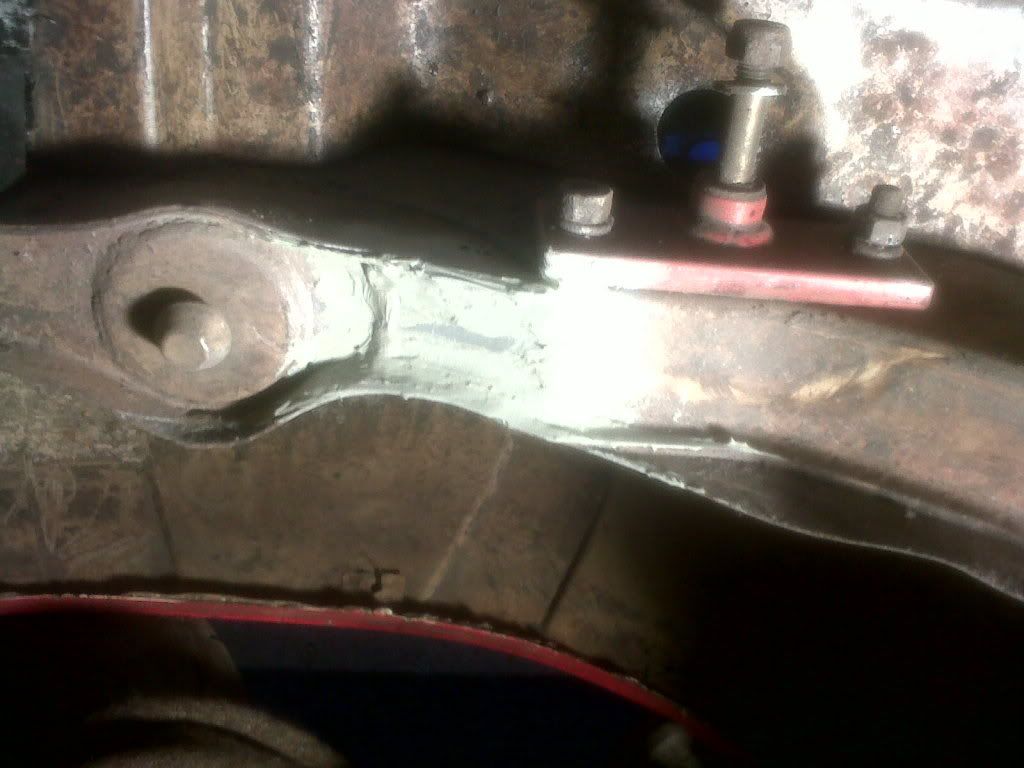
A couple of repairs had to be done to the rear chassis leg to and centre -
Image
Image
Image
Image
Image
Image
Image

Nearly the entire underneath has been completely covered now in hammerite, goign to stone chip and waxoyl then she is going back over for the top hafl to be stripped and primed in zinc and filler primer. She getting there slowly!
Image
rich.
Posts: 6895
Joined: Wed Jan 05, 2011 9:18 pm

Re: MGB ROadster 1979 Full Resto

#12 Post by rich. »

nice work.. did you fix the clutch problem with the mx5?
75nut
Posts: 151
Joined: Wed Jun 22, 2011 7:31 pm

Re: MGB ROadster 1979 Full Resto

#13 Post by 75nut »

Hi Mate

Turned out the MX5 issue was the master clyinder so all that bleeding of the slave was a waste of time lol!!

So that needs sorting, but also cracked the rear screen now in the cold so another thing on the list!

Ok so did not go inot the office Monday as weather was ok and wanted to do a little on the daily drive the Saab 9000.

It is suffering from bubbling rust round the windscreen and it bothers me as the rest of the car is so good -

Image
Image

So decided to tidy it. Please bear in mind this is the cheapest car I own, (cost £400 as was orignally a stop gap for the wife who now has a Volvo) and now use it daily as the Alfas and Mazda need some bits doing. To do a proper job the screen needed to come out, so all I wanted to do is try and stem the rot for a bit and get shot of the bubbling.

So I started by using a chisel to scrape the paint then a wire brush. I thne gave it a heavy douse of Kurust, using the chisel to lift the rubber and an artists brush to ram in right in!

Image
Image
Image

Then it got a basic skim of filler. Not to totally smooth perfect as again without the screen and rubber out it could not be done, just done to smooth a little. After that was rubbed down I use the artist brush to add a layer of paint, again using the brush to get under the rubber. Then I used the spray can to get a smoother finish with a couple more layers.
Then after a short period I added laquer while the paint was still a little tacky as I was not going to have time to let it dry to key it up.

Image
Image
Image

I still need to clean the rubber sup a bot to get some of the masking tape glue etc but alot tidier than the rusty bubble look lol, and should help stem some of the rot.

I also need to short a little rot coming in around the ariel on the rear wing, again I was not going for perfect but to stop the rot and tidy.

Image

This then got a coat with the brush, and I will fla tit and spray and the laquer at weekend as the paint was quite thick to level so needs to dry out a bit first.

And finally to sort a annoying little think I replaced the floppy sun visor fitted with velcro with a used one from ebay!

Image
Image

There is one final spot of rot on the front wing I did not have time to do and this needs to be done properly so hope to hit that tommorow or friday.

Its such a great car, quite comfy and torquey, perfect when you don't want to spend the bucks on your daily put put it in your other more tempermental rides (read Alfa's lol!).
75nut
Posts: 151
Joined: Wed Jun 22, 2011 7:31 pm

Re: MGB ROadster 1979 Full Resto

#14 Post by 75nut »

Came home to my fav thing, new parts!!!!!!!

Image

I think a skive off work to fit tomorow if the weather is good!

To replace the shot rear engine bush

Image

And the destroyed front donut on the Alfa 75 prop.

Image

Im keen to get the Red 75 sorted for some track days in the summer, plus I miss using it a few times a week!

The black one can wait for the mo.

Image
75nut
Posts: 151
Joined: Wed Jun 22, 2011 7:31 pm

Re: MGB ROadster 1979 Full Resto

#15 Post by 75nut »

Had a couple of hours to work on car to day.

So set about hacksawing through the bolt running through the gearbox bush as the sleeve has siezed to the bolt and it would not knock through.

The left side had a good gap so I could get the blade in ok, but could only get the blade in so had to use it by hand
Image
About 35 mins and alot of arm ache cu through the left side
Image
Bad news was on the righ thand side the rubber was right over the bolt as was the sleeve, so not only would I have to cut through the bolt but the sleeve as well!
Image
So I used a long flat head screw driver to wedge the rubber back
Image
I then remembered the father in law had shown me a new tool the other day, ad saw that cut forwards, so nipped in his garage ( they live next door, but his big garage and hard standing make up for it lol!).And it did the job with non eof the sparks and kick back of a grinder! But it only got half way and then got prevented from going further as it body was hitting the bush housing.
Image
So back to the hacksaw blade and another 30 mins
Image
Image

The sleeve came out on the bolt and out the centre of the bush. The bush is VERY soft and crack ed so defo worth doing!

So now I need to find a way to press the old bush out without a scoket big neough to do it the threaded bar way (over to you Haze lol!)
And of course the front gearbox bush needs changing still.

I need to get the anti roll bar out so I am going to remove the handbrake cable to allow the gearbox to drop lower.
75nut
Posts: 151
Joined: Wed Jun 22, 2011 7:31 pm

Re: MGB ROadster 1979 Full Resto

#16 Post by 75nut »

With the rain being so heavy I have not been able to work on the alfa much.

I dropped its half shafts into an engineering firm to have new seals pressed but thats about it.

So the MGB go some attentions as its inside.

The rear axle was first up being wire brushed ,kurust , and hammerited.

The rear plate was remove to check everything was ok, no chipped cogs etc.

Seems smooth as a babys bum. So it will get a oil change and go back on.

The backing plates for the rear drums and the engine support braket also got the same paint treatment.

Image
Image
Image
Image
Post Reply