BRAVE or just FOOLISH RM RESTO

Post pictures and stories about your cars both present and past. Also post up "blogs" on your restoration projects - the more pictures the better! Note: blog-type threads often get few replies, but are often read by many members, and provide interest and motivation to other enthusiasts so don't be disappointed if you don't get many replies.
Post Reply
Message
Author
blades
Posts: 39
Joined: Tue May 10, 2011 3:36 pm
Location: Sheffield

Re: BRAVE or just FOOLISH RM RESTO

#41 Post by blades »

Nice job Arceye, keep up the good work

Can't wait to see it when you have finished :)

Nick
User avatar
arceye
Posts: 1904
Joined: Tue Mar 08, 2011 1:56 pm
Location: Cleveleys, Lancashire

Re: BRAVE or just FOOLISH RM RESTO

#42 Post by arceye »

Cheers Nick,

Anyway, Christmas eve 2011, and the last the car will see of work until 2012 so I'm wondering what Rusty will look like this time next year.

Anyway, not too much to see in these photos but after finishing the screen surround I found that the section of timber that goes over the door tops was less than good, despite originally seeming hard to my screwdriver prodding it started to crumble half way across the front door when I gave it a bit of knocking with the old hammer.

So, Rusty was given the sardine tin treatment

Image

and a new piece of ash was let in before closing up the peeled back roof section.

The internal metal work that makes up the internal door shut sections has been replaced as far as the centre post, I bought a sheet of 1mm steel that actually turned out to be 1.2mm, which should last well but has the downside of being harder to work into shape, although its much nicer to weld.

The internal sections then were made up in 200 to 400 mm lengths to get the general curves right, and I think all will skim up well with a little filler to finish and the strength benefits should make for a good rigid body. I never liked the idea of all these panels being nailed together around the ash frame and whilst still nailing them on I'm happier with the idea of also welding them together a little to gain some extra strength.

Image

Image

The rusty "sill" is jacked up to the car so I can make sure that the new steel matches its curve where they will eventually meet once it is repaired and screwed back in position.

So now, I need to do all this to the back door area including some more timber work, so next is to open that lot up.

I'll hopefully have more progress to report in the New Year when I can get back on with it.
alfaSleep
Posts: 119
Joined: Mon Nov 21, 2011 7:10 pm
Location: Wallsend-on-Tyne

Re: BRAVE or just FOOLISH RM RESTO

#43 Post by alfaSleep »

All the VERY Best for the NewYear..... Top Resto, M8

alfaSleep
'the french will always be there when they need you'...Monty ;<)
User avatar
arceye
Posts: 1904
Joined: Tue Mar 08, 2011 1:56 pm
Location: Cleveleys, Lancashire

Re: BRAVE or just FOOLISH RM RESTO

#44 Post by arceye »

Thanks Alfa, hope you had a good New Year and all the best for 2012.

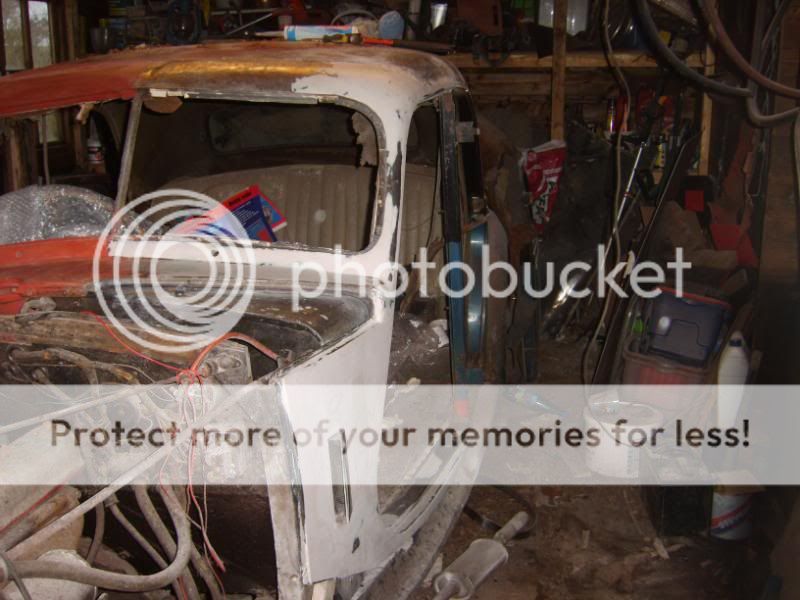
So, I decided before I went any further that I'd do some of the filler and primer work to the completed bit, the thought being that it would be easy to keep bashing round the timber and metalwork, however can you imagine being faced with doing all the finishing bodywork in one go. I reckon it could make a grown man cry.

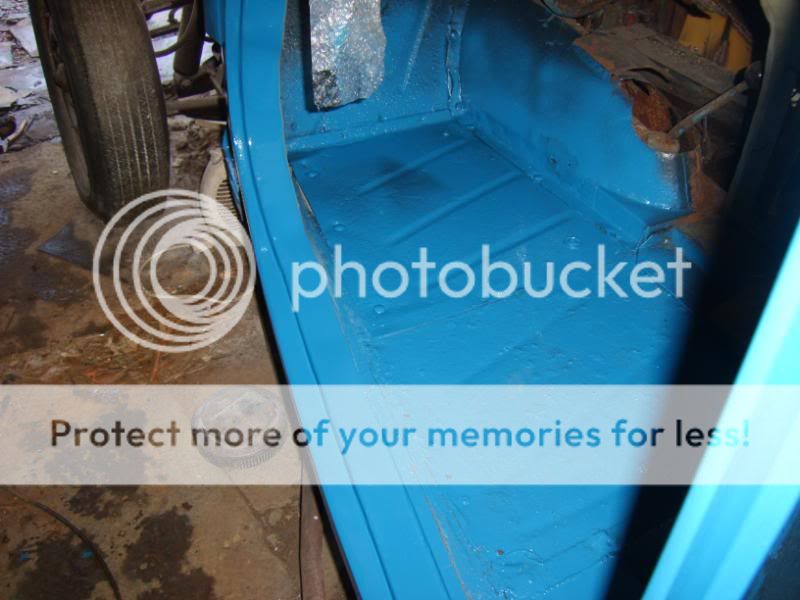
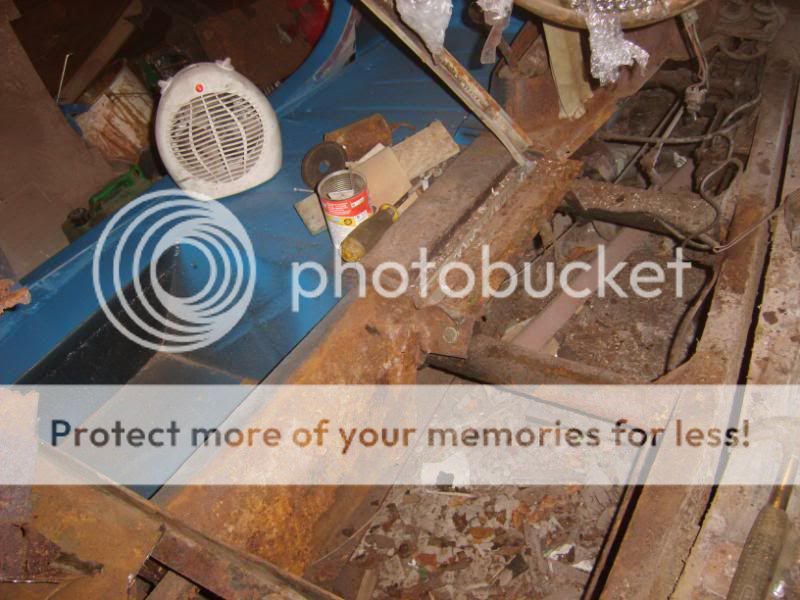
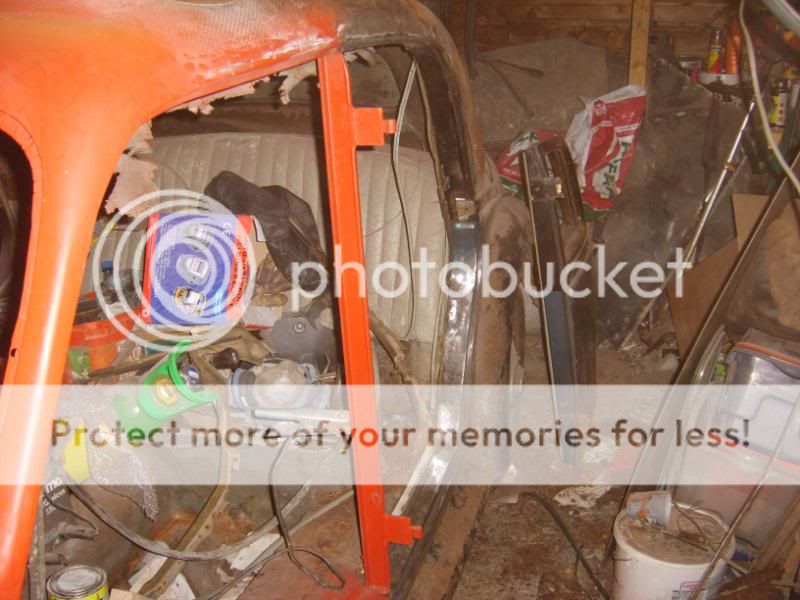
Anyway, everything was given a good clean up especially the bottom of the A panel and treated to rust converter, that done I started on the skim of body filler.

There was around a week of evenings just getting this area done

Image

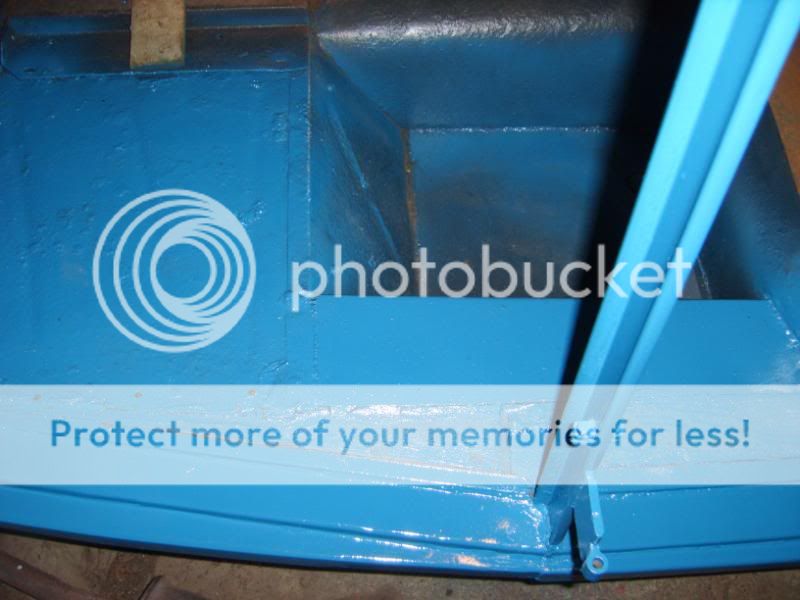
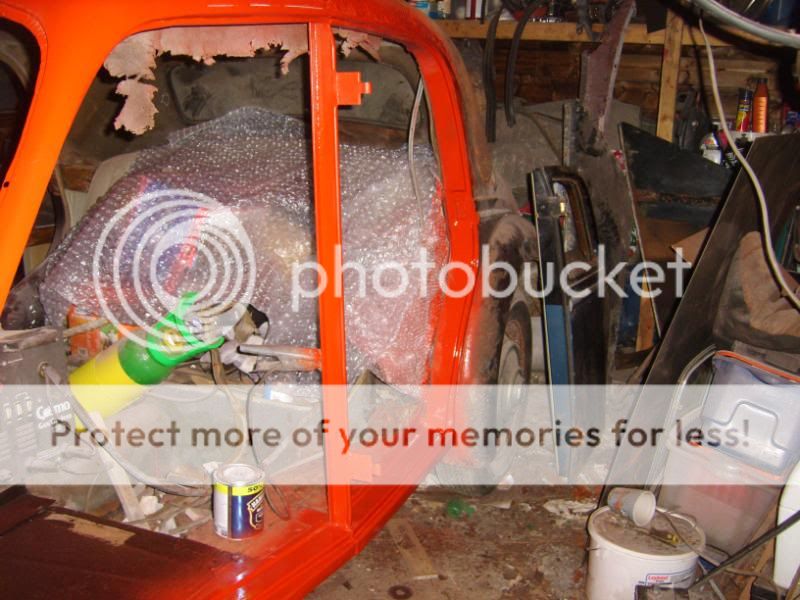
Then a nice coat of red oxide

Image

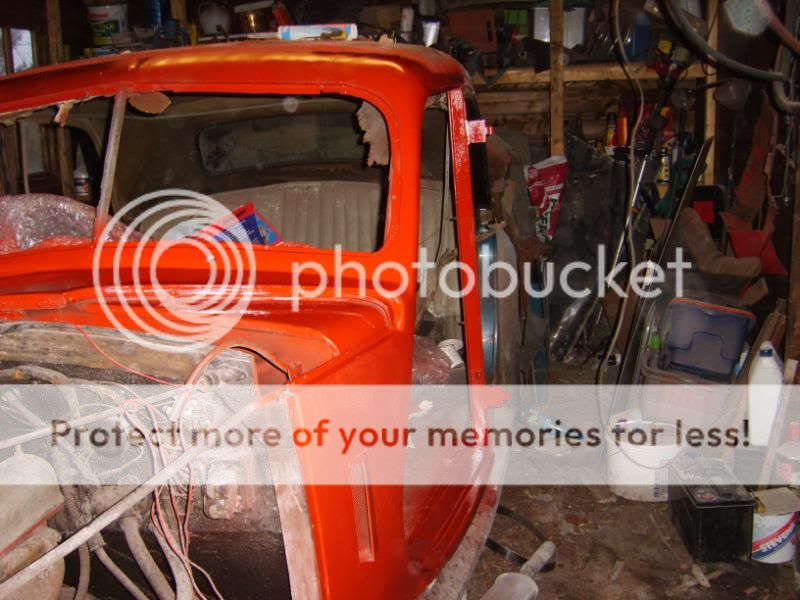
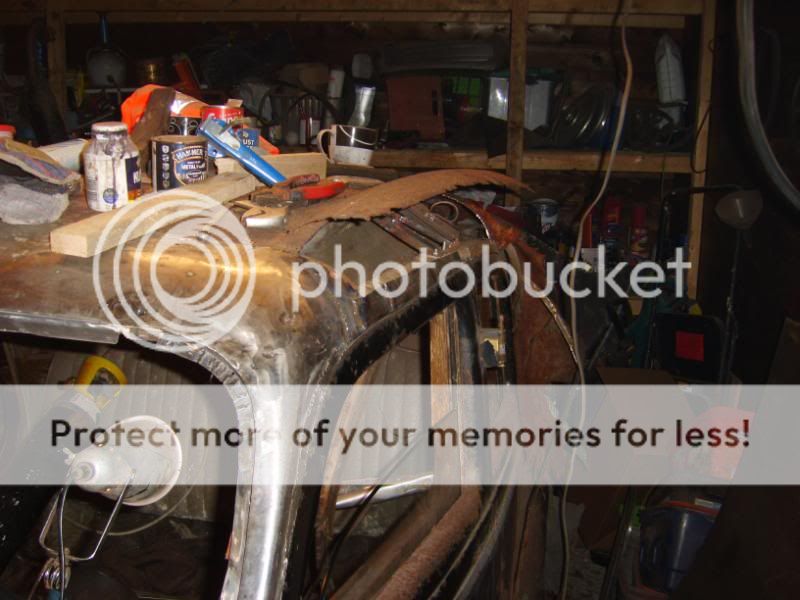
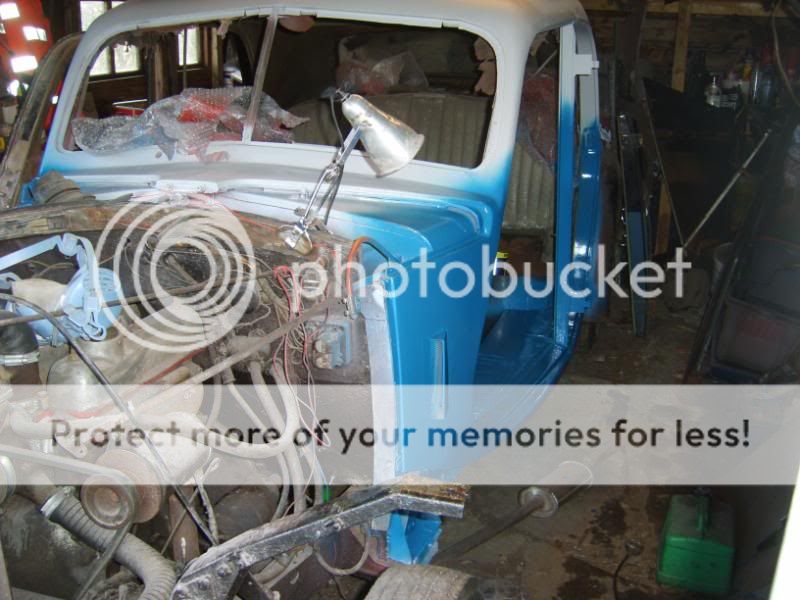
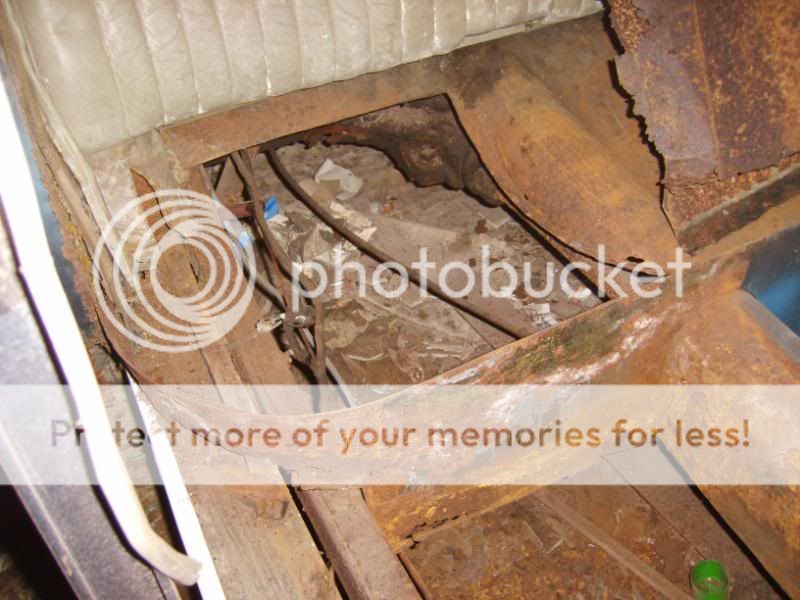
Now with that area more or less sorted I was happy to move on to the passenger door sill area and roof section.

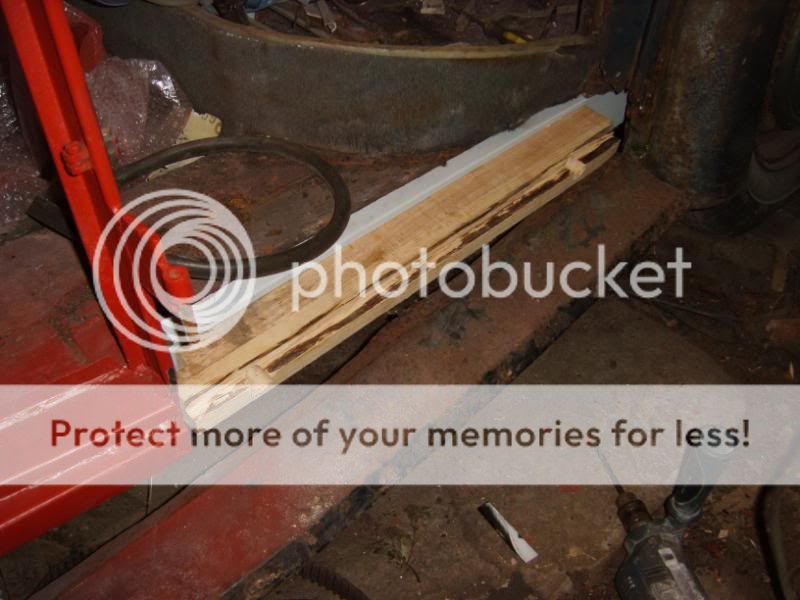
First it was a case of off with the old sill cover and timber sections and a new piece of timber fitted

Image

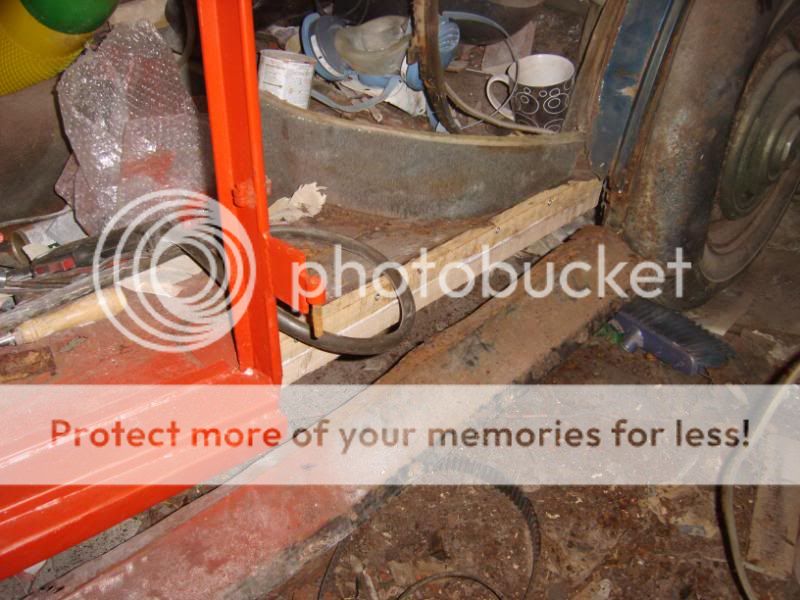
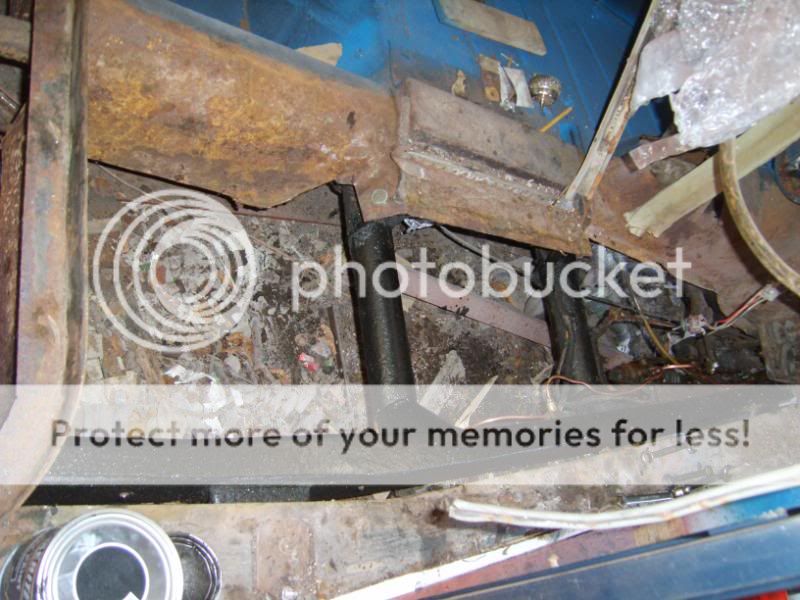
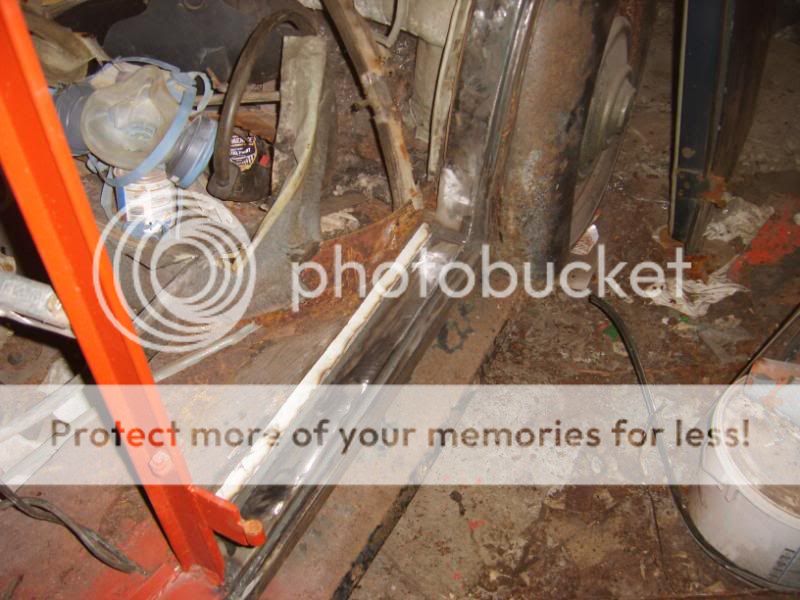
As per the front section this gets a metal channel cover

Image

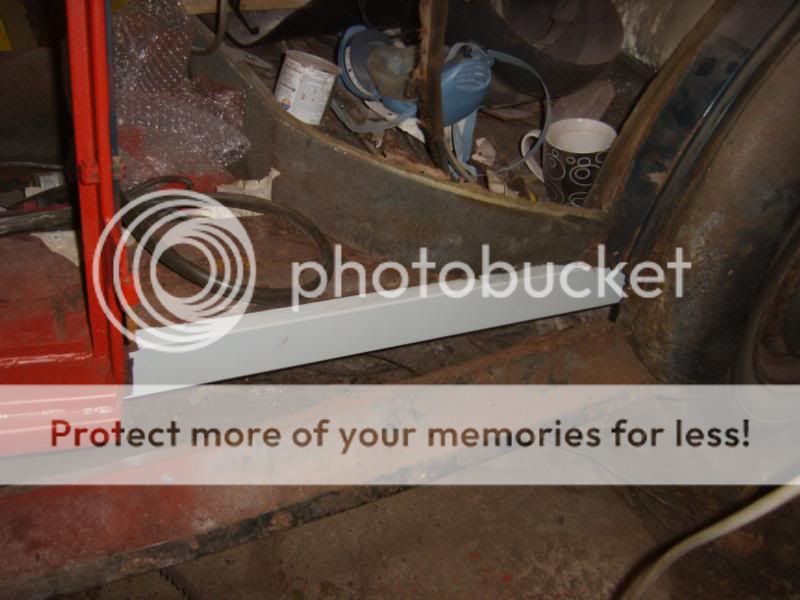
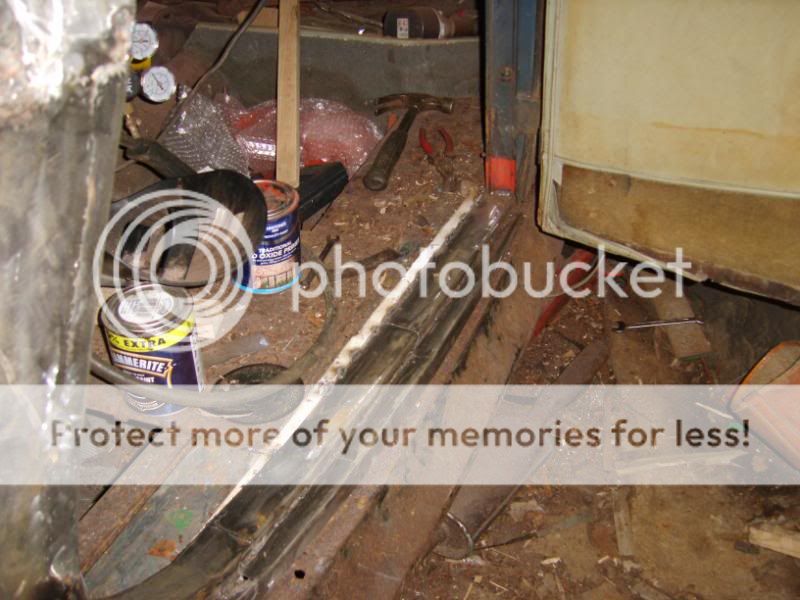
A new outer sill rail made up and bolted on

Image

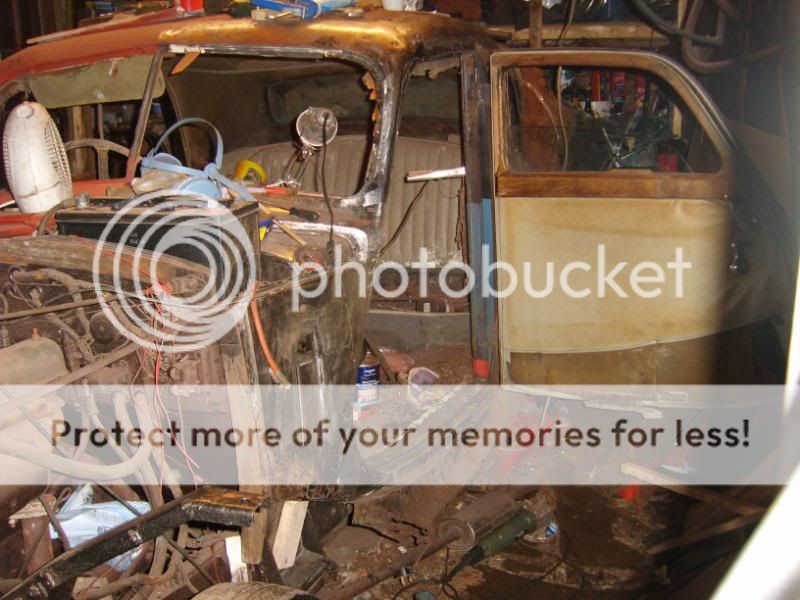
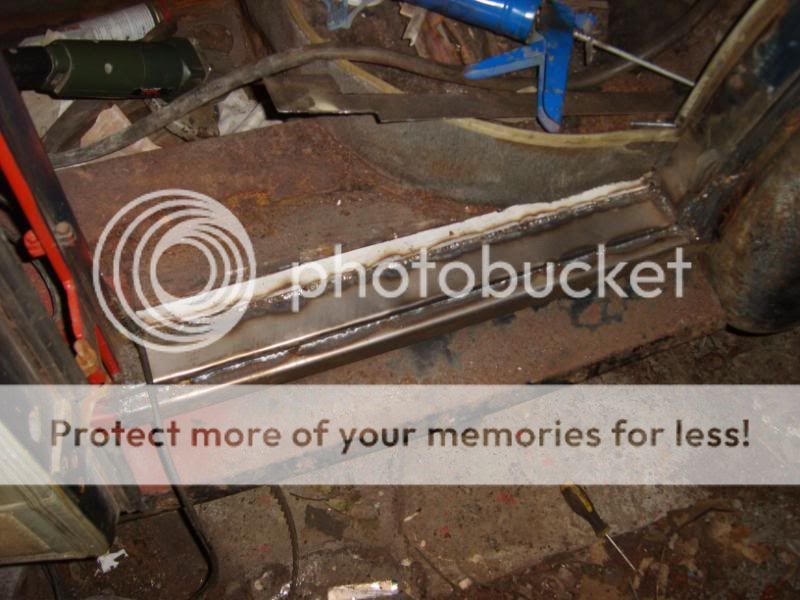
Now I was able to make up and fit the steel sections along with letting in a bit of new steel to the bottom of the post and a new section in over the top of the door.

Image

Image

Image

Image

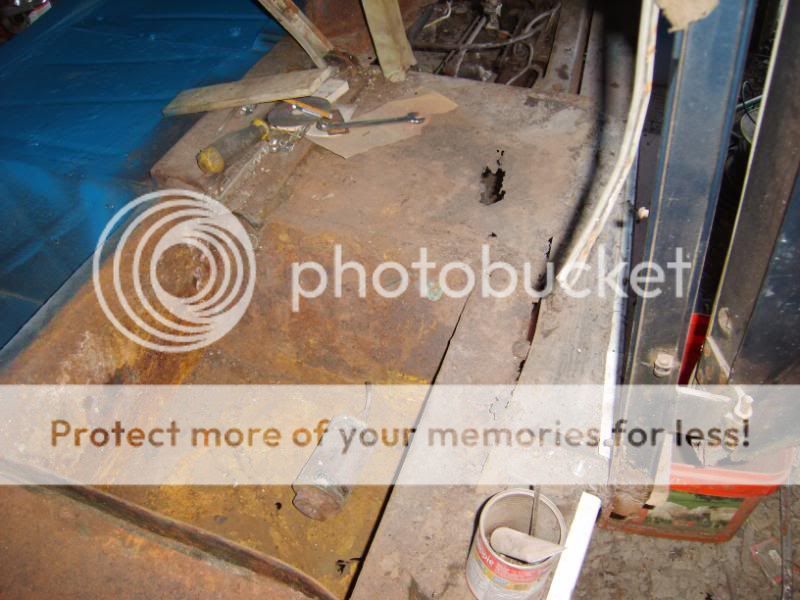
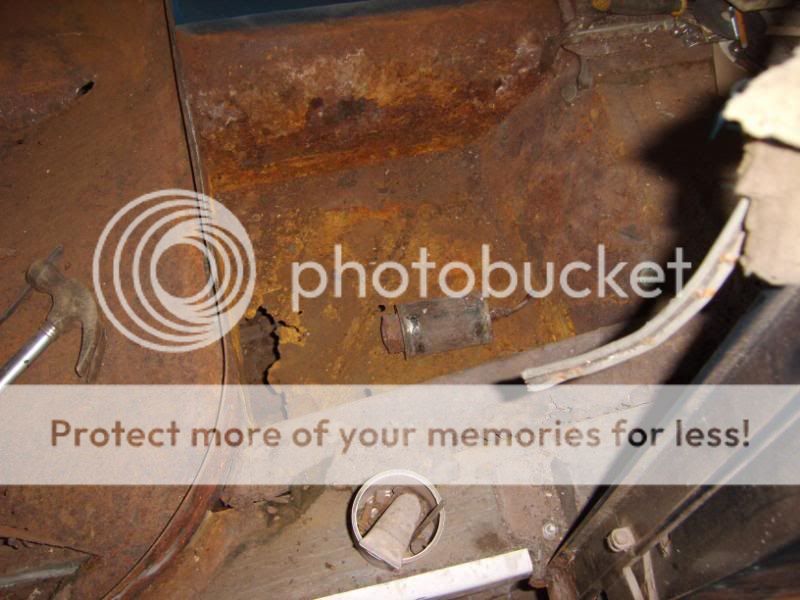
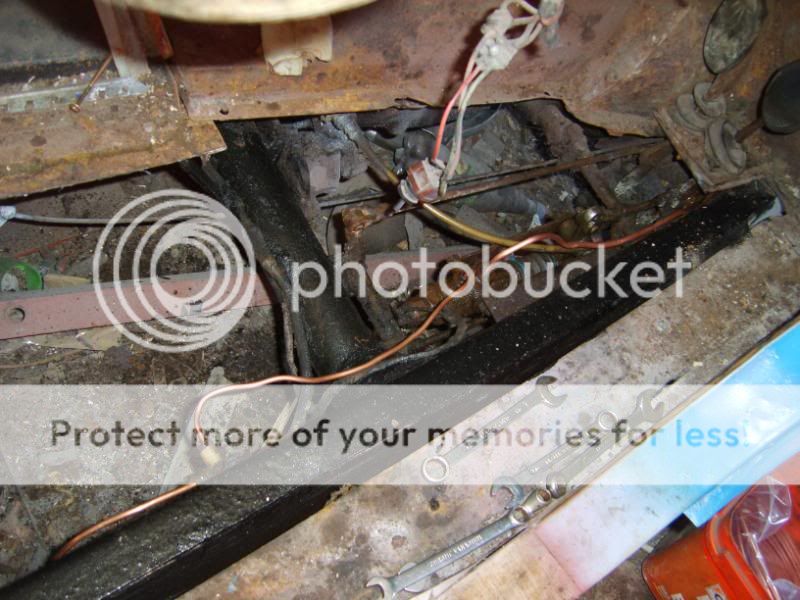
So a couple of nice coat of red oxide and a small start made on the floor. The chassis rail on this side has been getting a bit of a scrub down and coat of hammerite whilst I'm here, though most of the underside cleaning / painting will be done near the end of the project when I can get the old girl on ramps.

So the plan now is to start on the floor of the car on this side, then move over to the drivers side and repeat whats been done here. I'm also going to get a couple of coats of the proper primer on as I go and then some of the top paint.

This is because to work past the rear door or c post I really need to turn the car around, so the current plan is to get as much done as is viable up front before turning her around, once I have the floor done and the drivers side sills / door shuts complete I want to get some of the up front mechanicals such as brake lines and wheel bearings sorted in order to be able to re assemble some of the front panels which would free up a bit of storage, paint needs to go on before assembly to allow for fitting edging trims between panels and I think it will be nice to have the lions share of these done before turning the car around, those plans should keep me busy for a while anyway, we'll see how it goes....
User avatar
JPB
Posts: 10319
Joined: Fri Jan 07, 2011 3:24 pm

Re: BRAVE or just FOOLISH RM RESTO

#45 Post by JPB »

Excellent stuff here! This is now starting to look like a car that's really coming along, whereas, when we first saw it, there was the slightest hint of doubt regarding the sanity of its restorer. No offence, but, well, there was. ;)

Great work, keep it up please. :)
J
"Home is where you park it", so the saying goes. That may yet come true.. :oops:
tractorman
Posts: 1399
Joined: Mon Feb 21, 2011 11:22 am
Location: Wigton, Cumbria

Re: BRAVE or just FOOLISH RM RESTO

#46 Post by tractorman »

As John says, excellent stuff. I reckon you're right about getting some "finishing" done - it makes it look like a car and not a welding job - which is good for keeping motivation going!

I wonder what that relation thinks of the car now? Perhaps your cookery skills can be used to make some humble pie!

Jealous - me? You bet: I've always loved these old Rileys!
User avatar
arceye
Posts: 1904
Joined: Tue Mar 08, 2011 1:56 pm
Location: Cleveleys, Lancashire

Re: BRAVE or just FOOLISH RM RESTO

#47 Post by arceye »

Cheers chaps, and John, the sanity was never in doubt...definately at least a little bit cuckoo :lol:

Ah well, its the car or the basket weavers for therapy
Fred J
Posts: 15
Joined: Wed Jan 25, 2012 6:50 pm
Location: Glasgow

Re: BRAVE or just FOOLISH RM RESTO

#48 Post by Fred J »

As a RM owner of 30 years I admire your dedication.
If you have not done so I would recommend joint the RMClub. Help and advice, spares new and some secondhand.
Best of all - a great bunch of people with amazing knowledge.

All RM's are great fun - welcome to the family ! :D
User avatar
arceye
Posts: 1904
Joined: Tue Mar 08, 2011 1:56 pm
Location: Cleveleys, Lancashire

Re: BRAVE or just FOOLISH RM RESTO

#49 Post by arceye »

Hi Fred, funnilly enough I just joined the RM club and the membership pack came a couple of days ago. The spares list makes good reading, lots available that I'll be needing and the prices on most stuff is pretty reasonable.

So, progressing as usual in my rather haphazard fashion...

A few new pieces of steel went into the rear passenger side floor, and some primer then top coats went on the passenger side, mainly to help seal the primer against moisture getting in and to act as a guide coat before the final layers are added.

Image

Image

Image

So, it was time to get round to the drivers side floor and sill, the sill/ inner door shuts are already removed from my earlier work, the drivers floor and drivers side rear seat base were pretty crusty.

Image

Image

Image

I think I might as well replace the lot, here it is with the worst removed

Image

Image

Whilst I'm here it seems daft not to deviate a little and spend some time on the rusty chassis and crusty brake pipes / siezed brake pedal.

The pedal was stuck solid due to the actuator link to the master cylinder being stuck on its pivot, heat and much tapping got it off the pivot and with the pivot cleaned all was moving again. I dropped the master cylinder which actually seems o.k and isn't leaking so this has gone back on for now, should it decide to spring a leak later it will come back off easy enough now and a seal kit can be got.

I've scrubbed and painted the exposed chassis and made up a couple of new brake lines including the master cylinder header tank one, I have another to do in this location then I can start on the new floor sections / seat base / and a little to the gearbox cover.

This is where I am for now

Image

Image

One other thing has been done, quite pointless at this stage but I think the shiny grille should inspire me every time I walk past the garage

Image
User avatar
JPB
Posts: 10319
Joined: Fri Jan 07, 2011 3:24 pm

Re: BRAVE or just FOOLISH RM RESTO

#50 Post by JPB »

Just having the shiny paint applied like that must have been a major confidence boost for you, as must seeing how solid that chassis appears to be. This restoration is actually moving along at a pretty rapid rate and - on the basis that the first half takes the longer time since that's where you learn the most - the rest should be completed in time for at least some shows this year.

This is inspiring stuff indeed. :)
J
"Home is where you park it", so the saying goes. That may yet come true.. :oops:
Post Reply