Page 3 of 18

Re: BRAVE or just FOOLISH RM RESTO

Posted: Sat Oct 29, 2011 8:49 pm
by arceye
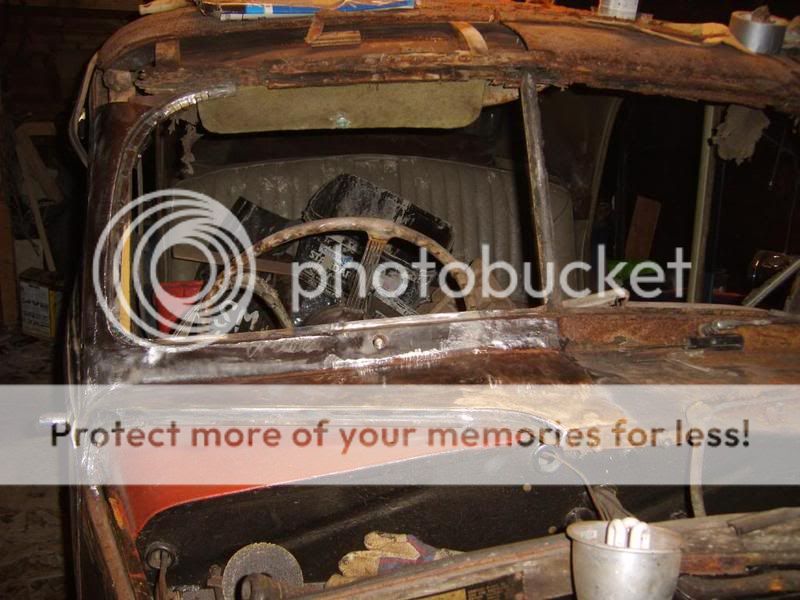
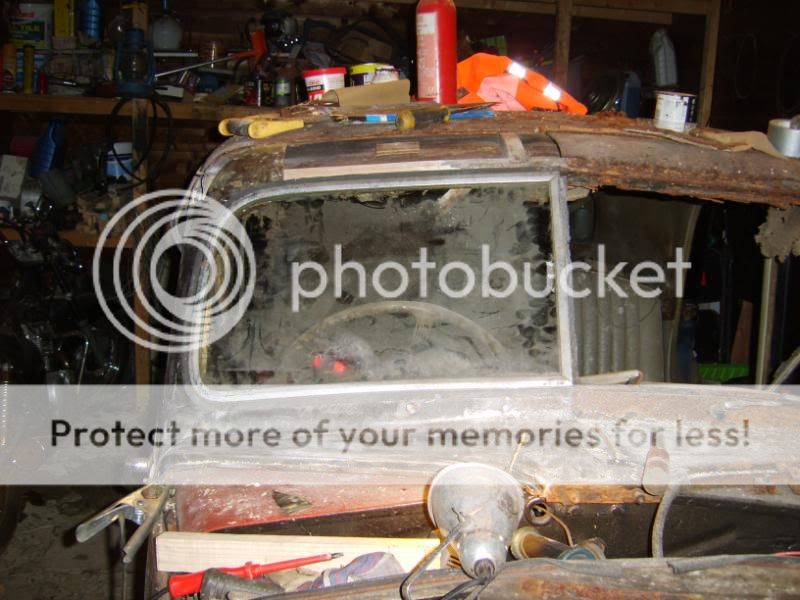
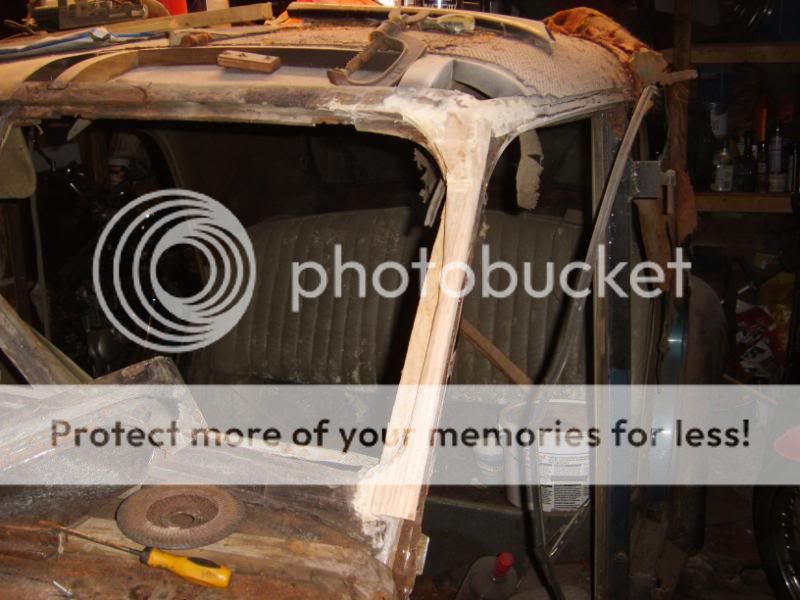
I have to make a heck of a lot of the windscreen panel, so as I don't have access to much other than a simple folder, vice etc it will be done in several sections to gain the (hopefully) correct shape.

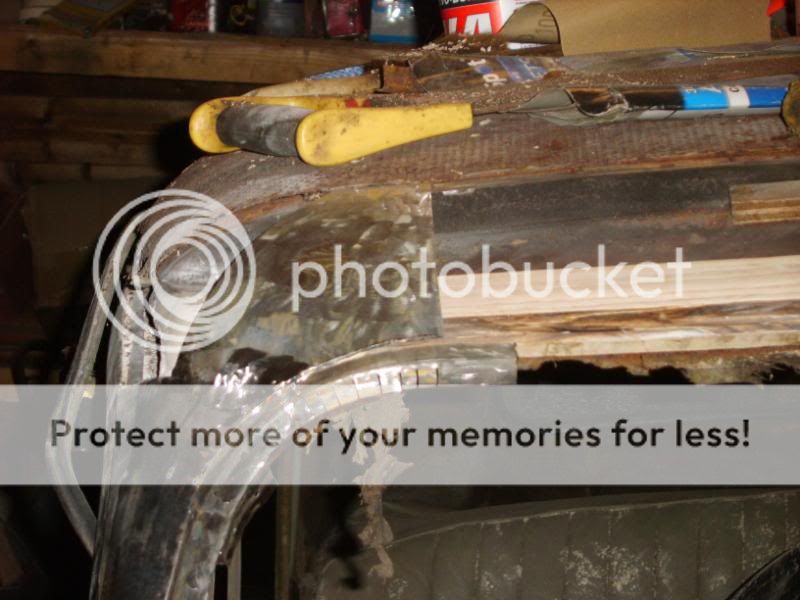
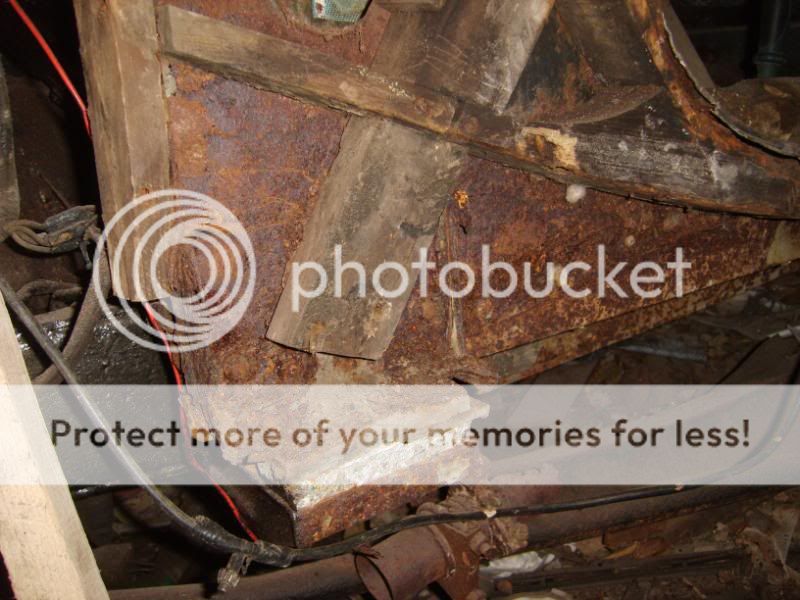
First off, some of the old panel is removed, I need to build this in situ to ensure the screen fits and it looks reasonably like the original.

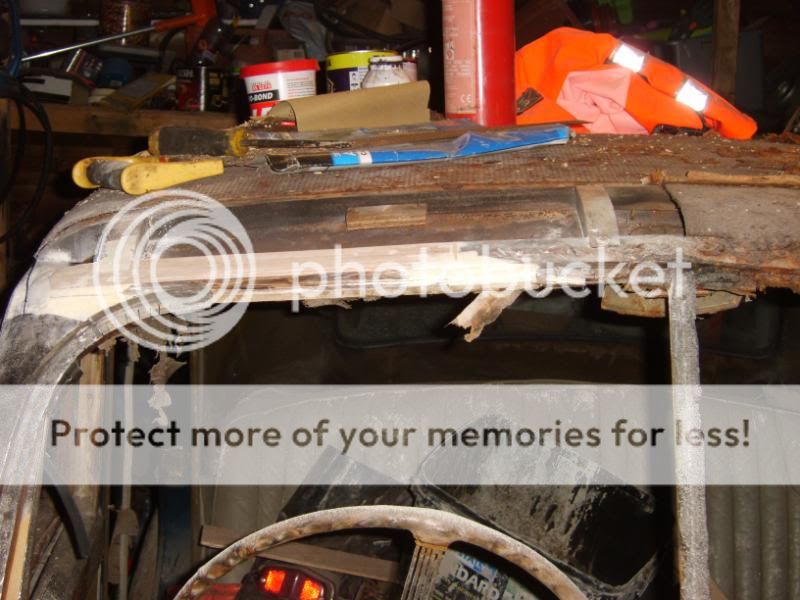
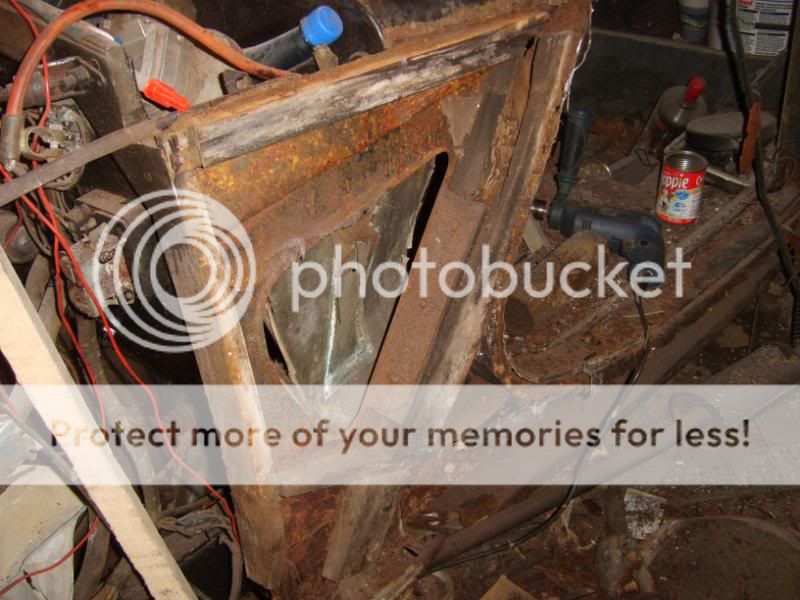
So, off with a section, and a good wire brushing

Image

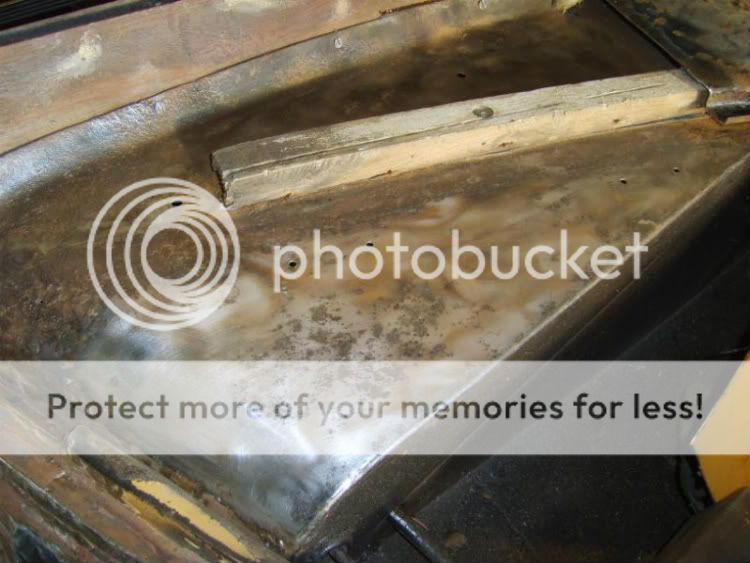
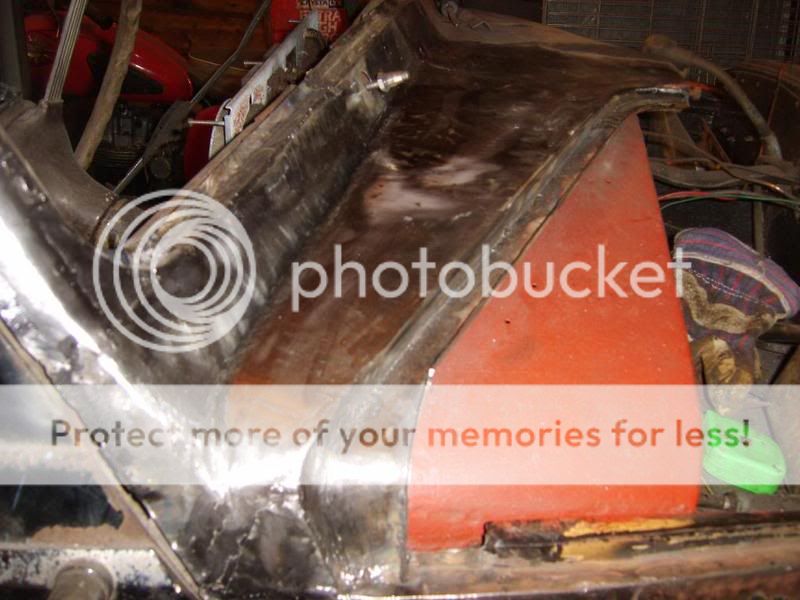
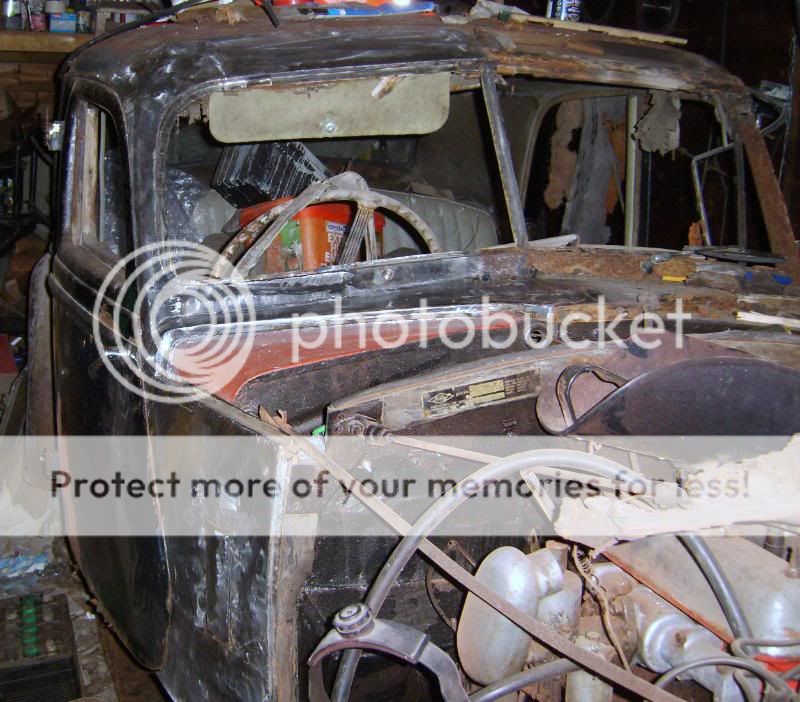
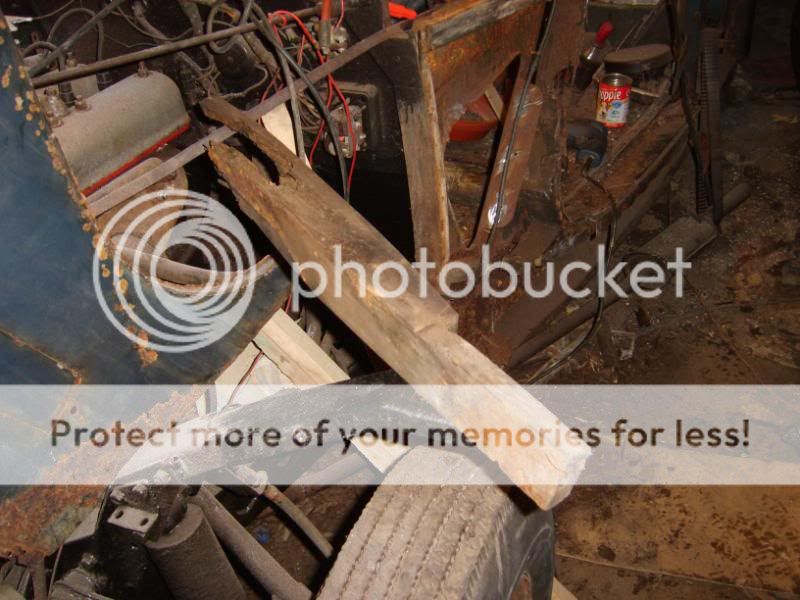
More rust converter and then some red oxide, see, I said I wasn't just going to use hammerite ;) The area to left of the photo is not as rough as it looks, just the way the camera flash reflected off the wet red oxide where I painted it on the timber.

Image

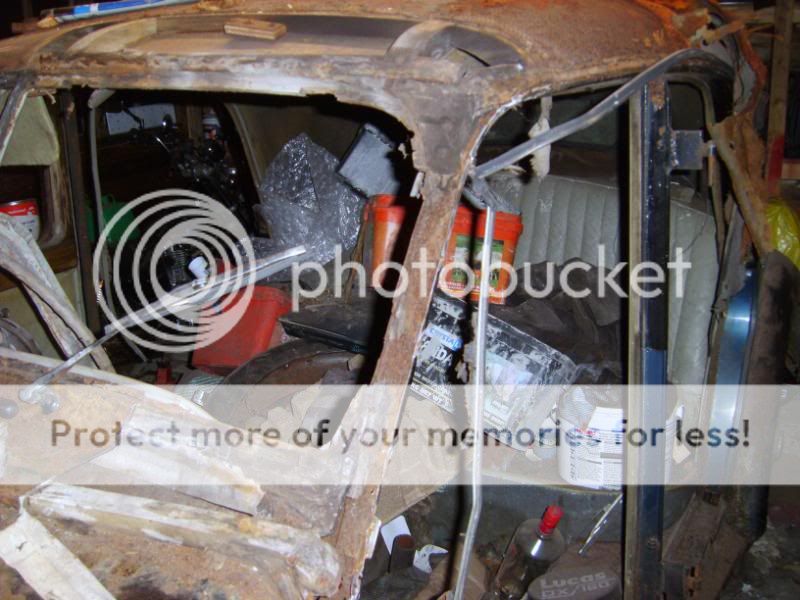
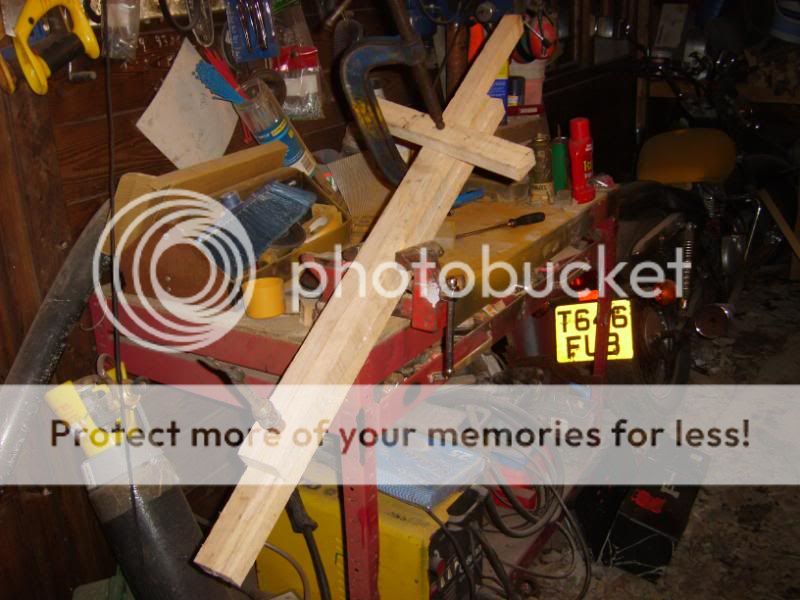
I'd already dealt with some of the timber around the windscreen frame and A pillar so I can get pretty much straight on with making the new surround at the moment.

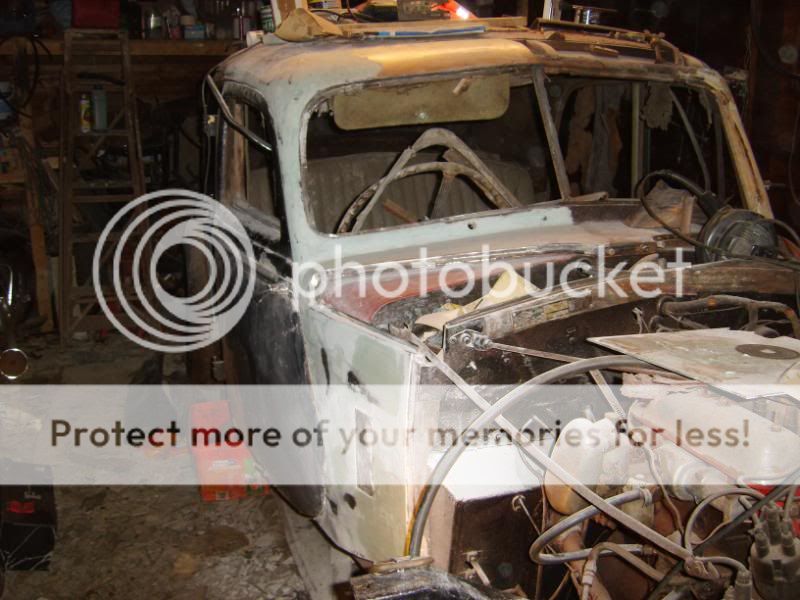
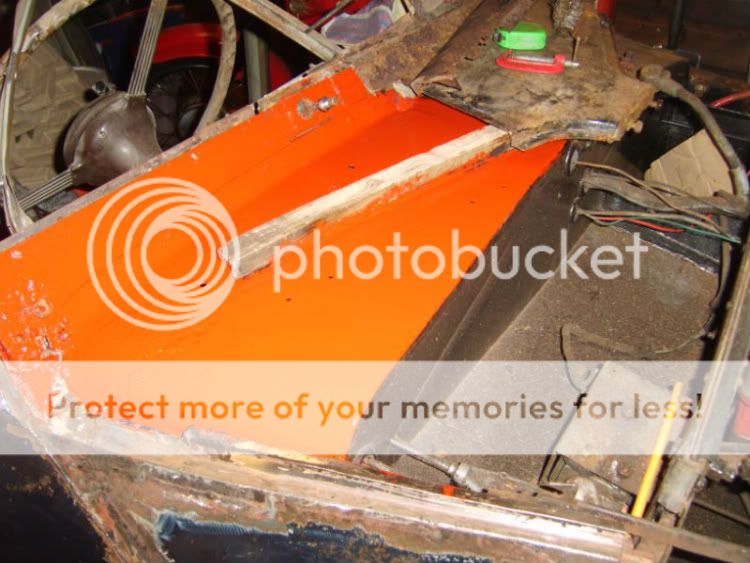
This is as far as I am today, the shape is pretty complex and so is about four seperate pieces of folded / bent metal welded together just to make this bottom section, still a couple more pieces of metal to go in and a little more welding to finish before I start on the upright.

Image

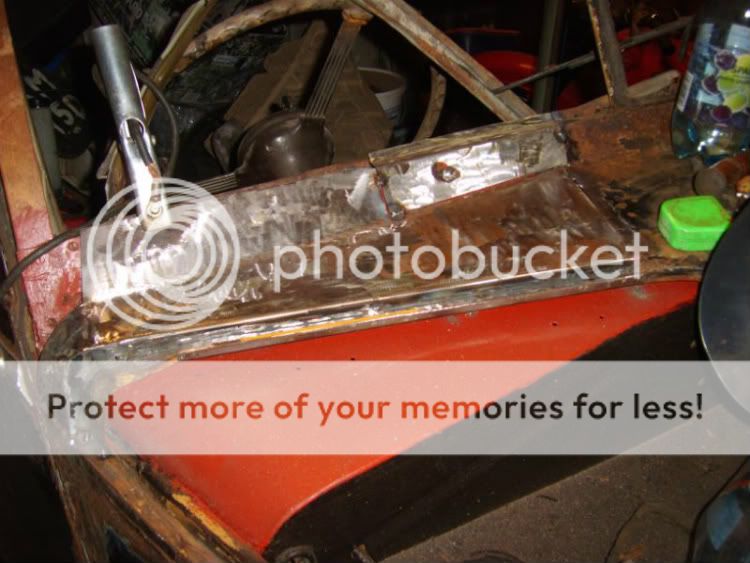
The new metal is super shiny and rust free, though the light catches the grinding marks left from my "polishing" it and discolours it in the photos, must try a different setting on the camera, anyway, I'll update when I have a bit more to show.

Re: BRAVE or just FOOLISH RM RESTO

Posted: Thu Nov 03, 2011 9:45 pm
by arceye
Well, its slow going but I've been grabbing an hour or two in the evenings at that screen surround, weld a bit, fit screen, remove screen, cut another piece, weld a bit, fit screen.................

But it seems to be working out slowly, I've at least reached the top of the drivers pillar and it is time for a little timber work before starting across the top of the car.


Image

I was able to use a small section of the original upright with all its extremities cut off which allowed me to get the radius sorted on the upright something like the original.

Image

Image


OK, so I think a good skim of filler will be required to get it right in the end, but from the amount of lead loading found on the remains of the original (up to a quarter inch thick ) I really don't think they could have come off the Riley press that much better.

All in all I don't think its too bad with only a simple metal folder, grinder, tinsnips, and a welder to do the job.

Image

As mentioned, the next job is a section of the ash timber across the front of the roof then I can start to plate again, I thought the timber job would have been much worse than it looks to be, the factory kindly spliced the timber just over a foot in from the corner so with a bit of shaping it should be a quite straighforward replacement.

Re: BRAVE or just FOOLISH RM RESTO

Posted: Fri Nov 04, 2011 6:51 pm
by mach1rob
You're doing a damned sight better job than I could! :D

Re: BRAVE or just FOOLISH RM RESTO

Posted: Fri Nov 04, 2011 9:59 pm
by arceye
Cheers Rob,
I reckon it will work out. My brother was up visiting the other week, he's an aerospace tinbasher by trade though he's moved up the ladder off the shop floor. He just pretty much shook his head when he saw the rusty remains of the surround and once out of earshot and back at my Mum & Dads house where he was staying confidently stated its not do-able. Nothing like a sibling throwing down the gauntlet to get things moving is there. Not that i feel I need to to prove anything though :lol:

Re: BRAVE or just FOOLISH RM RESTO

Posted: Fri Nov 04, 2011 10:15 pm
by arceye
A bit of a late start this evening, best plans for an early Friday weekend finish were thwarted by unforseen work, having to take the wife shopping and going over to the next town to a see a man about a gearbox for the mini we're doing for when the boy turns 17 at christmas, the one we dropped out being a little too damaged to be viable. So tomorrow were off to pull an engine and drop the box so the Riley will be delayed again :cry:

Anyway, got a bit of a go later this evening and removed the section of rotten wood, I bought a bundle of ash offcuts off ebay when I got the car and they have proved handy so far.

Got the new piece of wood shaped, glued and screwed then tidied thing up with a good wood filler to keep any damp out of the joints

Image

And a little start at the new metal for the top of the screen surround, though not much

Image

and of course another check of how things are sitting with the screen

Image

Hopefully I'll find a few hours over the weekend and start getting across the top section.

Re: BRAVE or just FOOLISH RM RESTO

Posted: Sat Nov 05, 2011 9:47 am
by tractorman
It seems to be coming along nicely, it's interesting that experts often say things can't be done - I suspect they are so used to working with nice new metal that they don't appreciate that older metal can be repaired. More than one "engineer" has suggested my tractors are only fit for scrap!

I notice a pot of Uni Bond PVA on the roof. Are you using this for the wood? I find PVU (often called Polyurethane - if that's the right spelling!) is a better wood glue as it fills gaps (it's a bit like builder's foam) and is waterproof. It also cures very quickly and makes a stronger joint than PVA. IIRC, that PVA isn't waterproof - not that it should be a problem of course - but I tend to be a bit paranoid when working with wood after a joiner put a porch up for us when we moved here. It was rotting within a year!! After that experience, I would suggest that a preservative is used too - even if Ash doesn't rot like cheap redwood, I prefer a belt and braces approach!

Keep up the good work, I expect to see the car running early in the new year!

Re: BRAVE or just FOOLISH RM RESTO

Posted: Sat Nov 05, 2011 10:49 am
by arceye
Very true, I served my time as a fabricator welder then went on to the railways on the Bridge Gang, everything we welded was rusty and often well over a hundred to a hundred and fifty years old. Funny thing is the "proper" welders out of the workshops always struggled with it as they were used to the clean stuff. Trouble was we were tested every year in the workshops having our welds destruction tested, we had to weld clean steel for this and It was totally different for us trying to remember how to weld "properly" again.

Keep up the good work on the tractors, My lad has a 1963 DB990 which was also really "scrap", it needs tinware yet but is a good goer and would pull down a house.

The glue you see was used as my waterproof pot had gone off due to not putting the lid back on properly several months ago :oops: I normally use this stuff with cement and for sealing stuff. I did use a grip fill adhesive as well though round the bigger gaps (no nails type stuff) which I'm hoping will stand up to the job. I'll have a look at the polyurethane ones when I'm next in the shops, we used to have a railway joiner used something that sounds similar, it seemed like a foam and he swore by it, is that the type of thing?

Re: BRAVE or just FOOLISH RM RESTO

Posted: Sat Nov 05, 2011 5:10 pm
by tractorman
The stuff your railway joiner used sounds like the stuff I use - and it does doa good job! I bought some from Screwfix, though it is in tubes (like silicon sealer) and needs a gun - you have to be quick to stop both the nozzle and the pieces of timber going off before you get everything put together and "bunged up"! I also have some fairly thick liquid stuff called, I think, "Aligator Glue". It's superb and a lot easier to use. I bought it from a proper hardware shop (not many of those about nowdays!) and, although not cheap, it lasts a long time (you don't need to put a lot on a join).

'63 990 eh? That takes me back to 1970 and the first farm I worked on after leaving school. Theirs was a 61 or 62 model and my first introduction to DBs - like you say, not pretty (even then), but could pull anything. That was the great thing about a DB - and unappreciated by the Ferguson/Ford owners - a DB could punch well above its power rating (always less than the same sized Ford or Fergy if memory serves). Keep an eye on eBay - very occasionally there is good tinwork at an affordable price!

Re: BRAVE or just FOOLISH RM RESTO

Posted: Thu Nov 10, 2011 9:24 pm
by arceye
It really is a tale of two sides at the moment, I've been spending my time getting the window surround on the drivers side finished, this included all the internal sections that wrap around the timber and so I ended up chasing the top section all the way to the centre door post.


Image

The internal sections also led me down to the bottom of the A panel so I made this as good as it could be there having been little of the original left. Again a nice skim of filler will have to be the answer, but at least all these areas are now bare metal and the drivers side screen surround is complete.

So, onto the passenger side, first impressions were that it was in somewhat better condition, though of course it is not and this is what greeted me.

Image

So, the top rail is o.k, but new wood is required all the way down to the body mount, though I haven't took the A panel off yet a good poke from inside confirms this, I'll start by making up some wood for the screen pillar first and splice it at the dash rail, then when the surround is done I can carry on down from there.

I can't start this though as I'm waiting on the new super duper glue as advised by Tractorman to arrive, so I'd probably best spend a couple of hours emptying the inside of the car as its getting to be a fire hazard. For some reason everything and anything seems to end up in there, paint, motorcycle mudguards, a morris marina workshop manual, and various other debri along with all the rubbish the boy kindly "tidied" up for me, heck, if the new glue doesn't arrive tomorrow I may even make some space to work around the car. :lol:

Re: BRAVE or just FOOLISH RM RESTO

Posted: Fri Nov 18, 2011 11:59 pm
by arceye
Not as much achieved as I would have liked, the new glue only arrived on monday, and coupled to having the inlaws staying over the weekend and early part of the week I was unable to get to Rusty for a while.

Anyway, the boy cleared her out a bit so she isn't as much of a fire hazard, I also decided to add some filler to the completed drivers side surround and A panel, the top section is good and I think just one more sanding session to the A panel will see this section ready for a spray of red oxide to protect it a little.


Image


The new glue is by Everbuild and comes in a mastic type tube, seems to work well, and so I made up the nearside windscreen pillar wood

Image

I have also realised i need to find somewhere else to store the mobike, its nearly roadworthy and just needs an mot to be registered again but at this rate I'll be starting over

Image

Anyway, I had planned to finish the windscreen surround before starting the A post and panel which would lead me to the body mount and heaven alone knows where else, then I realised that if I finished the surround I'd not get the main A panel back on without butchering the surround again. With this realisation I have decided to leave the surround for now and get the timber and metal work sorted to the A post / panel sections.

So of with the panel

Image

Several new pieces of timber are needed here not least the main pillar which looks like this currently

Image

Ironically it isn't rotten at the bottom, which is where it should be worst, I'm also going to have to atend to the metal around the body mount and a fair bit of the inner panel

Image

I also took photographs of a couple of basic measurements for repositionig the A pillar, but will need to make a template of the curved area that makes the door opening.

In the meantime I'm going to start making the main A pillar, its a fair chunk of ash thats required so I've laminated four pieces of my offcuts together to get a piece big enough to make it from

Image

it's all doable, but I get the feeling I may be a little while in getting back to finishing the screen surround.