Many thanks for the positive comments guys!
Brooke is very keen for me to finish the Alfa and take her to school in it (and I have been driving my modern way too much!!!)
Lots of layers and lots of elbow work with the fine wet and dry is defo the key with rattle cans!
Alfa Romeo 75 3.0 V6 & 164 3.0 24V Cloverleaf
Re: Alfa Romeo 75 3.0 V6 1991 Update 08/06
I've been putting this off for a while as I have a major back log of pics I have not posted as I have just been cracking on and getting on with it.
So last posts where re the boot and the lights.
The boot repair got serious as it ran right up to and including the rear window surround, so the rear window had to come out. Stanley knife and some pushing and it was out -

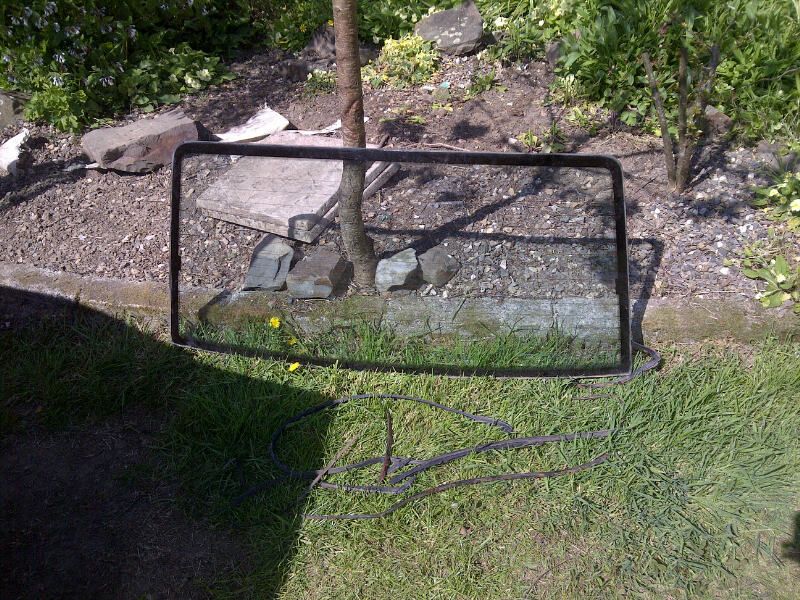
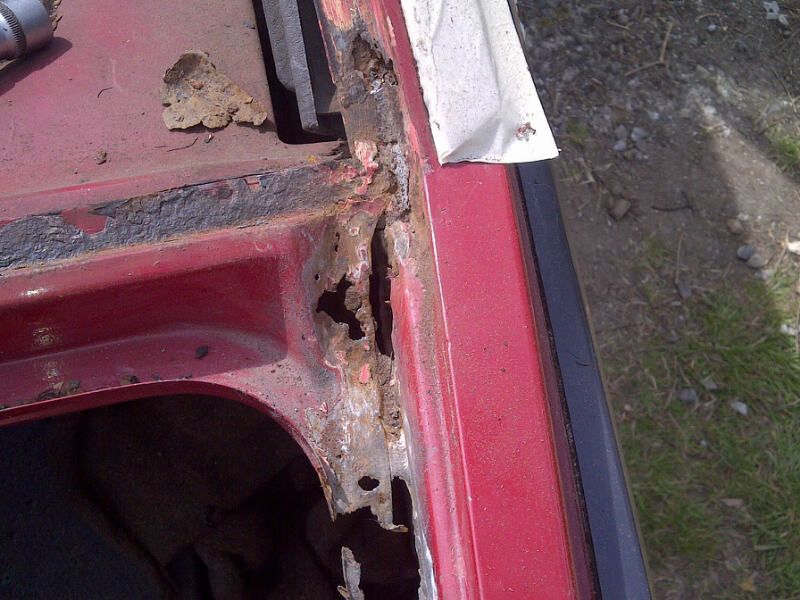

Sides of window frame needed work too

It seems most of this rot is due to hamfisted repairs done by whoever repsrayed it last.
So it all needed cutting out to ensure the rot is stopped! New metal shaped and welded in then coated in lots of rustbuster to ensure there is no surface rust.
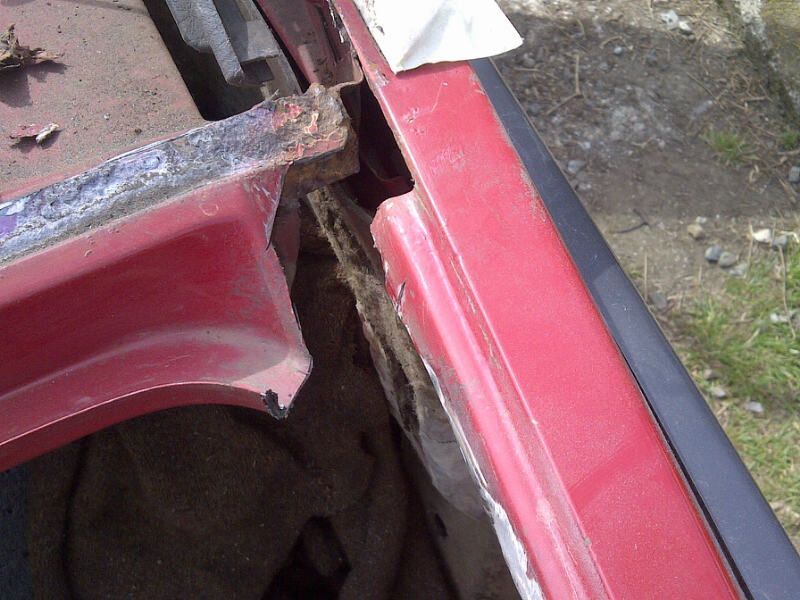
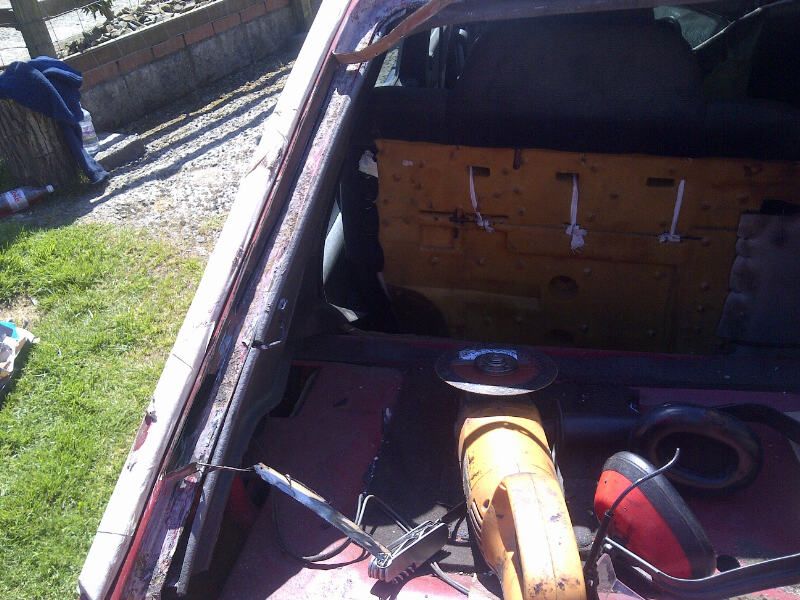
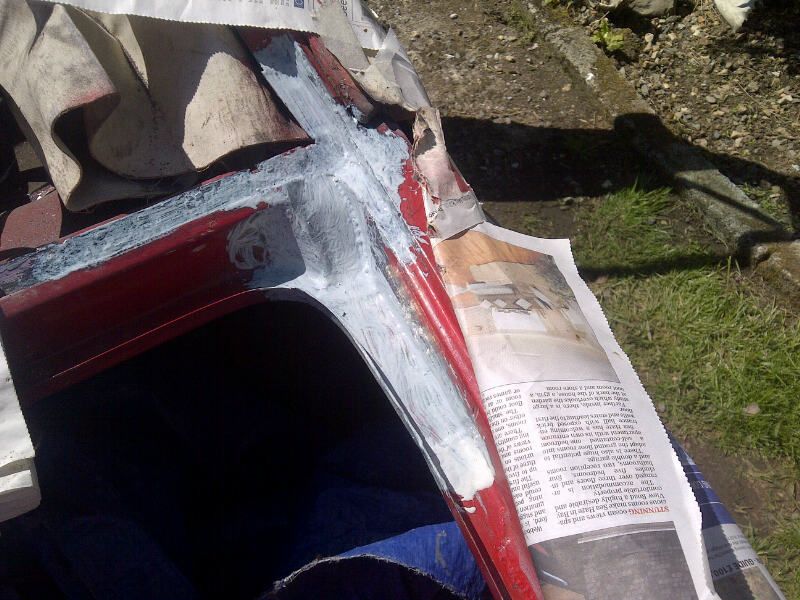
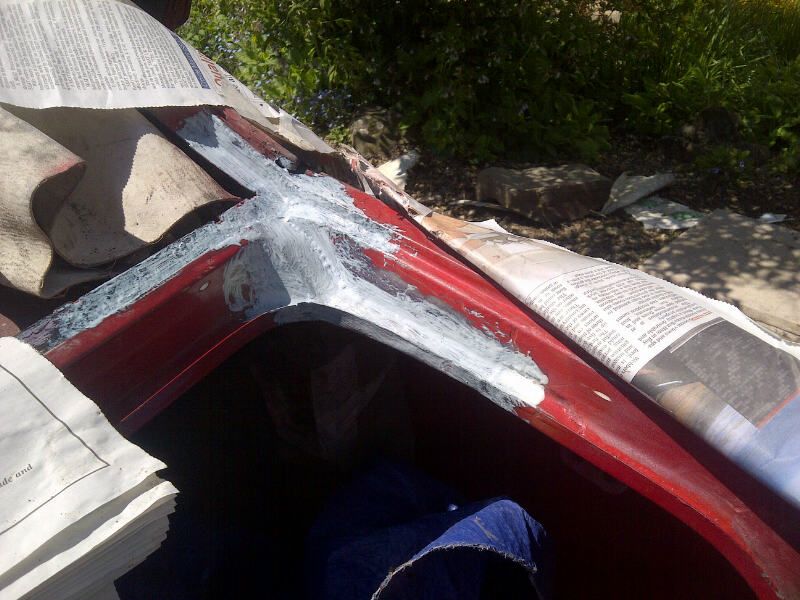
Then used the non porous rustbuster primer I got round entire frame after cleaning it all up and then painted it ready to put screen back in
Screen in back in now I have not taken a pic yet, used a sealant adhesive and plenty of it to leave now gaps for water to sit in the screen again, and repainted the insert black to finish off nicely.
Been allot of rubbing down, filler priming , painting ,sanding back etc etc to finish off the rear light areas that had rotted away ,where I have let in new metal
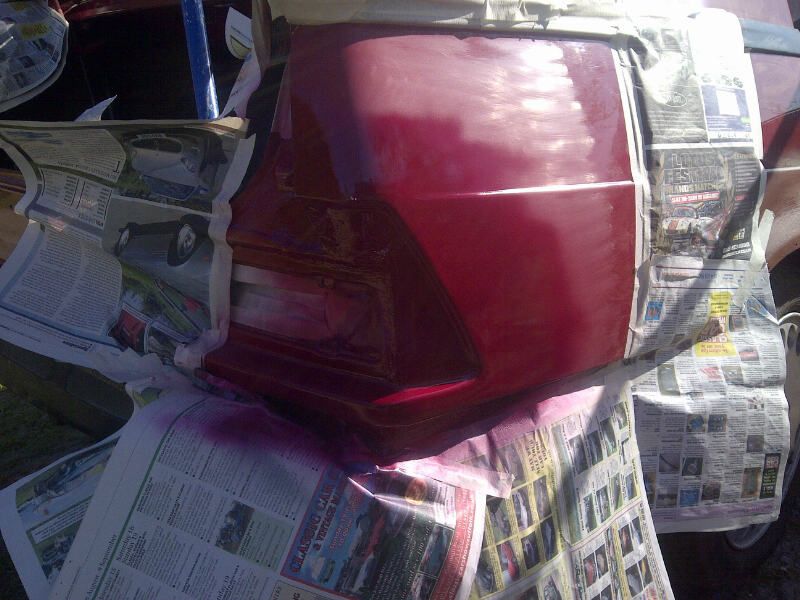
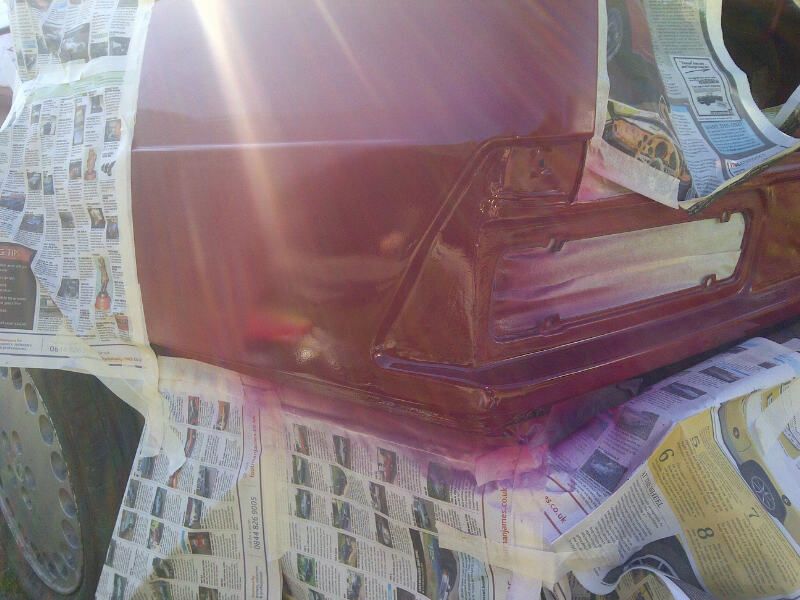

As you can see the colour here is random , it was just the prepping coats, it's now in the correct red, my motor factors got a good match but I'm holding off pics until its all done and blended in.
I am still finishing off the passenger rear wing at the moment as there are some complex curves and it needs quite a bit of work to get spot on.
Today I was cutting back the rest of the bodywork I have not been working on as being sat its oxidized and need blending to the new paintwork.
I still need to -
Finish passenger rear wing.
Repaint and put bodykit arches on.
Add missing mounting brackets to front bumper.
Touch up and refit bumpers.
Replace clutch slave cylinder as I think its done.
Get it in for MOT!
So last posts where re the boot and the lights.
The boot repair got serious as it ran right up to and including the rear window surround, so the rear window had to come out. Stanley knife and some pushing and it was out -


Sides of window frame needed work too

It seems most of this rot is due to hamfisted repairs done by whoever repsrayed it last.
So it all needed cutting out to ensure the rot is stopped! New metal shaped and welded in then coated in lots of rustbuster to ensure there is no surface rust.


Then used the non porous rustbuster primer I got round entire frame after cleaning it all up and then painted it ready to put screen back in

Screen in back in now I have not taken a pic yet, used a sealant adhesive and plenty of it to leave now gaps for water to sit in the screen again, and repainted the insert black to finish off nicely.
Been allot of rubbing down, filler priming , painting ,sanding back etc etc to finish off the rear light areas that had rotted away ,where I have let in new metal


As you can see the colour here is random , it was just the prepping coats, it's now in the correct red, my motor factors got a good match but I'm holding off pics until its all done and blended in.
I am still finishing off the passenger rear wing at the moment as there are some complex curves and it needs quite a bit of work to get spot on.
Today I was cutting back the rest of the bodywork I have not been working on as being sat its oxidized and need blending to the new paintwork.
I still need to -
Finish passenger rear wing.
Repaint and put bodykit arches on.
Add missing mounting brackets to front bumper.
Touch up and refit bumpers.
Replace clutch slave cylinder as I think its done.
Get it in for MOT!
-
Richard Moss
- Posts: 425
- Joined: Wed Jan 05, 2011 5:09 pm
Re: Alfa Romeo 75 3.0 V6 1991 Update 18/06
Nice work - hopefully you're almost there now
Re: Alfa Romeo 75 3.0 V6 1991 Update 18/06
Cheers Richard
I missed off a few of the pics.
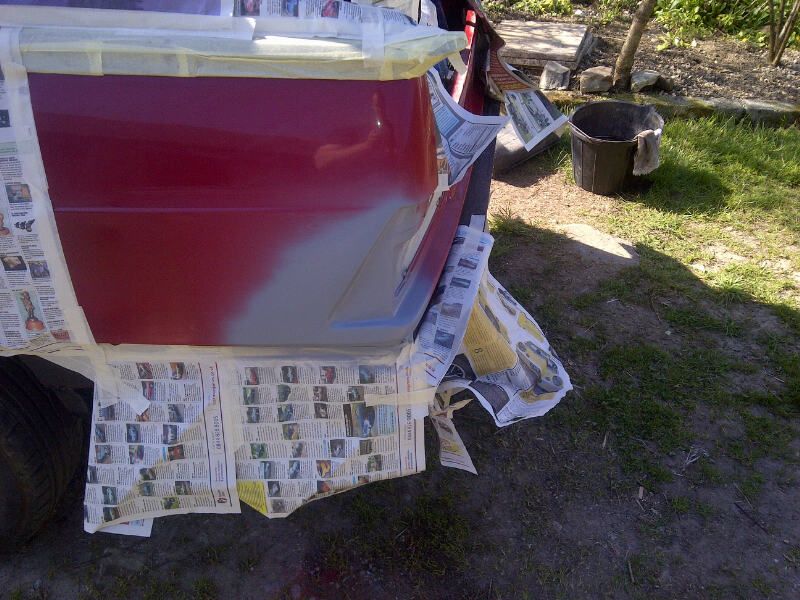
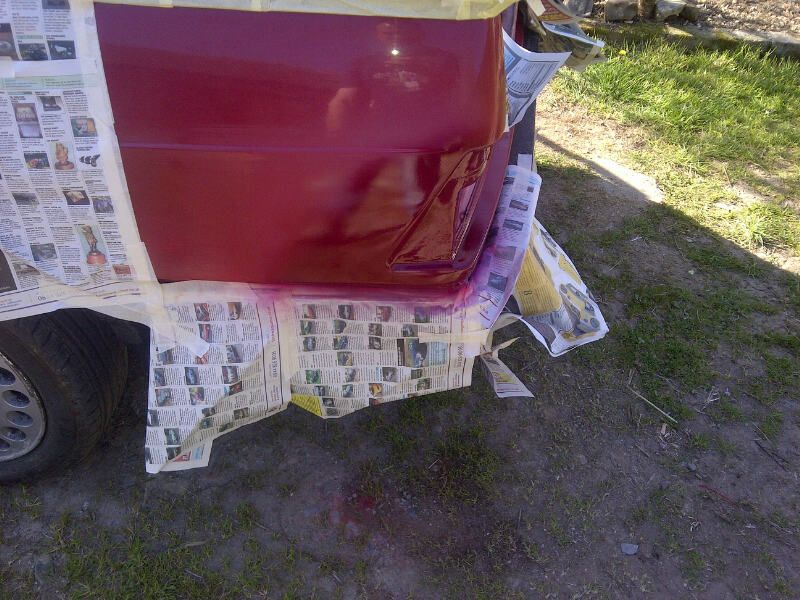
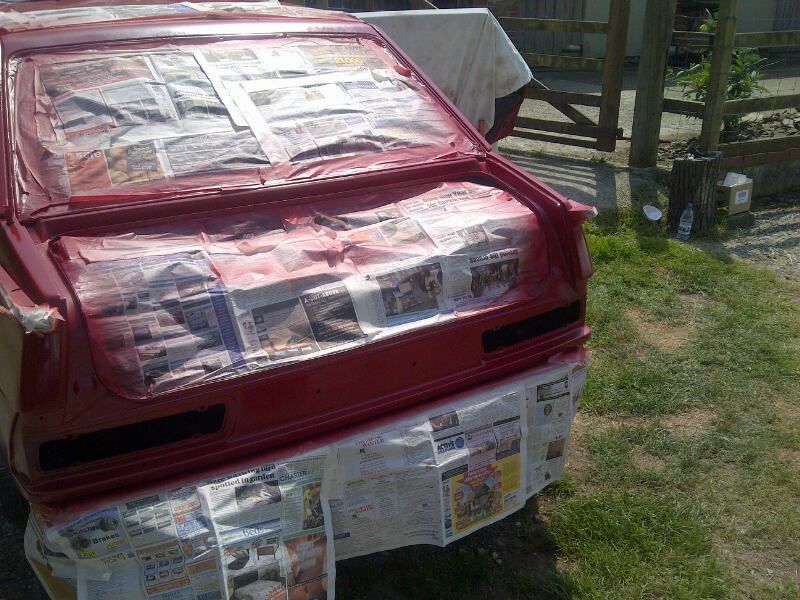
Here are some of the biggest respray part, the entire rear window surround, drivers wing and arch plus lights and number plate area.
As you can see the paint went on very dry as it was to hot really.
I'm using rattle cans, my supplier has changes the spray heads and they do not lay it anywhere as nicely as they used to.
Its not a problem , I'm just using more paint then going 800 grit then 1200 then 1500 then 2000 then coarse cutting compound then t-cut , polish and wax (phew, yes and it does take as long as it sounds like it does!).
Luckily I think the bad weather killed the bugs as despite doing all this outside I had no added insects to the paint!
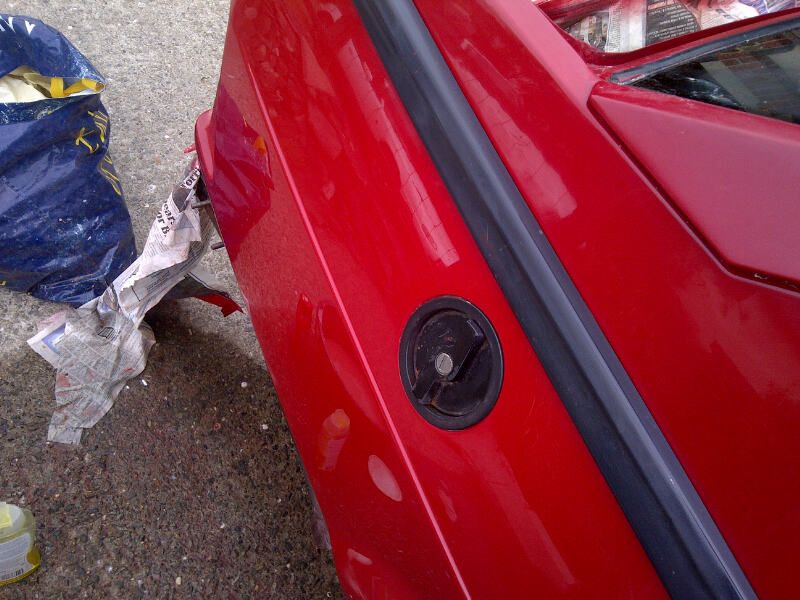
You can see in this pic the result of all that elbow work , the section below the black trim. I am clearly going to have to tart up the fuel cap and surround! This is the issue now, everything needs refurbing as new paint shows it up!
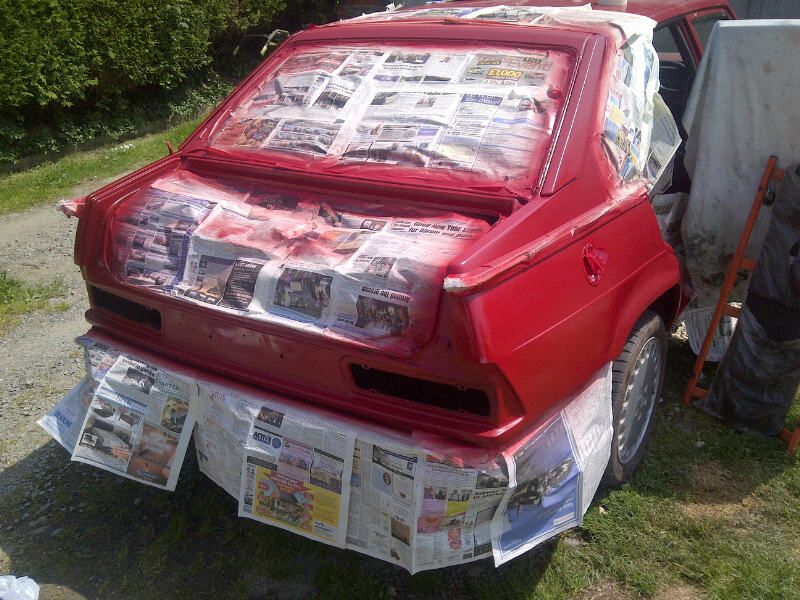
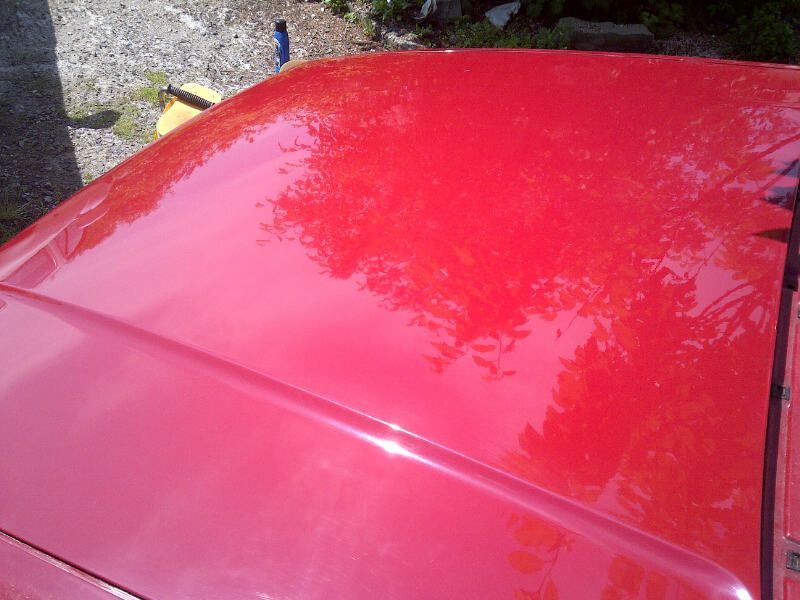
I have begun t-cutting all the old paint to deal with the fade of year and a half of sitting outside being worked on with no regular shampoo and waxes! Here's bonnet , its actually as read as the rear wing pic just my crappy blackberrys camera cannot cope with shine-
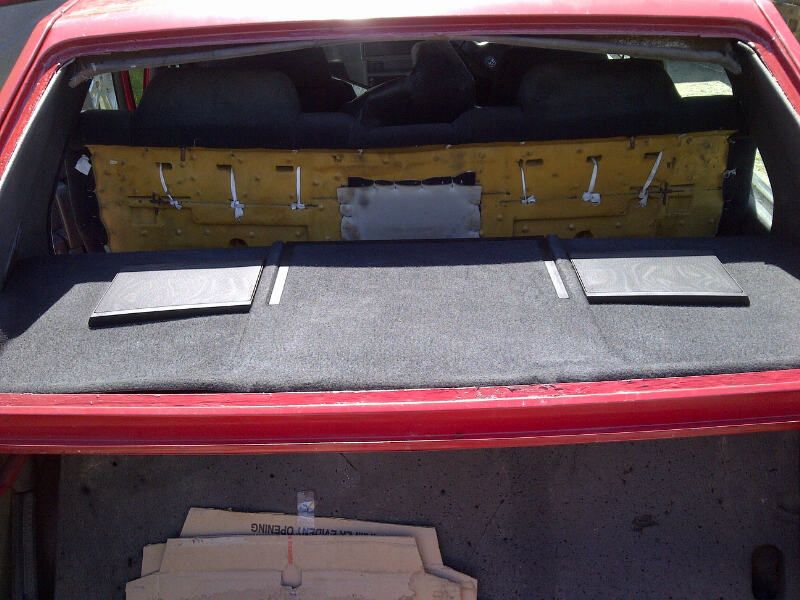
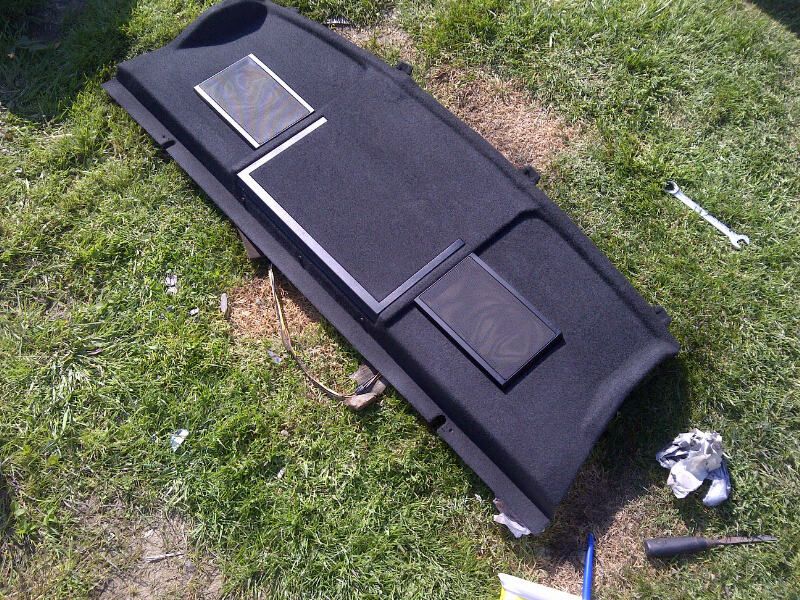
I also gave that old faded parcel shelf a clean up as well. It was falling apart so as its made of card I made up some paper mache adn re enforced the rear, then satin blacked the top of shelf
I missed off a few of the pics.
Here are some of the biggest respray part, the entire rear window surround, drivers wing and arch plus lights and number plate area.
As you can see the paint went on very dry as it was to hot really.
I'm using rattle cans, my supplier has changes the spray heads and they do not lay it anywhere as nicely as they used to.
Its not a problem , I'm just using more paint then going 800 grit then 1200 then 1500 then 2000 then coarse cutting compound then t-cut , polish and wax (phew, yes and it does take as long as it sounds like it does!).
Luckily I think the bad weather killed the bugs as despite doing all this outside I had no added insects to the paint!


You can see in this pic the result of all that elbow work , the section below the black trim. I am clearly going to have to tart up the fuel cap and surround! This is the issue now, everything needs refurbing as new paint shows it up!

I have begun t-cutting all the old paint to deal with the fade of year and a half of sitting outside being worked on with no regular shampoo and waxes! Here's bonnet , its actually as read as the rear wing pic just my crappy blackberrys camera cannot cope with shine-

I also gave that old faded parcel shelf a clean up as well. It was falling apart so as its made of card I made up some paper mache adn re enforced the rear, then satin blacked the top of shelf

Re: Alfa Romeo 75 3.0 V6 1991 Update 18/06
ooohhhh, shiny!
Cars always look so sorry for themselves when they hare rust blisters and flat paint. A smooth shiny finish shows that you have been working damn hard and it has paid off!
Cars always look so sorry for themselves when they hare rust blisters and flat paint. A smooth shiny finish shows that you have been working damn hard and it has paid off!
Understeer: when you hit the wall with the front of the car.
Oversteer: when you hit the wall with the back of the car.
Horsepower: how fast you hit the wall.
Torque: how far you take the wall with you.
Oversteer: when you hit the wall with the back of the car.
Horsepower: how fast you hit the wall.
Torque: how far you take the wall with you.
-
Richard Moss
- Posts: 425
- Joined: Wed Jan 05, 2011 5:09 pm
Re: Alfa Romeo 75 3.0 V6 1991 Update 18/06
That's coming along very nicely indeed.
Re: Alfa Romeo 75 3.0 V6 1991 Update 18/06
fair play, thats a seriously good job done with rattle cans.
will all be worth it when you have a lovely classic motor on the road
kev
will all be worth it when you have a lovely classic motor on the road
kev
Re: Alfa Romeo 75 3.0 V6 1991 Update 18/06
Cheers guys!
Re: Alfa Romeo 75 3.0 V6 1991 Update 18/06
credit where its due mate..nice job
Re: Alfa Romeo 75 3.0 V6 1991 Update 18/06
Top work m8.
Looks like a lot of effort.
Looks like a lot of effort.