Okay I managed to get down to the sorting office in Hartlepool an had to pay cash as they
don't accept credit/debit/visa cards but they still accept cheques!
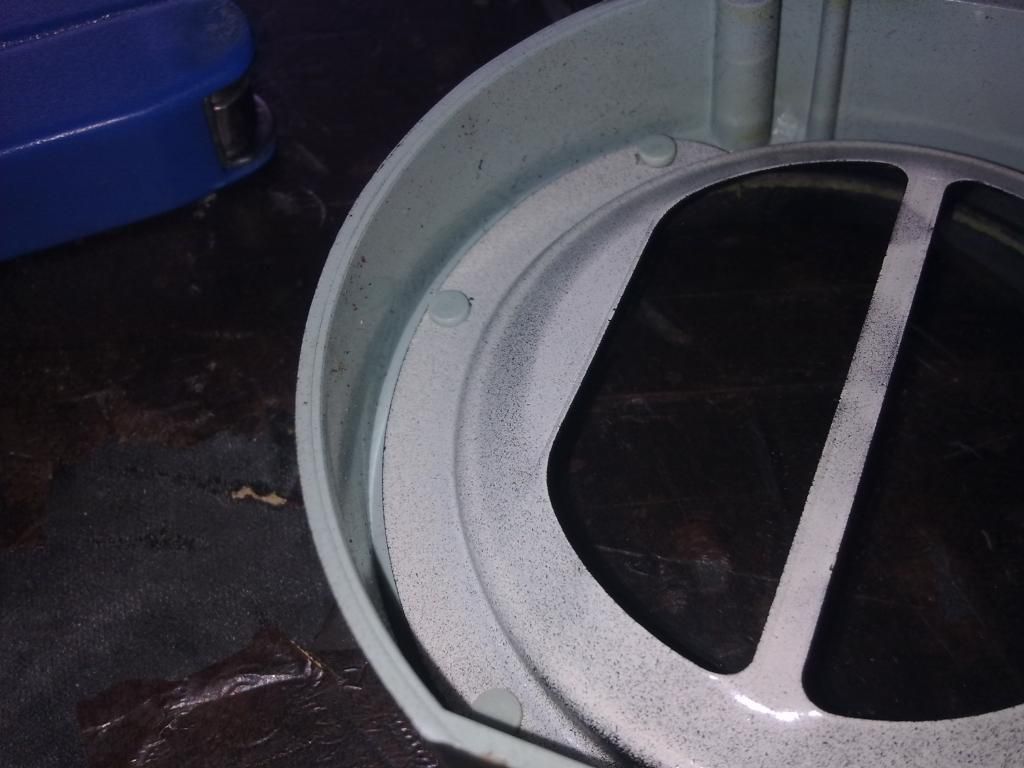
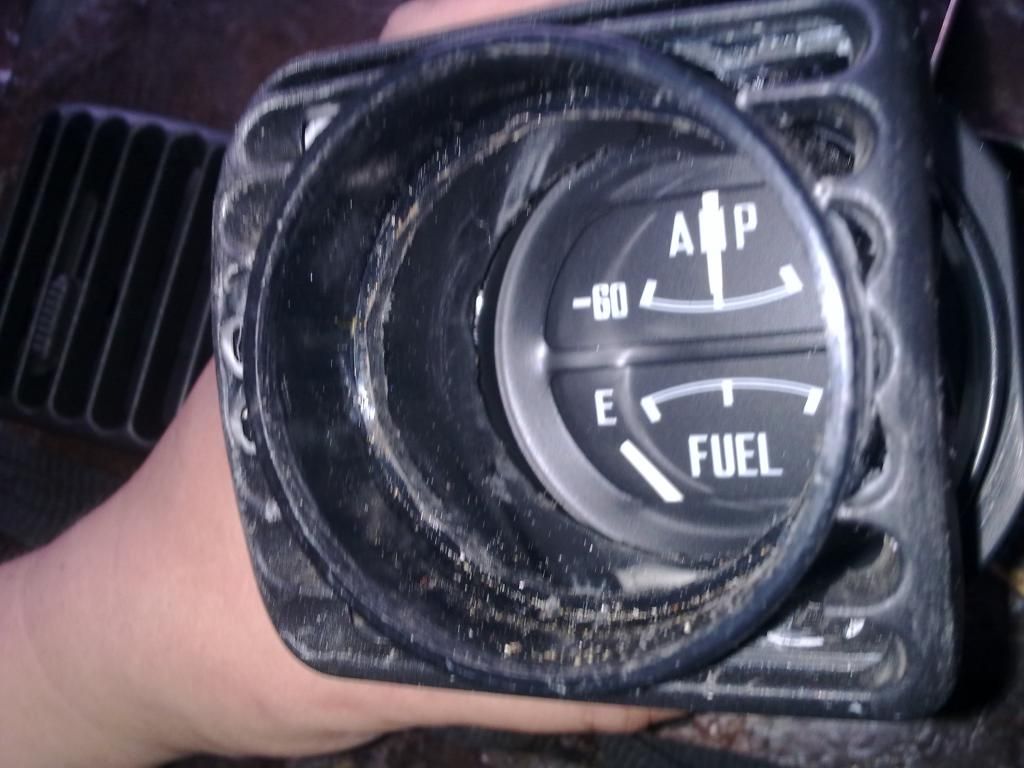
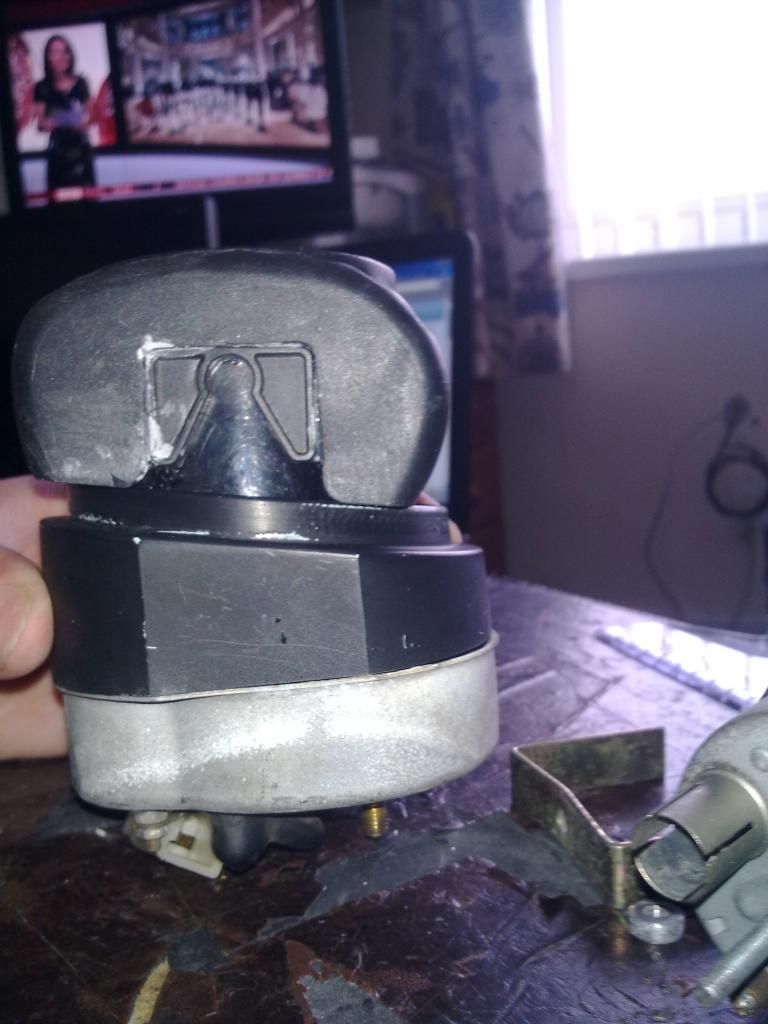
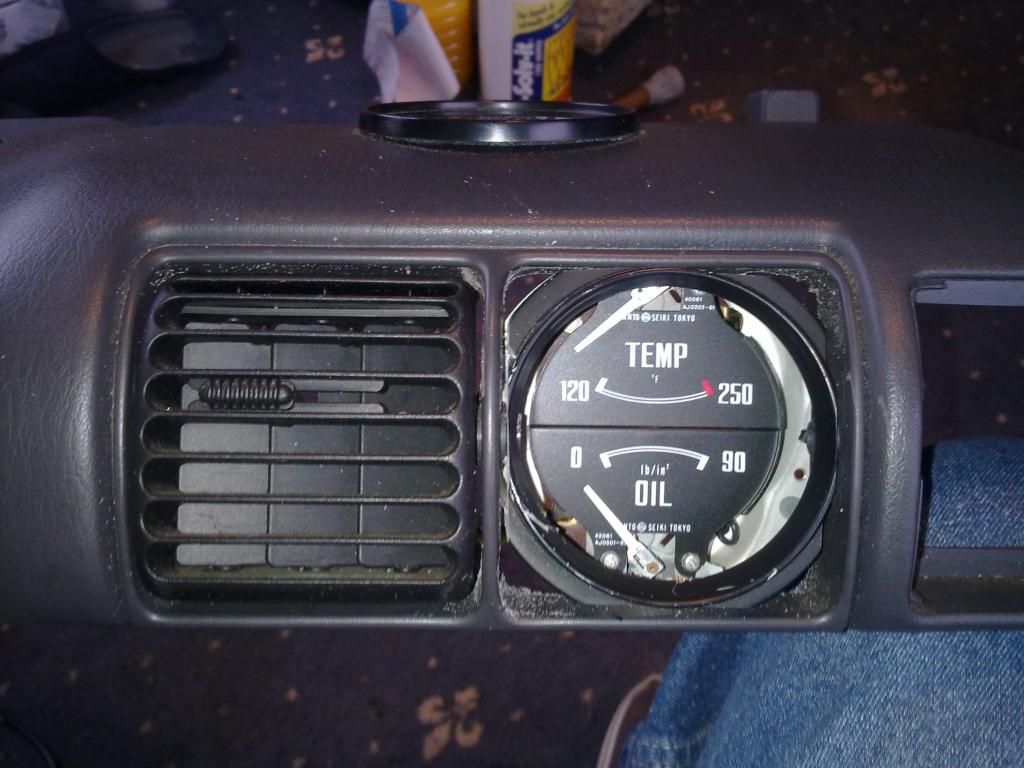
A comparison of the Datsun 240z gauges and the smiths 2" fuel gauge in a neon air vent!
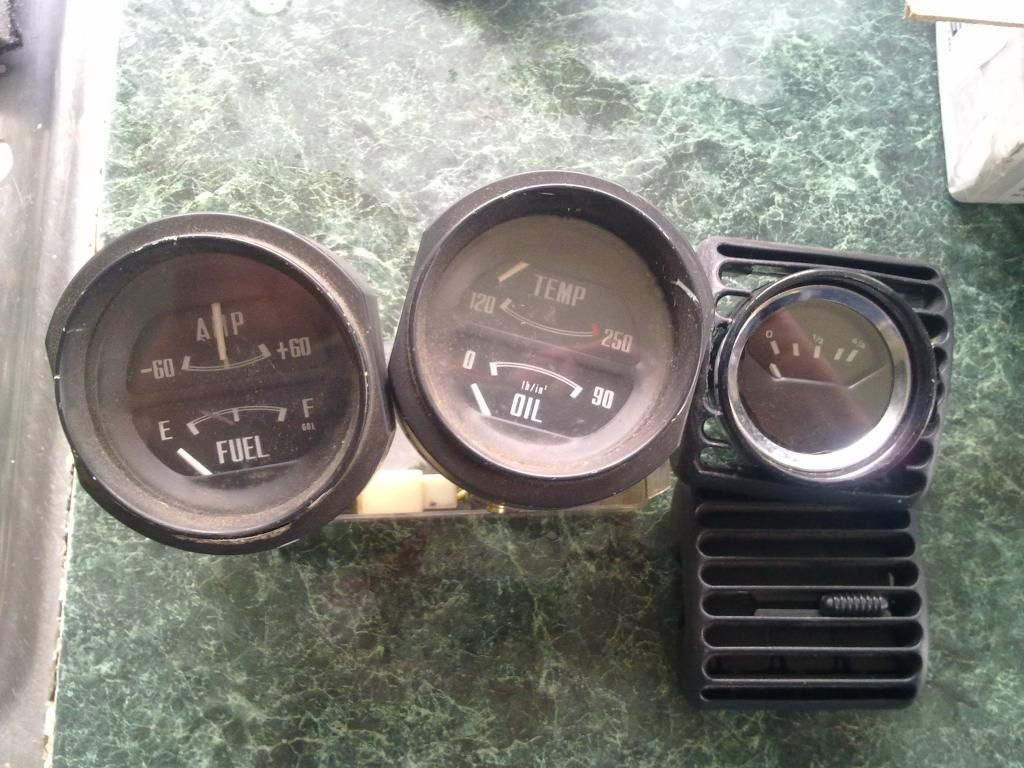
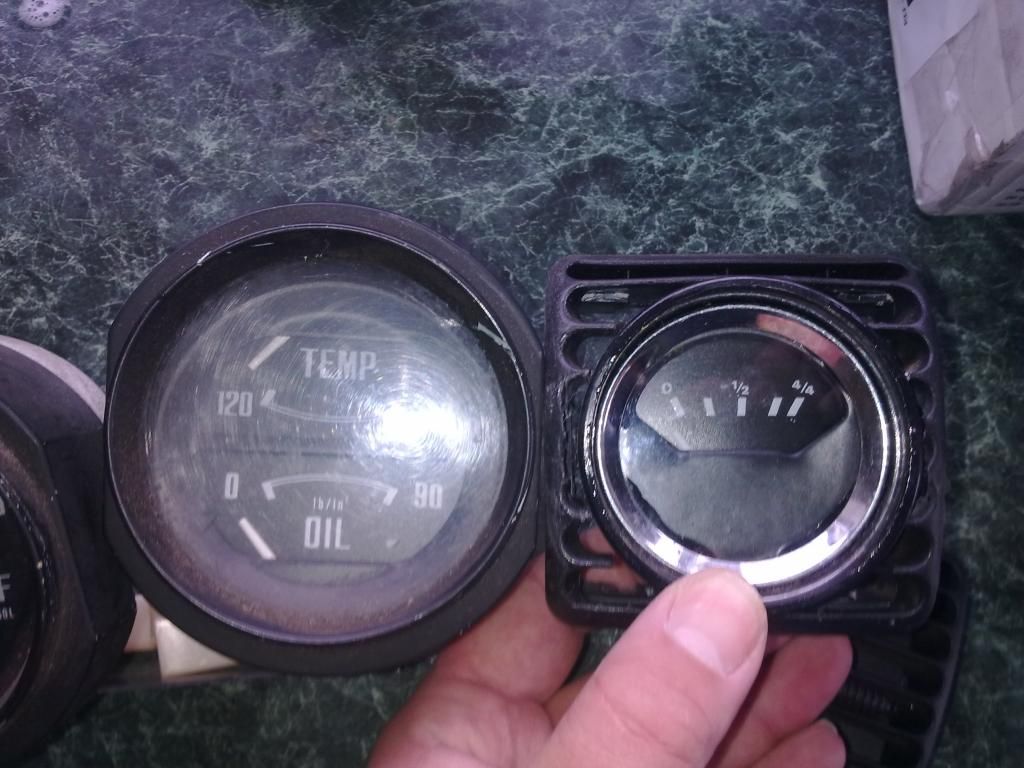
I had to take the front off the Datsun gauges for a wash in soapy water. And the the gauge on
the right is one used in the 4 and 3 multigauge smiths units as a comparison.
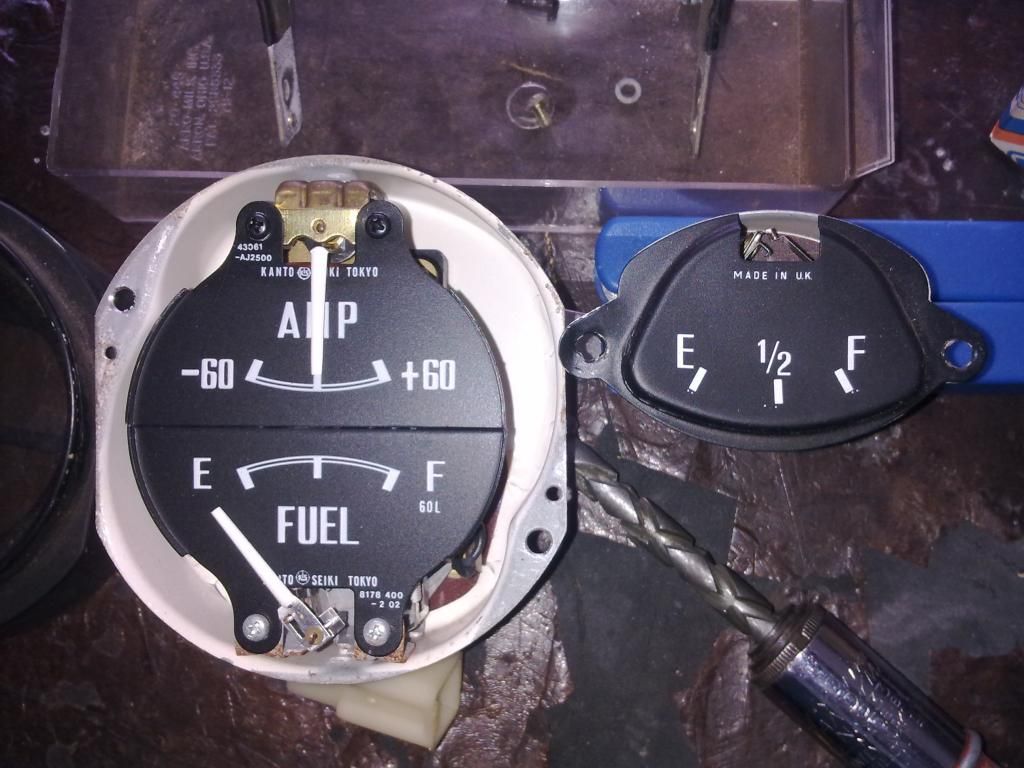
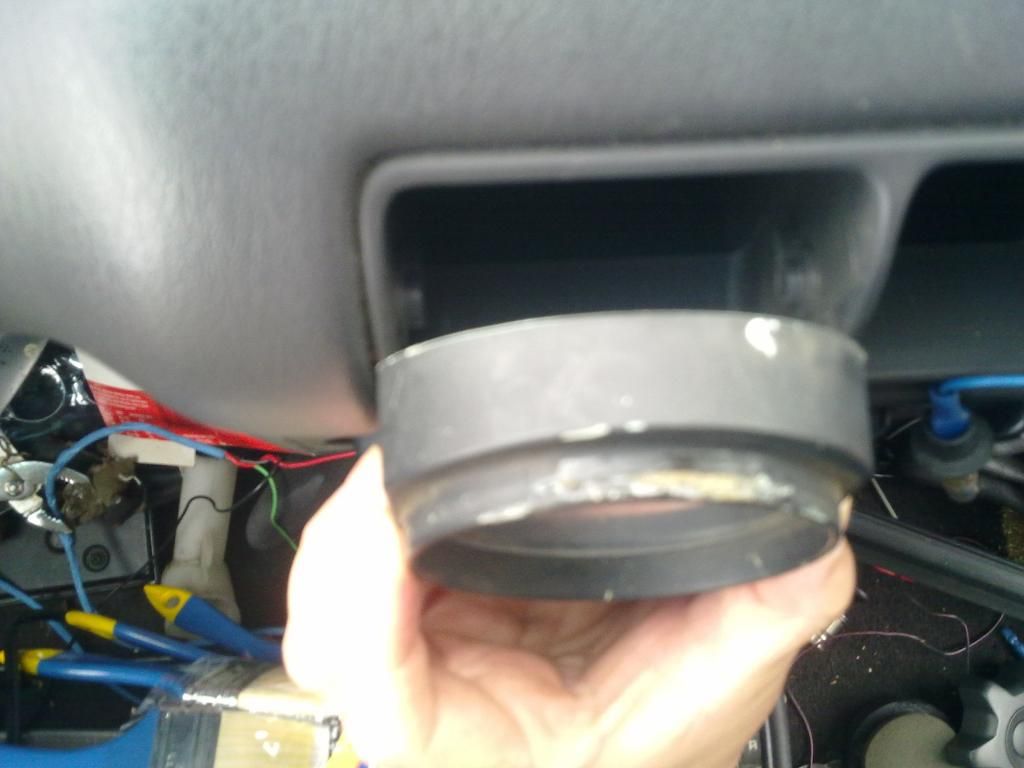
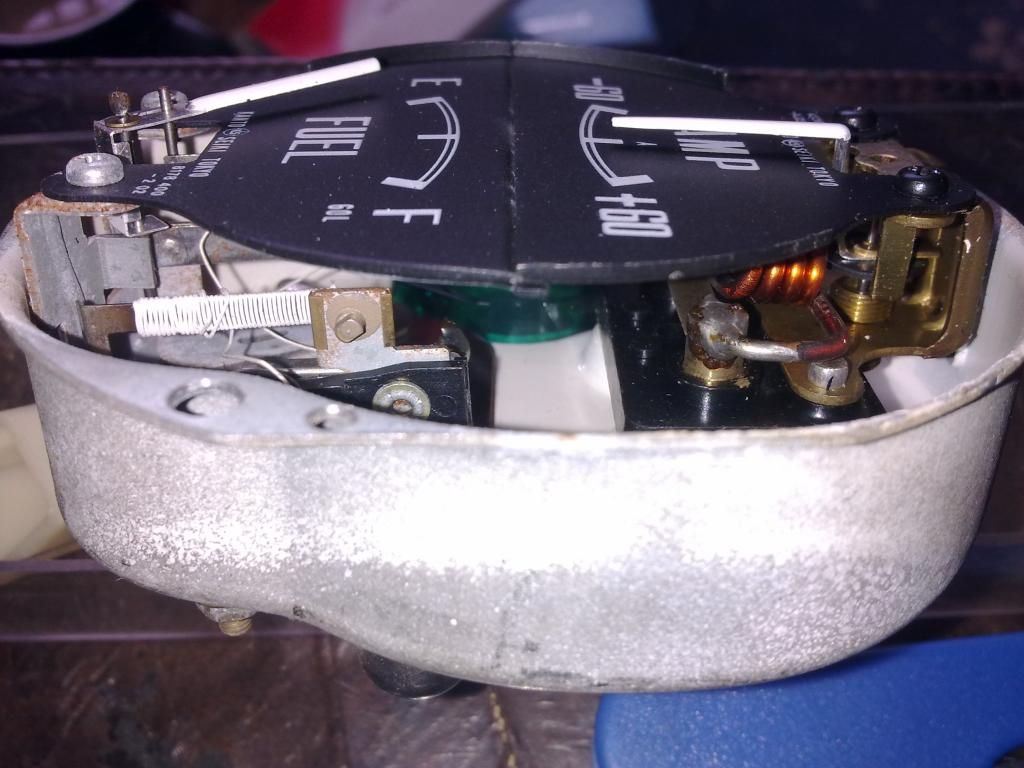
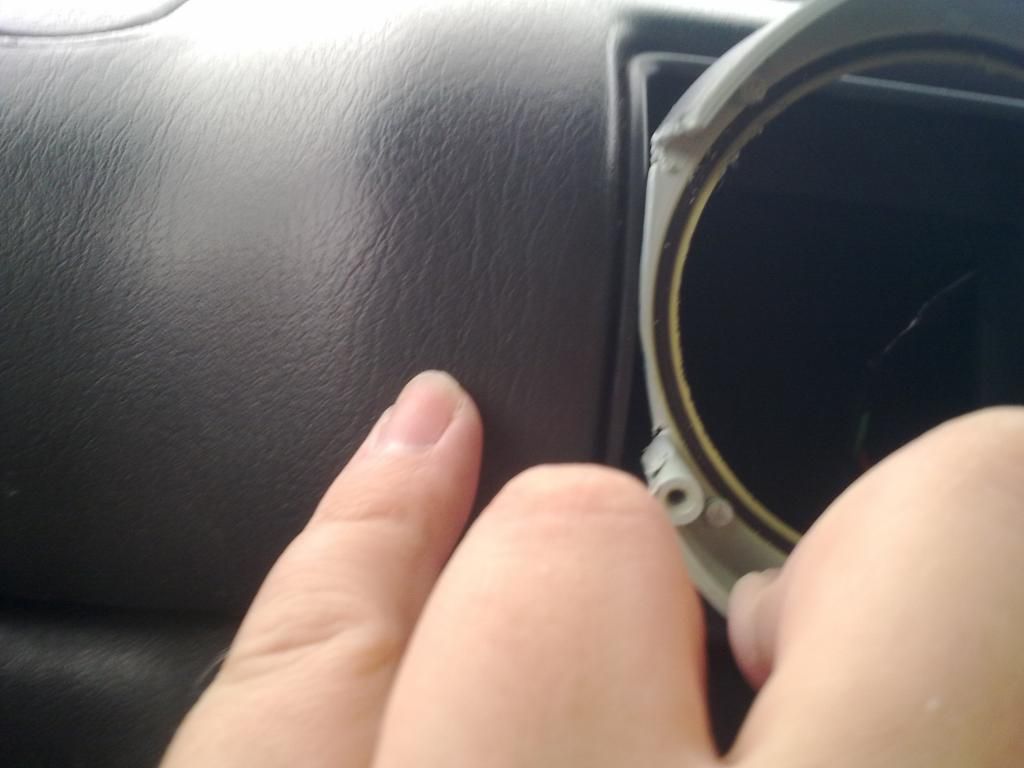
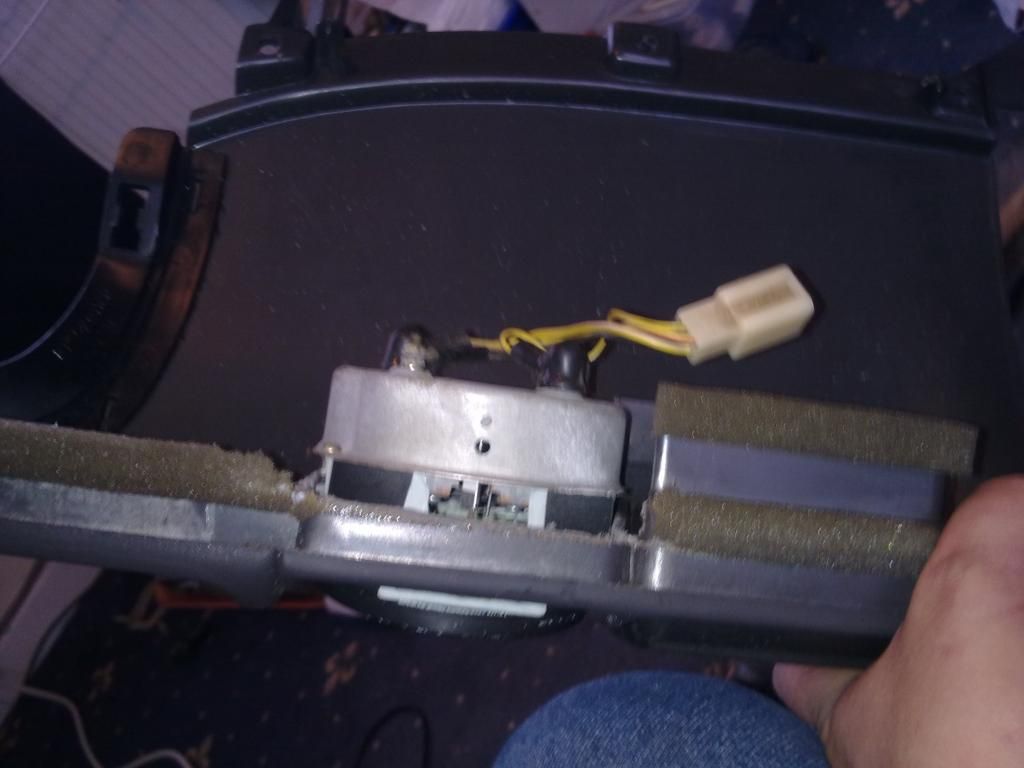
Here is the inside of the facia of teh good one, as the other has broken tabs
SO while the damaged one is off out to the car in the fog!
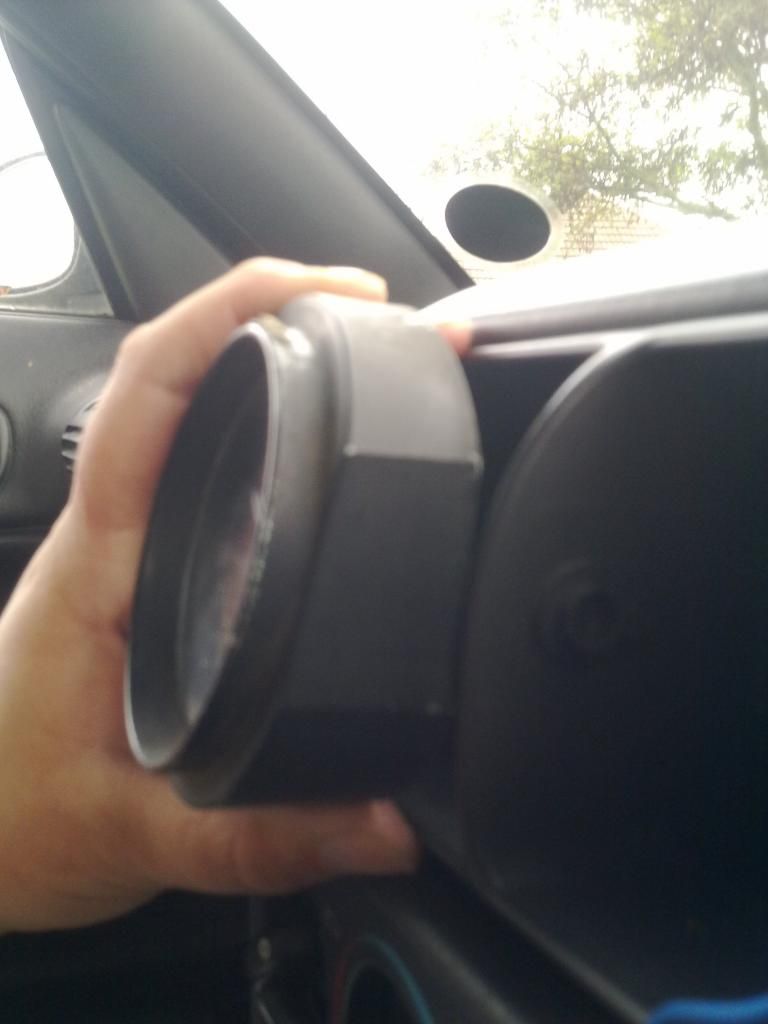
And as the air vent narrows this will have to be trimmed so the front is okay but the changed
at the back can't be seen.
To given an idea on how much of an angle the dash so I will change the facia round to it is
upside down and there will no problem with the gauges as tehy will still be straight.
This gives an idea of what is needed, the round petruding part of the gauge will be okay but
the sides of the facia will need to be trimmed back.
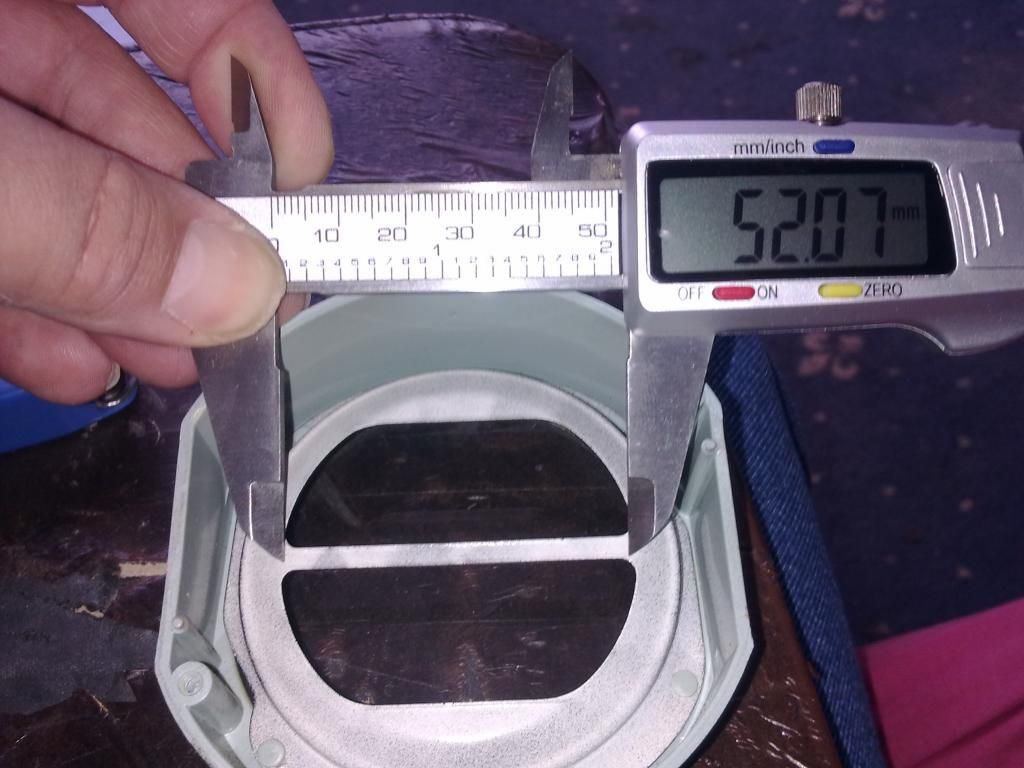
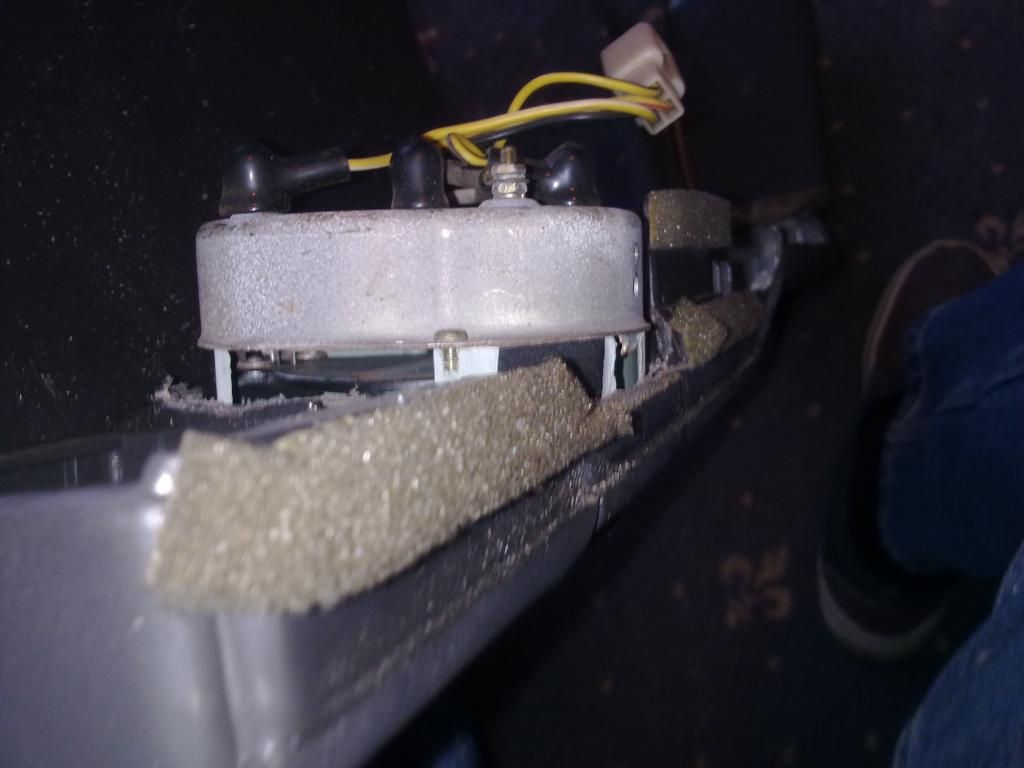
As you can see there is a nice bit of extra space around teh guts of the unit, and shows that
they can easily beswapped out individualy. Also space between them (not including dial face)
means I could possliby use a different gauge in that unit.
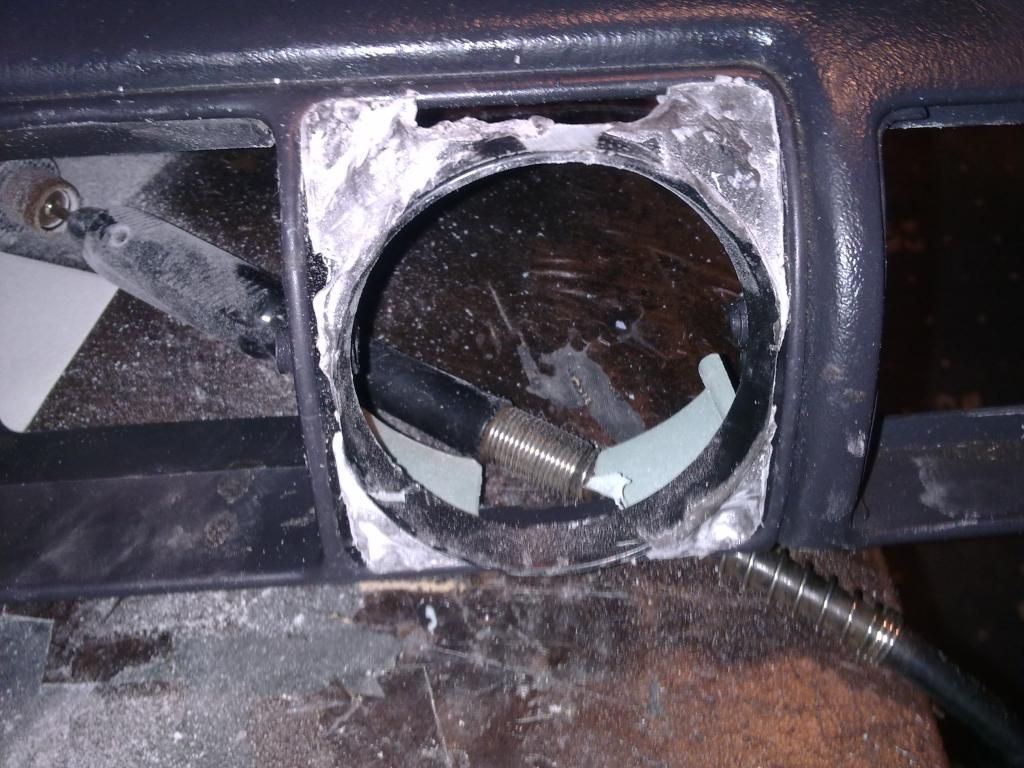
This Idea was ruled out as a matter of point so I mention it incase someone suggests it! The
gage would be too far back in the dash for it to be seen, but if I was to go the simple option
without any trimming this would be the distance needed to clear the dash molding!
Back to the trimming of the datsun gauge facia
I got sick of using the juniort hack saw and went for the quicker option the bench mounted
sanderwhich made made short work of it all done in 10 seconds a side!
And a test fitting without a back or guts or lense on it.
Which showed how much needed to be trimmed!
As the facia kept springing out I had to hold it in at roughly where it will be.

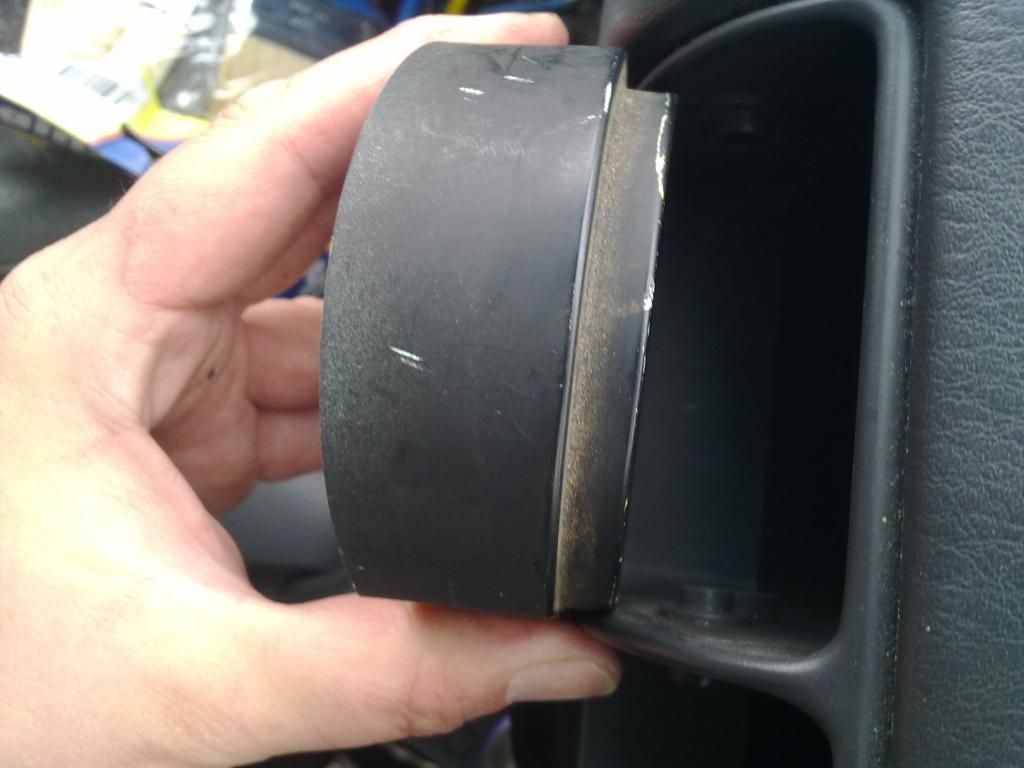
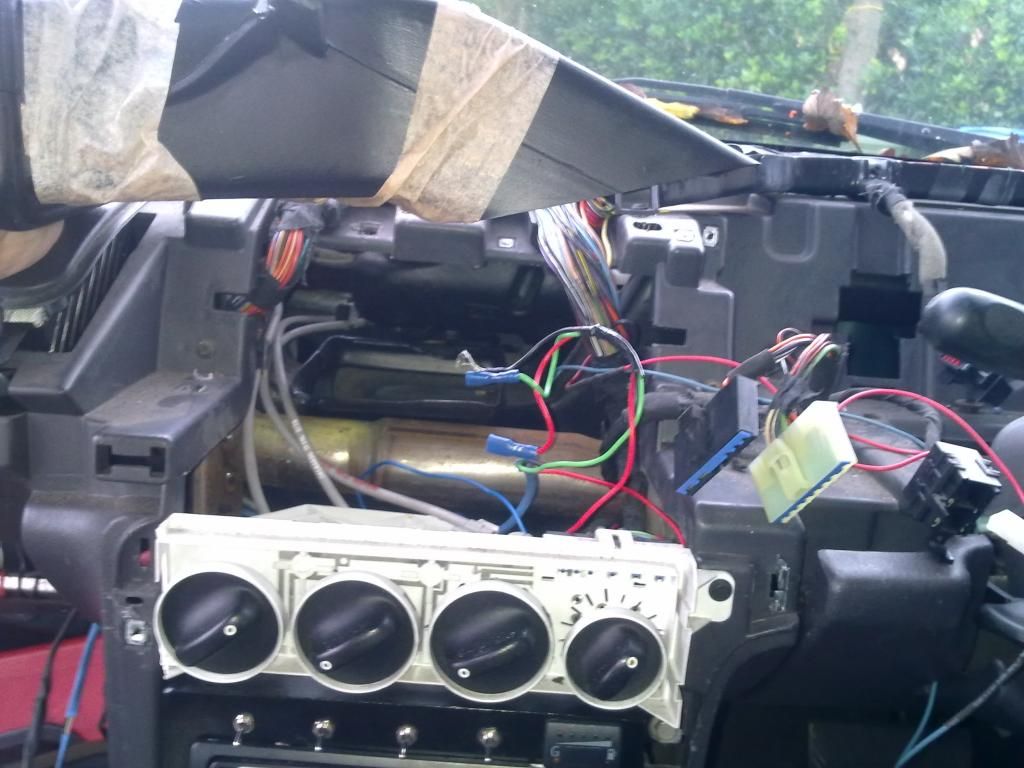
TO all who don't know how easy it is to dismantl a mk1 neon dash a flat head screw driver to
pry the upper dash up and a X head for the few screws all done in minute or two(seriously quick)
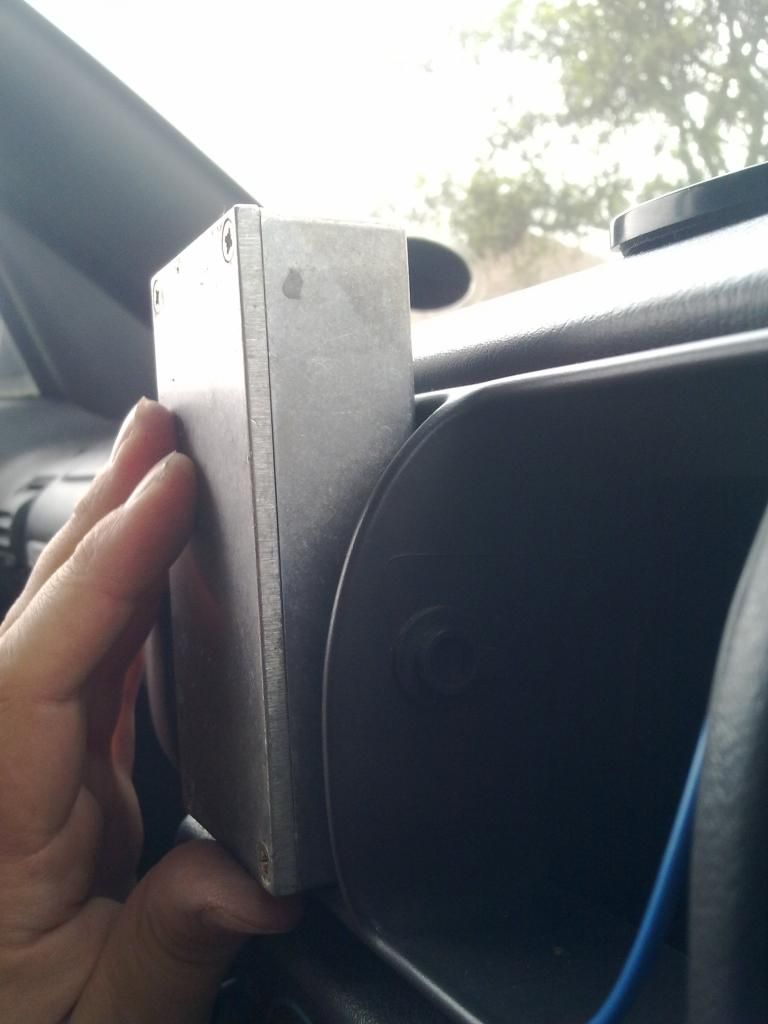
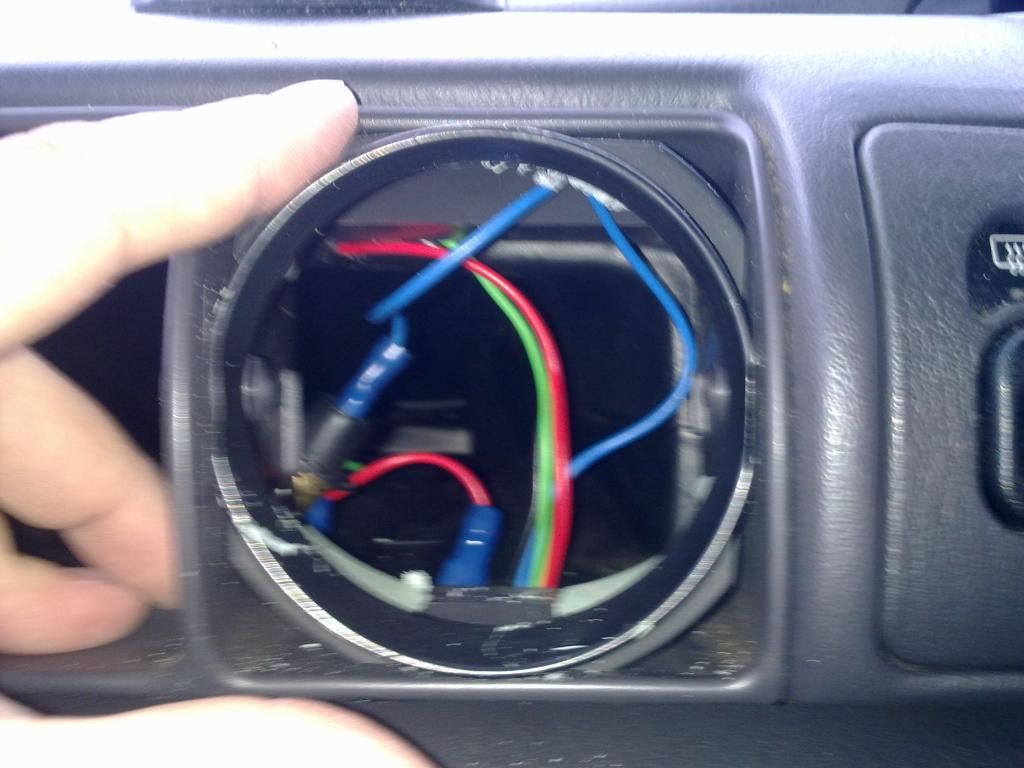
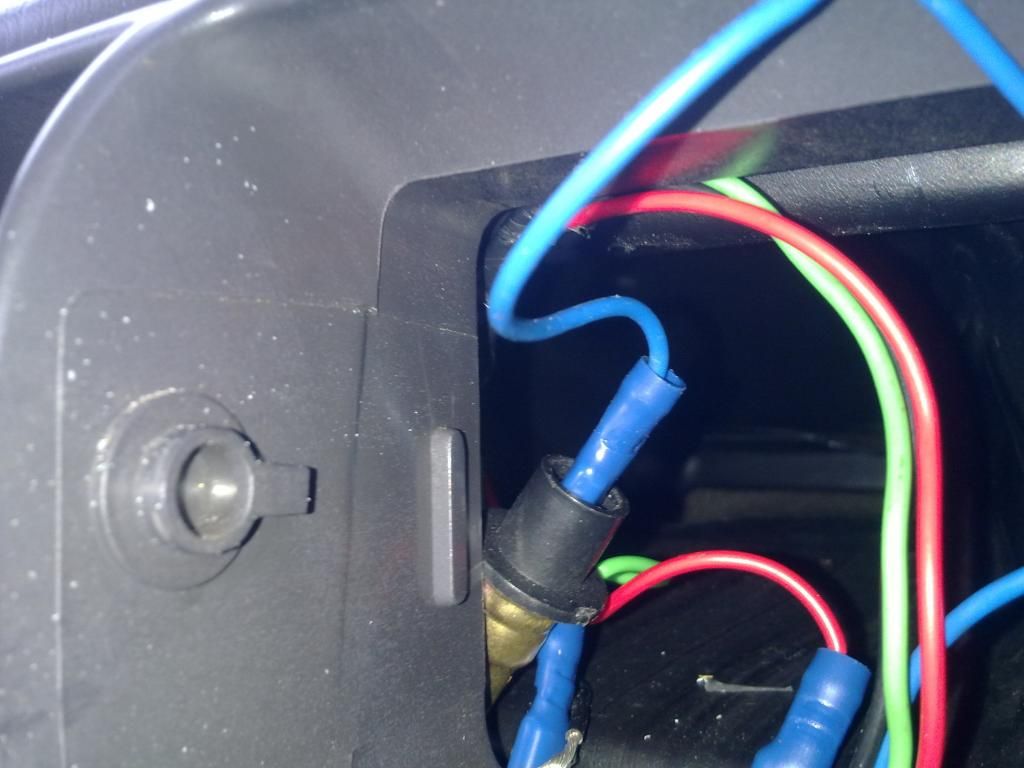
Believe it or not this is where the central lock unit is usually bolted to under a cage and
screwed to the plastic ducting!!!!!
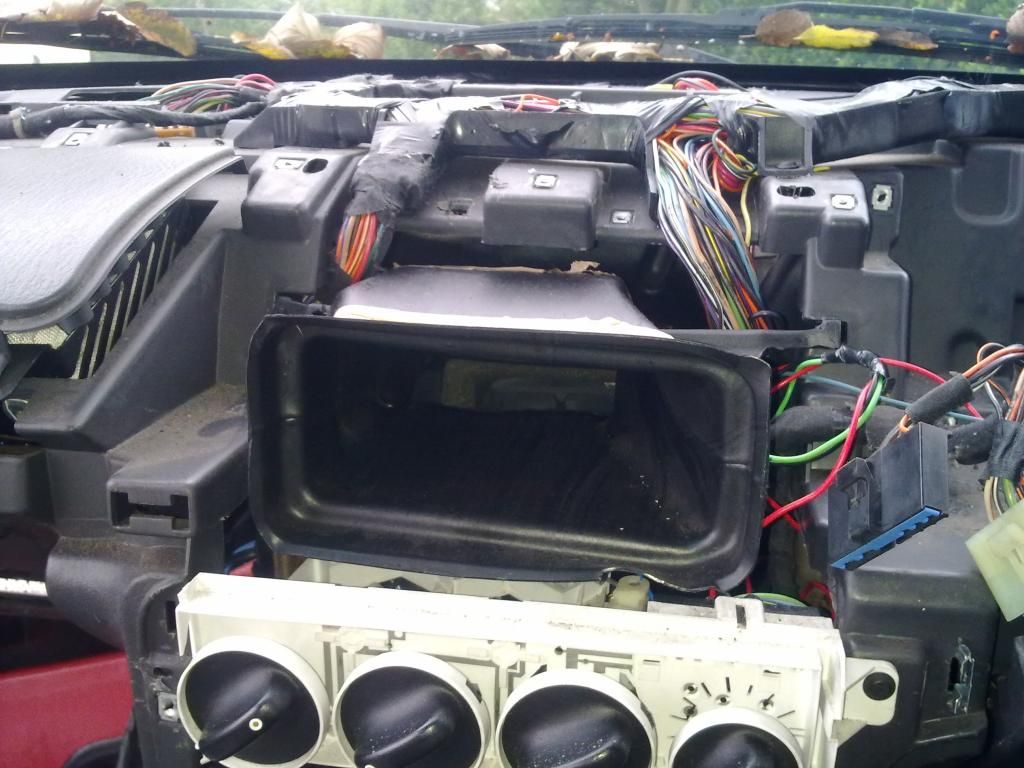
Screwed to this? was it supposed to hold the central locking unit in place or stop the ducting
rattleing?
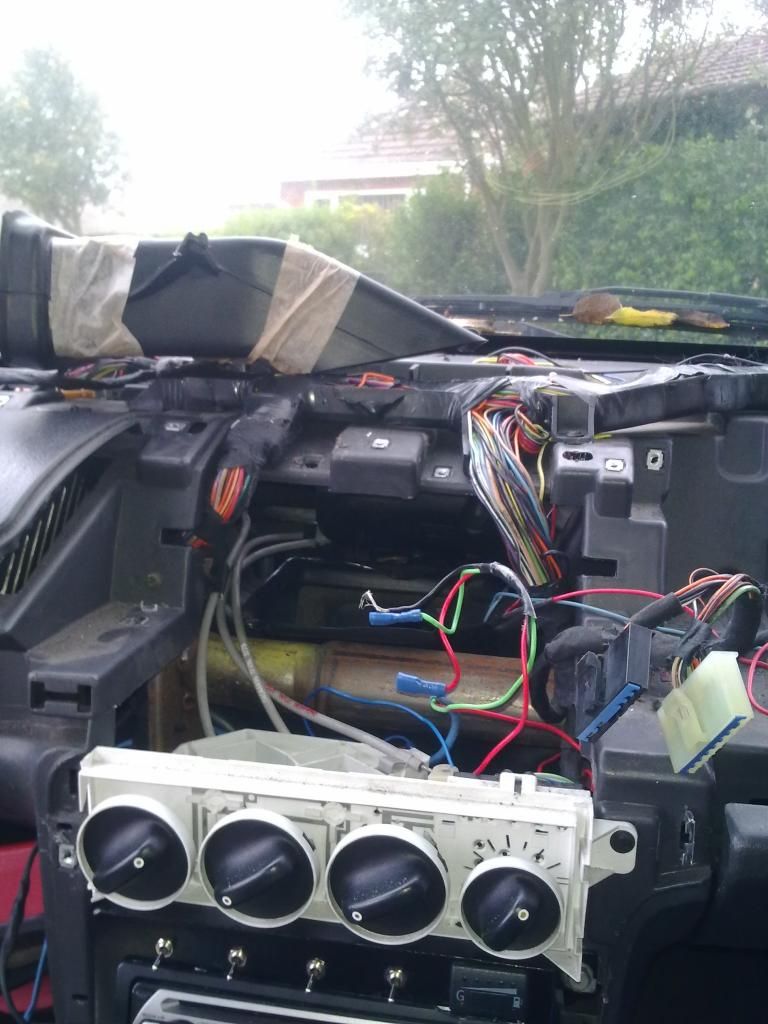
And we move into the house so I can make a mess in the dry and do what is nessacary without
complaints
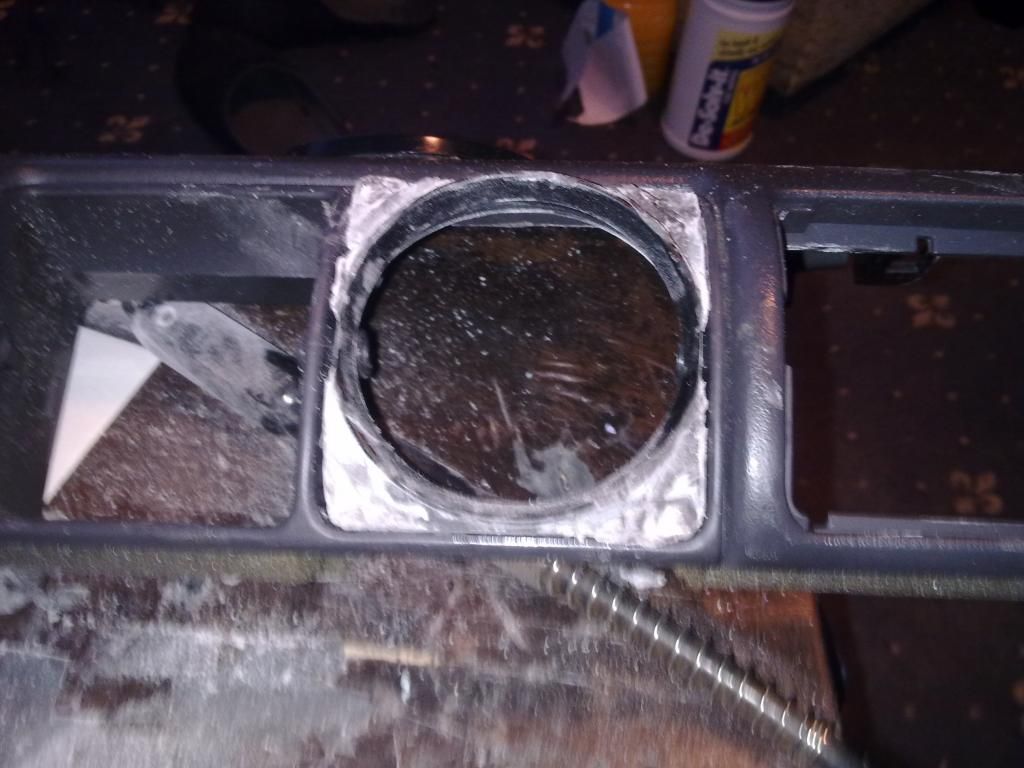
The black line is the cutting I will be doing so enough of the front is left to reattach ducting
or replace the bit I cut off later. Also so it can hold a vent face .
Mock up time.

This was a first attempt, using pertroluim jelly smeared over the dash I had then placed cling
film over teh dash so teh bumper filler wouldn't stick to the dash! It didn't set right and was
not bonding to the plastic gauge facia(I had trimmed the excess off before refitting without the
cling film/food wrap)
The cling film and petrolium jelly actually worked rather well, I had seen it done on a TV show
but never thought it would work withthe bumper filler as it was done with fiberglass in the show.
I have since cleaned the old filler off and trying it a different way. (rain coming down now!)