V6 into a RHD Chrysler Neon mk1

Post pictures and stories about your cars both present and past. Also post up "blogs" on your restoration projects - the more pictures the better! Note: blog-type threads often get few replies, but are often read by many members, and provide interest and motivation to other enthusiasts so don't be disappointed if you don't get many replies.
Message
Author
User avatar
Mitsuru
Posts: 2300
Joined: Thu Jan 06, 2011 1:42 am
Location: County Durham

Re: V6 into a RHD Chrysler Neon mk1(SHE LIVES!!! only just!)

#1201 Post by Mitsuru »

A little pain endurance resulted in the MSD 8913 tach signal generator being fitted.
I decided to mount it on the plate the ignition coil pack was mounted to. This ment
a bit of a chew getting the fixing bolts for that plate off. Drilled and taped.

Image


In place with wires soldered together.

Image

One more thing to tick off the list, and painkillers tonight!
I'm Diabetic,& disabled BUT!! NOT DEAD YET!!
User avatar
Mitsuru
Posts: 2300
Joined: Thu Jan 06, 2011 1:42 am
Location: County Durham

Re: V6 into a RHD Chrysler Neon mk1(SHE LIVES!!! only just!)

#1202 Post by Mitsuru »

This custom seat cover has been one compromise after another!!!!!!!!
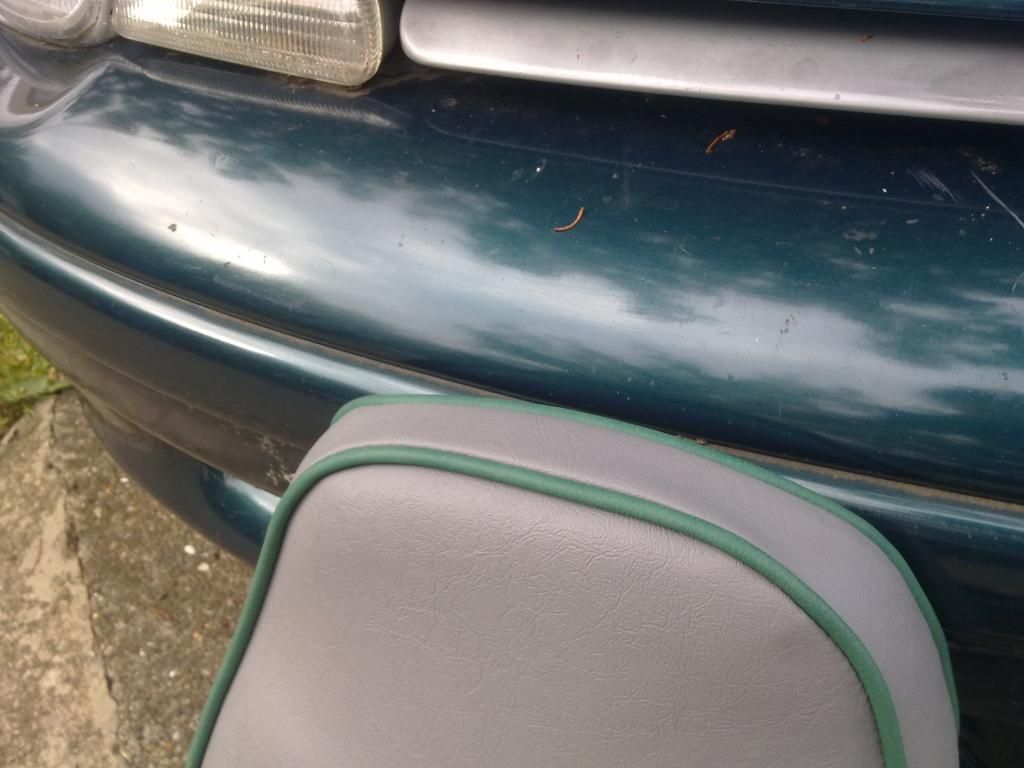
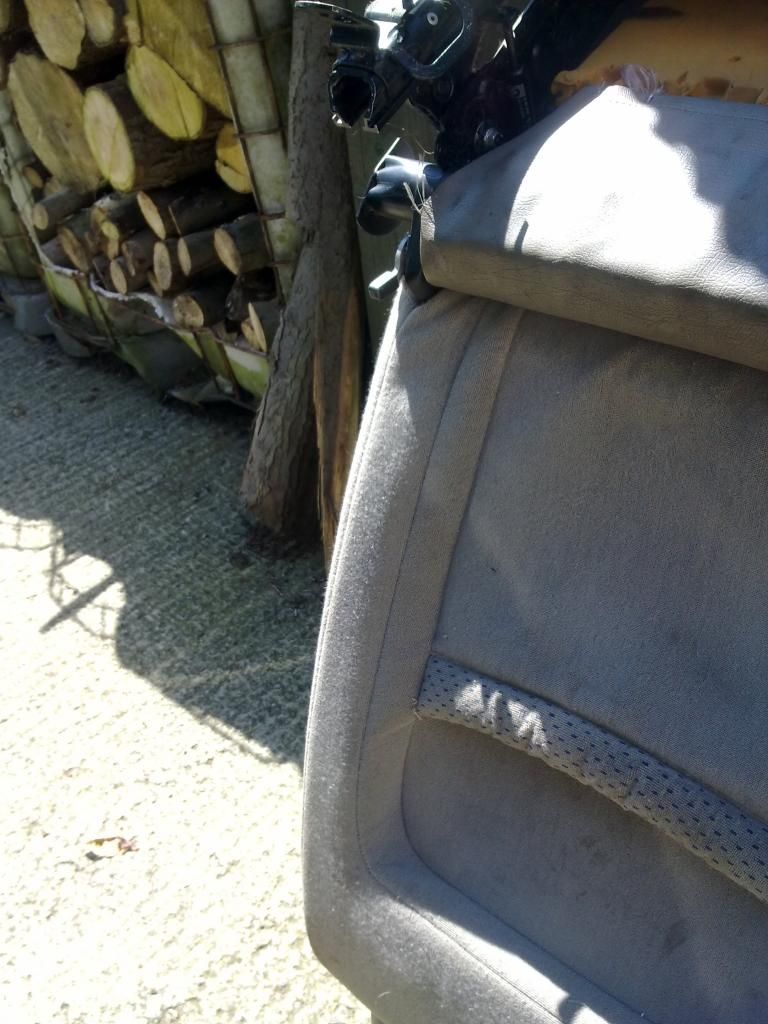
First lets look at the colours, I wanted a dark grey to match the original with a dark green
piping to match the cars body. The company I was using said they couldn't get the dark
grey SO I thought I would try a lighter shade of grey. Too light and it has been nagging me
ever since! you decide

Image

Image


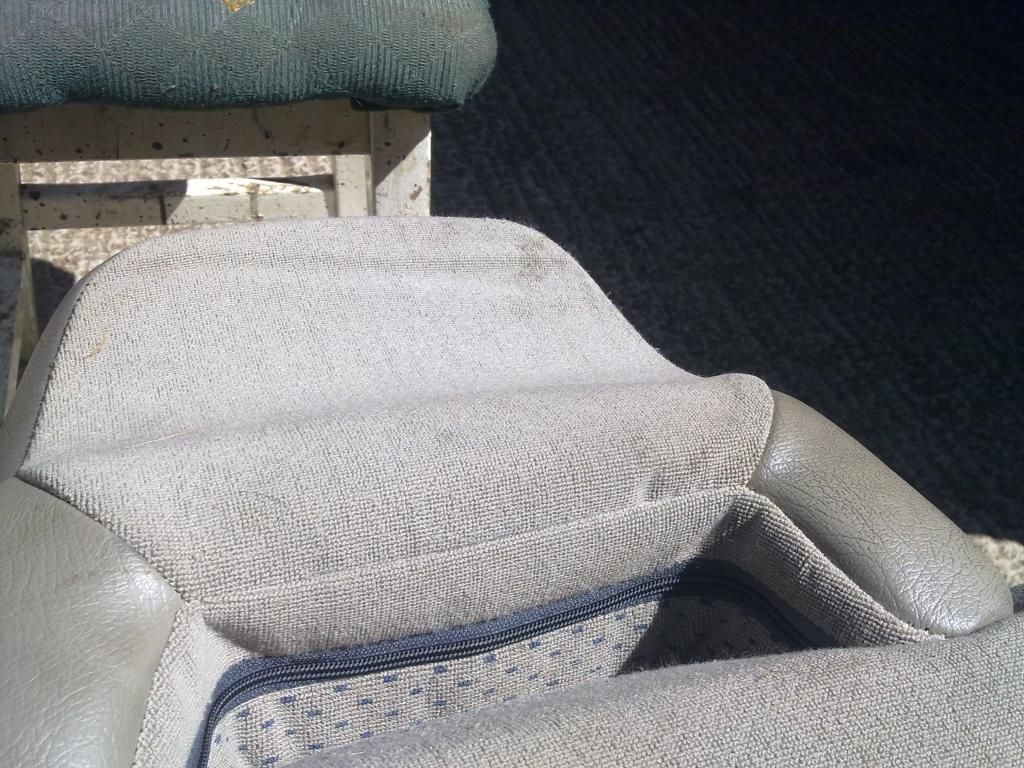
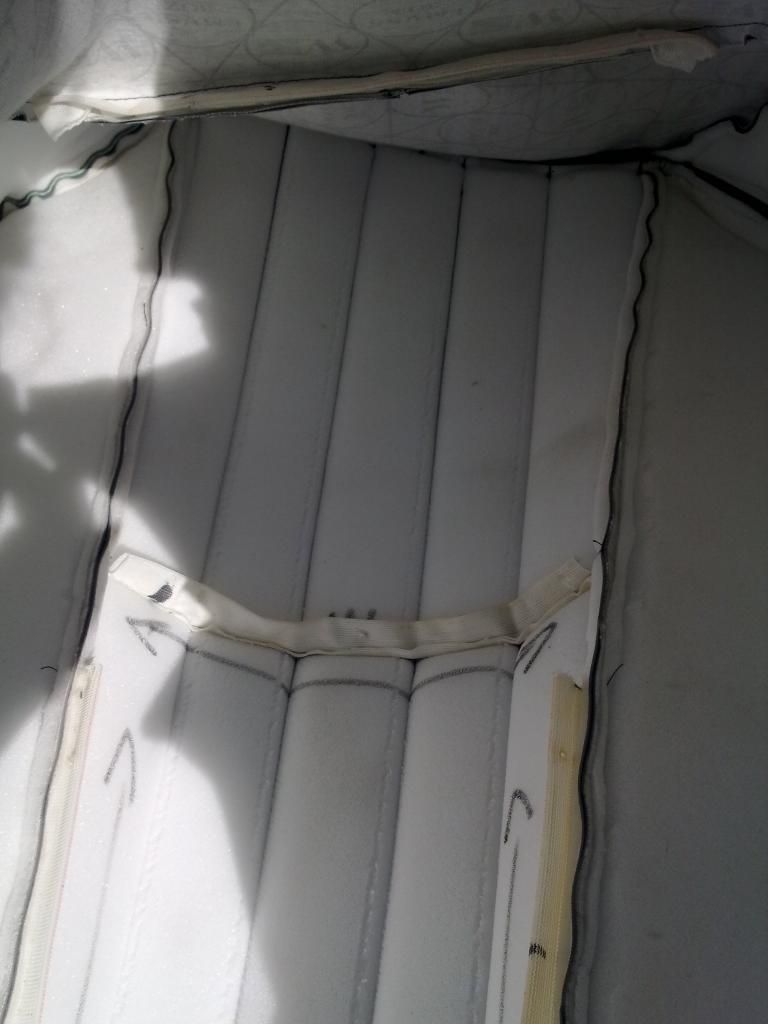
And now for the comparison first an original Volvo V70 seat cover still on it's foam and seat
frame! The seat upside down in this photo but you get the idea of the sunken panel on the
back which gives the rear passenger just a littl more leg room

Image


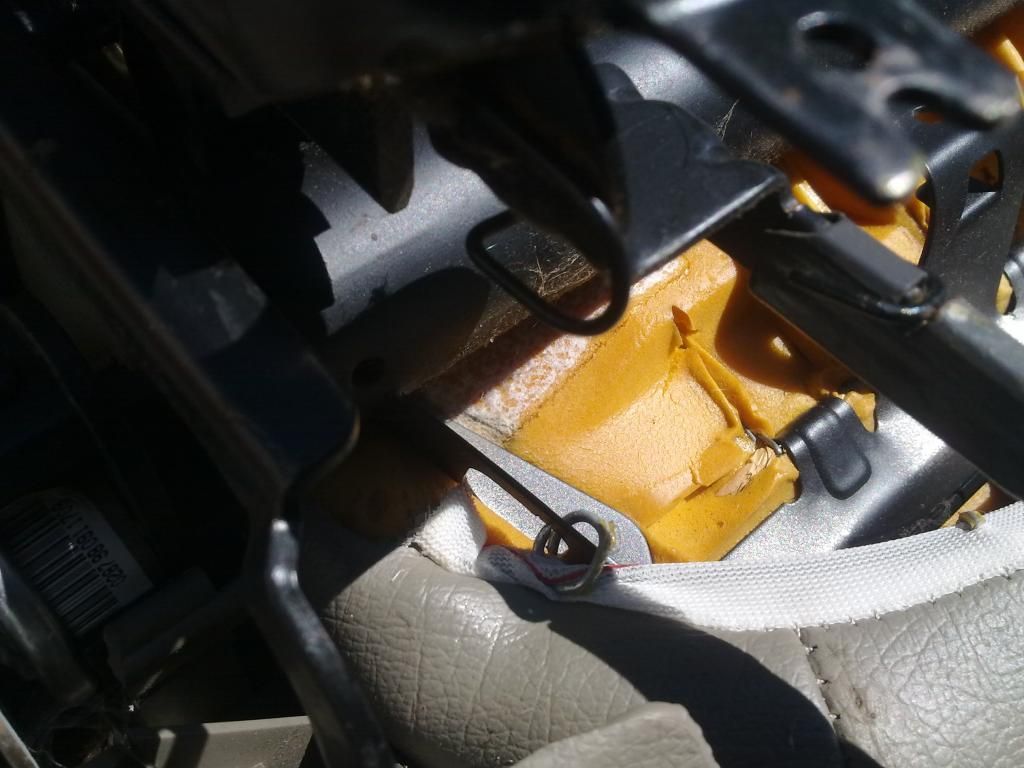
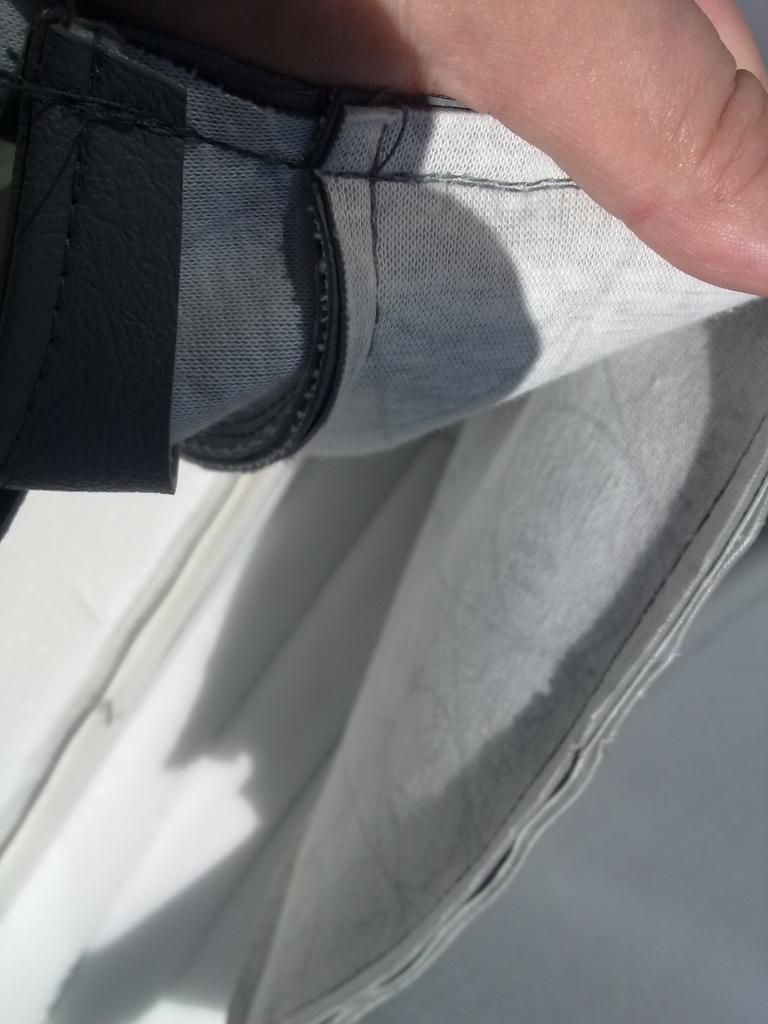
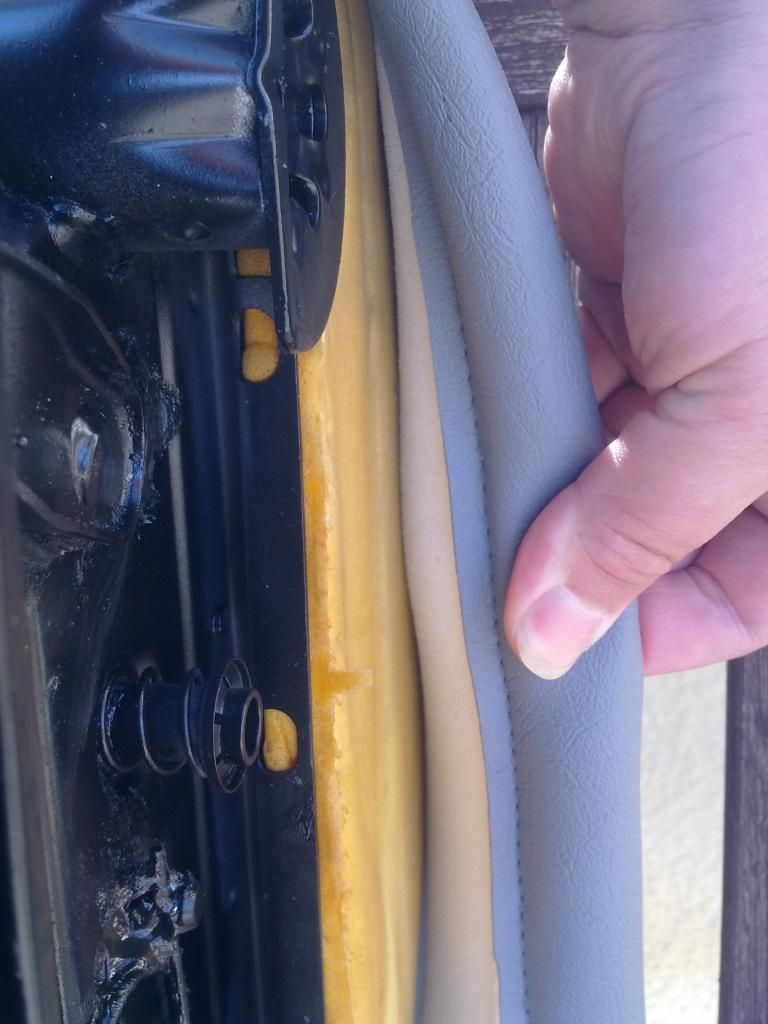
On the sides of the base cushion cover there is a fabric strip to hold a strip of metal rod which
is hog ringed to the frame

Image


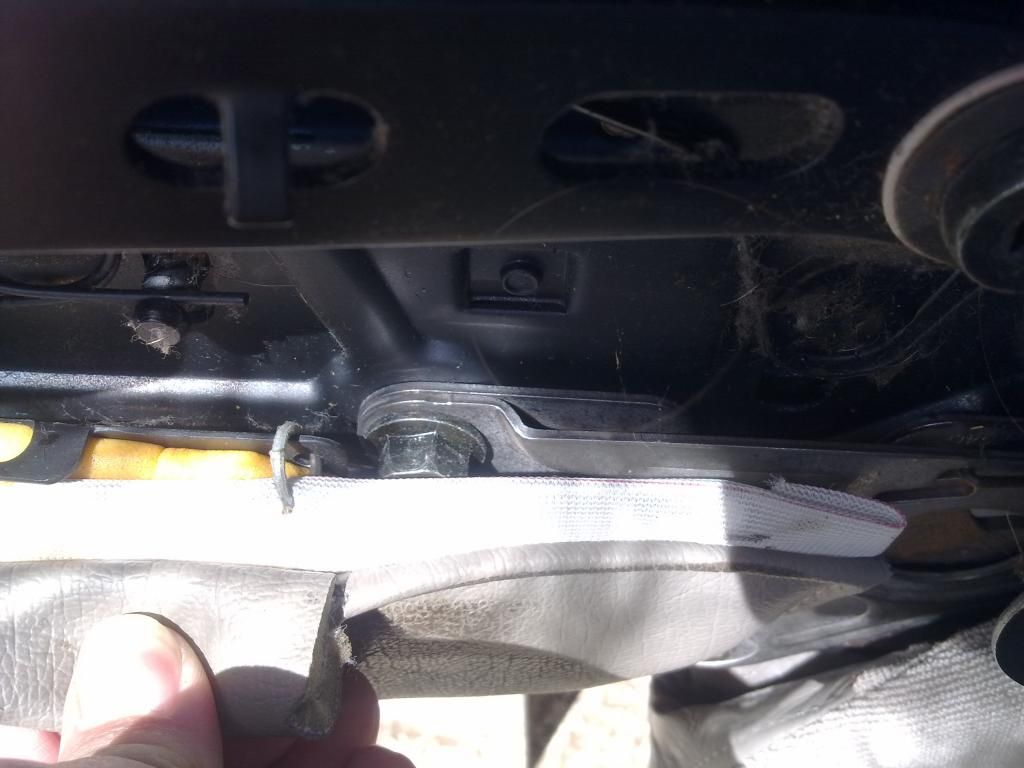
On the sides there is a fabric flap which protects the rod, the hog rings and seams from the
movement of the seat. When it comes around to the fron the raw fabric edge is behind so it
cannot be seen.

Image

Image

Image


And the head rest has a zip underneath to keep averything neat and tidy as it can be seen
from the person sitting behind the seat

Image


I will now state a fact for all to understand, my Mother used to work in a clothing factory for many
years. She worked alongside my grandmother and other relatives at a company called Dewhursts in
Peterlee. So she is a machinist and knows what she is talking about! And she was NOT impressed
by the standard of work which was shown.

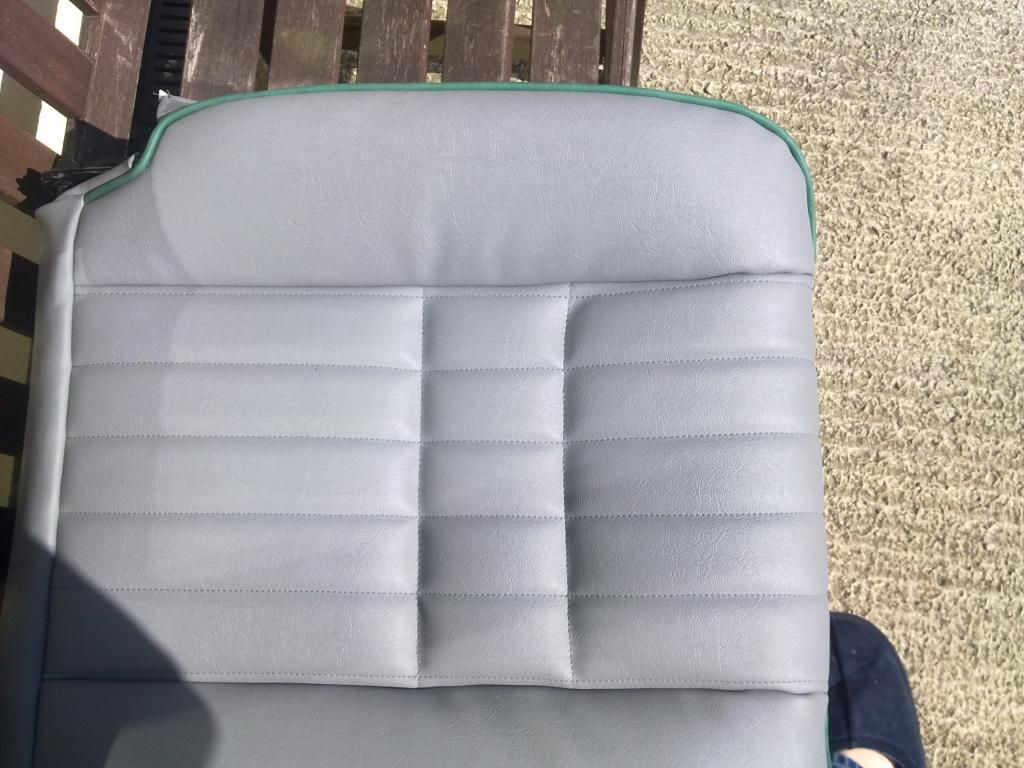
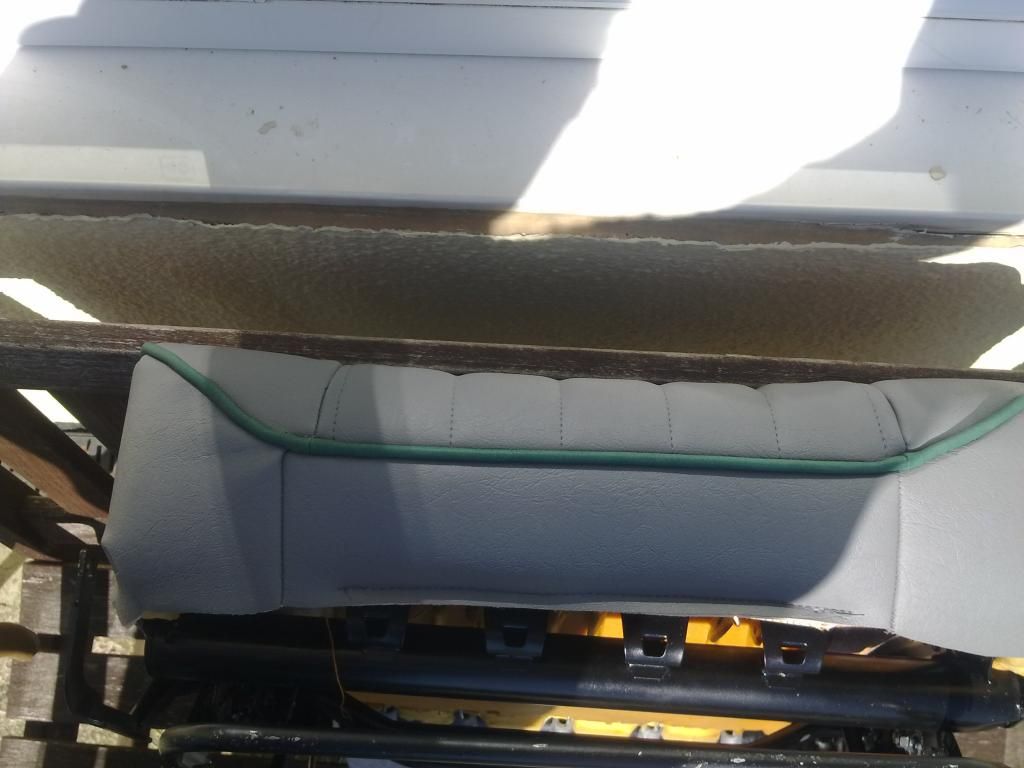
And now for the recovered version done by Elite Foam

Image


Remember the sunken panel for extra leg room on the original cover? I had requested on the new
cover. Instead it has been made into one long tubeing!

Image

Image


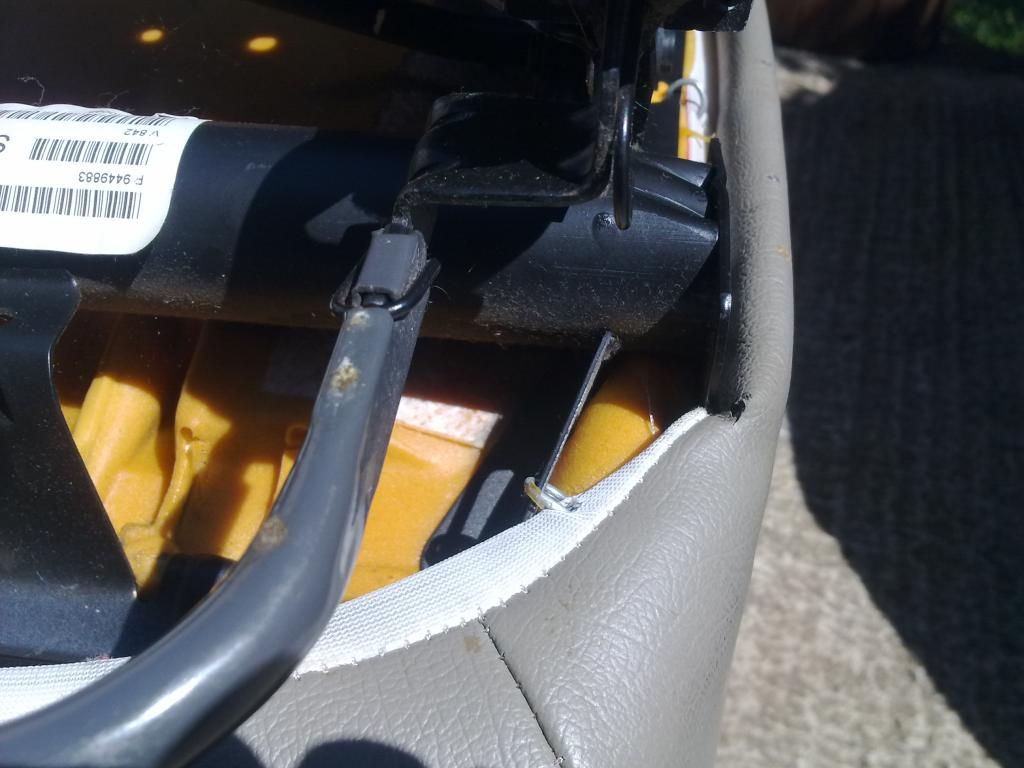
On the original seat back there is a rod across at 1/4 way down then half way mark, these work to
pull the middle panel into the contour of the foam structure.

Image


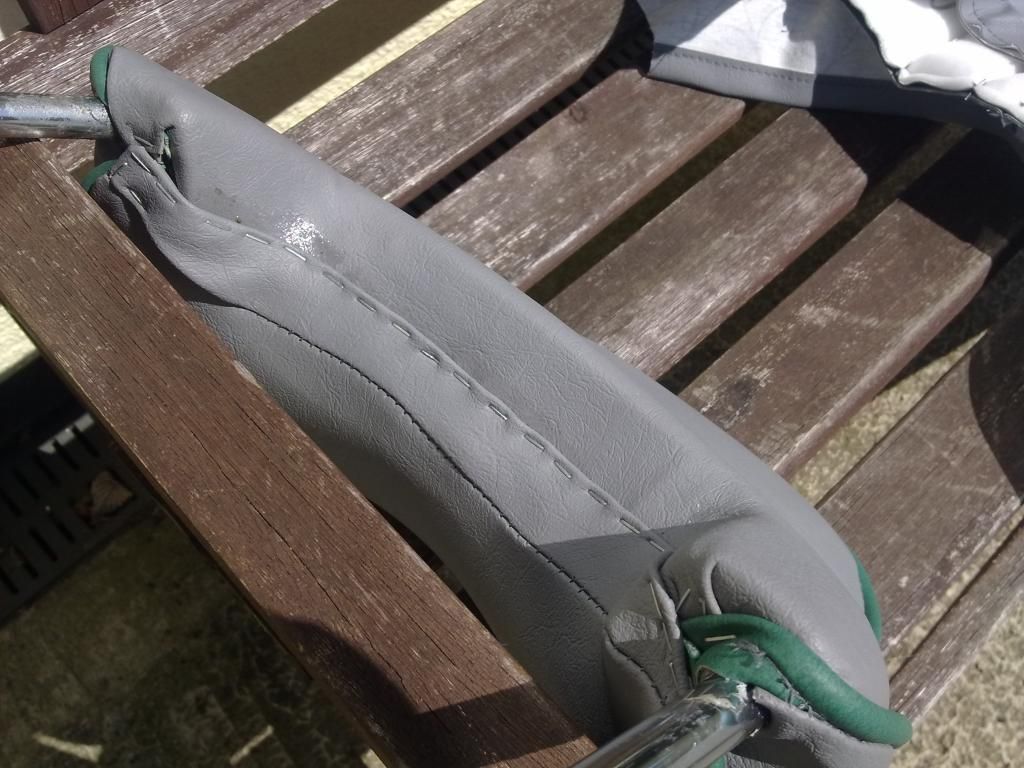
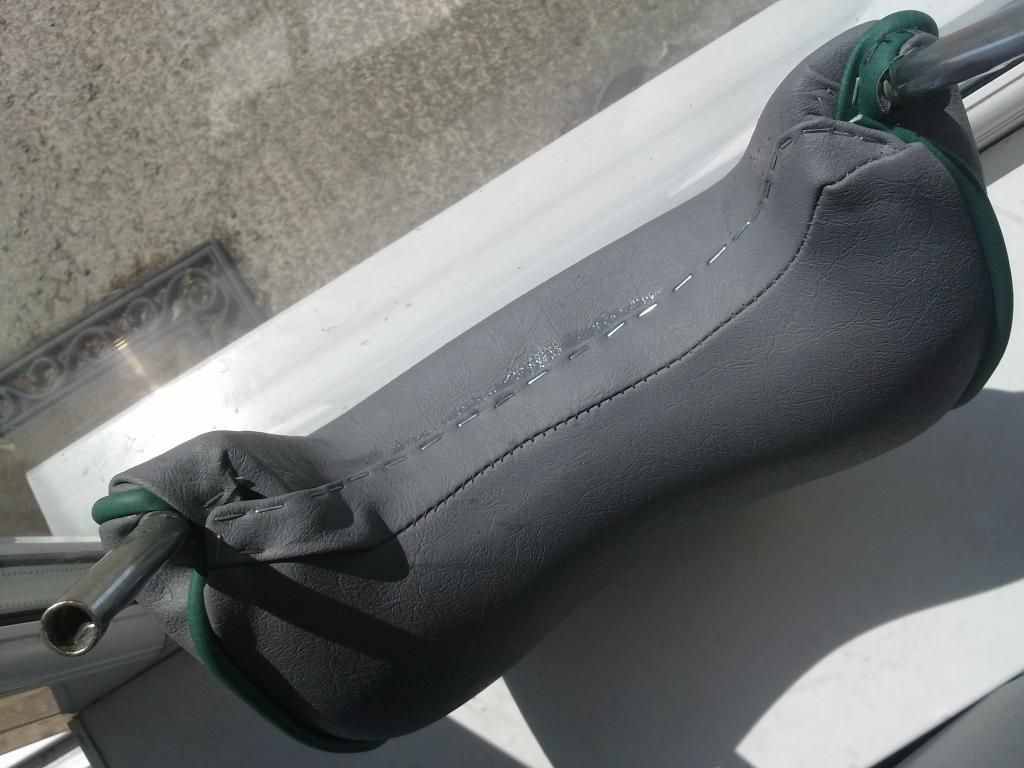
Back to the headrest the seams aren't right on the sides and has glue on metal bars. Although these
bars would be hidden in the seat they do mean you have to wash your hands after handling!

Image


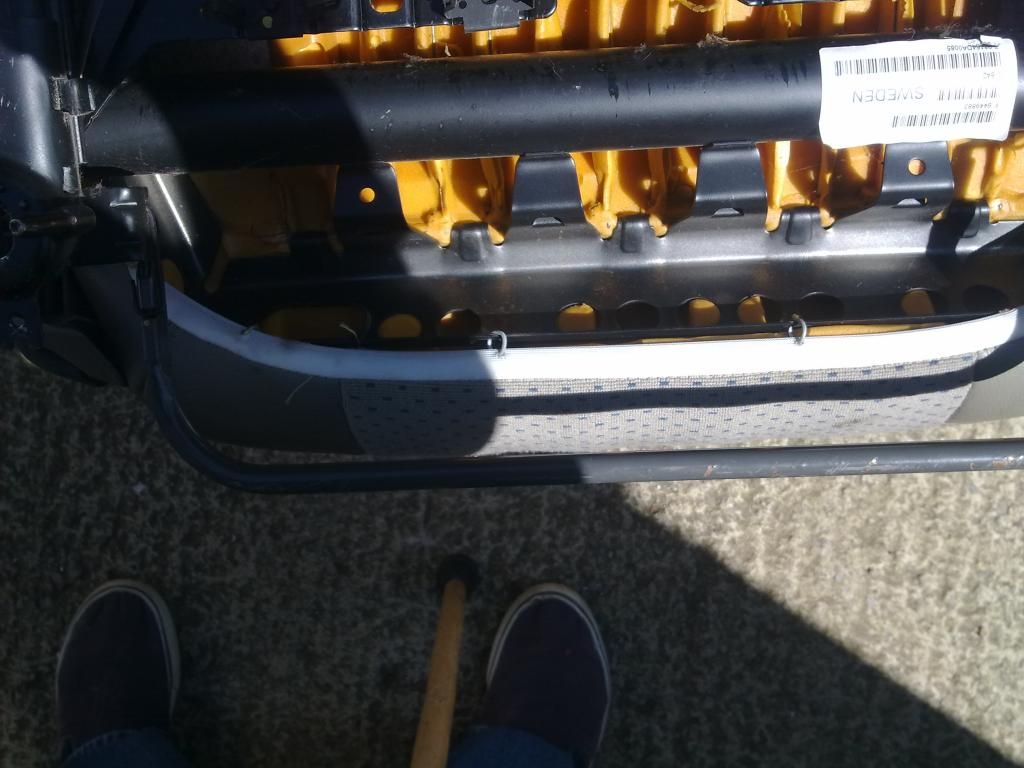
Here is something that was pointed out to me as I thought it was my eyesight!
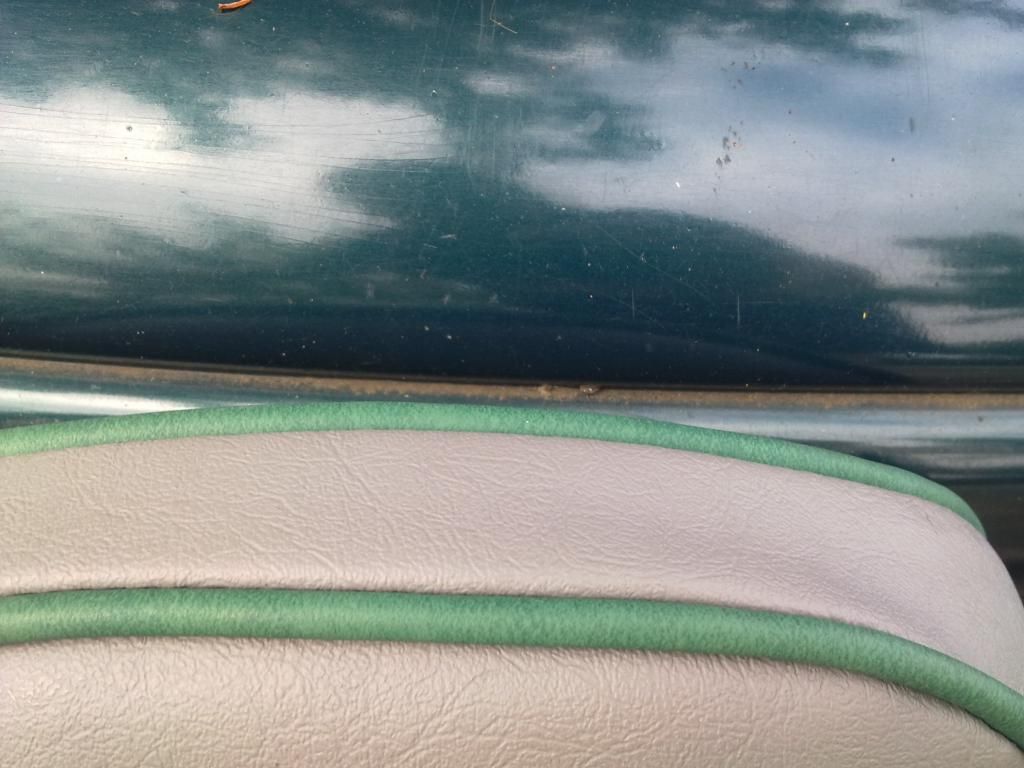
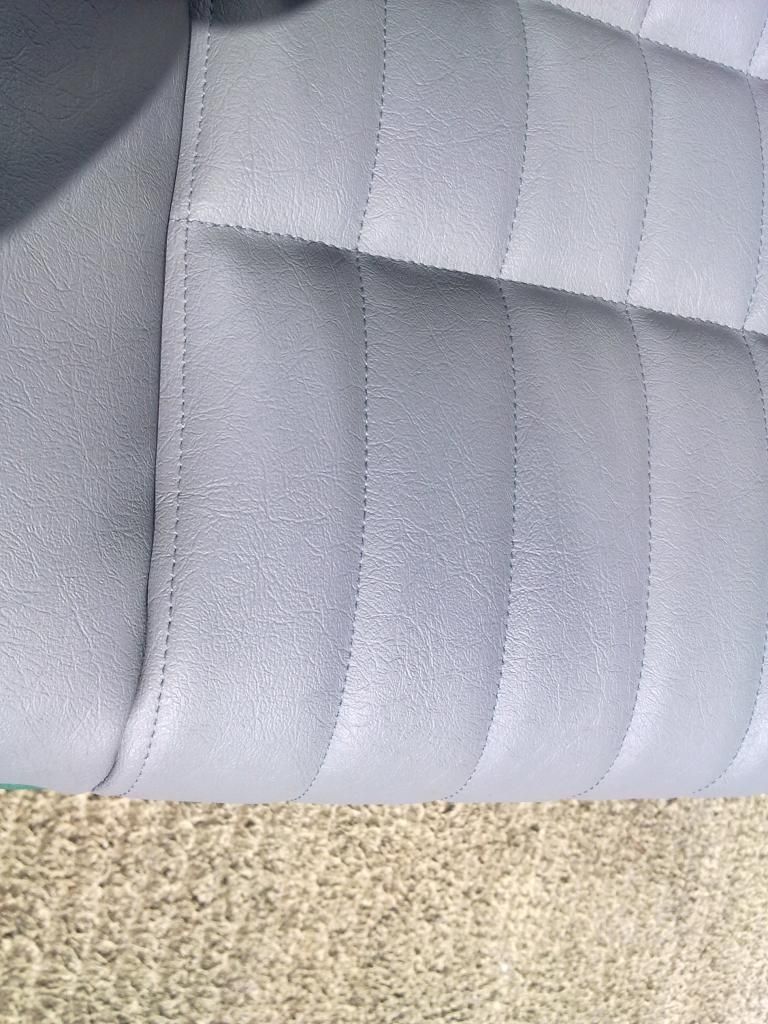
The strips are not the same width either on the base or the back. PLus I did specify 4 not five wide
with extra thin thin strips either side! I asked for them to make it look as close as possible to the
original mk1 neon seat

Image


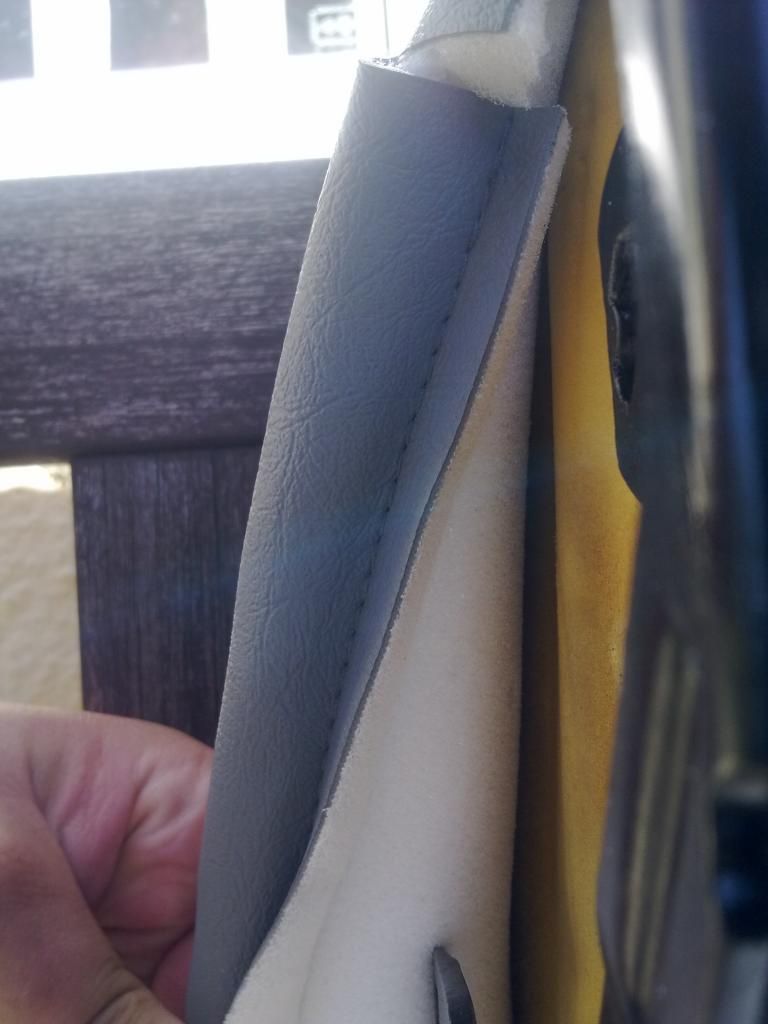
Where as the original seat cover covered up the raw unfinished adges on the custom cover Elite foam
did not!

Image


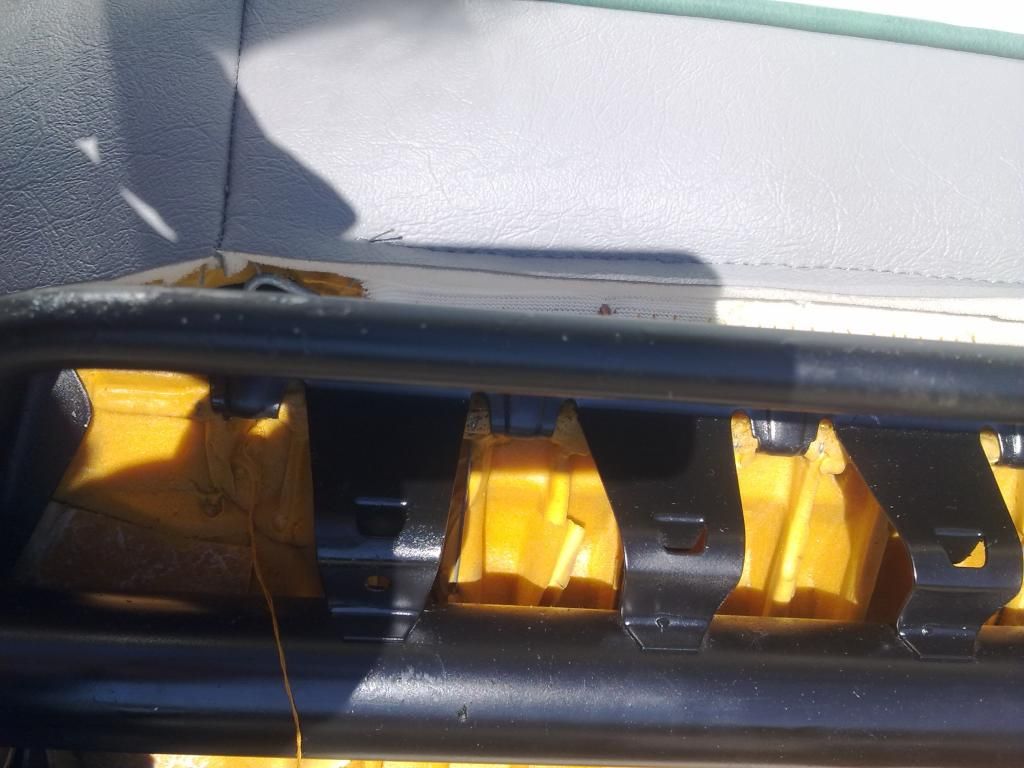
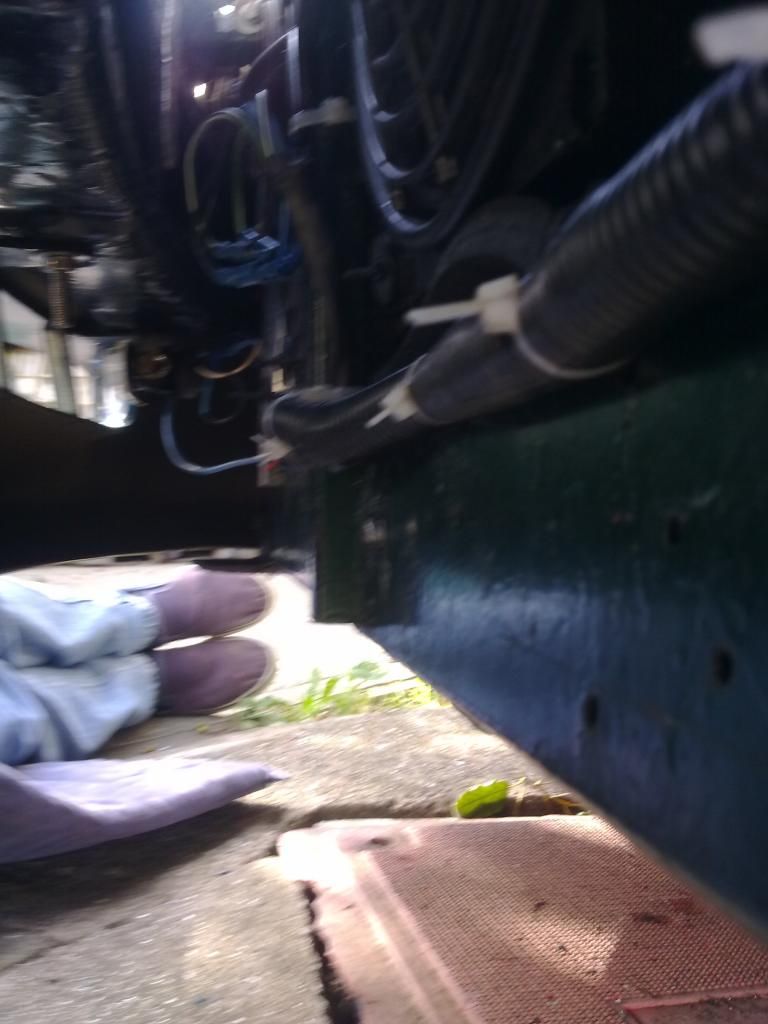
And there is no fixing rod holders from the front round the corners and down the sides!!

Image

Image

Image

Image


And now for the front of the cushion base. When I called to the upholster by chance to see how things
were progressing they had put the strips/thin panels right down to the edge and the piping following
where there is a seam now. Of course this is not how it was in the photo I had showed them and most
definitely not how I had requested it to be done! They said that they could sort this problem out by the
time I would come to collect them.

Image


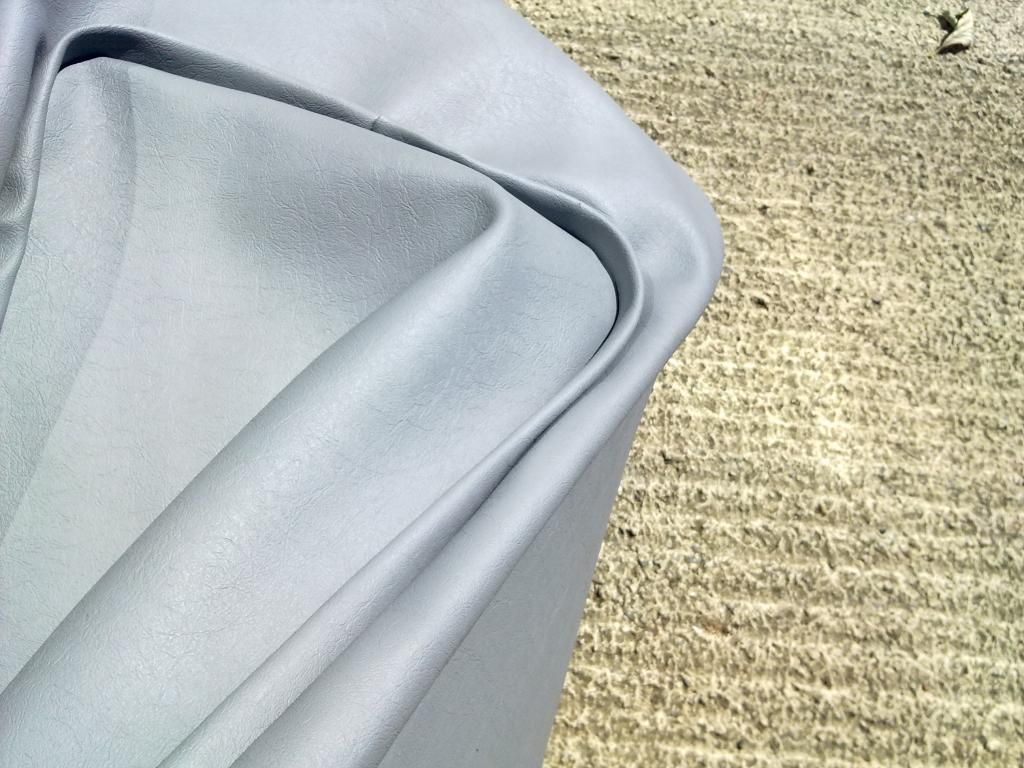
Better photo, please note how the seams on the front panel don't match up to the seams above the
piping making it look worse! And the creases in the corners to go over the foam look even worse then
the photos of underneath imagine if it had been attached to the frame!

Image

My mother us thinking that they sewed the panels before they looked at the fabric dimensions or the
original seat cover they dismantled to get the cutting pattern!

Image


So I have waited many more weeks than I should have being a very patient person, I have compromised
on the colours but the build quality which I had seen in the companies other work I have seen is most
definitely not there in the covers for my seat!

And I think that as mother is coming down with me to the upholsters, with the untouched passenger seat
to show how bad theirs truely was along with photos. And my mother will not be holding any punches :blush:

Mind you I have no idea what it will do to my reputation at the car club meets as the guy who runs the
upholstery firm is a regular there and has done some of the cars that show!
I'm Diabetic,& disabled BUT!! NOT DEAD YET!!
User avatar
Mitsuru
Posts: 2300
Joined: Thu Jan 06, 2011 1:42 am
Location: County Durham

Re: V6 into a RHD Chrysler Neon mk1(SHE LIVES!!! only just!)

#1203 Post by Mitsuru »

Well!! as the android tablet I bought for £30 was acting up last night due to touch screen calibrating
constantly, I took it apart! And it was a loose connection, so now it is fully operational with touch screen.
I had ordered a screen mount for it so it could be used with the torque apk. the mount arrived today from
the states for a grand total of £4.95.

Here is the ebay page
http://www.ebay.co.uk/itm/351092176397? ... EBIDX%3AIT

A few photos of it wit the tablet and in car, but the suction cup mounting disc already on the dash is a
touch to small so a new one off ebay. So no cutting up the dash for extra gauges, and no squinting at a
tiny screen on my mobile phone for the sat nav!

Image

Image

Image

Image

Image

Image


I just need to get the software to so I can use a bluetooth dongle with the android tablet as it doesn't
have an onboard one! The blue tooth dongle a quid from the pound shop.

Dad off on the sick, so I have been keeping out of his way so he has a chance to unwind and heal without
me getting underfoot! So only a bit of wiring done again.
I'm Diabetic,& disabled BUT!! NOT DEAD YET!!
User avatar
Mitsuru
Posts: 2300
Joined: Thu Jan 06, 2011 1:42 am
Location: County Durham

Re: V6 into a RHD Chrysler Neon mk1(SHE LIVES!!! only just!)

#1204 Post by Mitsuru »

Well when I said a little wiring!!!
I had had enough of not being able to find the correct wires and as there was wires not connected to stuff
getting mixed up and in the way. I made the desicion to start stripping back the wiring wrapping and
removing the unwanted wiring. Starting with the section that goes from near the fuseboard round down in
front of the radiators and up to right wing indicator.

Image

Neon A/C wiring - removed (no a/c so not needed),
Neon evap purge solenoid wiring - removed(voyager wiring in place so not needed)
Neon radiator cooling fan wiring and relay - removed (new wiring a relays for each fan as the intrepid ecu
controls them separately that wiring is to be organized and installed after engine is running)
I'm Diabetic,& disabled BUT!! NOT DEAD YET!!
rich.
Posts: 6895
Joined: Wed Jan 05, 2011 9:18 pm

Re: V6 into a RHD Chrysler Neon mk1(SHE LIVES!!! only just!)

#1205 Post by rich. »

mate, the guy who stapled your seat together ripped you off, it looks like a real lash up.
good luck with the wiring, you have a real birds nest there.. :D
User avatar
JPB
Posts: 10319
Joined: Fri Jan 07, 2011 3:24 pm

Re: V6 into a RHD Chrysler Neon mk1(SHE LIVES!!! only just!)

#1206 Post by JPB »

rich. wrote:mate, the guy who stapled your seat together ripped you off, it looks like a real lash up.
good luck with the wiring, you have a real birds nest there.. :D
I agree about the seat, but it looks as though they gave it back unfinished so maybe they'll realise this and do the job properly? I hope so.

Rich, That wiring's fairly typical of what you'd find inside a modern Chrysler branded product as they only wrap their looms in the areas that are visible. It'll tidy up well enough and in the mean time, it's far easier to work it all out with it open like that. An hour or two will have that lot sorted. Won't it, Aron. :)
Just make sure that the RSPB doesn't come out in the mean time and declare the engine bay out of bounds, pending the hatching of any eggs that are in there. ;)
J
"Home is where you park it", so the saying goes. That may yet come true.. :oops:
User avatar
Mitsuru
Posts: 2300
Joined: Thu Jan 06, 2011 1:42 am
Location: County Durham

Re: V6 into a RHD Chrysler Neon mk1(SHE LIVES!!! only just!)

#1207 Post by Mitsuru »

A bit more done! It looked like the fog light cables had begun to deteriorate I kept cutting back
and cutting back till I found a good section to solder some new wiring. Only to end up inside
the engine bay, so I will need to get more new/fresh cable on moday.

So I then decided to fit new negitive/earthingwires for the right lights as well as a wire
direct to the negative bolting terminal near to the battery(which has the battery negative feed
to it) as I already have the thick cable for those cable runs.

Image


It looks like a couple of wires had worked there way out of their connectors inside the engine
bay. So those had to be sorted and soldered. I spent a bit of time checking the resistance with
certain wiring after finding another bad section in the indicators.

I then found a bad senor ground on the throttle position sensor and bare wires earthing on the
start run wires. I had to cut a couple of negative earths to try and untangle the mess(like that
was going to happen)
I'm Diabetic,& disabled BUT!! NOT DEAD YET!!
User avatar
Mitsuru
Posts: 2300
Joined: Thu Jan 06, 2011 1:42 am
Location: County Durham

Re: V6 into a RHD Chrysler Neon mk1(SHE LIVES!!! only just!)

#1208 Post by Mitsuru »

No photos of work done! On friday.
I have finished running the new cable along the front of the car for the fog lights, radiator
fans and the extra negative earthing. For the first time in many years I had ran out of crimp
connectors! So apart from a couple of spade connectors on the fog lights thats the wiring
put back into cable tidy and tie wrapped back in place.

All the wiring coming back into the engine bay isn't sorted out yet, as I still have a few circuits
to go through. Plus I turned and fell, putting my hand out to try and prevent the fall ment
working with a sprained wrist, back and knee pain was no fun. I think I broke part of the self
levelling on the right headlight in the process! (and I don't know if I have a spare for that one!)

Saturday apart from painkillers knocking me out was spent getting some supplies, cable crimps
and the cable tidy stuff used to wrap and protect the wiring. So you know what could be doing
on Sunday weather permitting. I will also be putting the old neon drivers seat back in for the
moment so I can save up some money for either someone else to do it or me and mother to have
a crack at it!
I'm Diabetic,& disabled BUT!! NOT DEAD YET!!
User avatar
Mitsuru
Posts: 2300
Joined: Thu Jan 06, 2011 1:42 am
Location: County Durham

Re: V6 into a RHD Chrysler Neon mk1(SHE LIVES!!! only just!)

#1209 Post by Mitsuru »

Well when it rains I was messing around with the tablet holder for the car and realised it has
the same assembly on the arm as that used to hold the mobile phone on the tripod for a
stable video platform!

So a quick switch over of the holders resulted in

Image

Image


The only reason I would not be using it like this is the fact that We have had strong winds and
I don't want to wreck a perfectly good 10" android tablet!

Here are the photos of the car's wiring that has been done. I went to put the spade connectors
on the fog lights wiring before plugging them in only for the wires to be that thin and flimsy I
ended up removing the foglights to replace the negative wires on both!

Image


A loop with a little extra wire length in case I need to change something.

Image


The problem of running short with the cable tidy!

Image

Back to the engine bay today so I will post updates later
I'm Diabetic,& disabled BUT!! NOT DEAD YET!!
User avatar
TerryG
Posts: 6758
Joined: Wed Jan 05, 2011 1:54 pm
Location: East Midlands

Re: V6 into a RHD Chrysler Neon mk1(SHE LIVES!!! only just!)

#1210 Post by TerryG »

Hi Aaron,
Well done on keeping up your enthusiasm but one point to bear in mind. The connectors you are using are not weatherproof so after you have been out driving a few times corrosion will set in. You could get around this by putting heat-shrink over them if they are permanent connections (or electrical tape as a quick and dirty fix) or places like RS and Maplin have a range of very reasonably priced connectors designed to keep moisture out.
Understeer: when you hit the wall with the front of the car.
Oversteer: when you hit the wall with the back of the car.
Horsepower: how fast you hit the wall.
Torque: how far you take the wall with you.
Post Reply