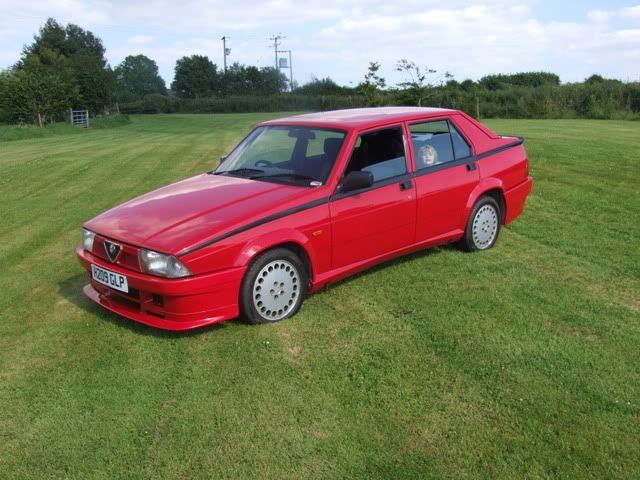
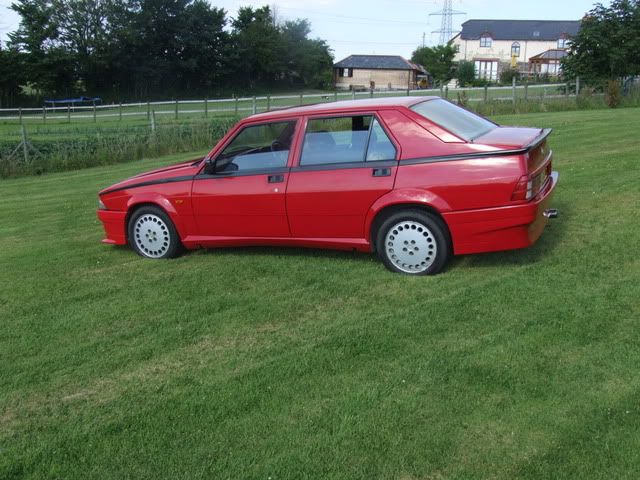
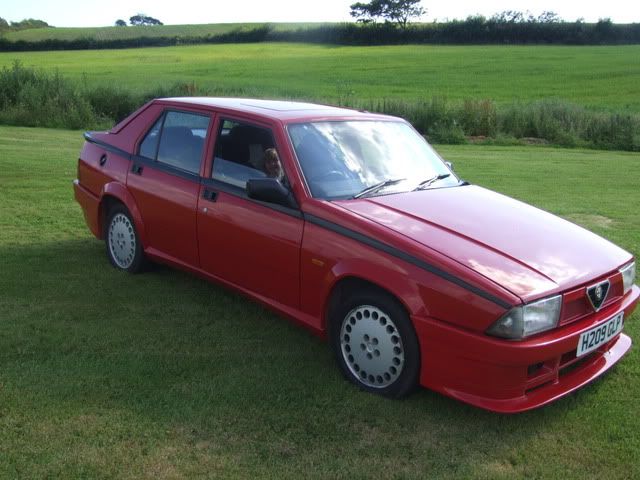
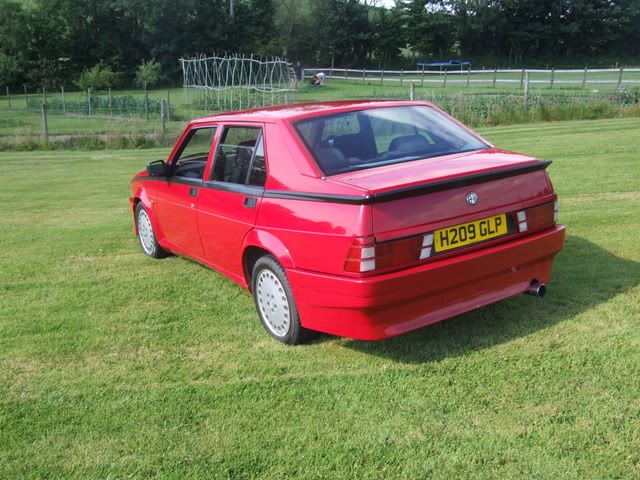
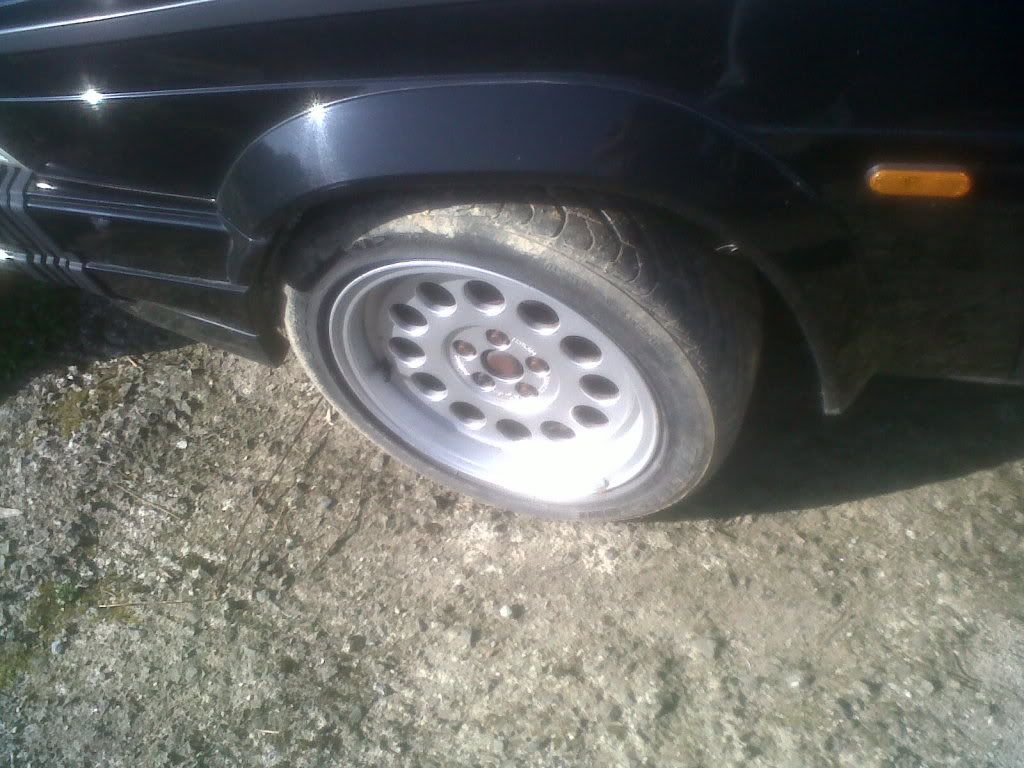
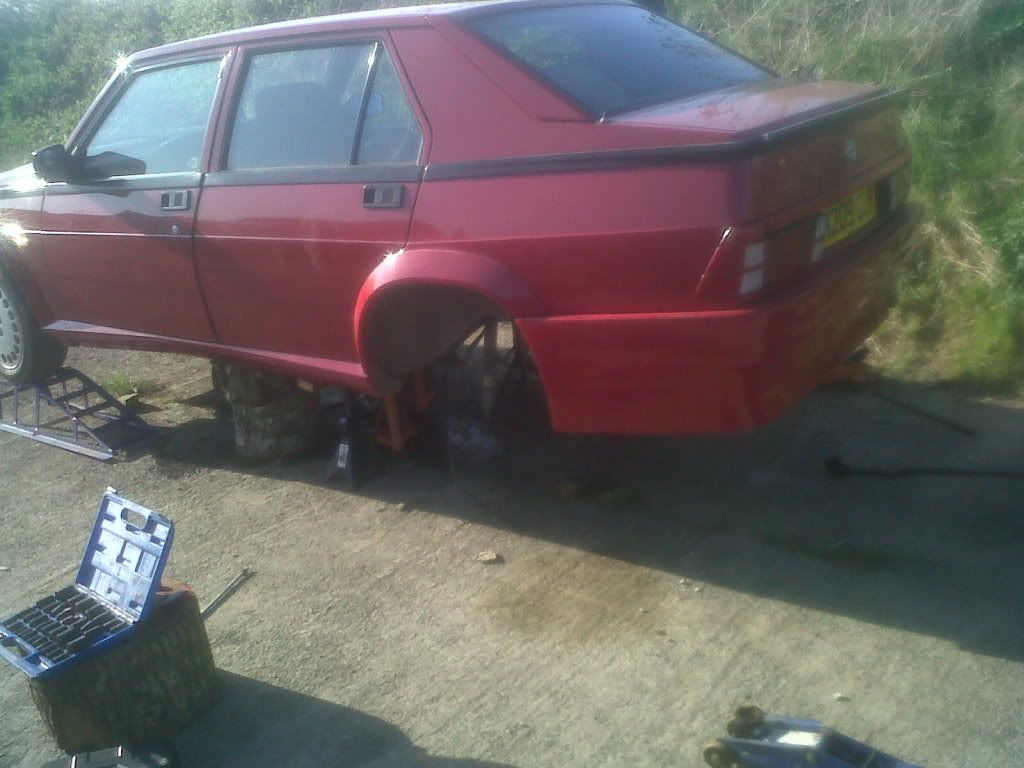
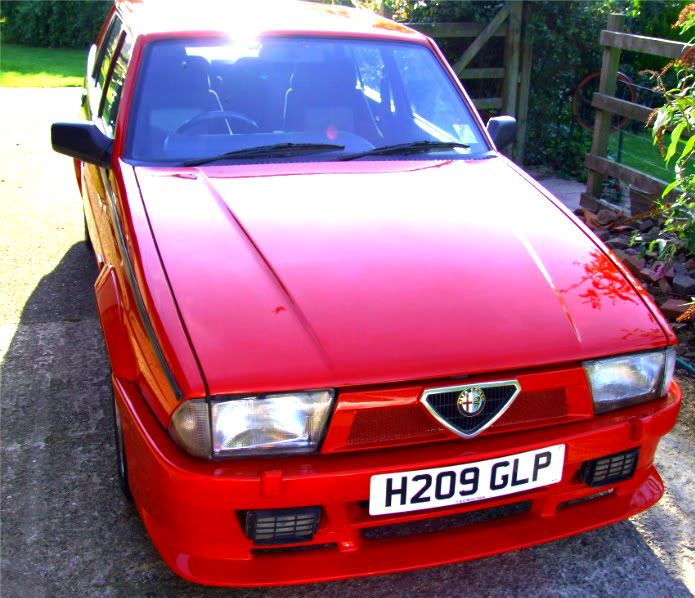
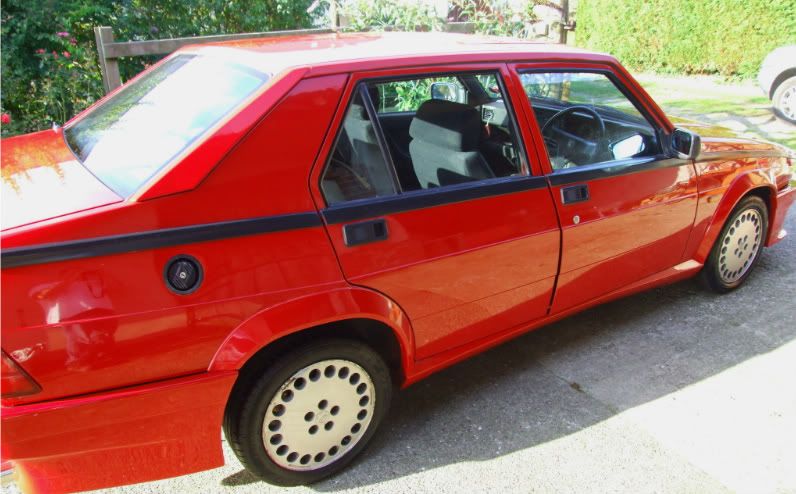
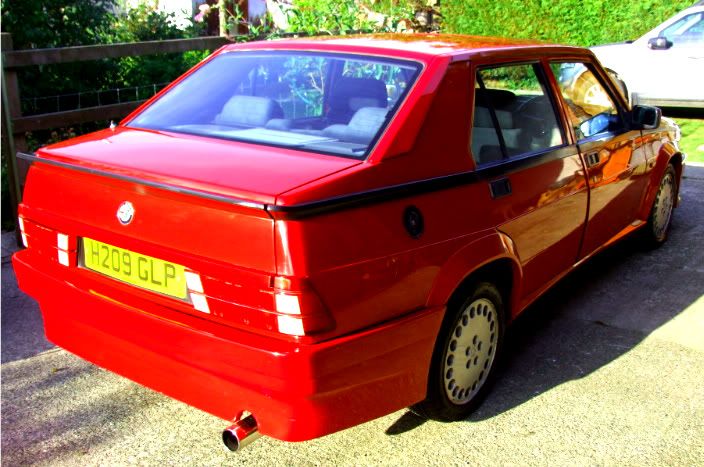
Here is my 91 Alfa 75 3.0 V6 Cloverleaf. Had her 2 years, bought her on impulse as was down the road. Had a repsray but had overspray all over and filthy interior. Also clutch had gone and had bent valve.
Gave her the mother of all clean ups then sent her to Alex Jupe where she spent a couple of months getting sorted.
Did not really use her after that but have recently moved to north devon and have new office 5 mins away, so am using her alot more. Pulls like a train and has not let me down yet, plus all electrics work!

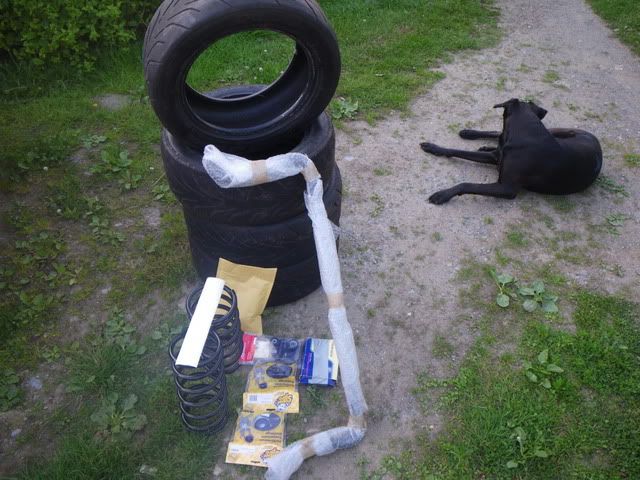
Another 75 nut offered me some free part used Toyo 888 Semi slicks this week, all I had to do was go to Bristol to pick them up.
Turns out he works at Alfaholics, so my "free" tyre pick up ended up in a £400 odd spend on peformance parts lol!!
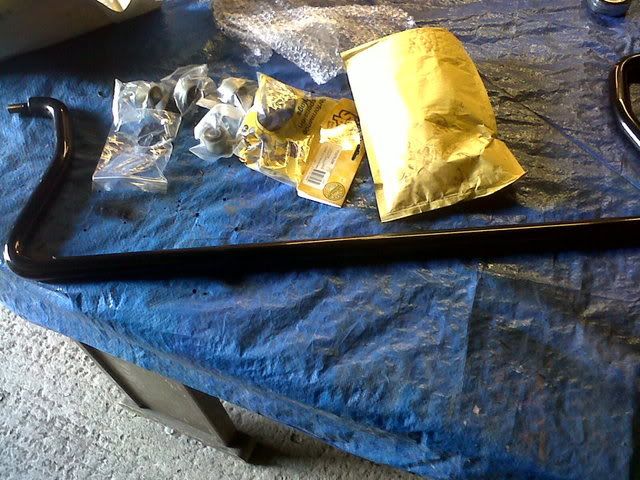
Uprated front Anti Roll Bar, uprated rear springs, and poly bushes for all round the car and the watts linkage!
All this together should means some visits to some track days will definately be needed!
Have to fit it all first, never changed bushes and hear they can be a pig, so here goes!!>>>.......
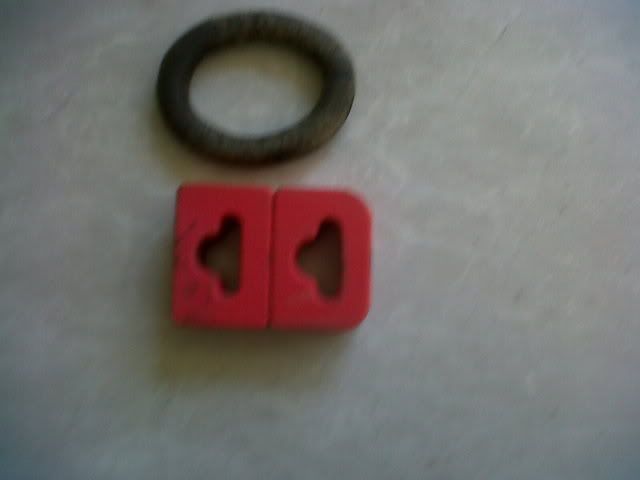
Well got on and sorted this at weekend.
I did try mounting foam tape but not stong enough to hold the curve, so ends popped up and did not sit level.
So try 2 involved Tiger bonding mastic and clamps. Mde a big mess and still would not hold ends in tight!
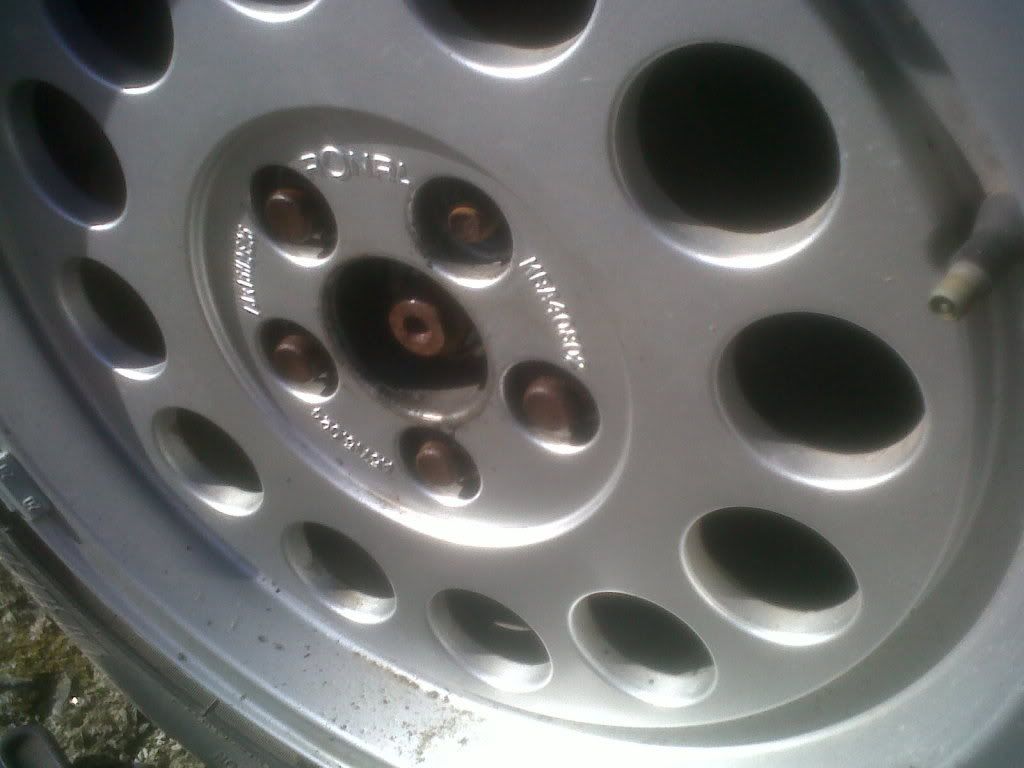
So choice was to buy another (more chance of a full set of hens teeth) or fixing mine proper! So as all bolts had already been broken off by previous owner , only option was to try and weld in new ones witohut melting the red plastic lol!!
Started off by grinding down the holes he old bolts came from till flush so clean enough to weld to.
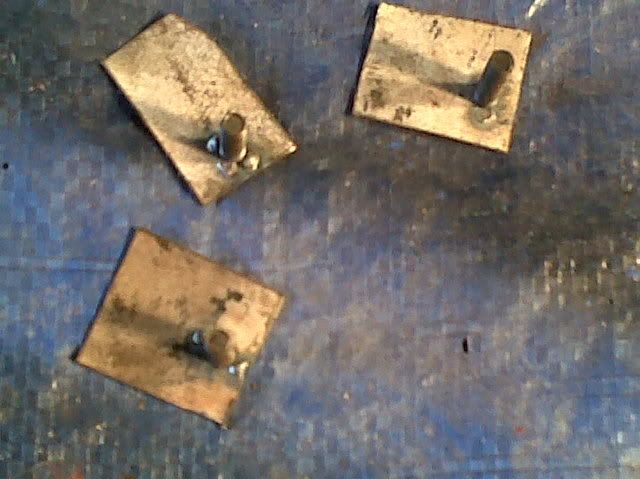
Then cut the head off some bolts had about to leave a set of 6 threads the same length. Used the joggler to punch holes in some previously zinc covers sheet.
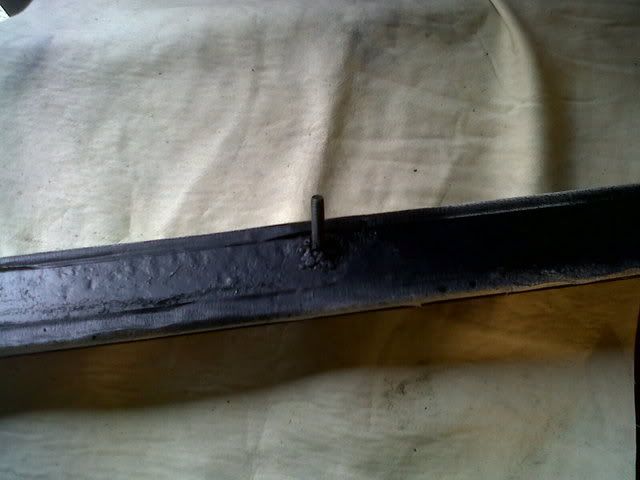
Poked the thread through the hole till flush and welded from the back.
I then trimmed these tabs to slide inot the old bolt holes at an agle that matched the fitting of the strip. Welded in place and then zinc primed whole thing to protect it.

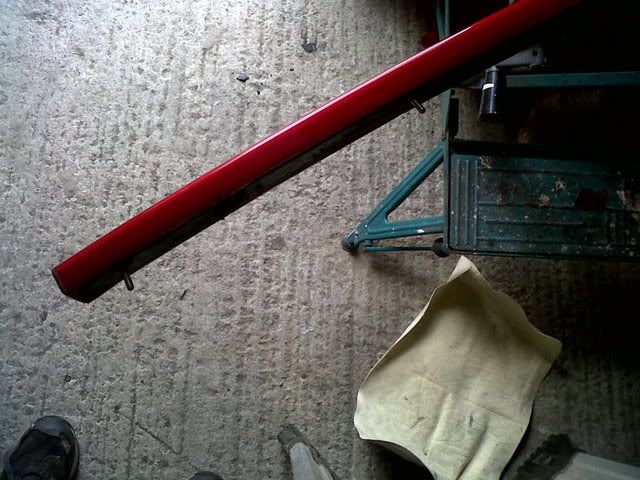
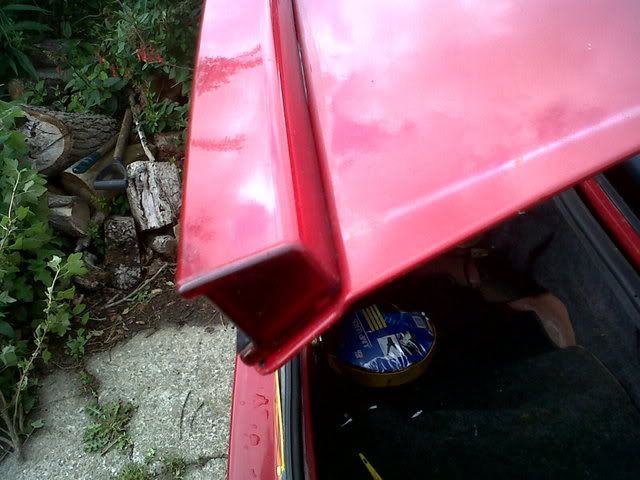
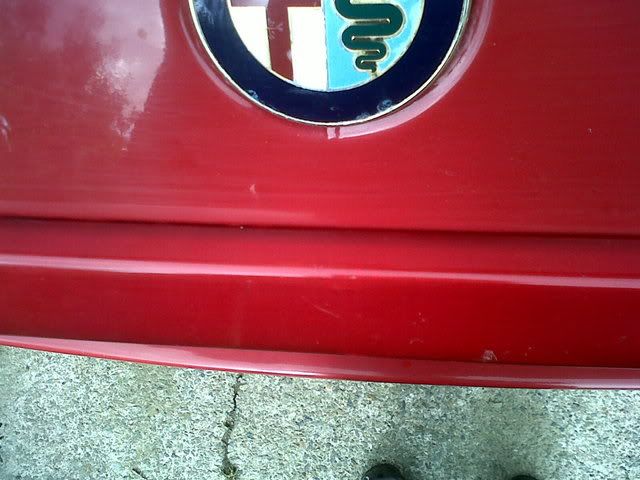
THen came the fit, did I have the angle right and would the bolts pop back out once I tried tightening the nuts on!
Anwser . no! Fits lovely and it totally flush and tight at the ends! Result, please with that!
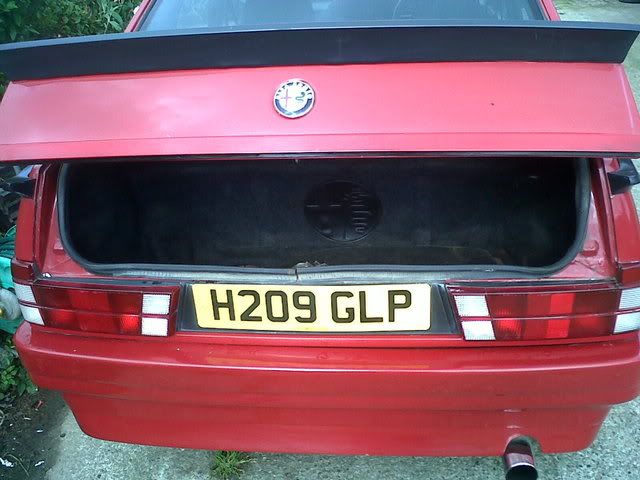
(excuse the dirt on car not washed her for a while, she has been sitting while found time to sort the strip)
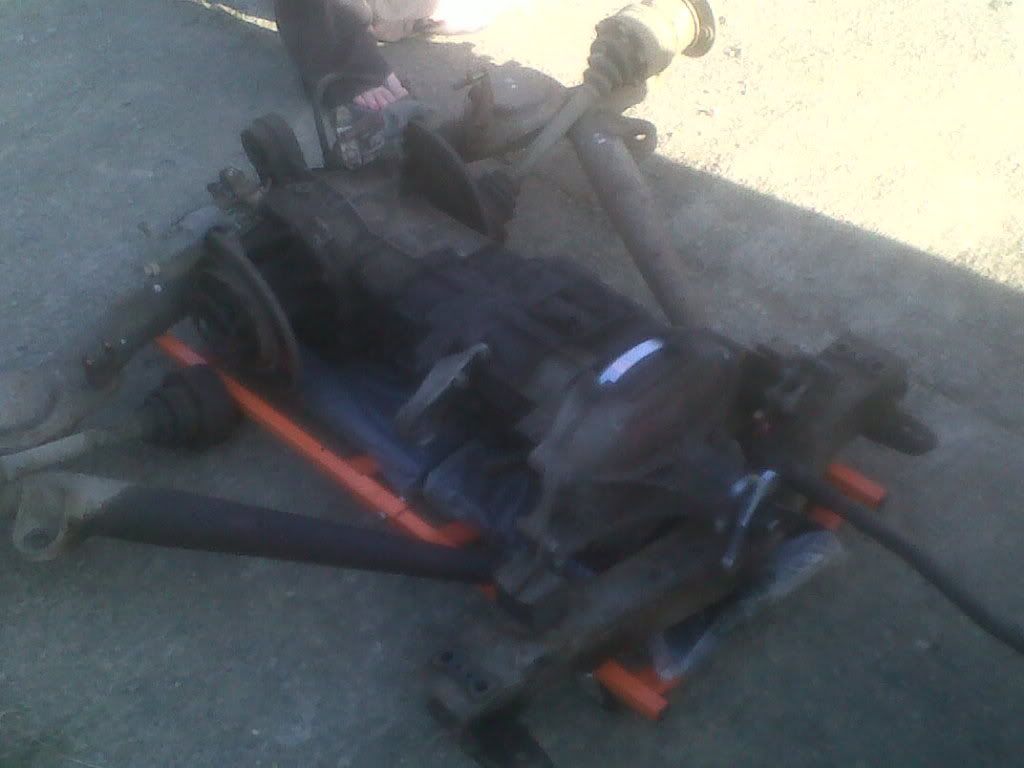
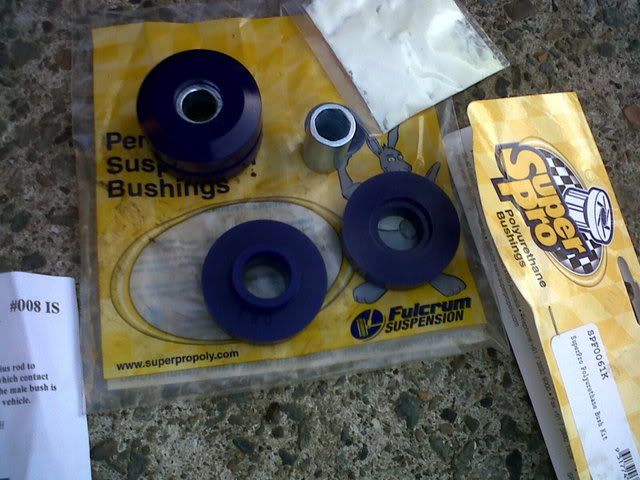
It was also time over the weekend to get stuck into fitting my Alfaholics handling kits plus Poly bushes.
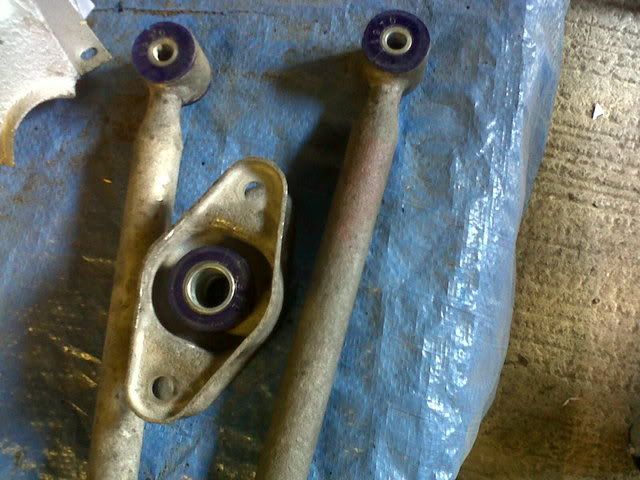
Kit consists of a thicker anti roll bar, uprated rear springs, whatts linkage bushes, front link bushes and the bushes for the arms that go into the engine bay
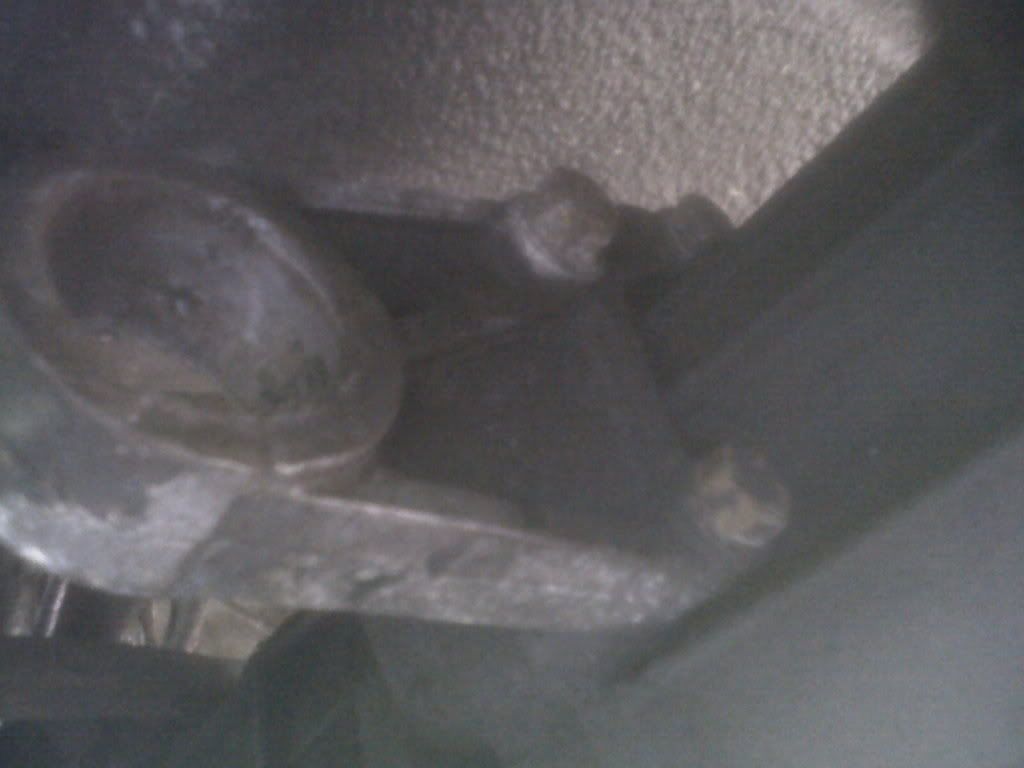
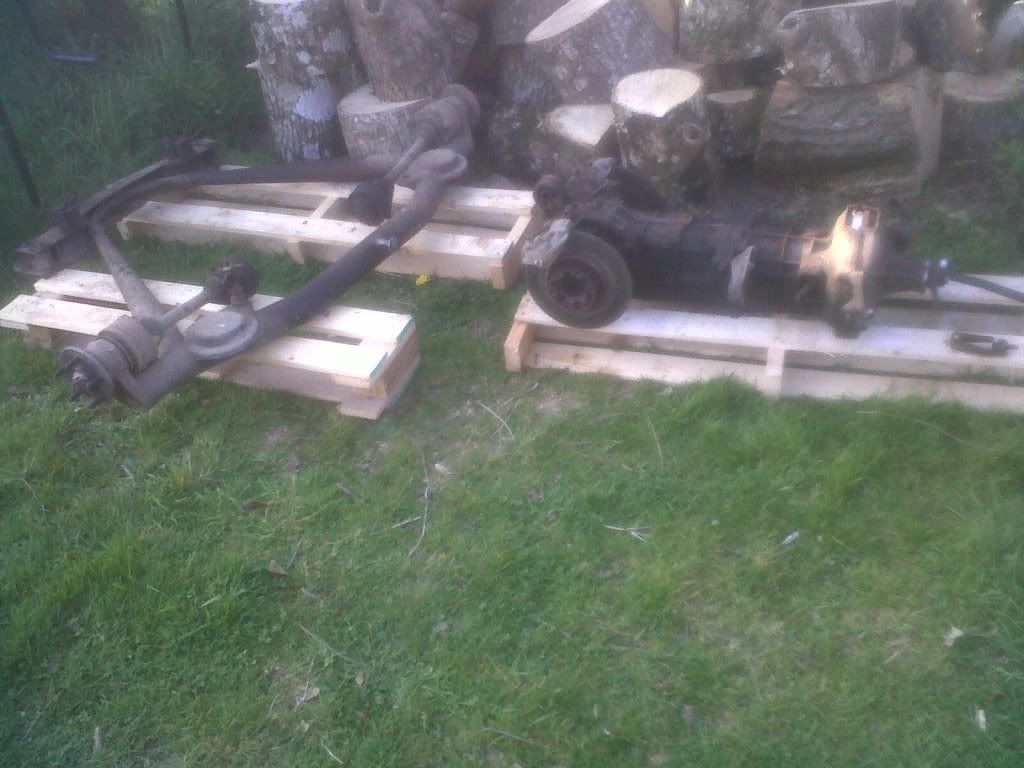
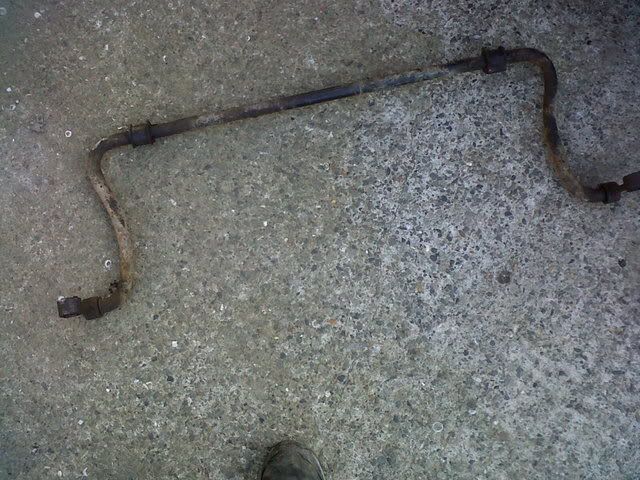
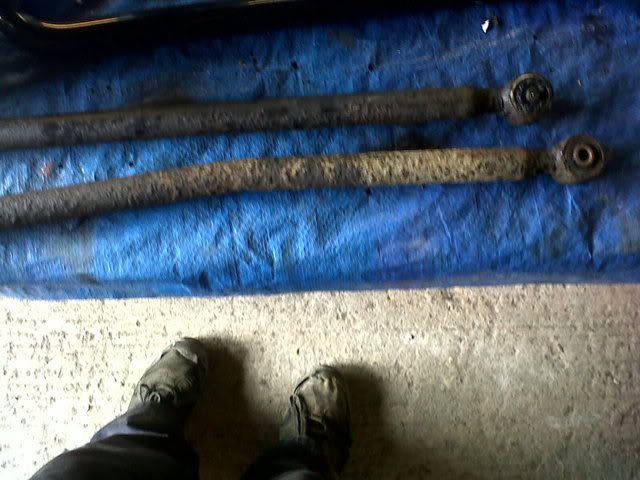
First out was the old roll bar, and link arms
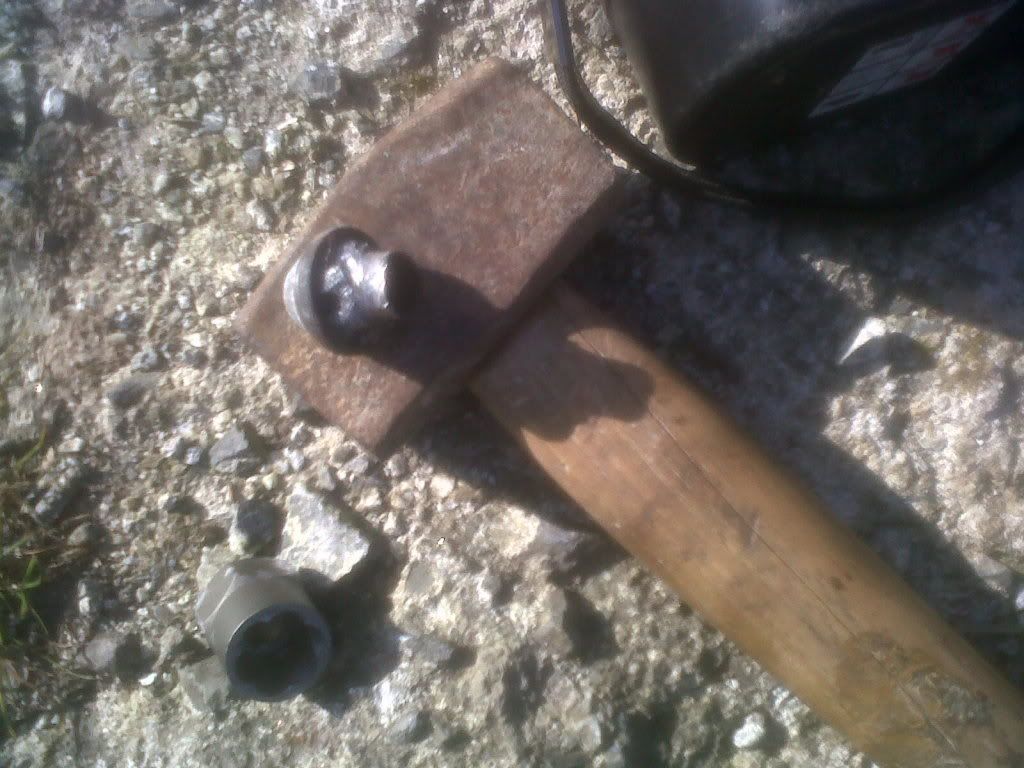
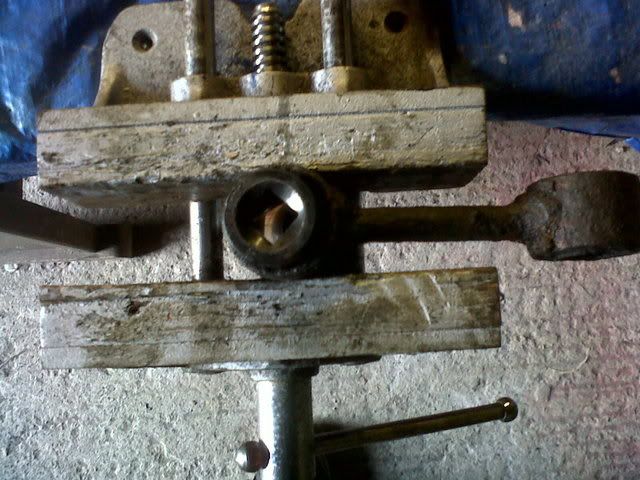
These went off to be pressed by local engineering shop as I don't have a press and broke my vice trying! Did get the old ones out with a socket and a hammer
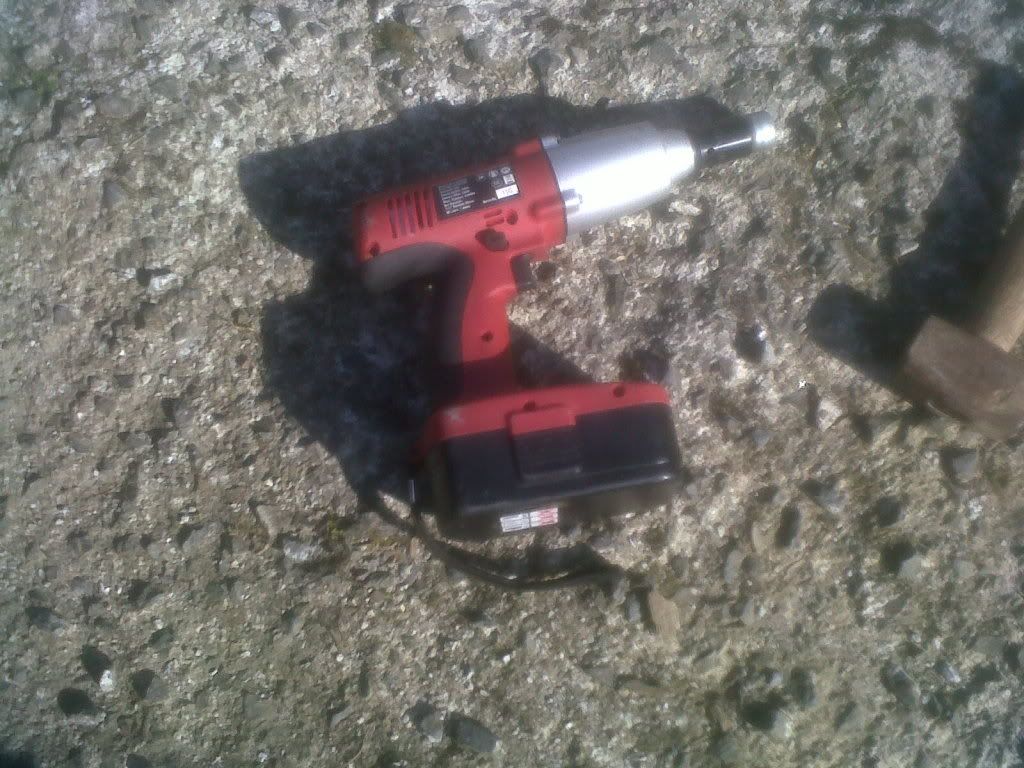
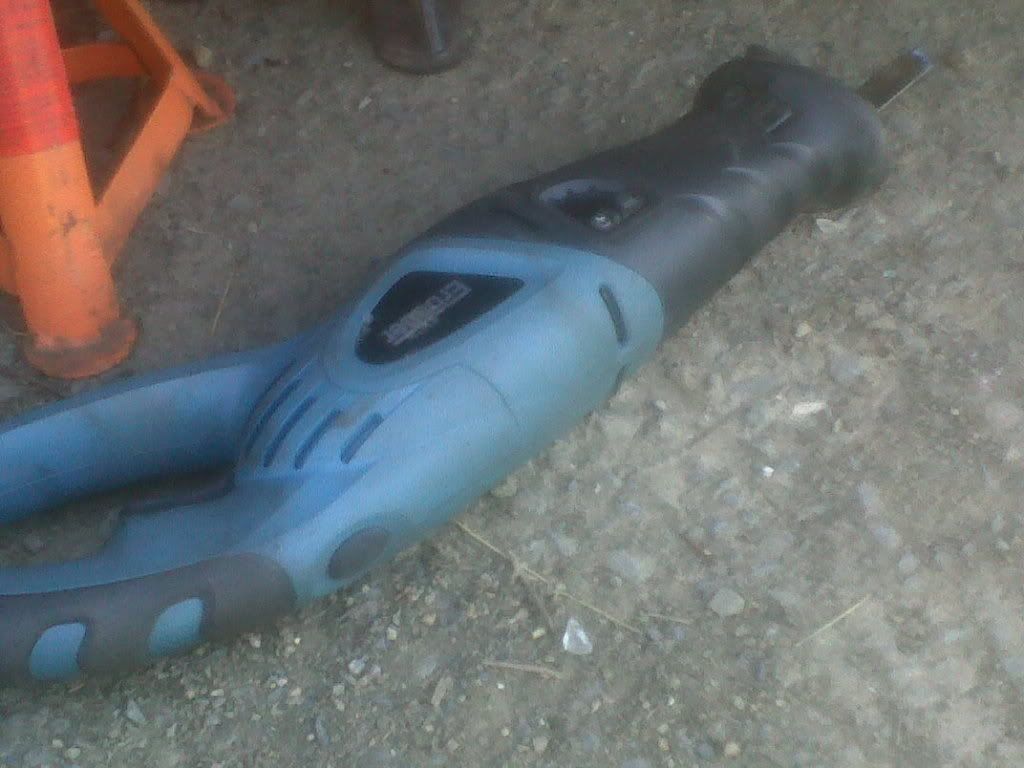
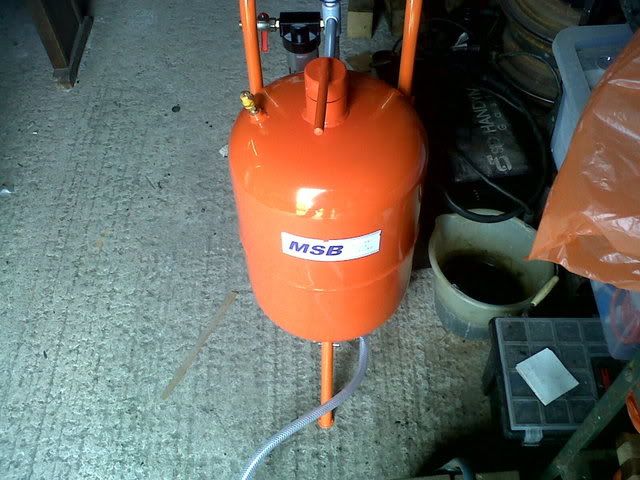
Meanwhile a new toy arrived, a media blaster!
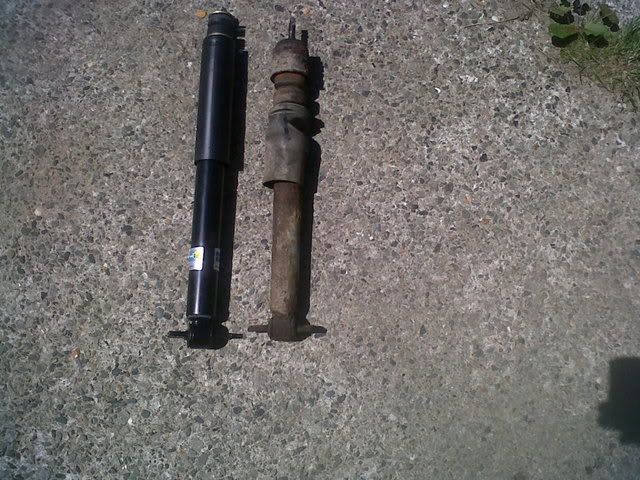
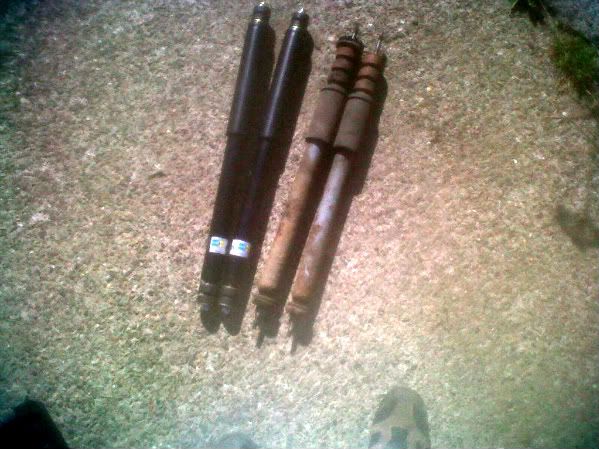
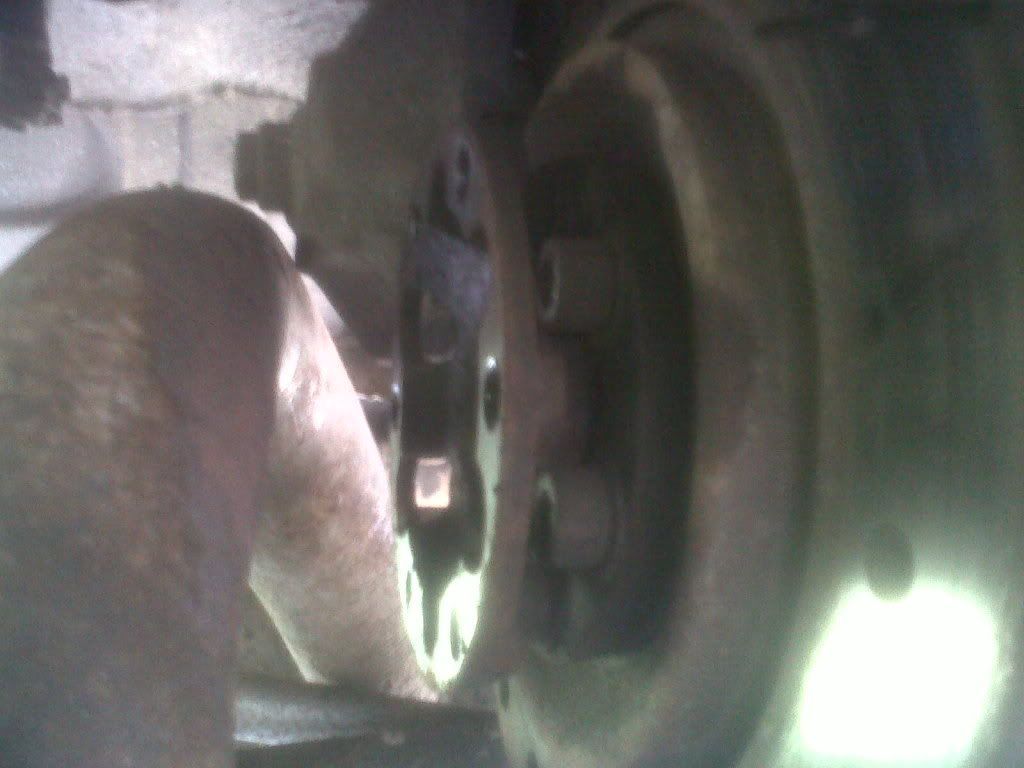
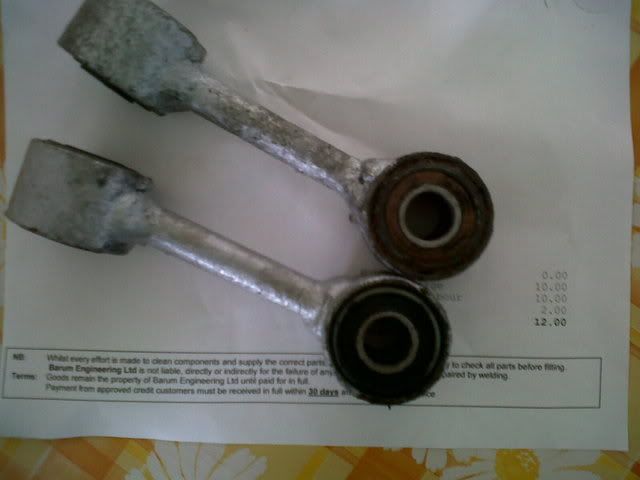
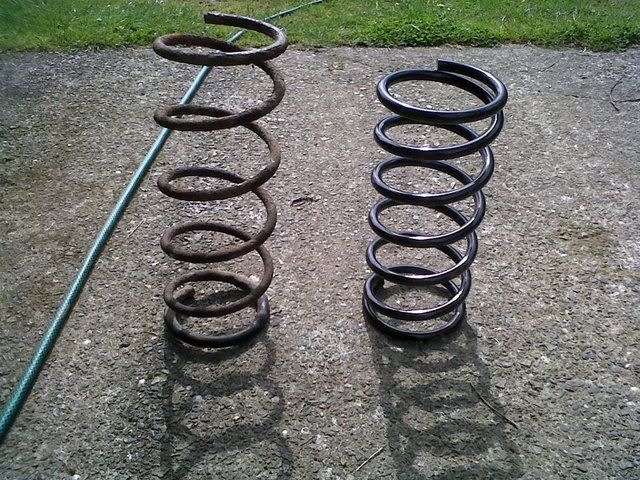
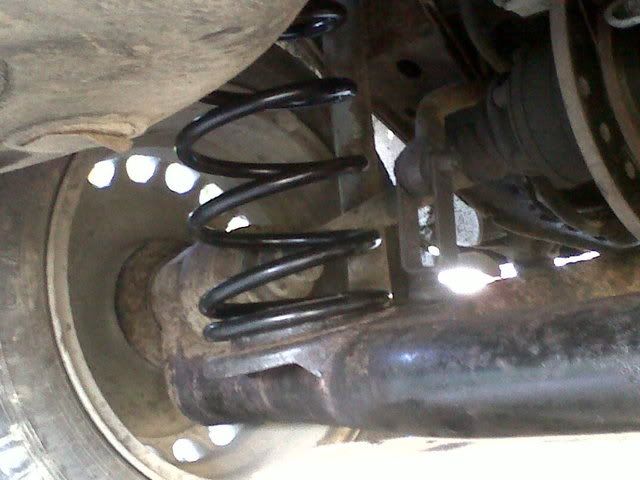
WHile the bushes where of I tackled he rear springs (with spring compressors) check out the old vs new
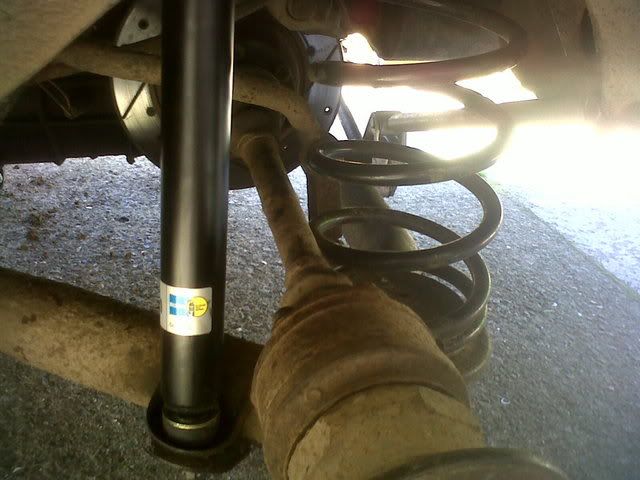
Went in easy
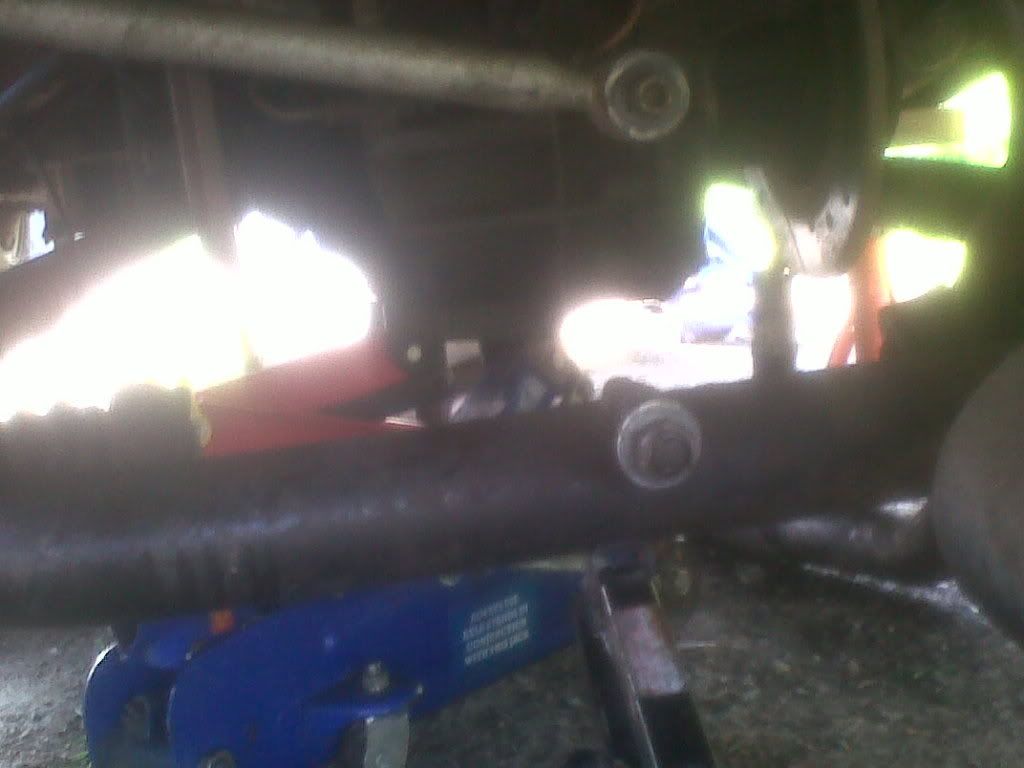
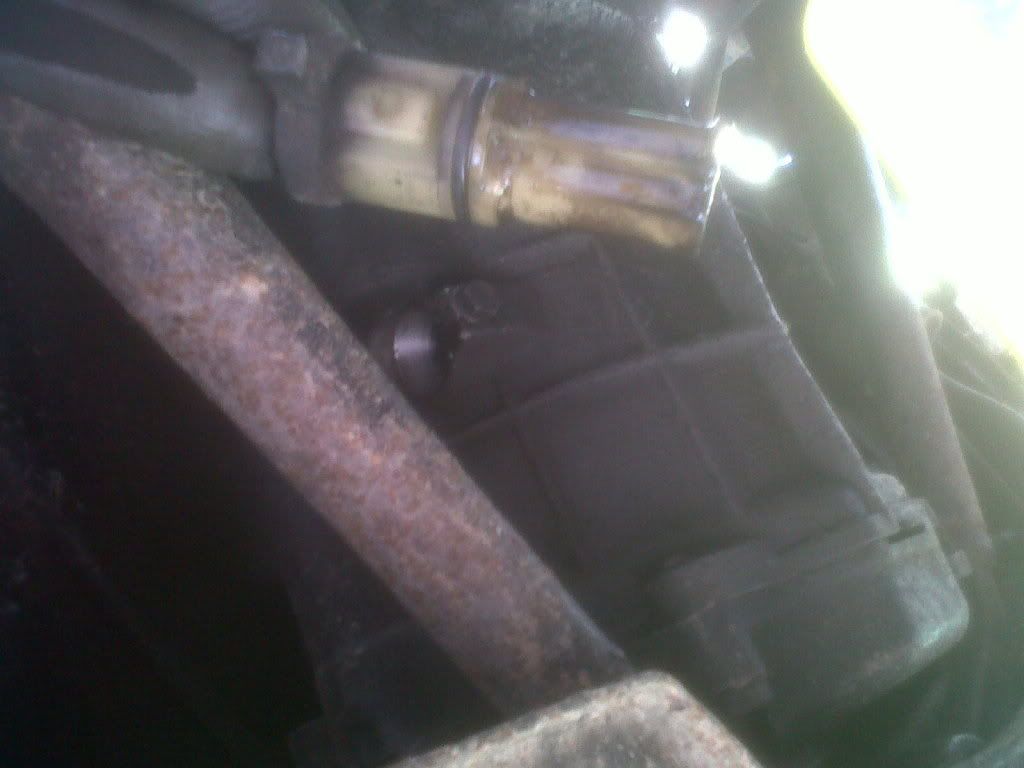
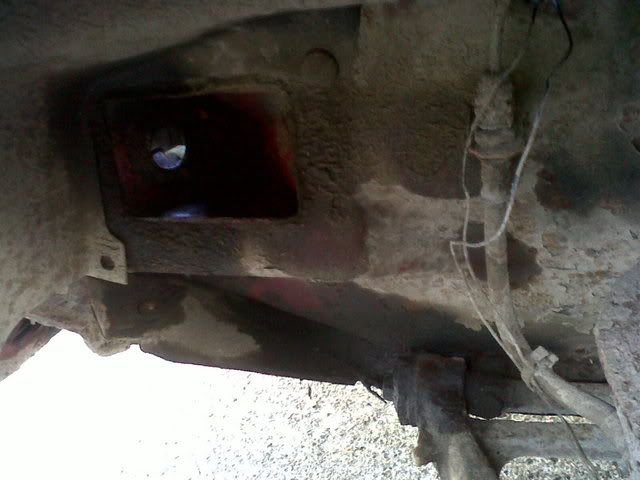
Getting late now, but had a quick tug on the bolts that hold the arms inot the engine bay and they gave straight away (lucky I had doused everything with WD a few times before!) so thought, keep going as the goings good!
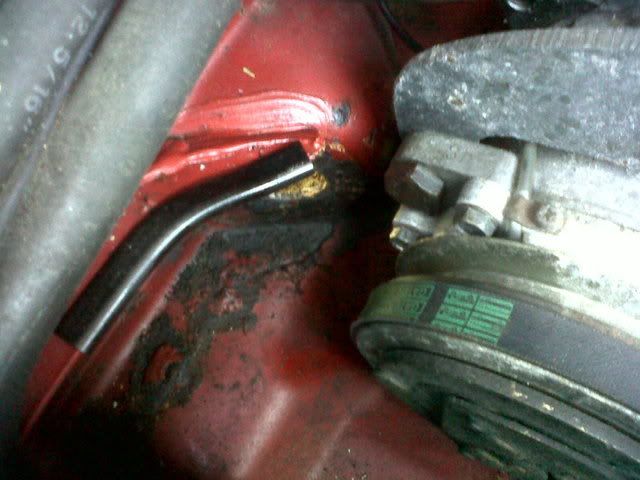
Hvent got a pic of in the car as got to dark but they went in easy and look lovely!
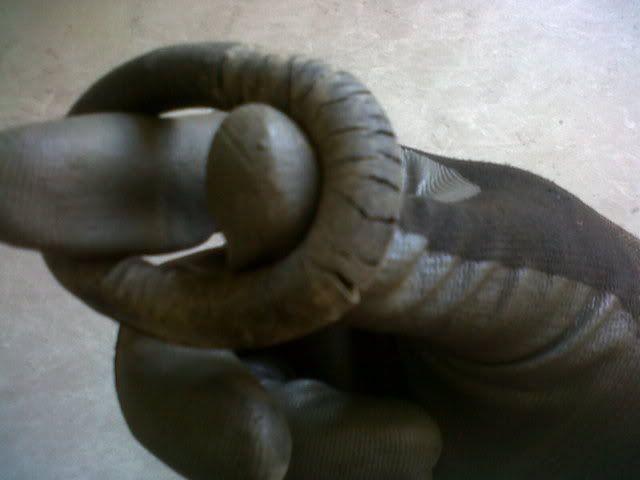
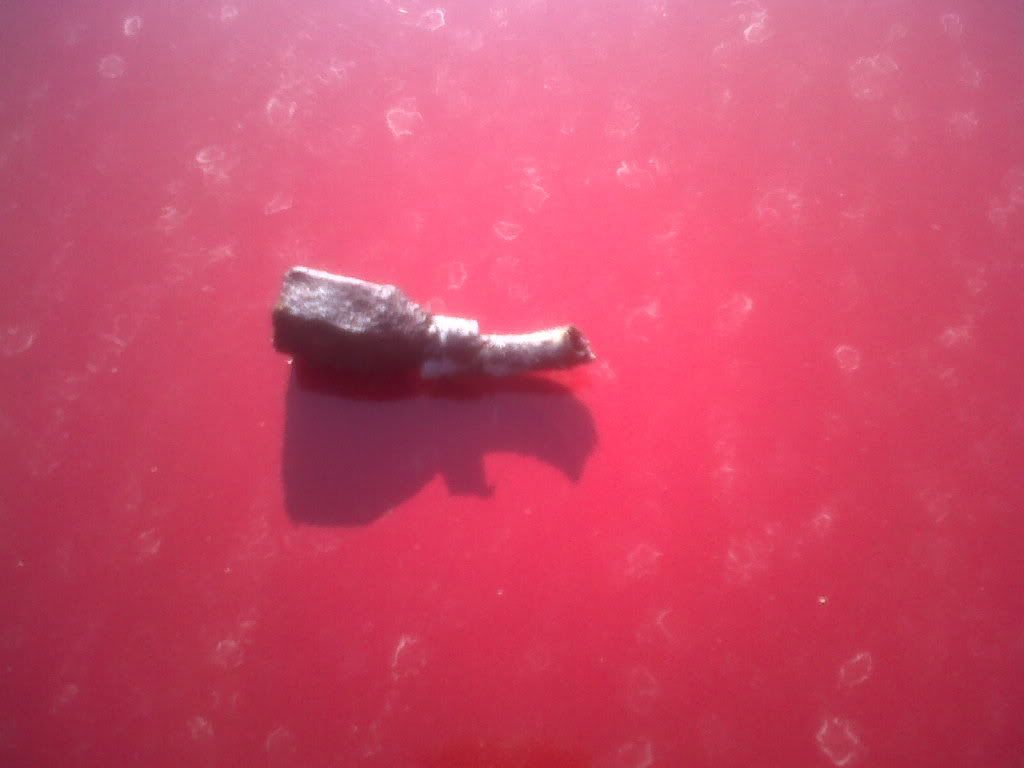
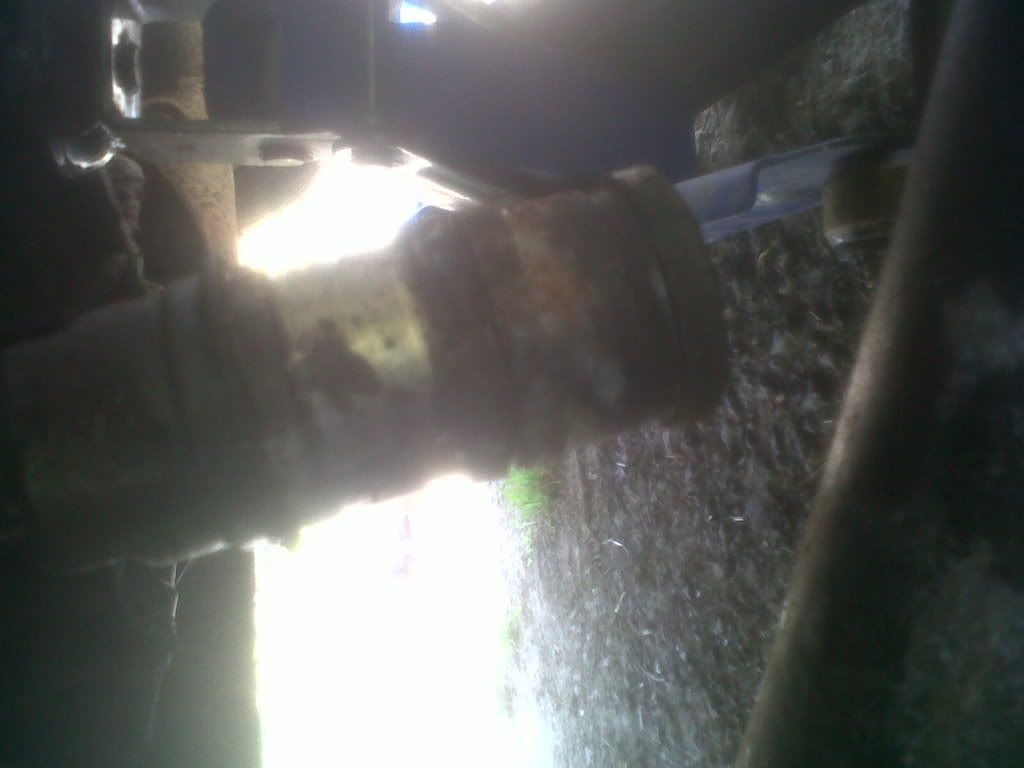
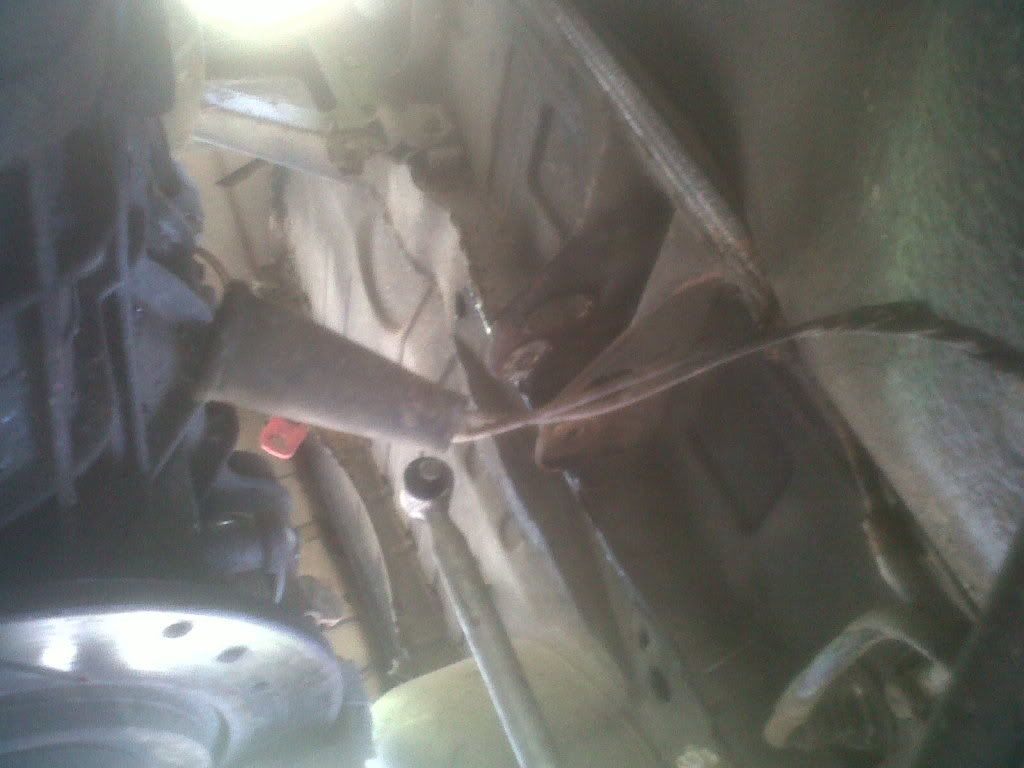
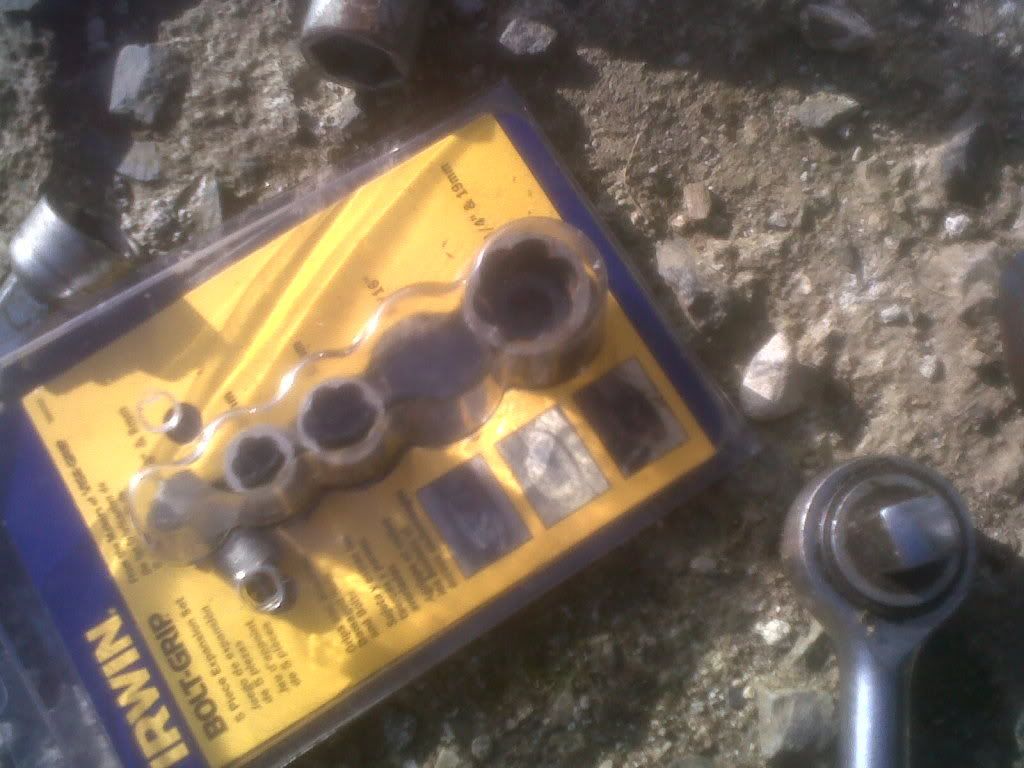
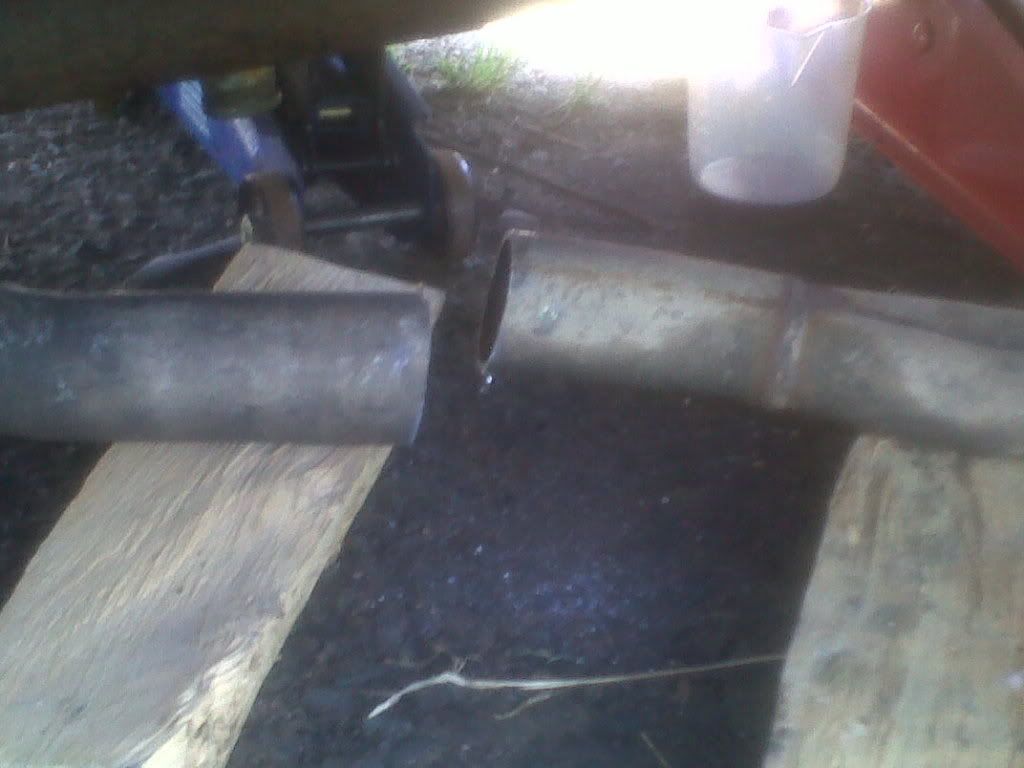
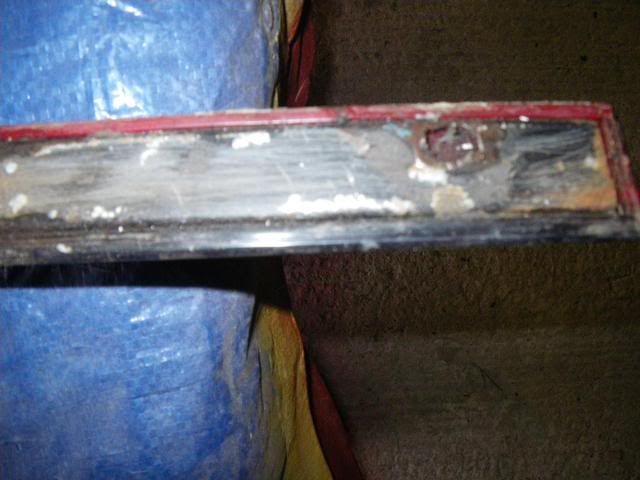
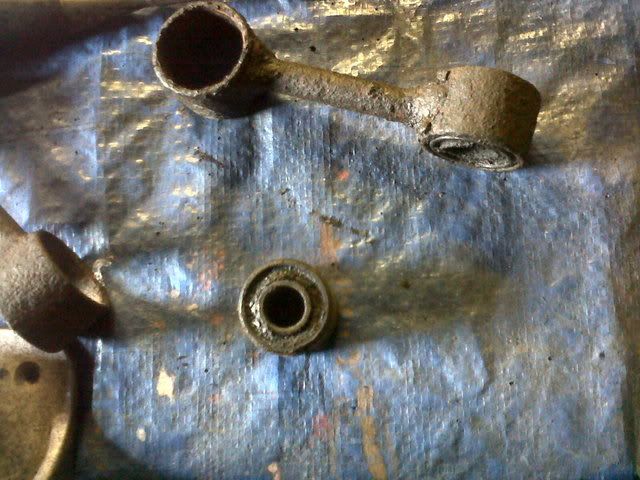
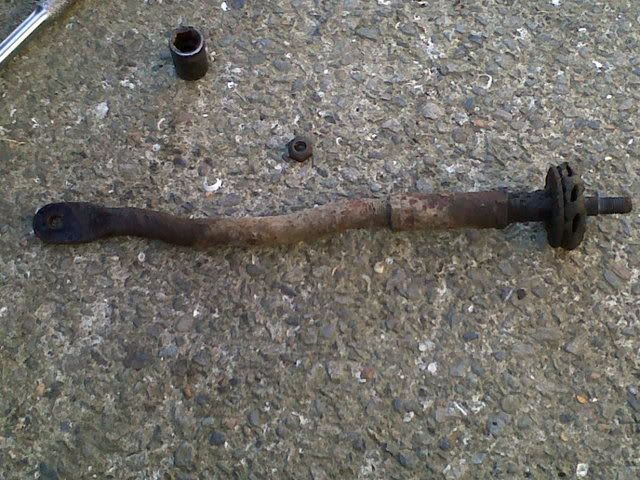
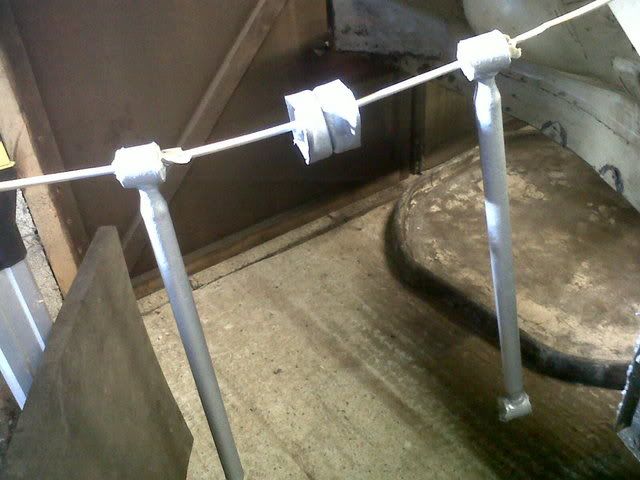
Next day it was Watts time! And hour later, ots of heating and a grinded out bolt and
As you can see one was bent!
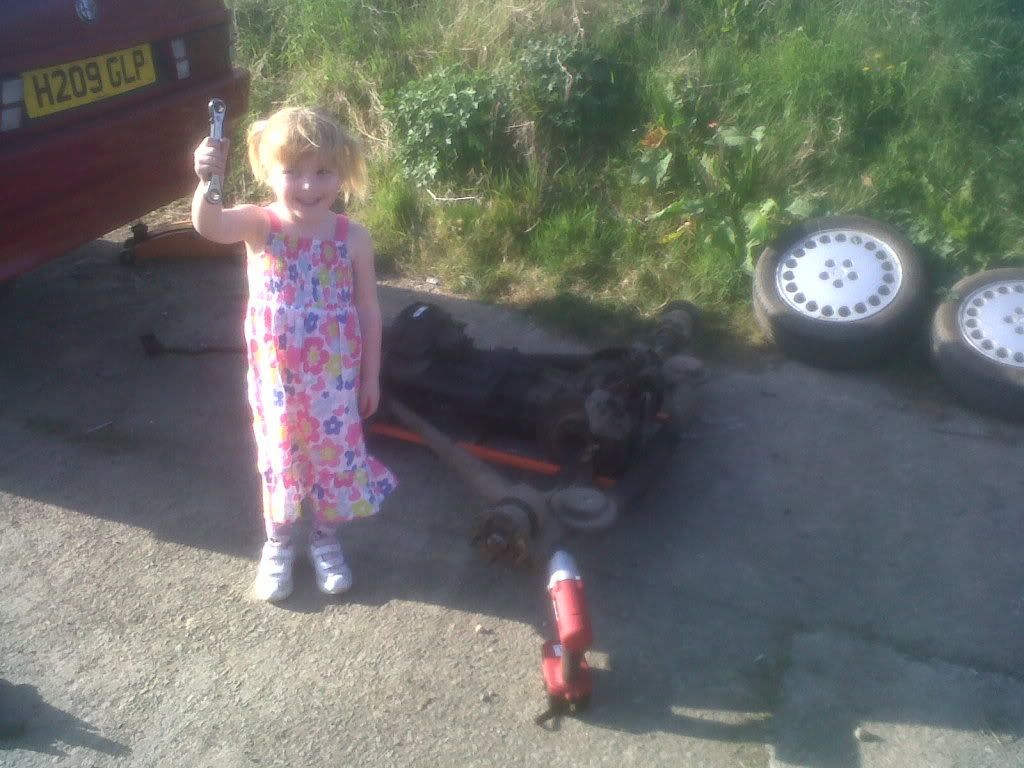
So blasted the lot with the new toy
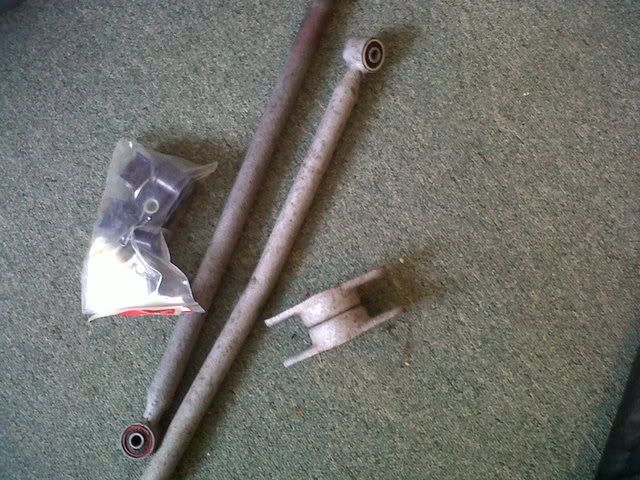
Took it off the the engineering shop and got the bushes pressed and they kindly straightend the bar, result!
Took the time to tart them up
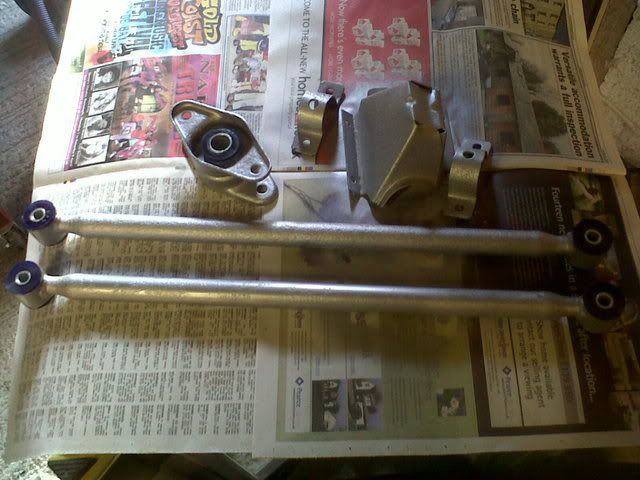
So as it stands now its already to go back on, fingers crossed should be easier than getting it off! But really non of it was hard and I am a complete novice at mechanics!!
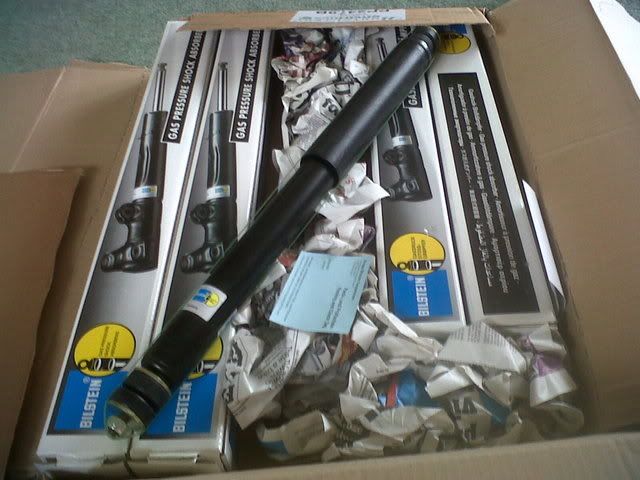
Can wait to see how it improves the handling! New Blistens also about to be order!