Alvis TA14 Mulliners Saloon Restoration
Re: Alvis TA14 Mulliners Restoration
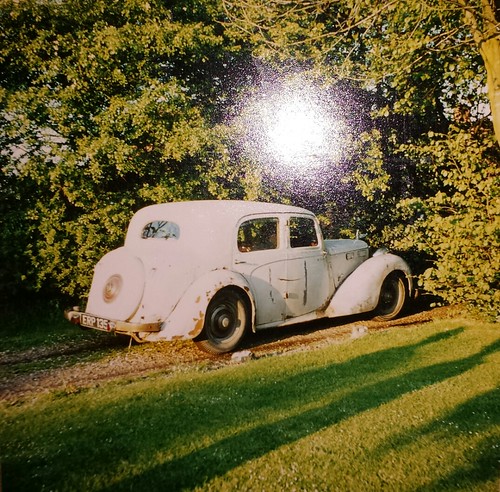
Just dug out one of only two photos I received with the car.
Re: Alvis TA14 Mulliners Restoration
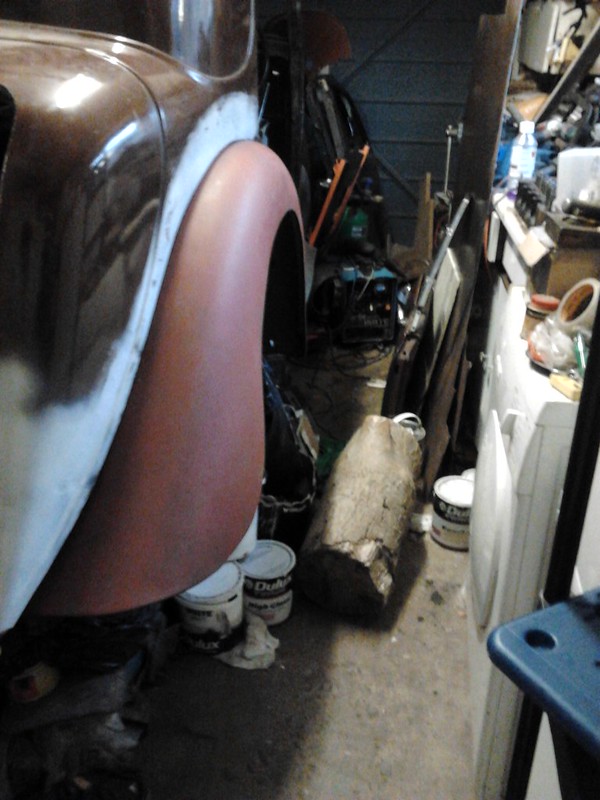
Also, some photos of questionable quality showing a pair of new old stock rear wings I managed to buy recently! These were too good to miss and I was able to get them after they were bought with new front wings (unobtainable!) And weren't needed.
The wings on the car were so far gone there would have only been half left if restored and even then they were quite thin so not having the confidence or time to make or repair them I thought it was worth forking out for these.

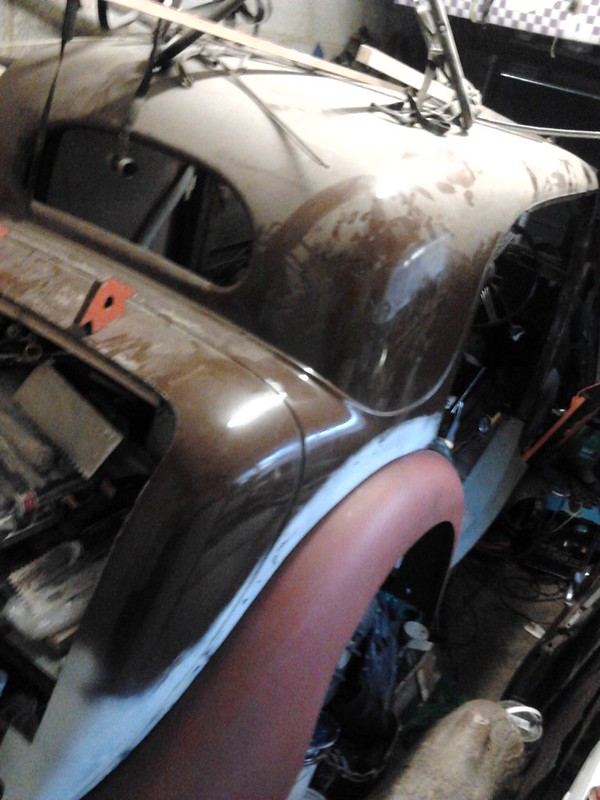
The wings on the car were so far gone there would have only been half left if restored and even then they were quite thin so not having the confidence or time to make or repair them I thought it was worth forking out for these.
Re: Alvis TA14 Mulliners Saloon Restoration
One thing about the new wings though is that they project about 4 cm less all round than the originals which alters the look of the car, I haven't decided yet if that is a good thing or not!
Re: Alvis TA14 Mulliners Saloon Restoration
Back with a few more photos after 4 days off work. Apologies for the quality, took them last minute on my phone.
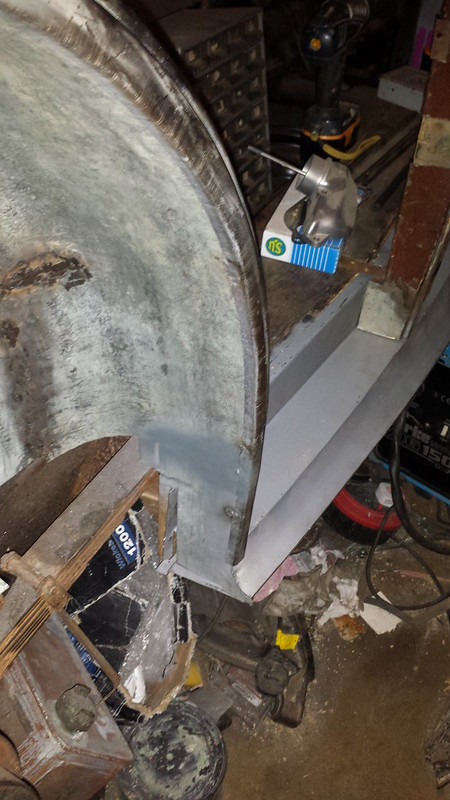
I've finally taken the plunge and welding in the offside rear wheel arch... no going back now. seems to fit well and the car is starting to gain a bit more rigidity again.
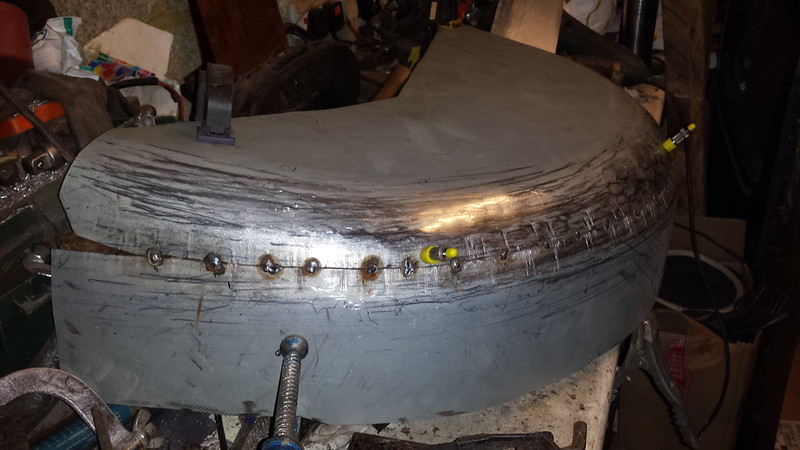
I was hoping to patch up the existing nearside inner rear wheel arch but it was fairly hopeless. Started again with some new techniques I picked up at the classic restoration show in Birmingham earlier in the year. Certainly made things a lot easier! I kept the existing to hand and kept a couple of the yellow panel grips things around to check alignment before welding the three shaped panels together
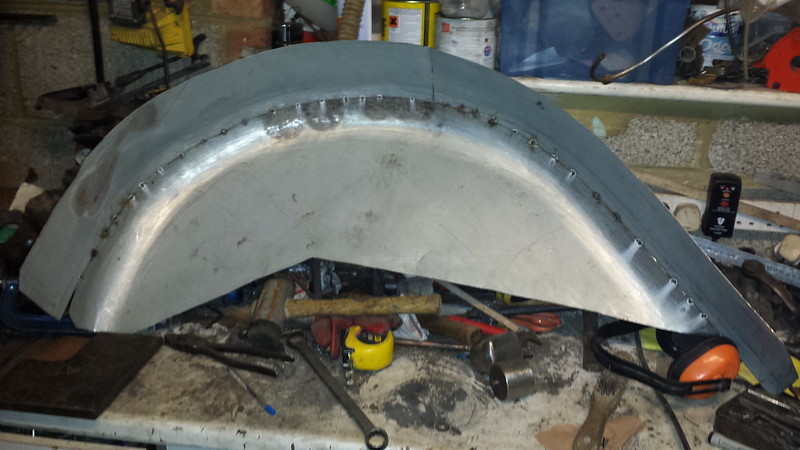
Making the piece in three was a whole lot easier than in one as I did with the offside arch. The metal didn't need working so much and I was able to use the shrinker/stretcher to get the edges to line up neatly.

Seams welded and ground smooth
Also got a new tuffsaw blade for the bandsaw and had a go using it for the first time. Pretty happy with the results and ended up making the A post and the section above . All seemed to fit well for starters, probably will need some fettling on final assembly
I've finally taken the plunge and welding in the offside rear wheel arch... no going back now. seems to fit well and the car is starting to gain a bit more rigidity again.
I was hoping to patch up the existing nearside inner rear wheel arch but it was fairly hopeless. Started again with some new techniques I picked up at the classic restoration show in Birmingham earlier in the year. Certainly made things a lot easier! I kept the existing to hand and kept a couple of the yellow panel grips things around to check alignment before welding the three shaped panels together
Making the piece in three was a whole lot easier than in one as I did with the offside arch. The metal didn't need working so much and I was able to use the shrinker/stretcher to get the edges to line up neatly.
Seams welded and ground smooth
Also got a new tuffsaw blade for the bandsaw and had a go using it for the first time. Pretty happy with the results and ended up making the A post and the section above . All seemed to fit well for starters, probably will need some fettling on final assembly
-
Grumpy Northener
- Posts: 1637
- Joined: Sun Apr 03, 2011 8:26 am
- Location: Hampshire UK
Re: Alvis TA14 Mulliners Saloon Restoration
Great to see you making progress on this - especially when you are practising (to good effect) new skills & techniques 
1937 Jowett 8 - Project - in less pieces than the Jupiter
1943 Jowett Stationary Engine
1952 Jowett Jupiter - In lots of peices http://Jowett.org/
1952 Jowett Javelin - Largely original
1973 Rover P6 V8 - Original / 22,000 miles
1943 Jowett Stationary Engine
1952 Jowett Jupiter - In lots of peices http://Jowett.org/
1952 Jowett Javelin - Largely original
1973 Rover P6 V8 - Original / 22,000 miles

Re: Alvis TA14 Mulliners Saloon Restoration
J
"Home is where you park it", so the saying goes. That may yet come true..
"Home is where you park it", so the saying goes. That may yet come true..
Re: Alvis TA14 Mulliners Saloon Restoration
Yes, what they say above me, I always fancied learning how to bash tin about and come up with wonderful shapes, alas being a fabricator welder by trade I'm somewhat better at joining straightish and bentish pieces together in smaller sections to do the same job.. I think the satisfaction gained from the above results must be very nice.
Keep it up
Keep it up
Re: Alvis TA14 Mulliners Saloon Restoration
I had not seen this thread before but I am very pleased that it was reactivated. For a first major restoration and an apprenticeship in numerous metalworking and woodworking techniques it is astounding. Well done! Stick with it and don't let little sports cars derail you for too long.
I can confirm that JB Weld will survive unscathed for at least 20,000 miles in a Skoda Rapid (rear engined) . Its alloy head was so badly corroded that the head gasket was unsupported in several quite large areas - way beyond skimming - so JBW came to the rescue and my daily commute of 25 miles each way could continue. The temporary repair showed no signs of failing and was also fine on a long drive to Toulouse and back not long after 9/11 when flying did not seem like a good idea. I sold the car, still in excellent running condition, about 2 years after the JBW repair and 2 more trips to Europe (Germany).
My dad was in the RAF and I lived there in 1964-6 and 1971-2. Not sure if you said when the Alvis was in that neck of the woods, but I can't remember seeing one there. Perhaps it was nestled away in a garage.
Anyway, fabulous thread, keep the updates coming!
I can confirm that JB Weld will survive unscathed for at least 20,000 miles in a Skoda Rapid (rear engined)
My dad was in the RAF and I lived there in 1964-6 and 1971-2. Not sure if you said when the Alvis was in that neck of the woods, but I can't remember seeing one there. Perhaps it was nestled away in a garage.
Anyway, fabulous thread, keep the updates coming!
Re: Alvis TA14 Mulliners Saloon Restoration
Thanks for the comments.
Good to hear from Raymk about your use of JB weld, sounds like yours was maybe a bit more severe than mine, although I did have a half inch score in cylinder 4 half way down and thought about filling it but left it. Not sure it would have worked, could have done a lot more damage than good! Ive often wondered though...
The car was on an RAF airfield, I'd have to look back to remember which one. It probably was mid 60's that it was bought from there.
Yep! Feels great after to just stand back and think... wow, I actually managed it! That usually then follows with, hmm, could have done it better though. Guess that's a good thing.Re: Alvis TA14 Mulliners Saloon Restoration
Post by arceye » Wed Nov 26, 2014 3:17 pm
I think the satisfaction gained from the above results must be very nice
Good to hear from Raymk about your use of JB weld, sounds like yours was maybe a bit more severe than mine, although I did have a half inch score in cylinder 4 half way down and thought about filling it but left it. Not sure it would have worked, could have done a lot more damage than good! Ive often wondered though...
The car was on an RAF airfield, I'd have to look back to remember which one. It probably was mid 60's that it was bought from there.
Re: Alvis TA14 Mulliners Saloon Restoration
Managed to fit in three days over the Christmas holidays, not a whole heap of progress but still moving forward. Trying to upload from my phone so the photos might have cropped a bit.

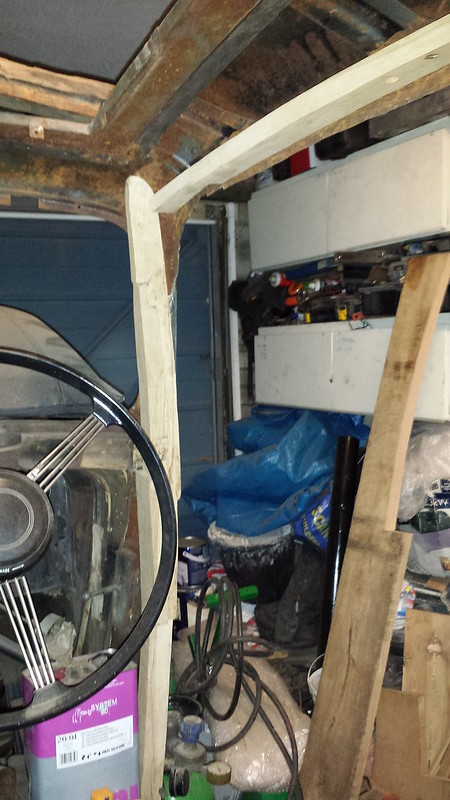
I've trimmed and adjusted the A post so it's a snug fit

On the inside, the lowered part of the bulkhead which straps down to the chassis had completely rotted away. A nice simple repair for once with a square hole filed in it to lock the head of the new coach bolt.
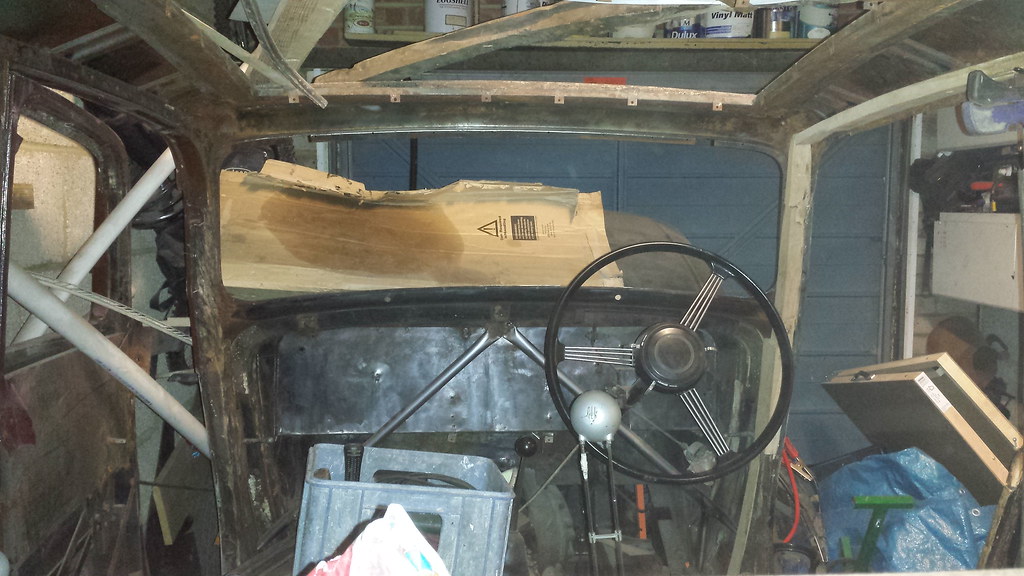
I finally figured out how to remove the cross member across the bottom edge of the windscreen opening with the help of some handy ratchet spanners I got for christmas I was amazed to find large patches of never painted bare metal shining back at me. A quick blast with the wire wheel took most of the rust off. I'll be going over any pitted areas with the shot blaster.
Getting the very front sectons of frame out is proving near impossible without causing a lot of damage so may have to leave that be, it is the only timber that won't have been removed, repaired or replaced.
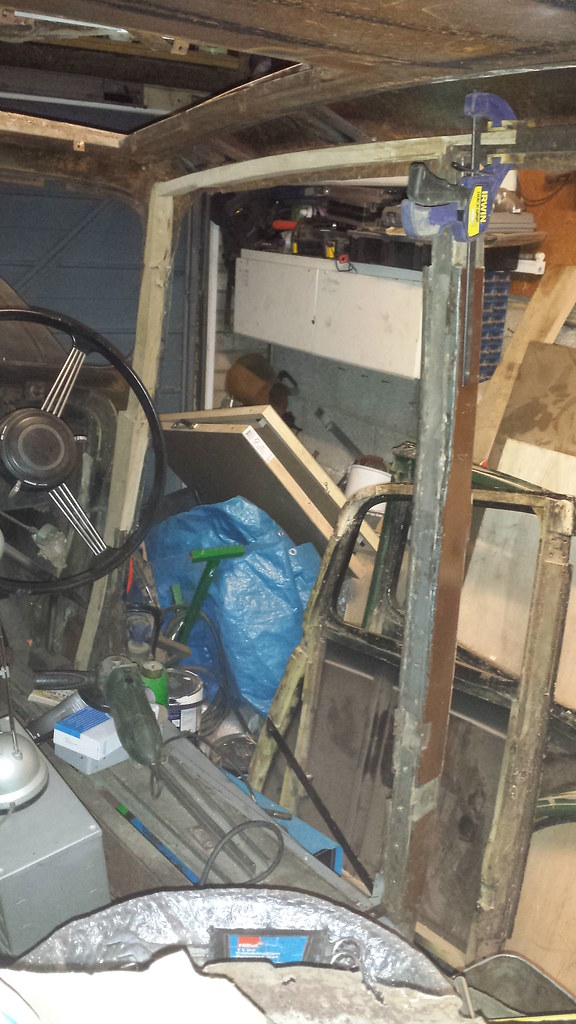
The A post and frame above the door opening after adjustment. They are now ready to go in after the inside of the body has been cleansed of any surface rust.
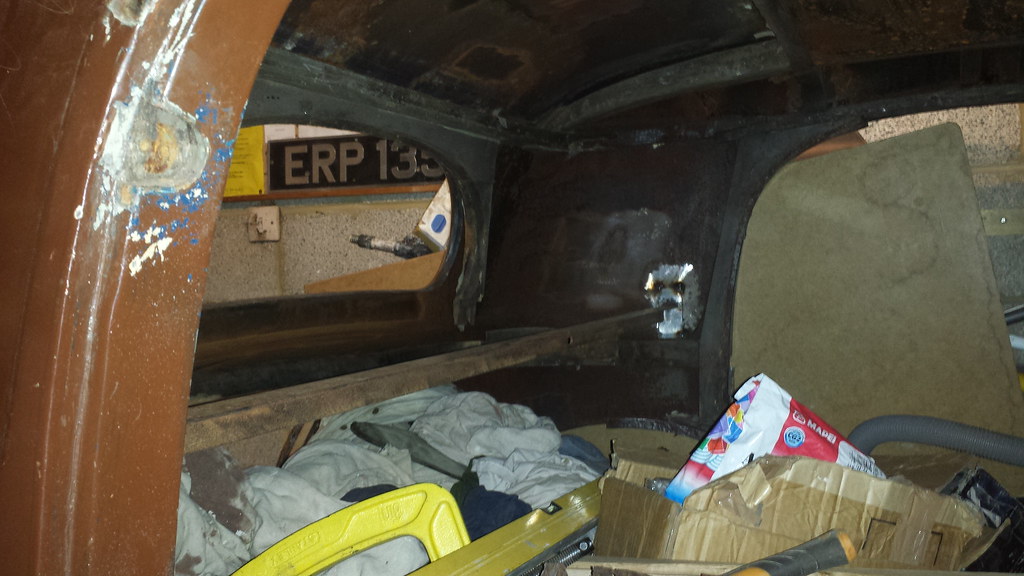
I also picked up some old scrap angle iron and have braced the rear section, this also acts as a level datum to check alignment. I checked everything to make sure it was all still level, plumb or within tolerance and was relieved to see nothing appears to have moved significantly.
You might also be able to see the frame around the rear window has dropped. I've freed up this area and am slowly working towards removing the roof frame and sunroof base so the plan is that this will all drop as one.
I've also welded up a couple of other areas and seam sealed and primed the offside sill and started to fit it permanently. I'll try and update with some photos when I'm next working on it.
Happy new year and thanks for your comments
I've trimmed and adjusted the A post so it's a snug fit
On the inside, the lowered part of the bulkhead which straps down to the chassis had completely rotted away. A nice simple repair for once with a square hole filed in it to lock the head of the new coach bolt.
I finally figured out how to remove the cross member across the bottom edge of the windscreen opening with the help of some handy ratchet spanners I got for christmas
Getting the very front sectons of frame out is proving near impossible without causing a lot of damage so may have to leave that be, it is the only timber that won't have been removed, repaired or replaced.
The A post and frame above the door opening after adjustment. They are now ready to go in after the inside of the body has been cleansed of any surface rust.
I also picked up some old scrap angle iron and have braced the rear section, this also acts as a level datum to check alignment. I checked everything to make sure it was all still level, plumb or within tolerance and was relieved to see nothing appears to have moved significantly.
You might also be able to see the frame around the rear window has dropped. I've freed up this area and am slowly working towards removing the roof frame and sunroof base so the plan is that this will all drop as one.
I've also welded up a couple of other areas and seam sealed and primed the offside sill and started to fit it permanently. I'll try and update with some photos when I'm next working on it.
Happy new year and thanks for your comments
Who is online
Users browsing this forum: No registered users and 1 guest