Alfa Romeo 75 3.0 V6 & 164 3.0 24V Cloverleaf
Re: Alfa Romeo 75 3.0 V6 1991 Ongoing Project
Lol, love that car , its got a real pocket rocket look to it
Re: Alfa Romeo 75 3.0 V6 1991 Ongoing Project
Little done, plan on getting lots done in the next few weeks if weather holds out!
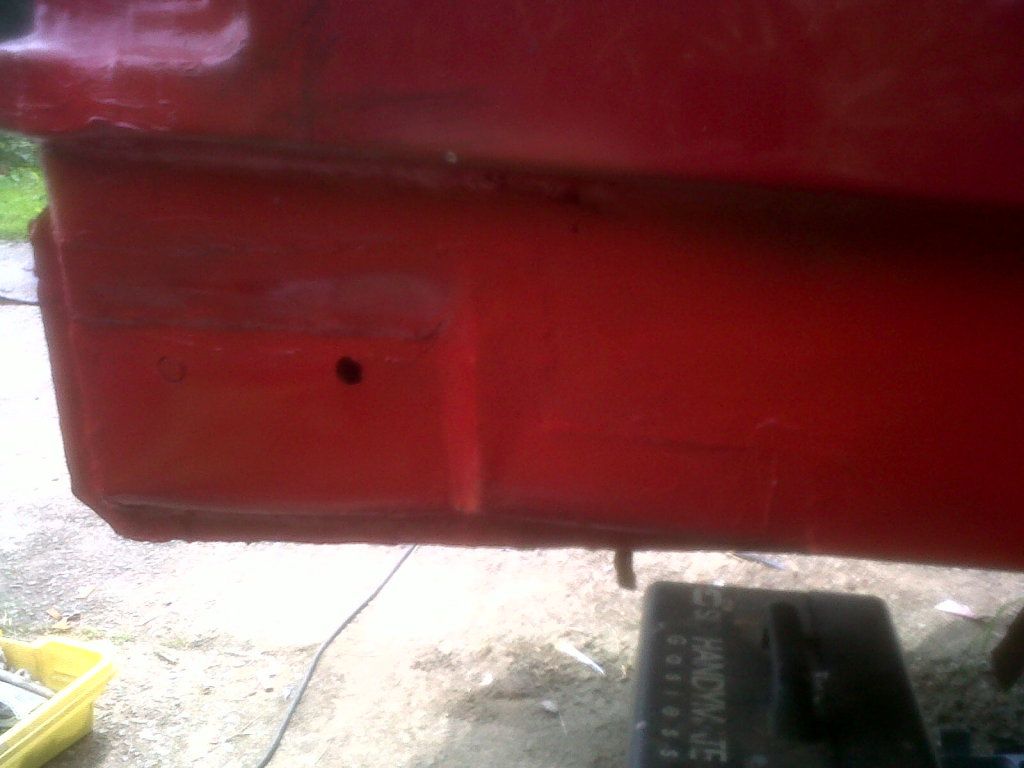
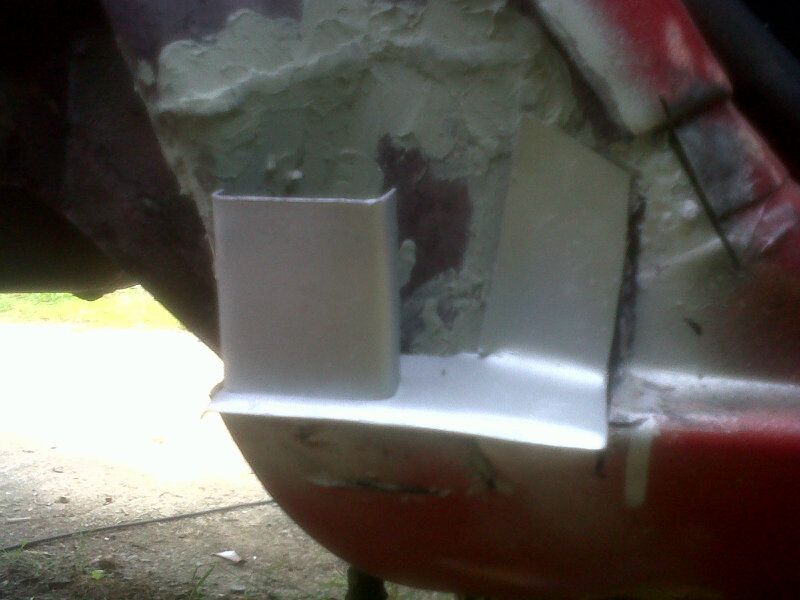
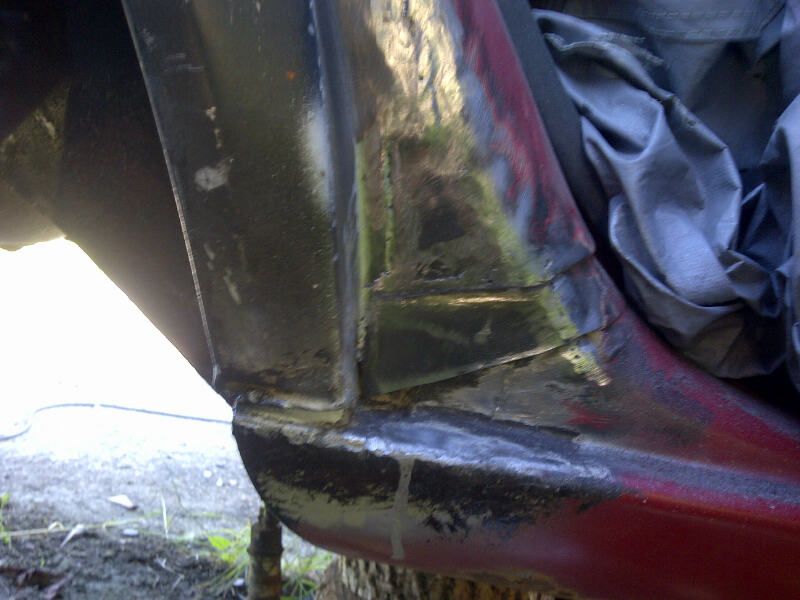
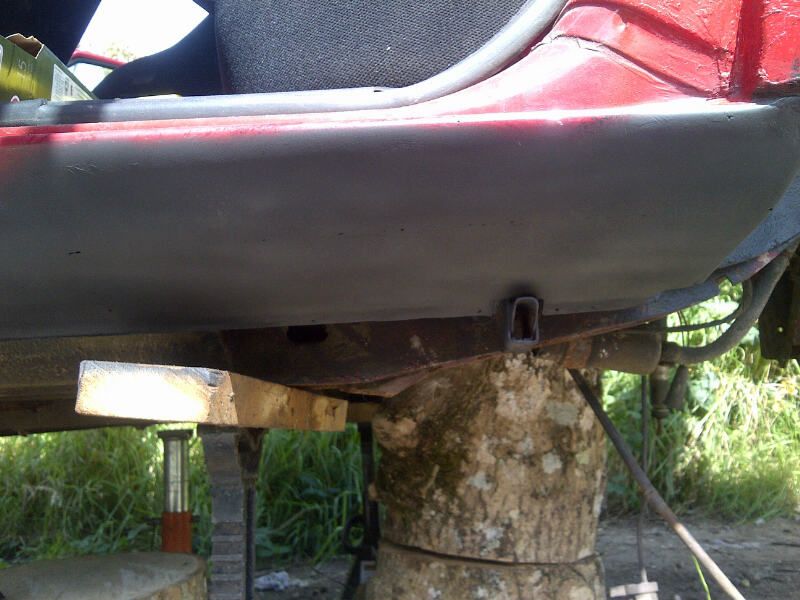
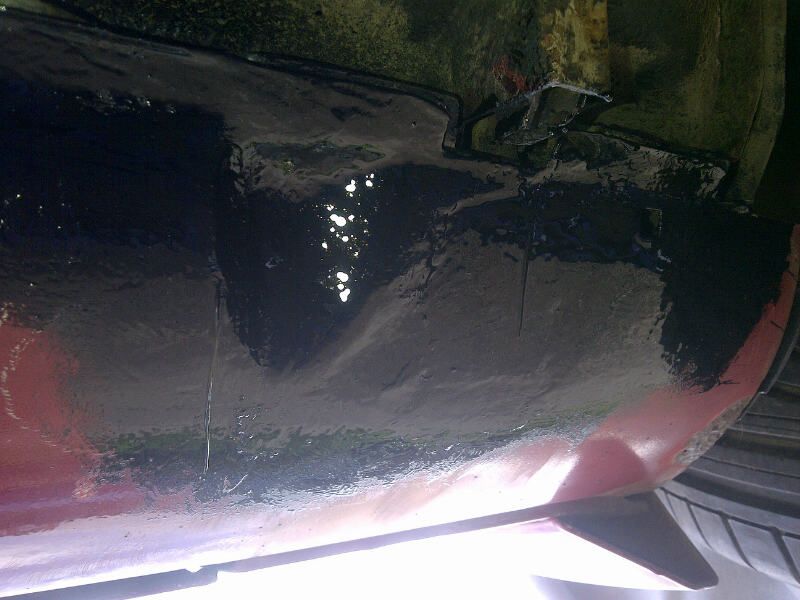
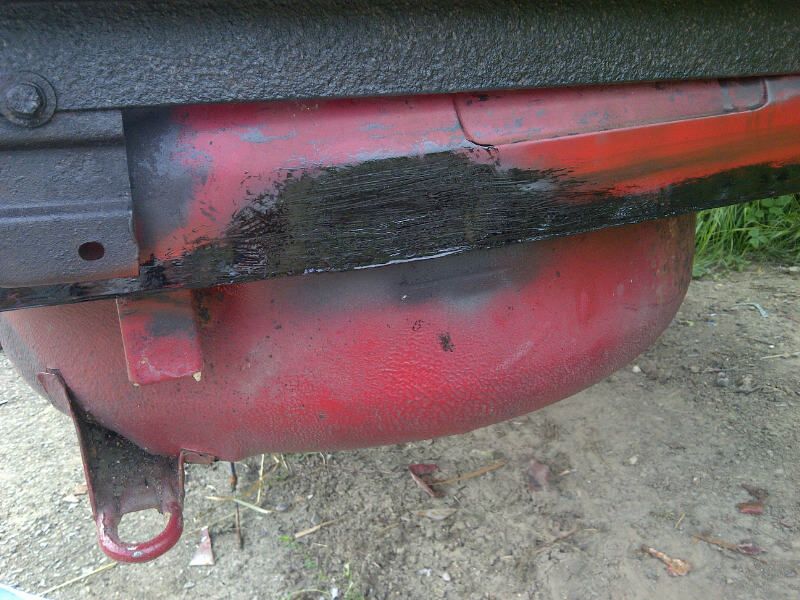
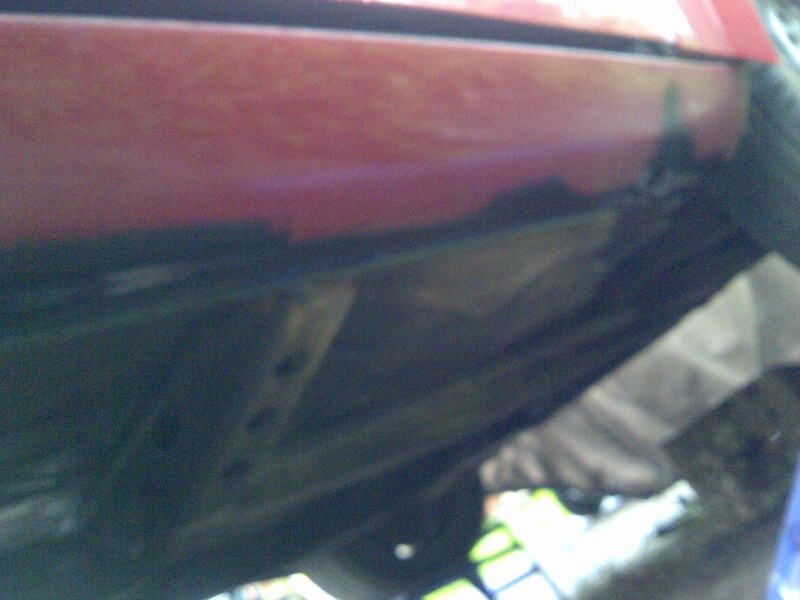
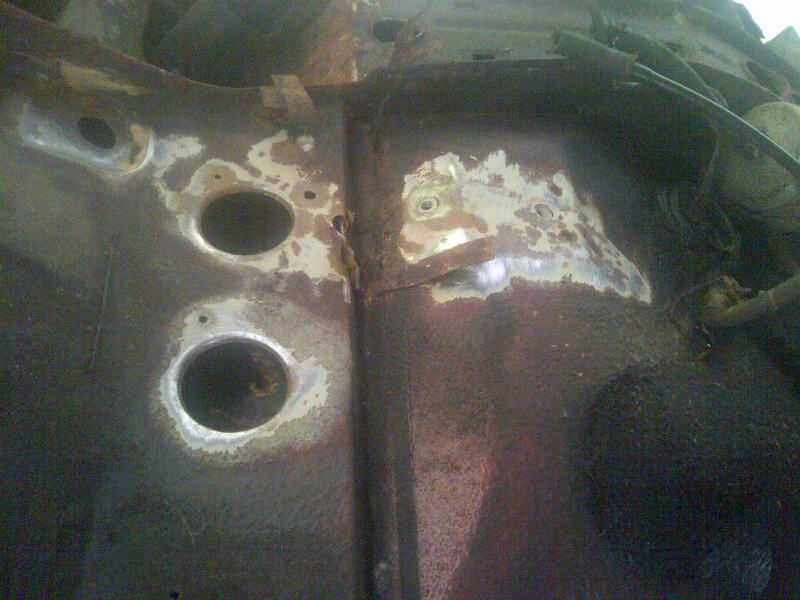
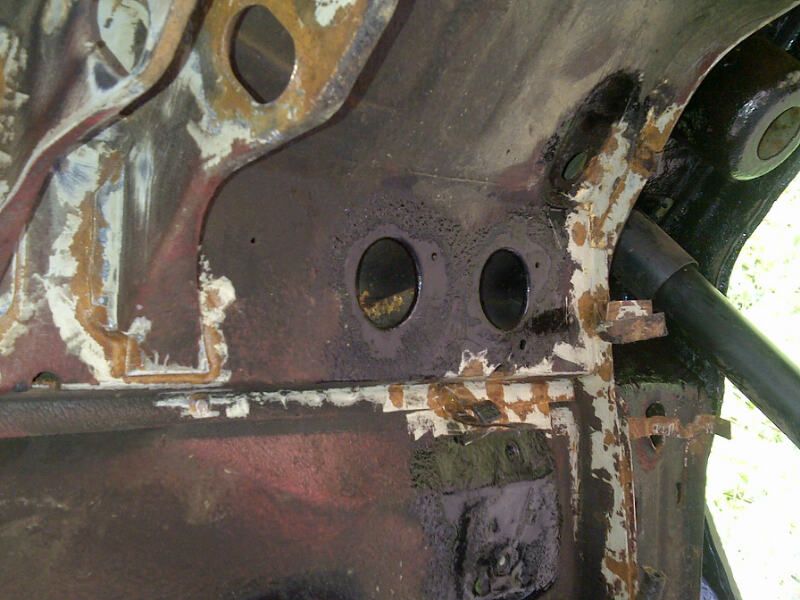
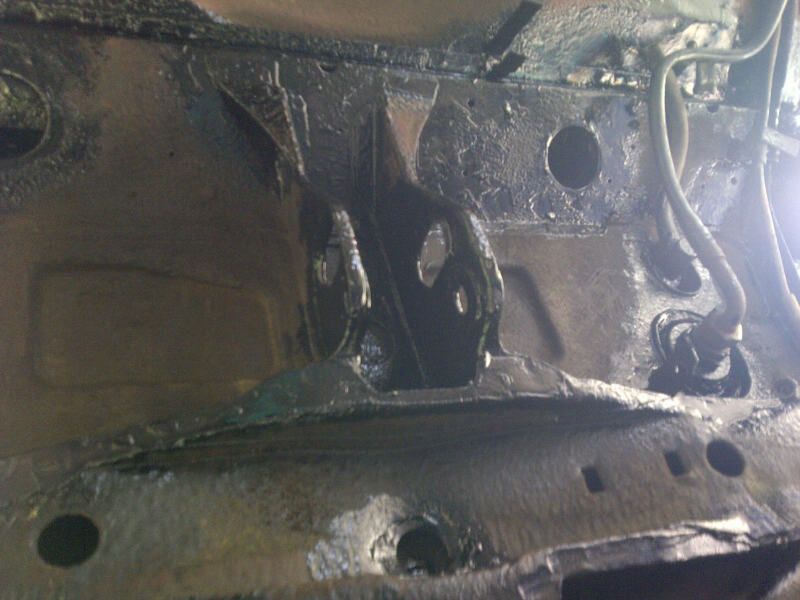
First , seam sealed and splashed to red paint on the finished bumper mounting area. Again Il come back and fill smooth and pain for proper once all welding is done and its back on its wheels. The random red top coats stops and moisture absorbtion in meantime.
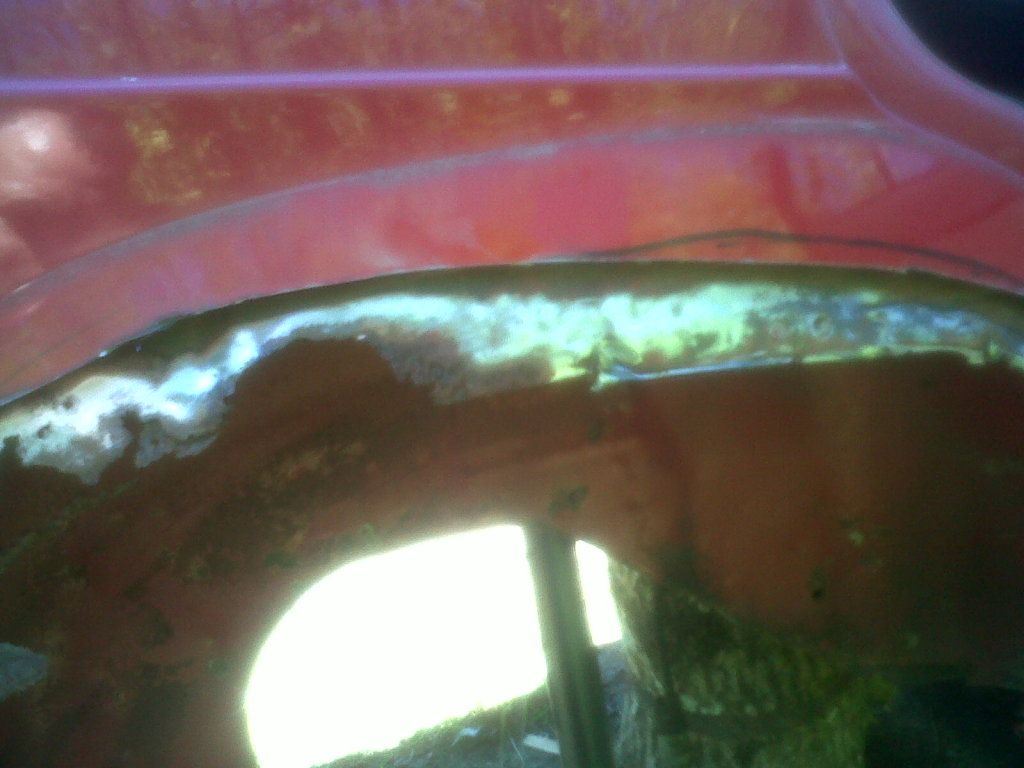
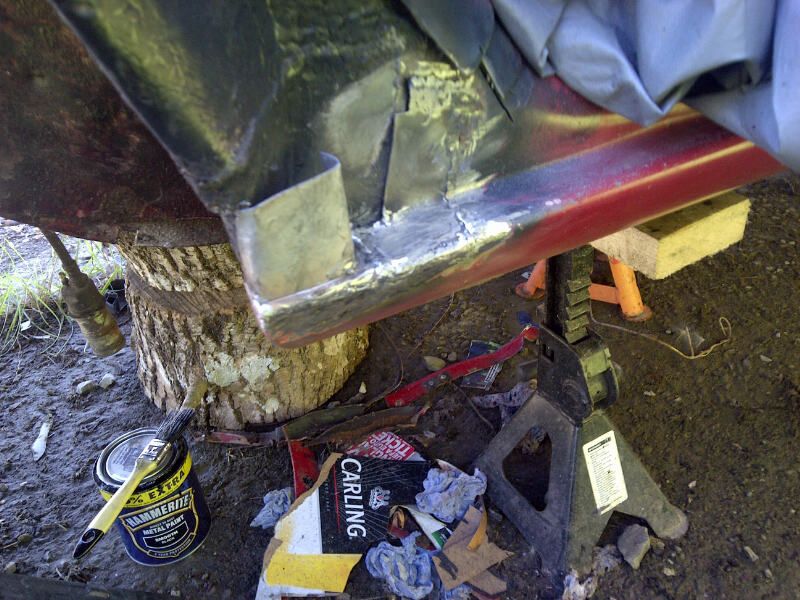
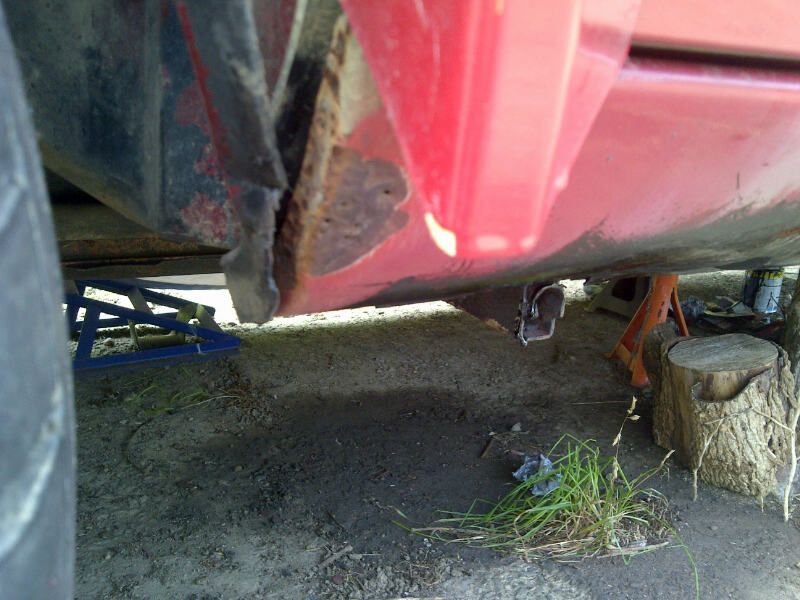
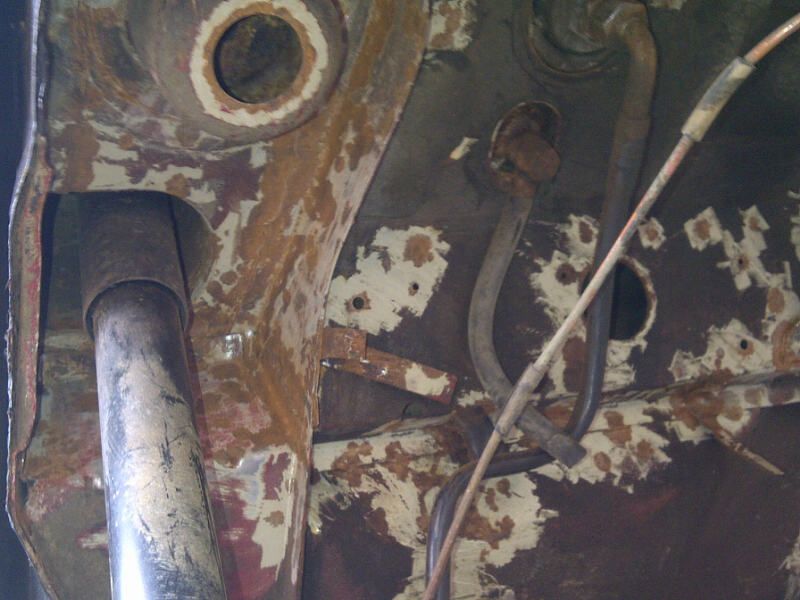
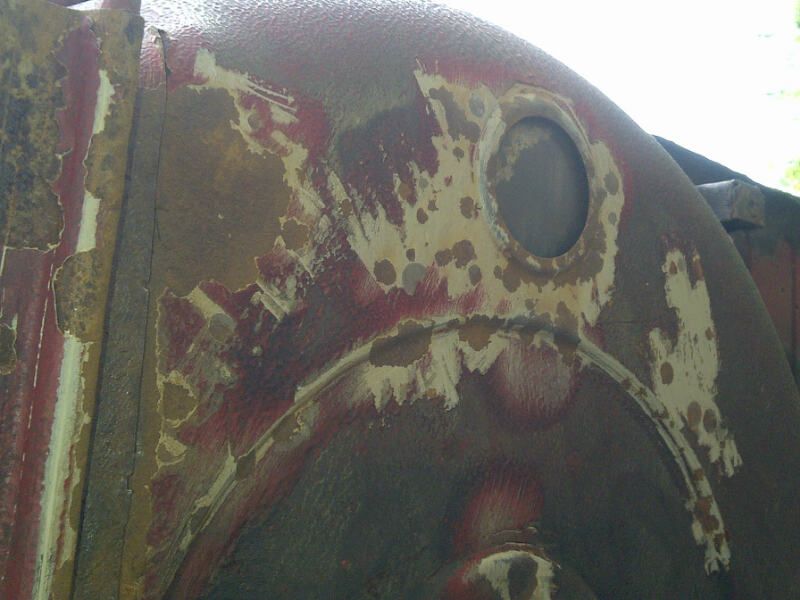
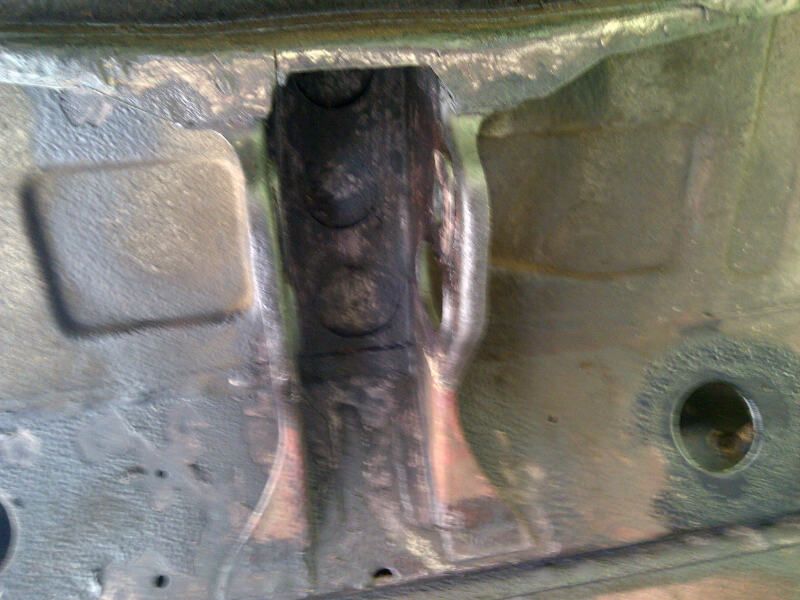
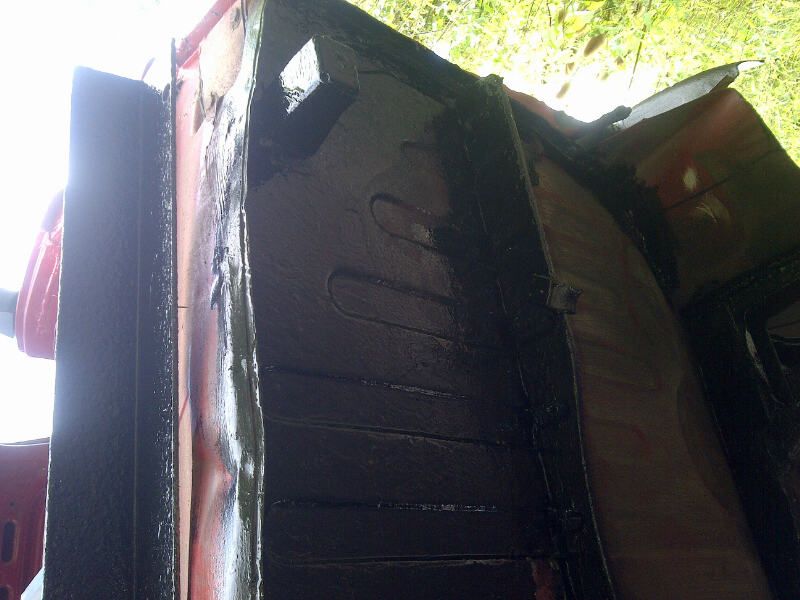
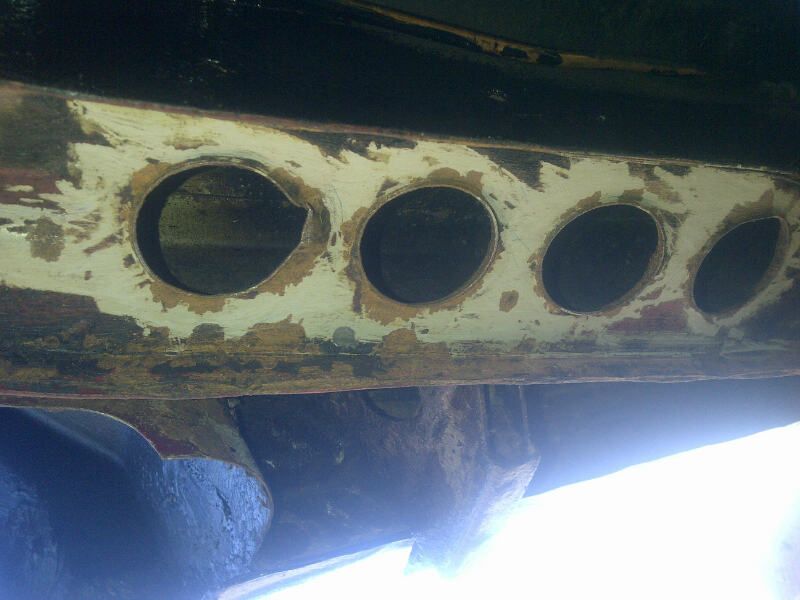
So started on he drivers rear arch. Although the rot is less on the arch itself, it goes alot further into the door jam.


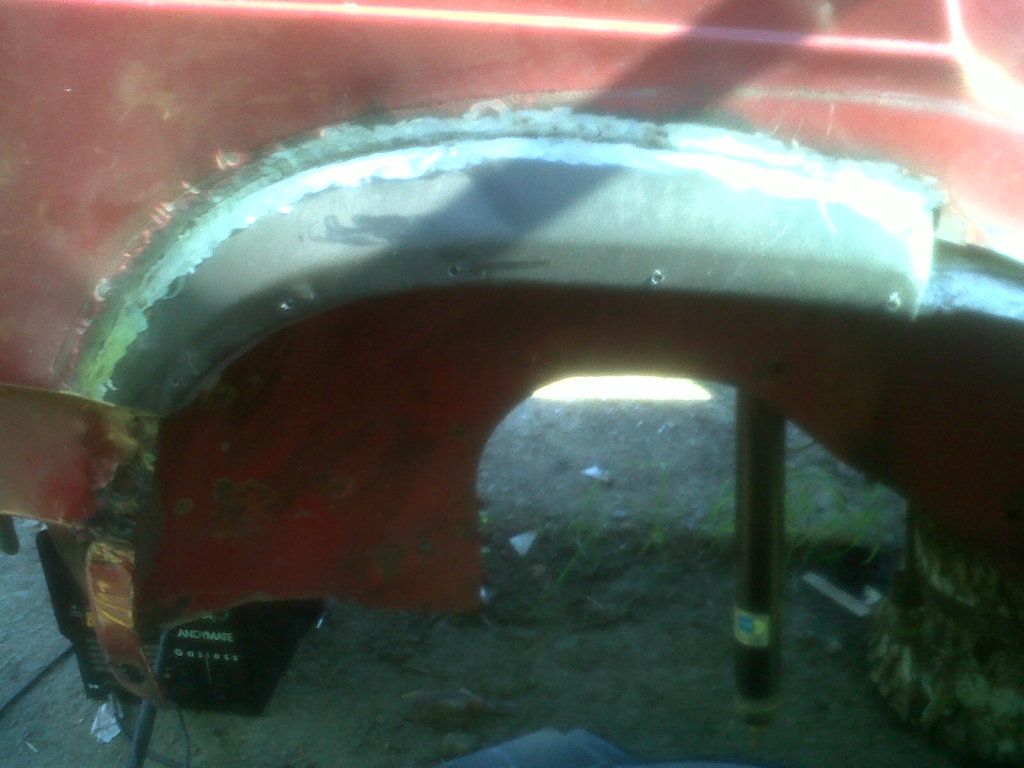
Repaired inner wheel arch a he rear and welded in half the arxh. Reason for half being that the copy panel being not grear and abou 1 inch to short, so I can get a better fit in 2 sections.
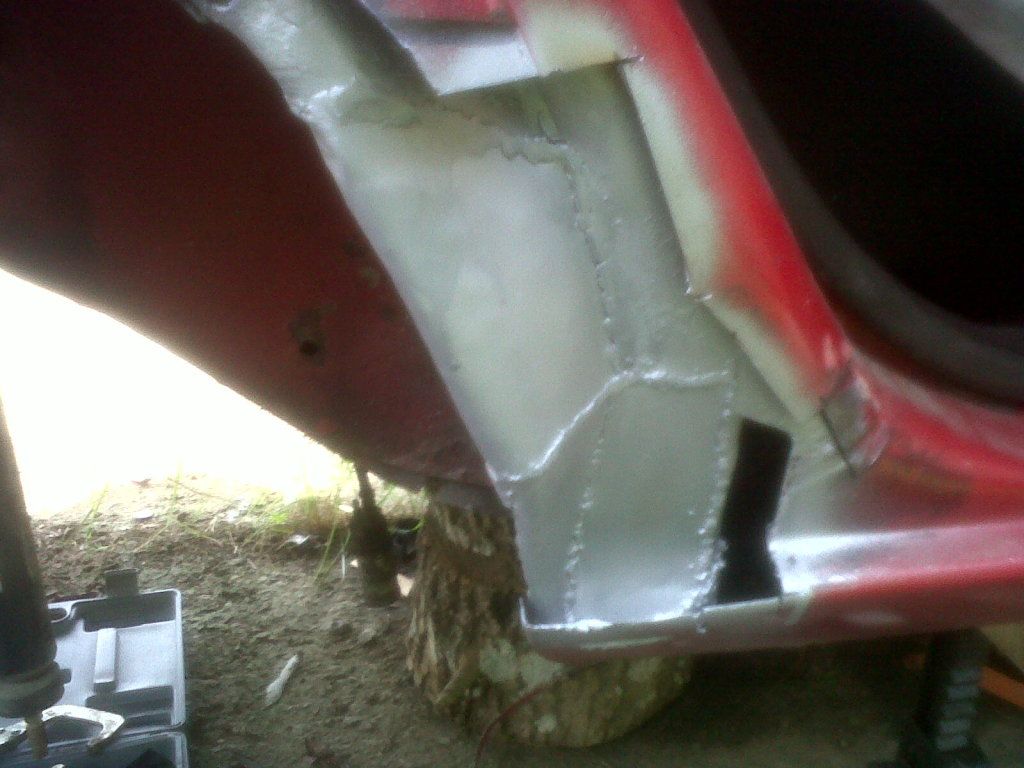
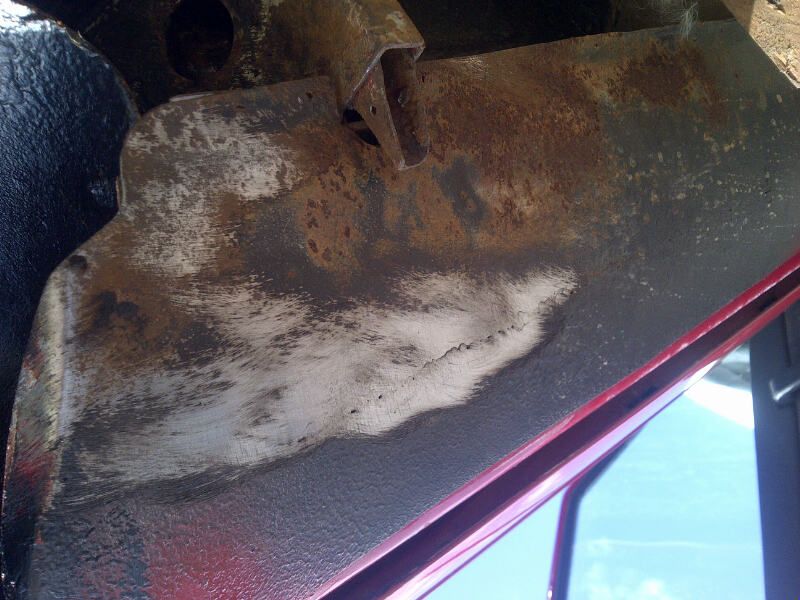
The started on the inside part of the door area. I cut the outer skin right off so I could ge better access and be sure I had go all the rot.
I did not grind he weld back that far, as they are going to be hidden, the grinder could not get in there and I dont wan to risk thinning the metal.
Totally swamped in Zinc pain and I will seam seal and hammerite it also before closing the outer panel over it.
First , seam sealed and splashed to red paint on the finished bumper mounting area. Again Il come back and fill smooth and pain for proper once all welding is done and its back on its wheels. The random red top coats stops and moisture absorbtion in meantime.
So started on he drivers rear arch. Although the rot is less on the arch itself, it goes alot further into the door jam.
Repaired inner wheel arch a he rear and welded in half the arxh. Reason for half being that the copy panel being not grear and abou 1 inch to short, so I can get a better fit in 2 sections.
The started on the inside part of the door area. I cut the outer skin right off so I could ge better access and be sure I had go all the rot.
I did not grind he weld back that far, as they are going to be hidden, the grinder could not get in there and I dont wan to risk thinning the metal.
Totally swamped in Zinc pain and I will seam seal and hammerite it also before closing the outer panel over it.
Re: Alfa Romeo 75 3.0 V6 1991 Ongoing Project
Well the 9000 blow developed to being quite noisy, and turned out to be a cracked turbo housing, and at the same time the exhaust rear section holed too.
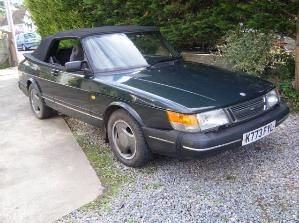
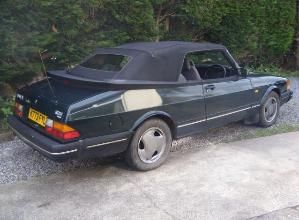
So I popped down to see Ivor at AeroWorld which is nearby to see about parts. Well as fate would have it he had just taken in a solid but a little tatty C900 Convertible which has been on my list for a while.
I quickly justified (to myself and then the wife over the phone lol!) that the cost of fixing the 9000 wa sonly the same as the amount Ivor wanted on top to swap the 9000 in.
It helped that I just make a bit of profit off selling a project Alfa 75 I has sitting about.
The 9000 has been a great car and I massively recommend them to anyone! Value for money they cant be beaten, its been totally reliable and even with the crack, which just made it noisy , not unusable and I really should of fixe dit as it would still really of owed me nothing.
So work is now starting on tidying up the Convertible so I can get out and enjoy the sun, should look a little more manly than I do in my MX5 lol!
Il start a new thread for the C900
Re: Alfa Romeo 75 3.0 V6 1991 Ongoing Project
My daughters birthday on Saturday so I thought I would sneak in a tinkering day and told the office I was busy and would be in later (which turned out to be not at all lol!).
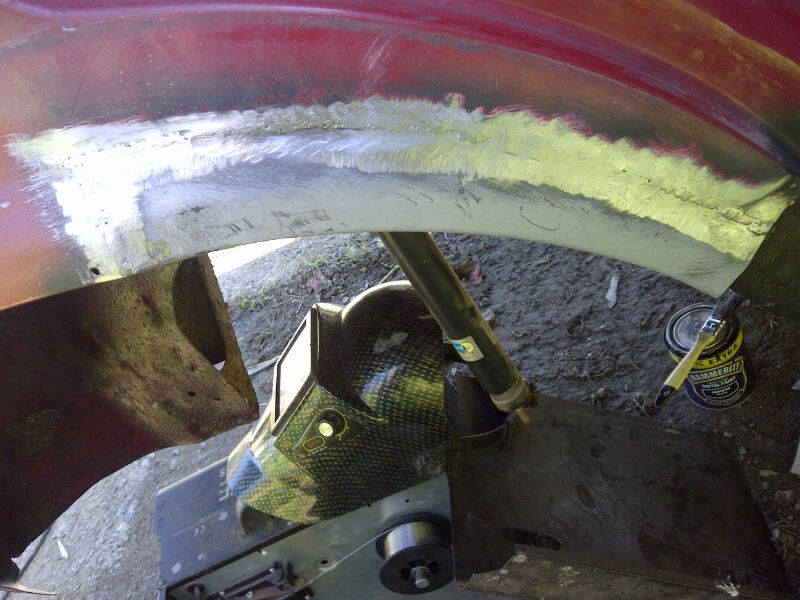
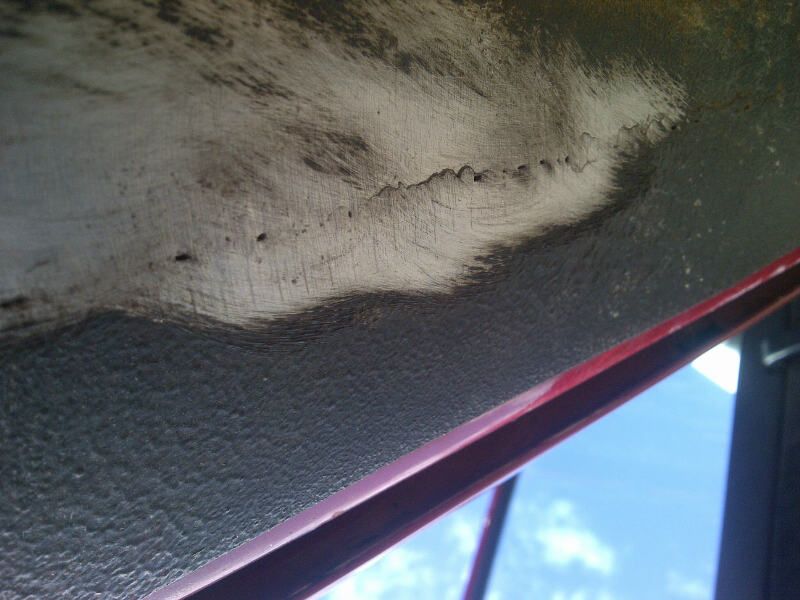
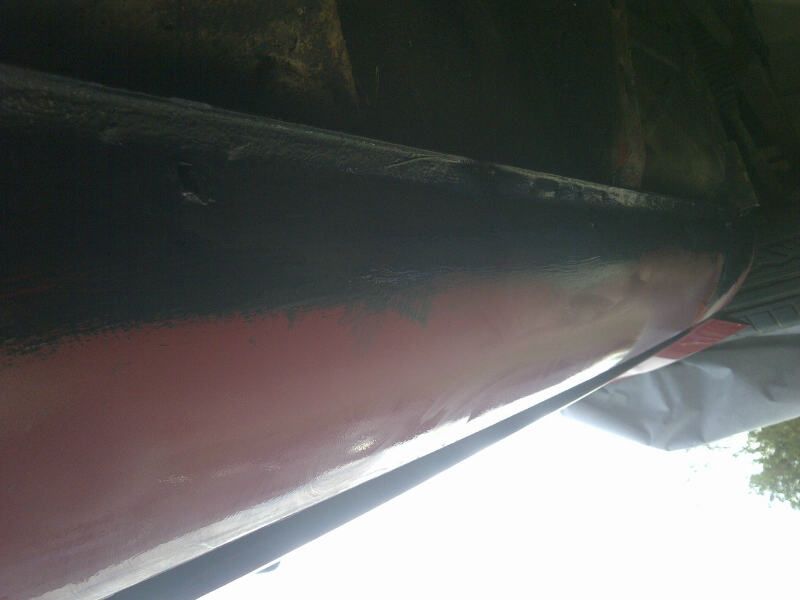
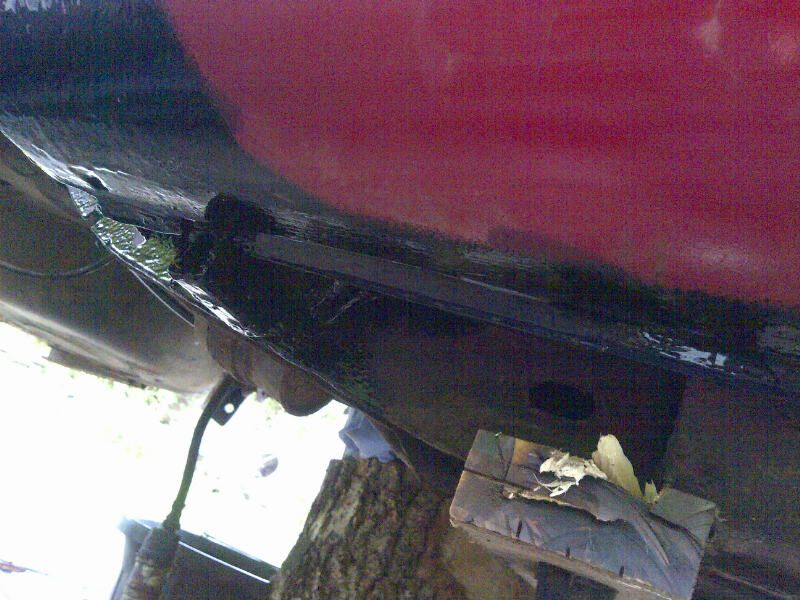
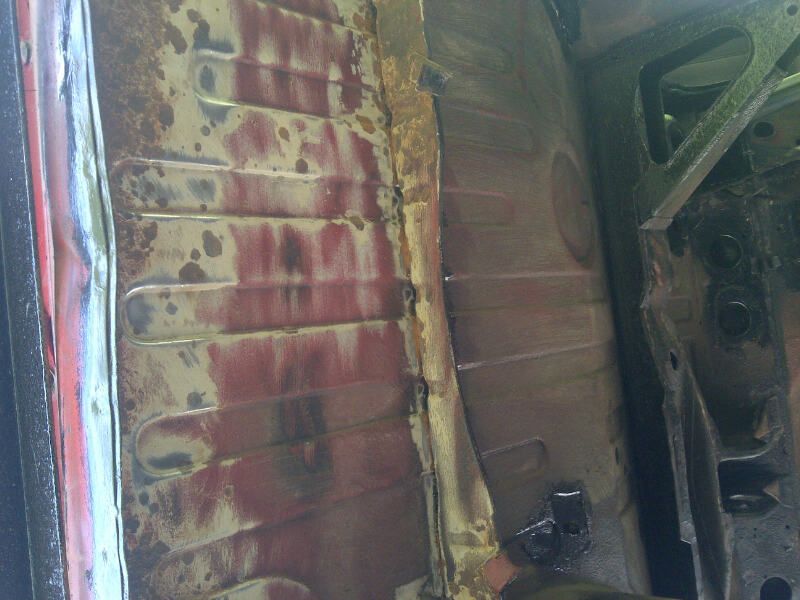
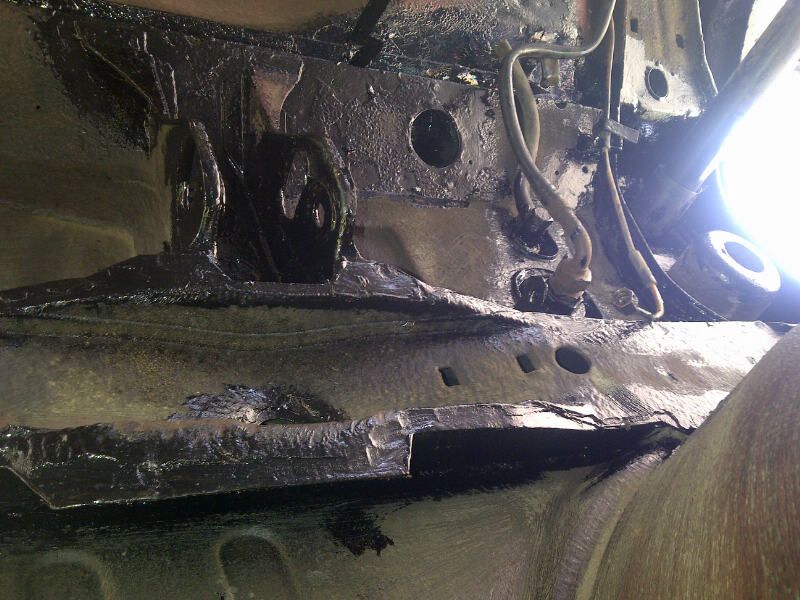
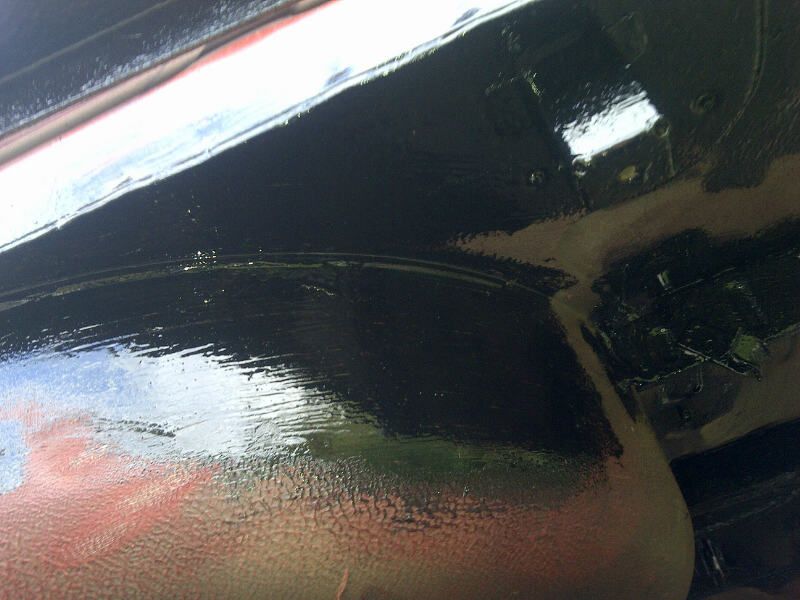
First hammerite over the high zinc paint on the last repair before it's closed in with outer panels.
Could not quite remember how the section was made up as most of it was gone after I cut the rot out
But I new on the end of the sill there was a locating section for the out wheel arch panel to go over so fabbed a section
Welded it all in
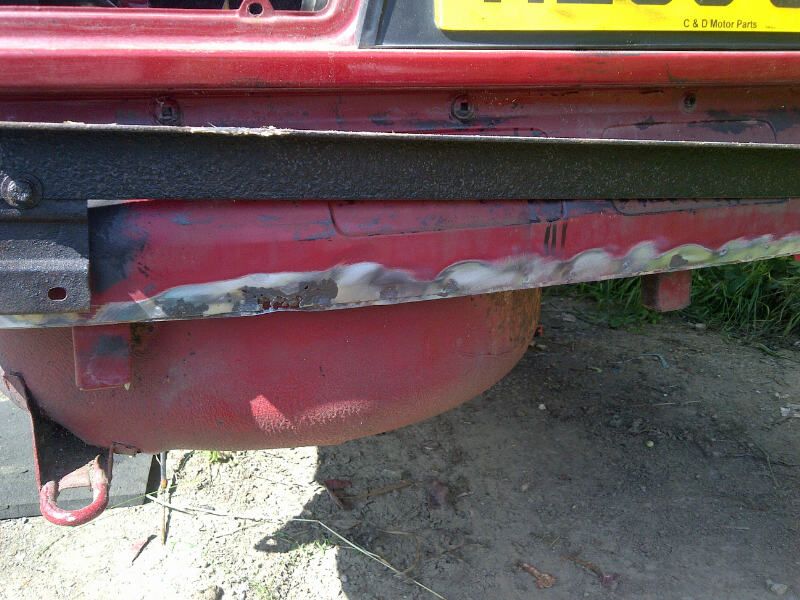
And then welded the front section of the arch panel (if you remember I cut it up as the panel fit was poor)
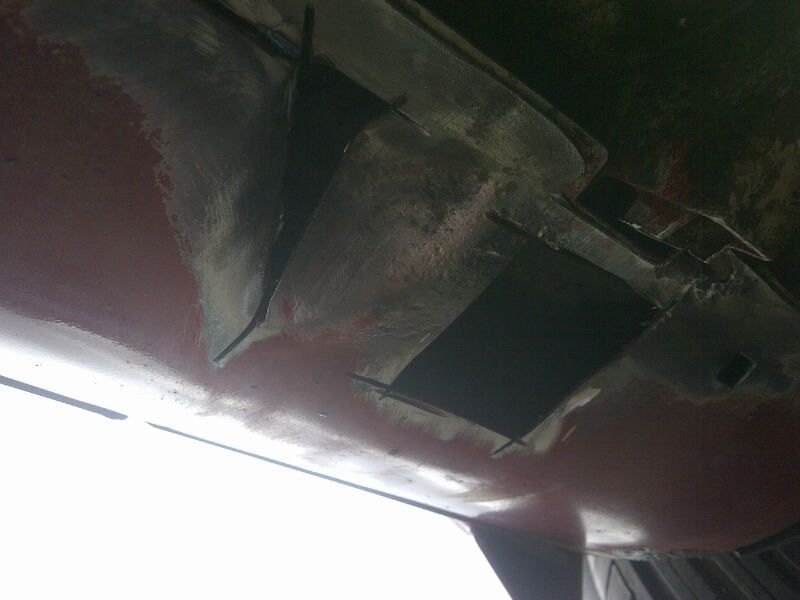
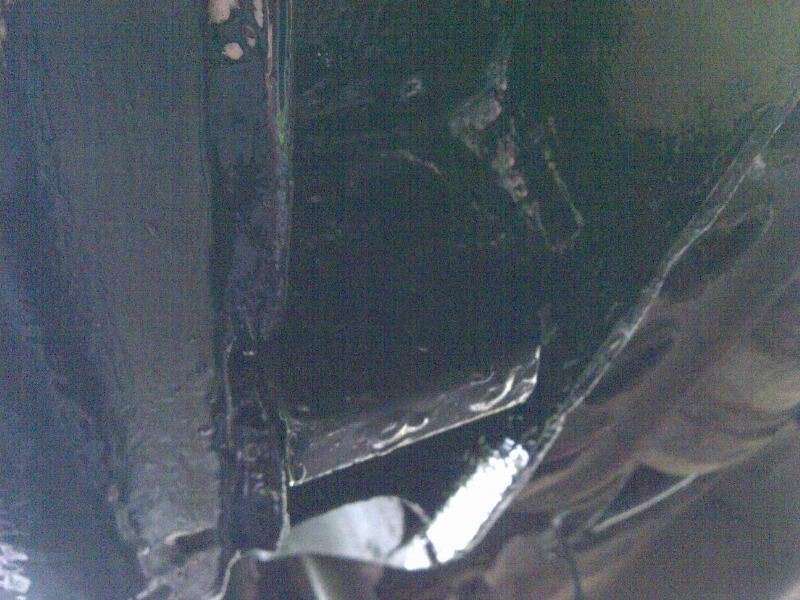
Then finished the section off closing in the repair section
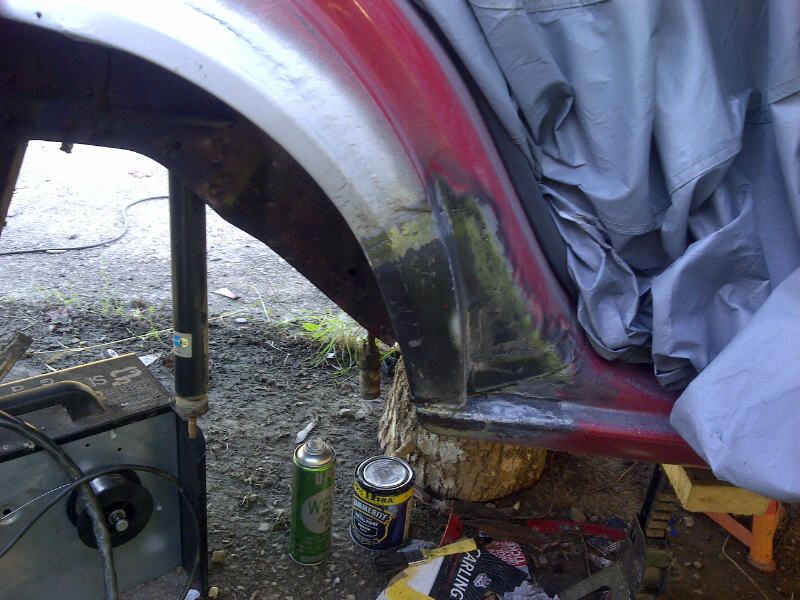
I recreated the original overlappig panels in this area to match the other side
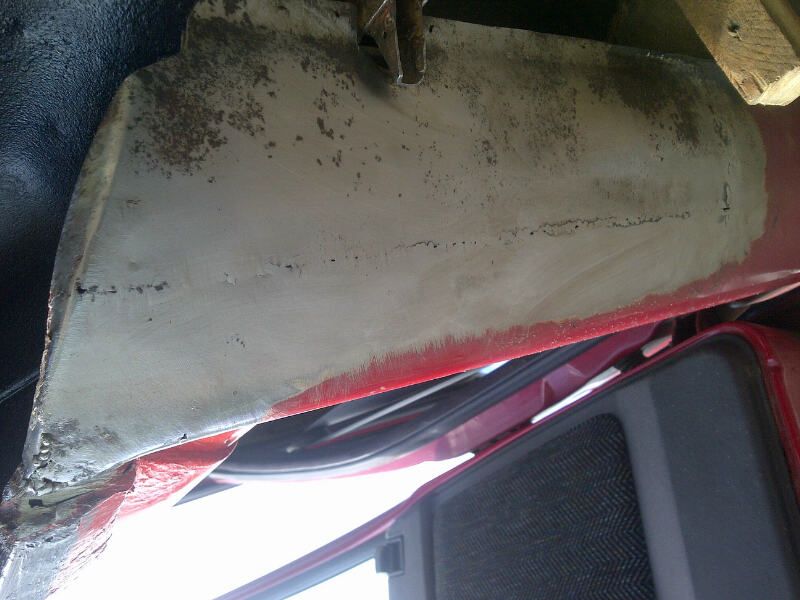
All ready for lead leading but ran out of time. But for the moment the welding is done!!!!!!!!
Famous last words! I am going to wire brush the sills next especially round the jacking points and then rust proof and hammerite.
Then wire brush and re wayoyl underneath before refitting everything.
I figure I can do the filling and sanding etc with it on wheels and running, Im keen to get it moving again
First hammerite over the high zinc paint on the last repair before it's closed in with outer panels.
Could not quite remember how the section was made up as most of it was gone after I cut the rot out
But I new on the end of the sill there was a locating section for the out wheel arch panel to go over so fabbed a section
Welded it all in
And then welded the front section of the arch panel (if you remember I cut it up as the panel fit was poor)
Then finished the section off closing in the repair section
I recreated the original overlappig panels in this area to match the other side
All ready for lead leading but ran out of time. But for the moment the welding is done!!!!!!!!
Famous last words! I am going to wire brush the sills next especially round the jacking points and then rust proof and hammerite.
Then wire brush and re wayoyl underneath before refitting everything.
I figure I can do the filling and sanding etc with it on wheels and running, Im keen to get it moving again
Re: Alfa Romeo 75 3.0 V6 1991 Ongoing Project
Took time out today to crack on.
Again I left he arch repair as was , Il lead laod and fill later. Figure its more important to get the basics sorted and back on wheels, I can get the filling and sanding, painting done then.
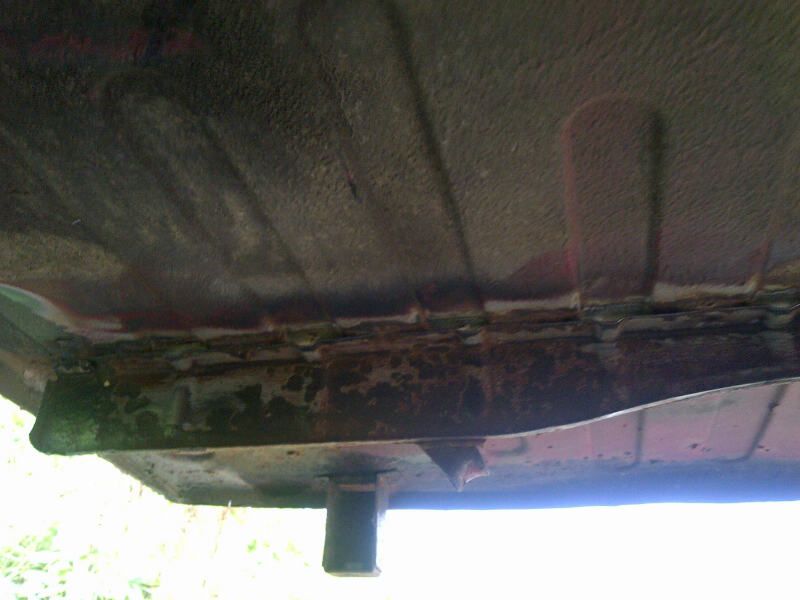
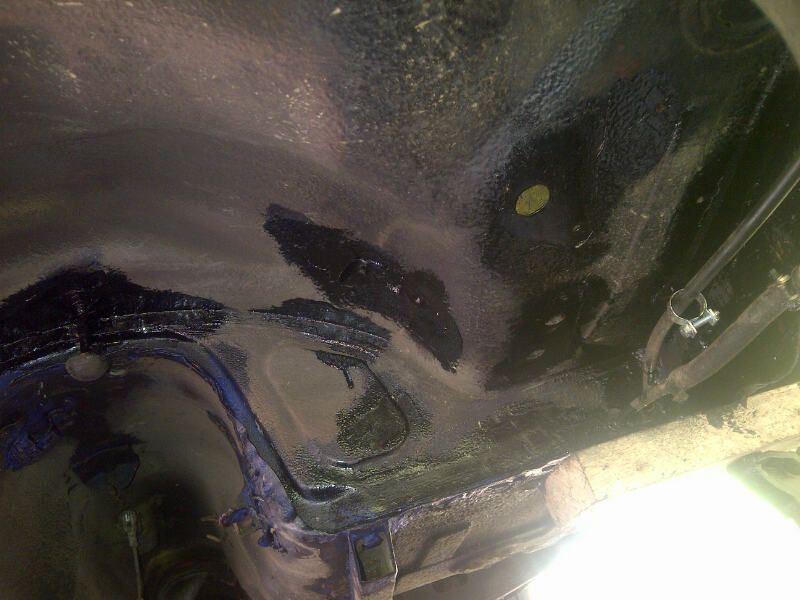
So I moved to sorting the underside as the top side body work is now complete.
Plan is to Knot wheel the underside where old underseal is coming away, treat rust (hopefuly no welding!) and re underseal.
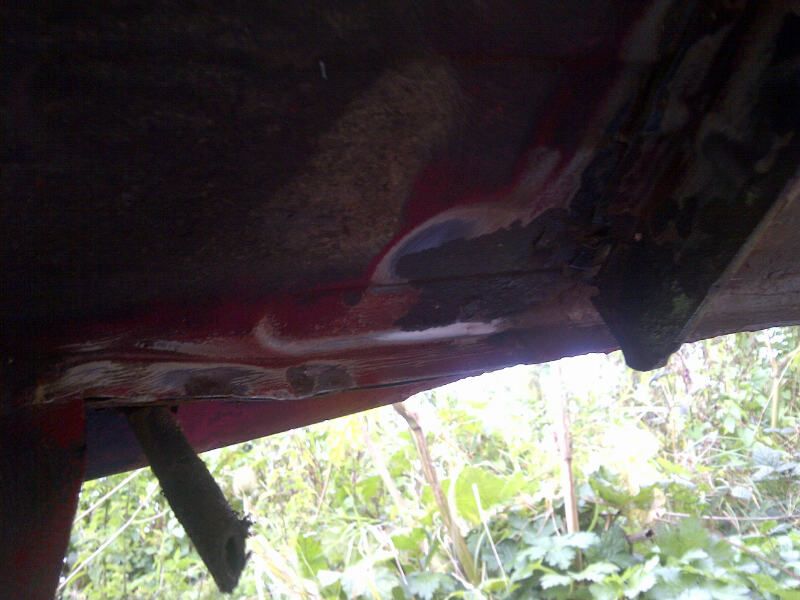
First up was sills and jacking points.
So passenger sill was showing some surface rust a rear, after a quick wire brush over I discovered why. Some bright spark had done an ok sill repair, but covered the bare metal in waxoyl only, now zinc no primers etc.
Cleaned it all off
Zinc primed and then Hammerited it.
Worked my way down the rest of sill, the centre section was ok, so I wire brushed, Kurusted and zinced the small surface rust areas
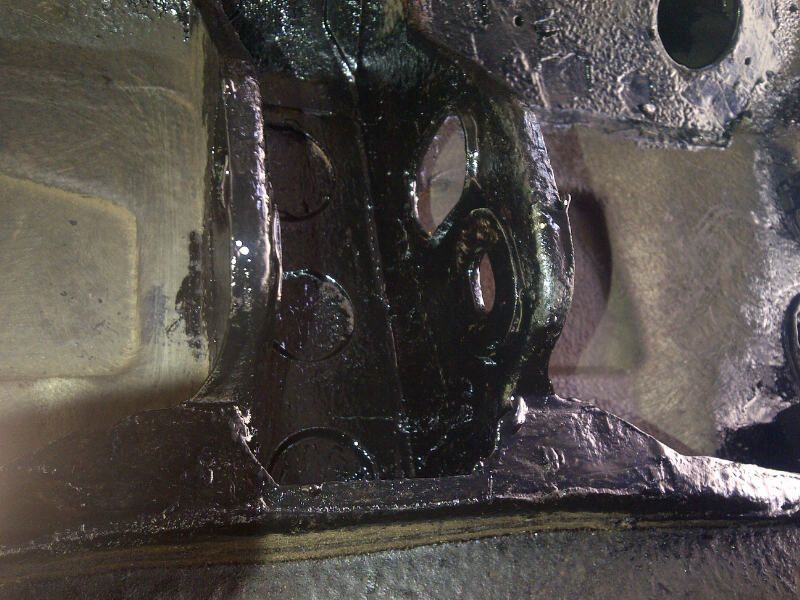
But the engine end has some rot that had to be cut out
Welding in new thick metal and zinc'd and hammerited
Left that to dry as plan is to now waxoyl the whole section both inside through bodykit fiting hiles and outside.
But I am going to have to take the fron arches off and the liner to get at some rot on the front end of the sill
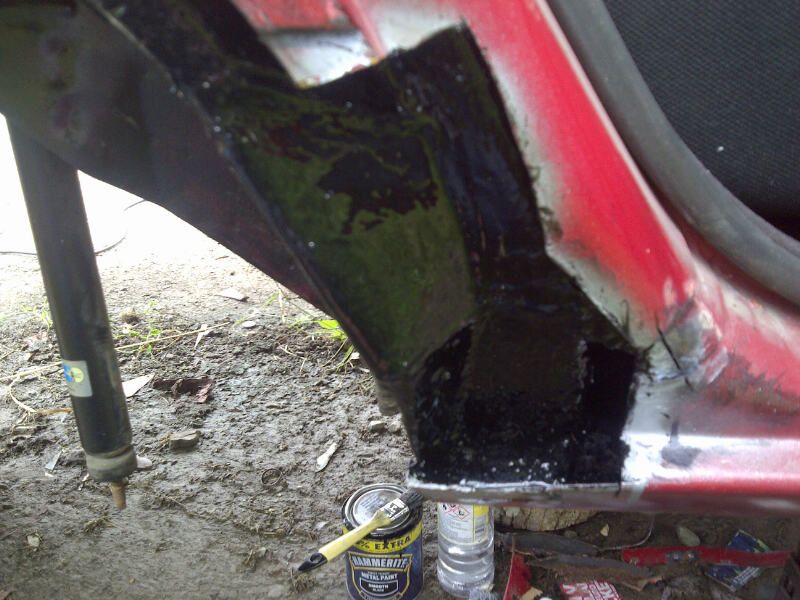
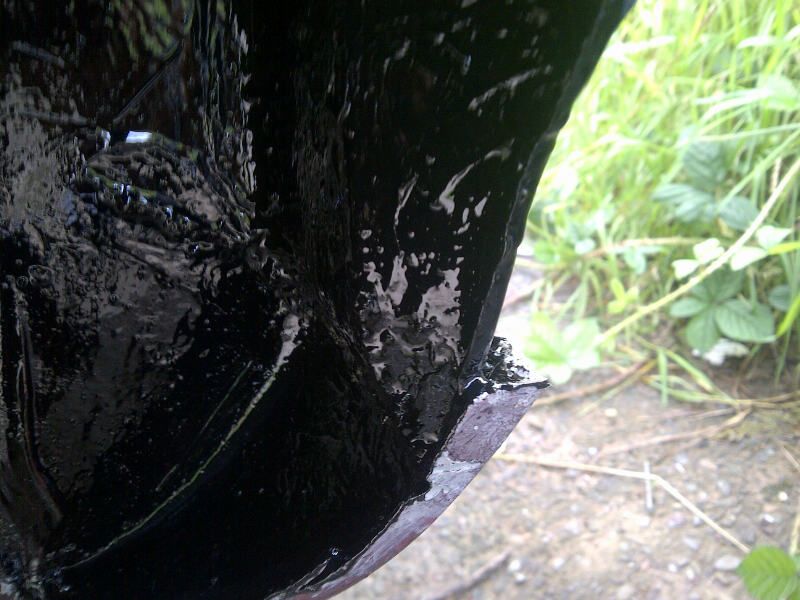
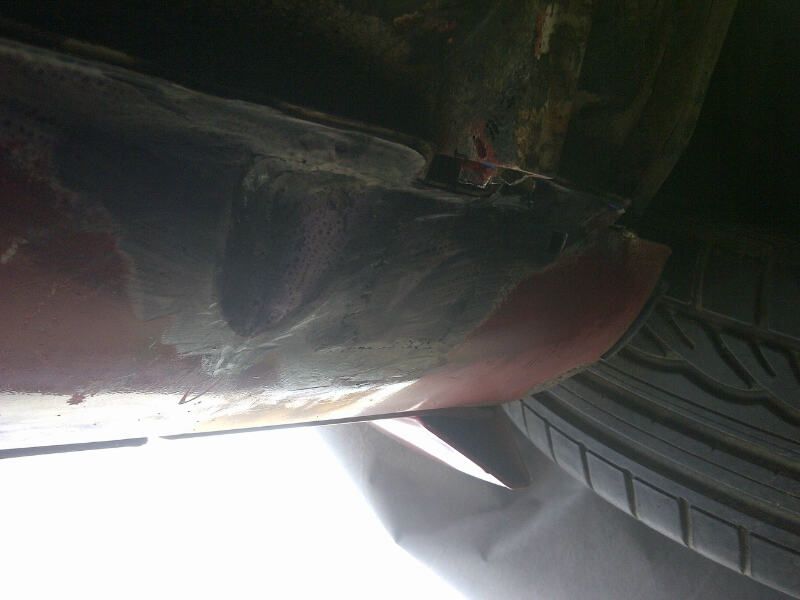
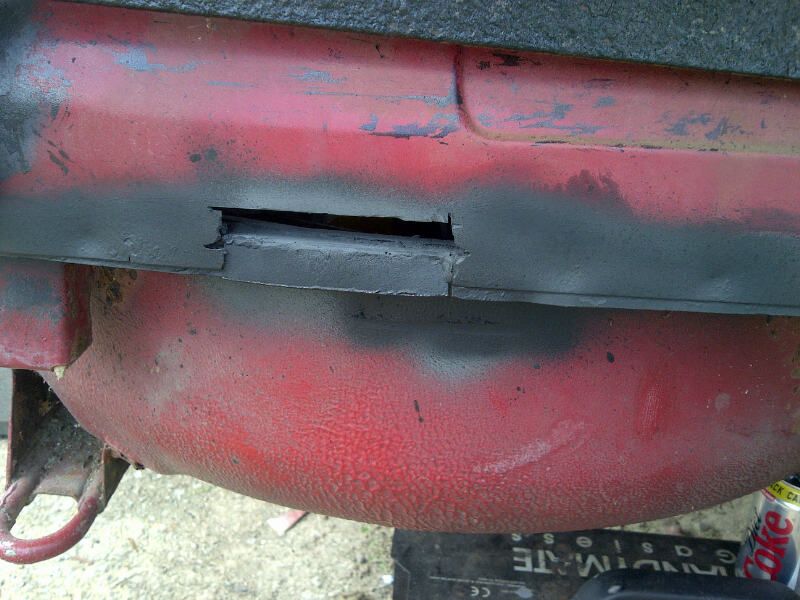
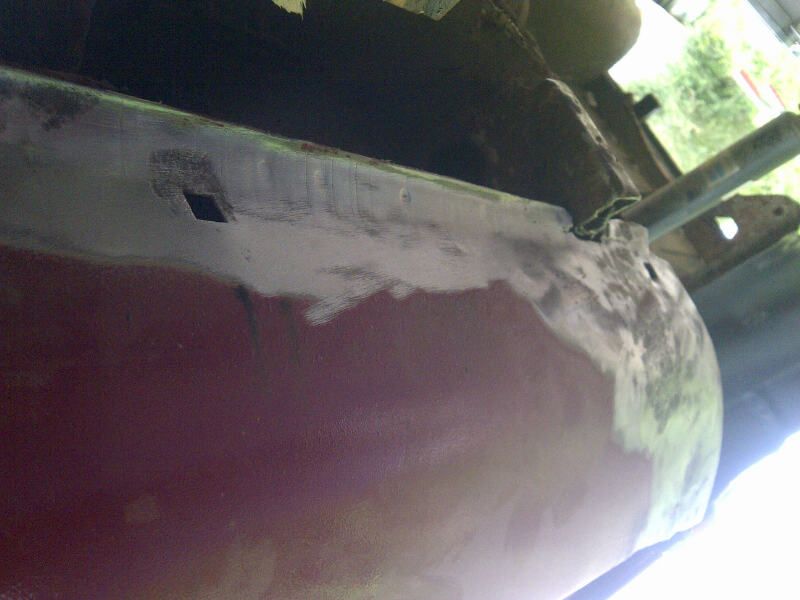
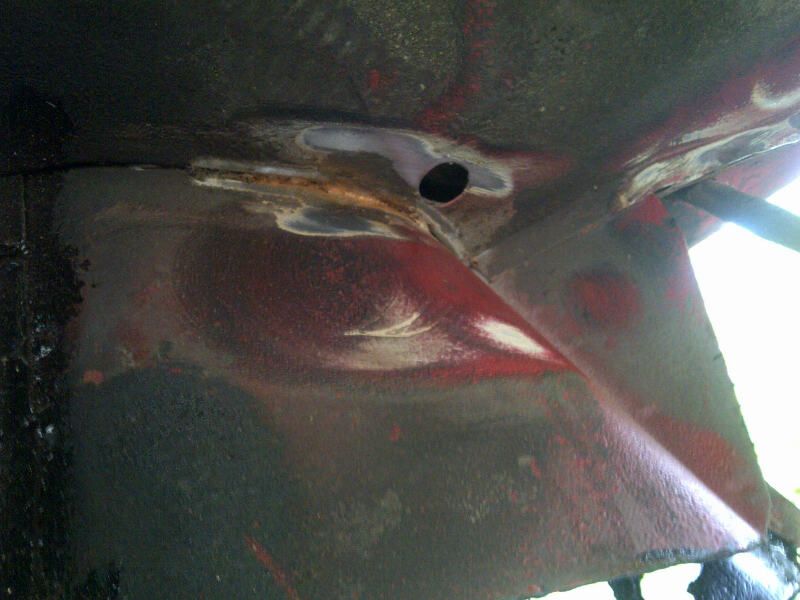
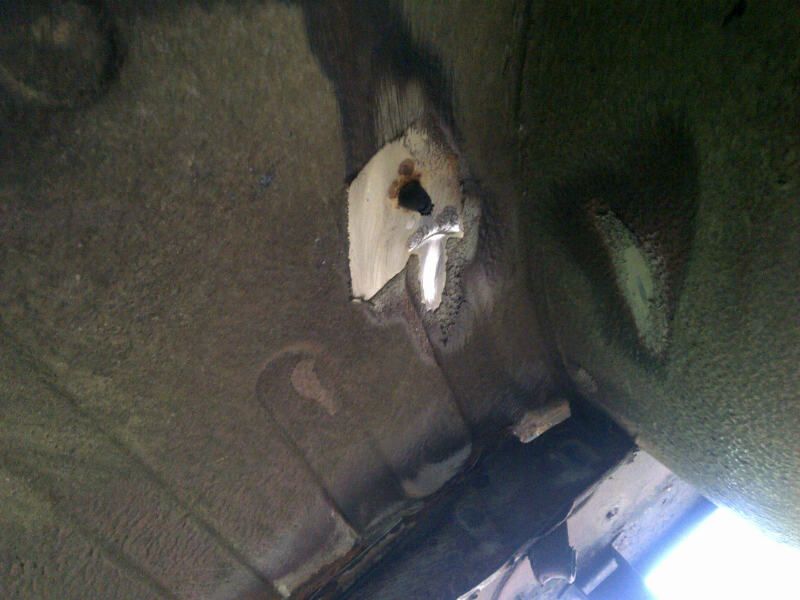
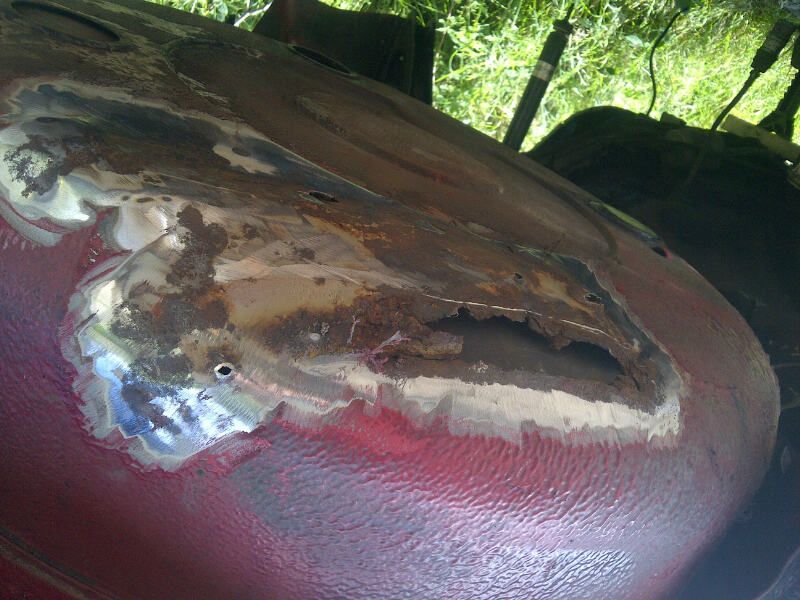
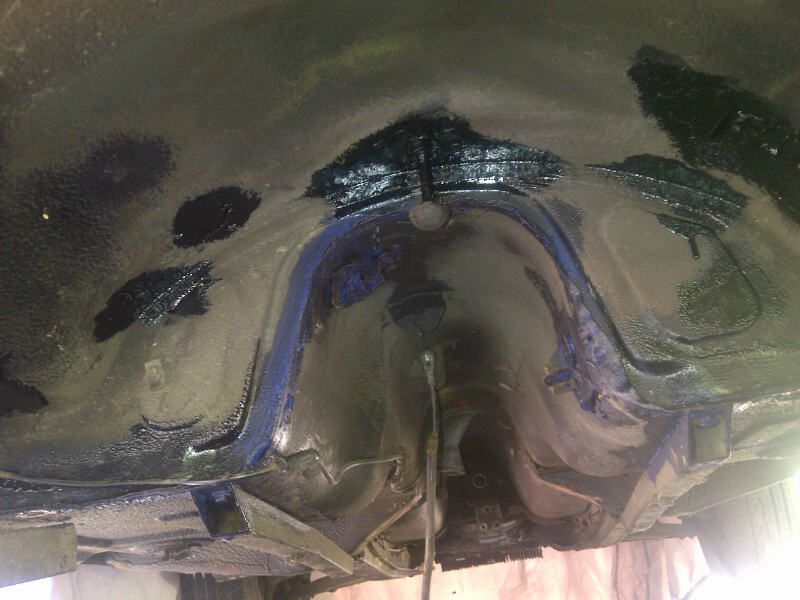
I focused then on the bit of rot on the very bottom edge of the boot section, I could see the seam sealer bubbling so I wire brushed it all off to check it oout.
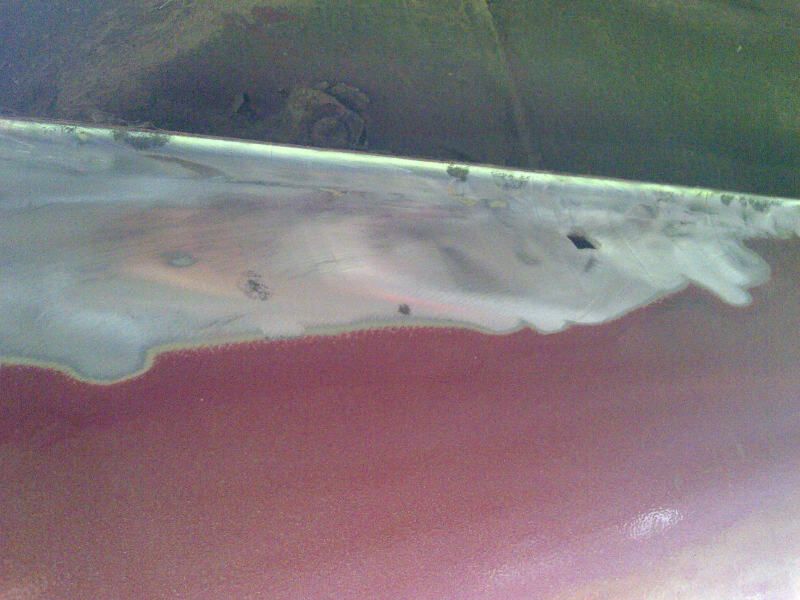
More welding needed! I cut out the rot and made up the rear lip of the boot floor then the covering panel which was then zinc'd and hammerited.
Again I intend on Waxoyling this section. Anywhere out of sight is in fact goign to get this treatment as I want to get a good few miles under her belt before I do any of this again!
The rest of the edge was just sufrace rust so it was Kurusted and Zinc'd.
Thats it for now hope o get another day in this week and sort the other sill then I can get stuck into the sorting of the underside.
Again I left he arch repair as was , Il lead laod and fill later. Figure its more important to get the basics sorted and back on wheels, I can get the filling and sanding, painting done then.
So I moved to sorting the underside as the top side body work is now complete.
Plan is to Knot wheel the underside where old underseal is coming away, treat rust (hopefuly no welding!) and re underseal.
First up was sills and jacking points.
So passenger sill was showing some surface rust a rear, after a quick wire brush over I discovered why. Some bright spark had done an ok sill repair, but covered the bare metal in waxoyl only, now zinc no primers etc.
Cleaned it all off
Zinc primed and then Hammerited it.
Worked my way down the rest of sill, the centre section was ok, so I wire brushed, Kurusted and zinced the small surface rust areas
But the engine end has some rot that had to be cut out
Welding in new thick metal and zinc'd and hammerited
Left that to dry as plan is to now waxoyl the whole section both inside through bodykit fiting hiles and outside.
But I am going to have to take the fron arches off and the liner to get at some rot on the front end of the sill
I focused then on the bit of rot on the very bottom edge of the boot section, I could see the seam sealer bubbling so I wire brushed it all off to check it oout.
More welding needed! I cut out the rot and made up the rear lip of the boot floor then the covering panel which was then zinc'd and hammerited.
Again I intend on Waxoyling this section. Anywhere out of sight is in fact goign to get this treatment as I want to get a good few miles under her belt before I do any of this again!
The rest of the edge was just sufrace rust so it was Kurusted and Zinc'd.
Thats it for now hope o get another day in this week and sort the other sill then I can get stuck into the sorting of the underside.
Re: Alfa Romeo 75 3.0 V6 1991 Ongoing Project
Got some more time in today.
Started on the other sill
Started off by stripping the lower edges all the way along and anywhere I saw any bubbles.
Luckily no rot like the other side (guess that because thats the side that gets the guters and ditches etc).
So covered in Kurust , Zinc and then Hammerite.
You will notice as I am going round I am cutting off the triangular part of the jacking point as it prevents proper access to the sill and they are all a bit holey at this point so don't want a over zealous MOT tester failing for this, plus dont need them!
Took the time to wire brush, kurust, zinc and hammerite one jacking point (will work my way round to rest). This took a while as I has to get old underseal that was lifting off and really get in the nookies and cranies.
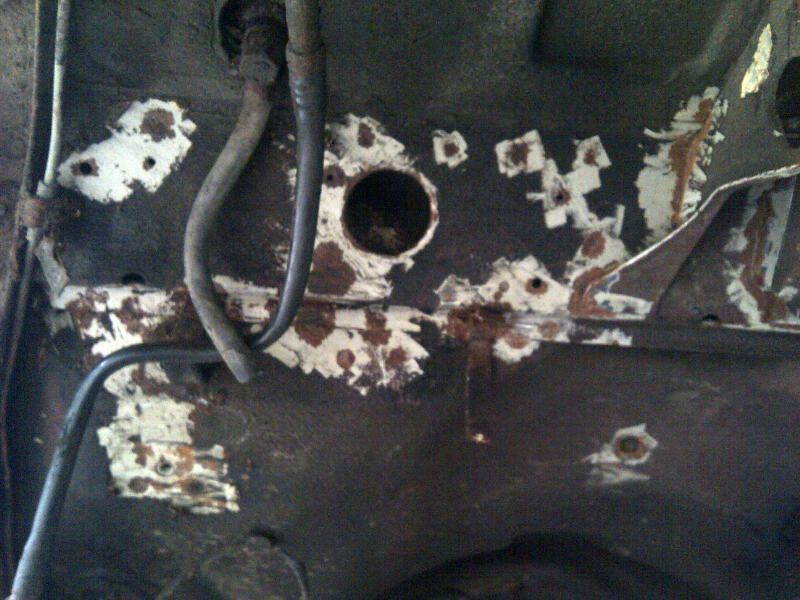
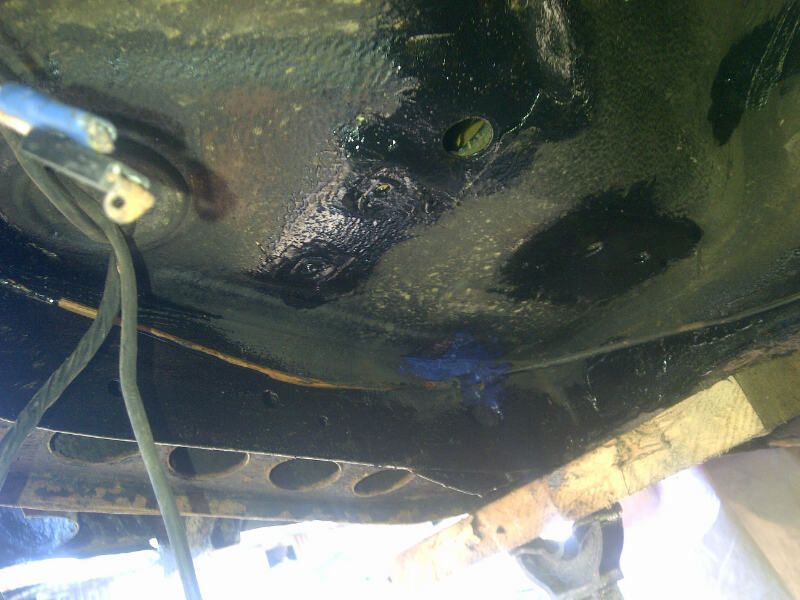
Then made a start on the underside , getting the old lifting underseal areas cleaned up so I could kurust, hammerite and re waxing. I do not intend on having to get under this car again in a while!!
This is going to be a long job!
Oh dear I put the welder away to early!

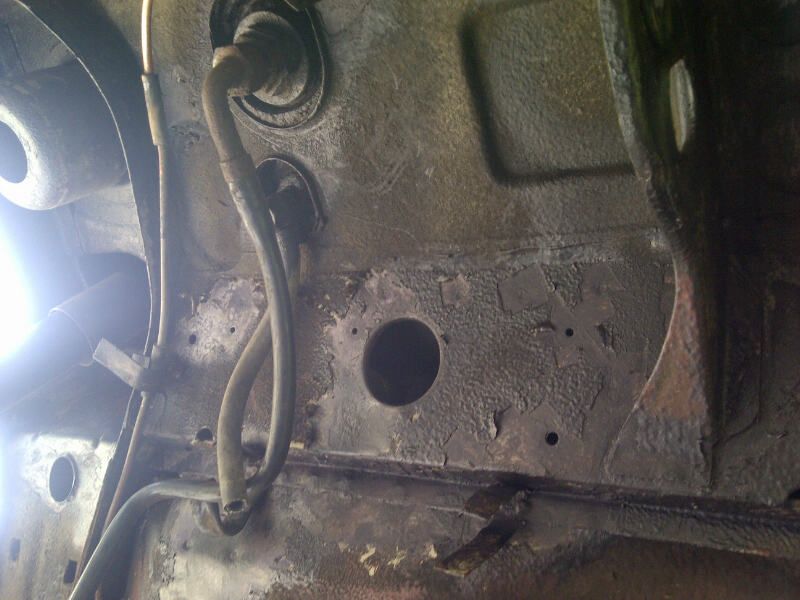
Decided its time to get the fuel pipes off as they are crusty, I need to get under them to clean and again I dont want to have to get under here again in a few months when one goes!
But I forgot I had alot in the tank and was not thinking when I cut the manky of flexi pipe! So one quick dash to grab a bucket and 10 mins later -
The floor was now soaked in fuel so using any more power tools that might create a spark seemed a bad idea :craze:
So I retreated to the house for tea!
Started on the other sill
Started off by stripping the lower edges all the way along and anywhere I saw any bubbles.
Luckily no rot like the other side (guess that because thats the side that gets the guters and ditches etc).
So covered in Kurust , Zinc and then Hammerite.
You will notice as I am going round I am cutting off the triangular part of the jacking point as it prevents proper access to the sill and they are all a bit holey at this point so don't want a over zealous MOT tester failing for this, plus dont need them!
Took the time to wire brush, kurust, zinc and hammerite one jacking point (will work my way round to rest). This took a while as I has to get old underseal that was lifting off and really get in the nookies and cranies.
Then made a start on the underside , getting the old lifting underseal areas cleaned up so I could kurust, hammerite and re waxing. I do not intend on having to get under this car again in a while!!
This is going to be a long job!
Oh dear I put the welder away to early!
Decided its time to get the fuel pipes off as they are crusty, I need to get under them to clean and again I dont want to have to get under here again in a few months when one goes!
But I forgot I had alot in the tank and was not thinking when I cut the manky of flexi pipe! So one quick dash to grab a bucket and 10 mins later -
The floor was now soaked in fuel so using any more power tools that might create a spark seemed a bad idea :craze:
So I retreated to the house for tea!
Re: Alfa Romeo 75 3.0 V6 1991 Ongoing Project
Took a day off to crack on today.
Focus was on finding any bubbling, lifting etc etc underseal, scrape it off, wire brush whats left, kurust and then hammerite. It all needs a second coat of hammerite then I'm waxoyling the lot all over.
I have had to hold back from stripping it all off as this is not a full resto and I want the car back on the road! I just want to prevent anything going any further, and use the chance of having everything off to have a tidy up.
I was neck breaking boring fithy work and I had to have multiple showers to get all the crap out my hair!


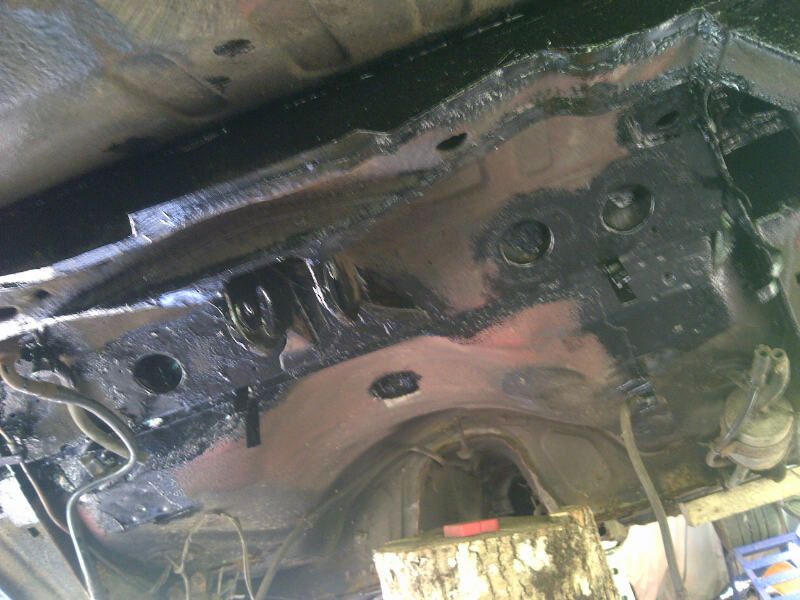

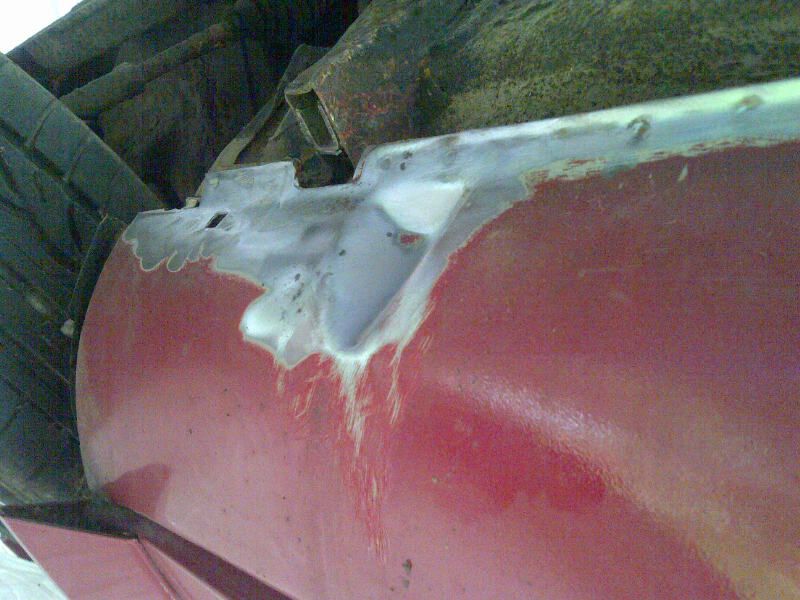
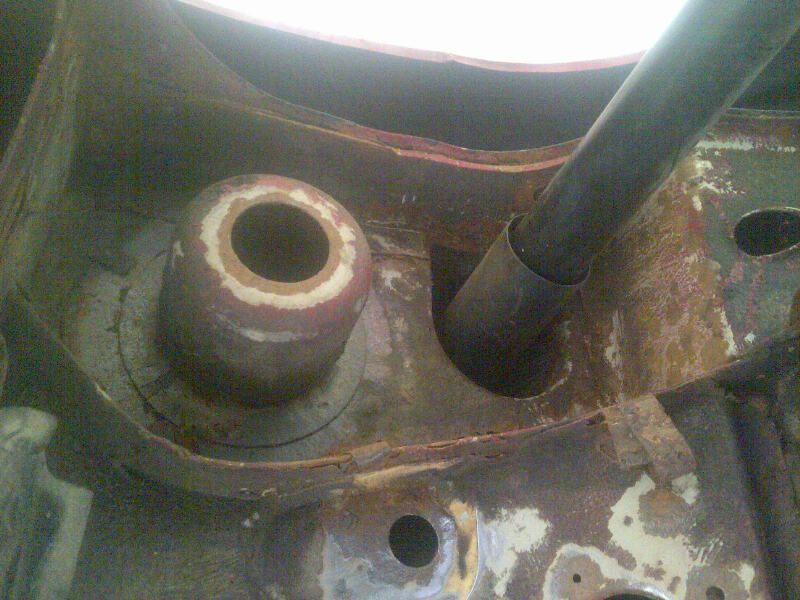
Cut the towing area off the spare wheel tub, its done a good job of holding water and breeding rust!! So some welding to be done here!
Focus was on finding any bubbling, lifting etc etc underseal, scrape it off, wire brush whats left, kurust and then hammerite. It all needs a second coat of hammerite then I'm waxoyling the lot all over.
I have had to hold back from stripping it all off as this is not a full resto and I want the car back on the road! I just want to prevent anything going any further, and use the chance of having everything off to have a tidy up.
I was neck breaking boring fithy work and I had to have multiple showers to get all the crap out my hair!
Cut the towing area off the spare wheel tub, its done a good job of holding water and breeding rust!! So some welding to be done here!
-
Richard Moss
- Posts: 425
- Joined: Wed Jan 05, 2011 5:09 pm
Re: Alfa Romeo 75 3.0 V6 1991 Ongoing Project
Hopefully you'll reach the end some day.
Re: Alfa Romeo 75 3.0 V6 1991 Ongoing Project
Well a bit of a frustrating couple of days.
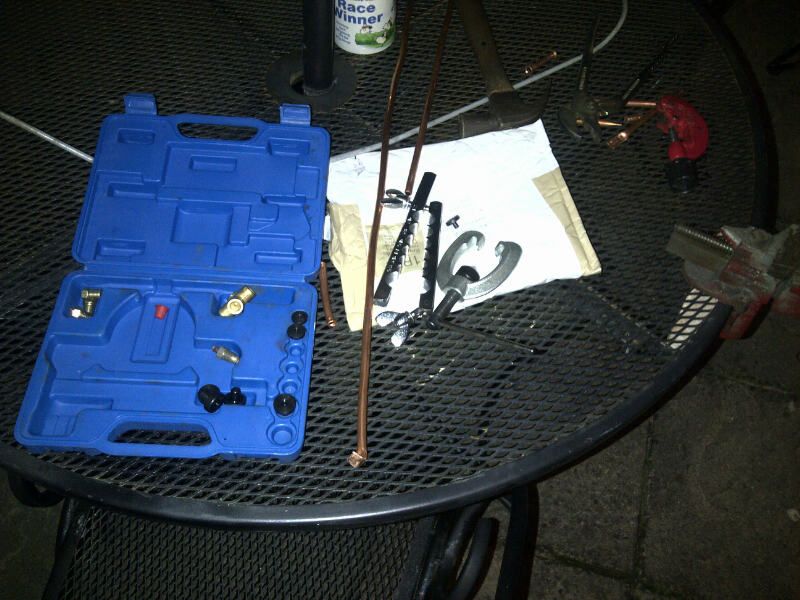
My copper arrived to do the fuel pipes and I set about making them yesterday evening in an attempt to get a head start today.
Took some straigtening as it arrived VERY tighly curled in post! Go tthe flairing kit out to replicate the slight flair in the end of the stock pipes.
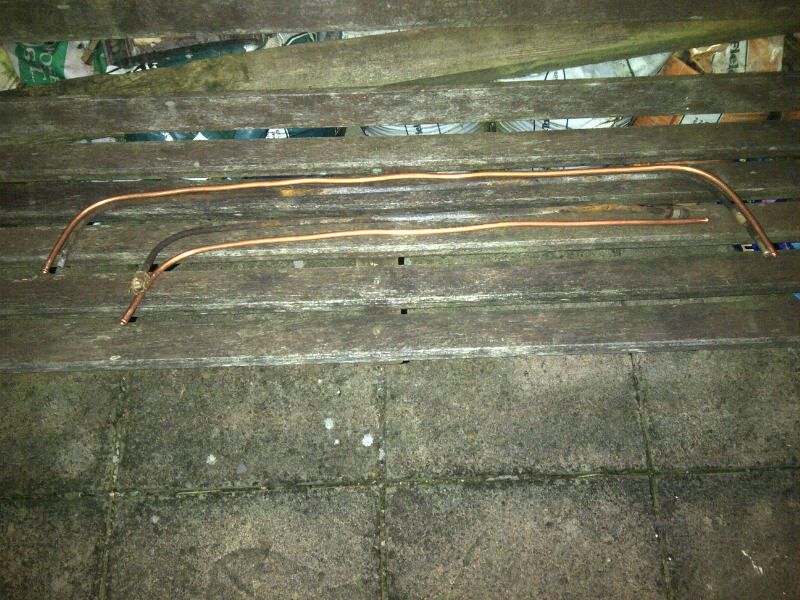
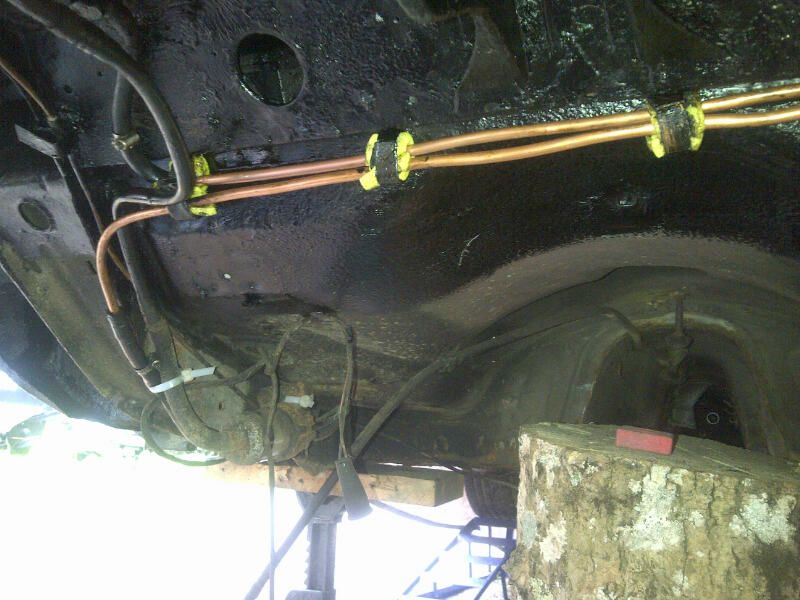
So today set about fitting, and sacrificed a sanding sponge to put some protection in to prevent rubbing between pipes
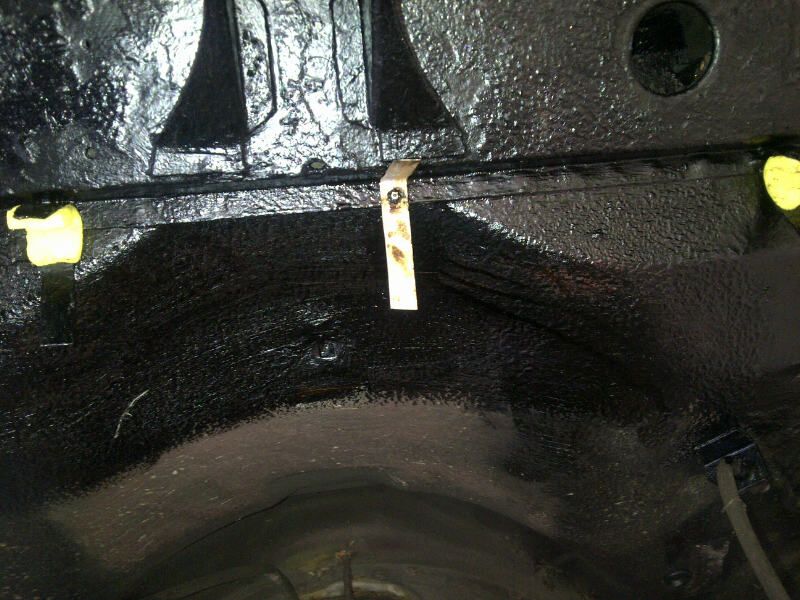
First I riveted in a new mounting tab as the gap was too big between in the middle.
Then put it together. But I had made my new pipes a little longer and flaired the ends far too much and in attempting to push them into the rubber sections I bent them One of those times I knew the job was not going right but pressed on
So its all getting binned and Im starting again!
So while I wait for new copper I cracked on with the endless job of scraping old underseal in rusty sections and treating it all.
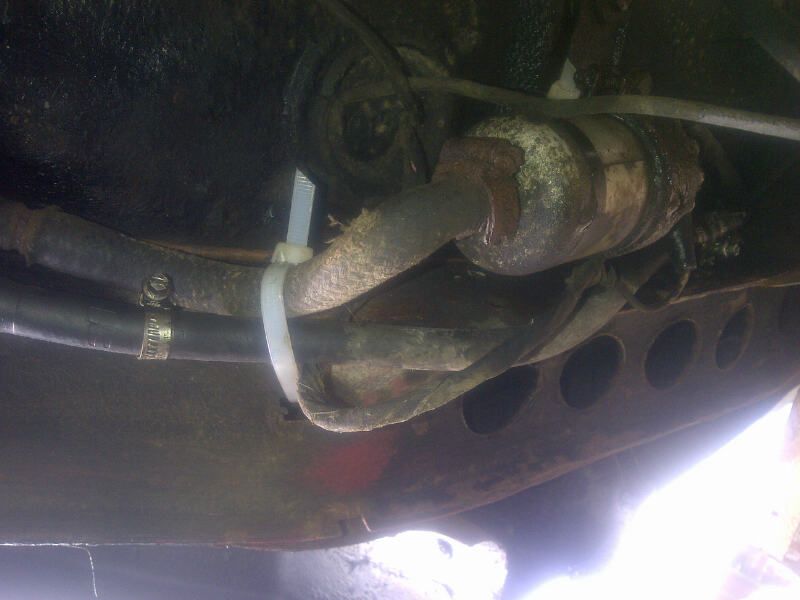
I could not get to the insides of the chassis rails and my fuel pump and filter where decidedly groty so decided to remove.
In fact the mounting for the fuel pump had been bodged with a zip tie long ago so needed sorting
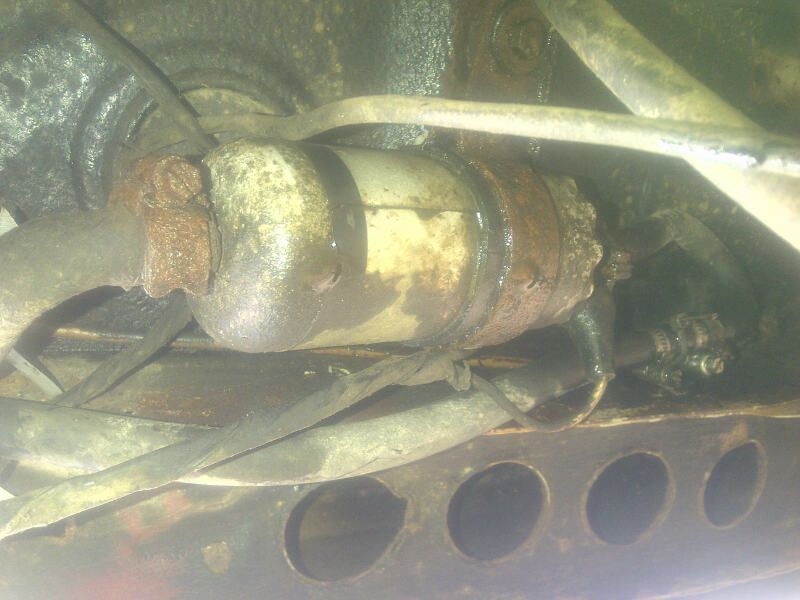
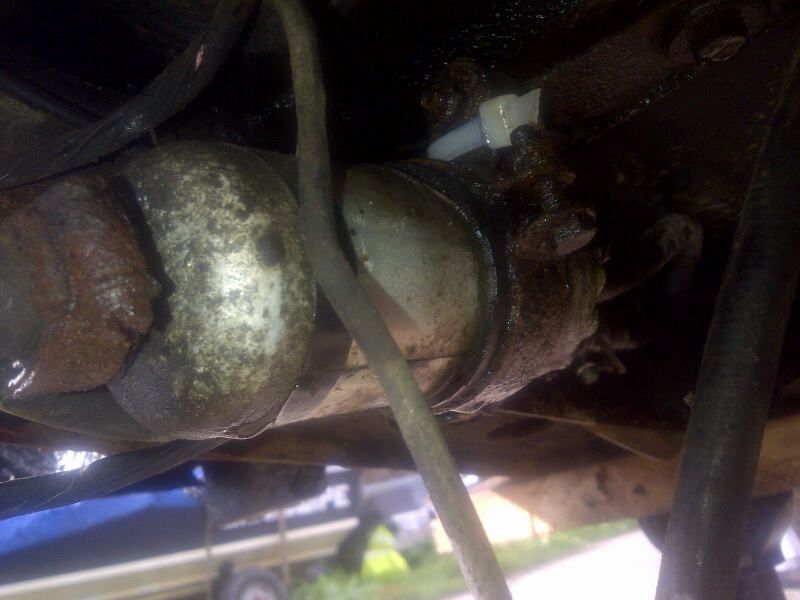
So stripped off both sides (after cutting rust bolts and fuel clamps!) then prepped the areas behind and the rear of he transmission tunnel.
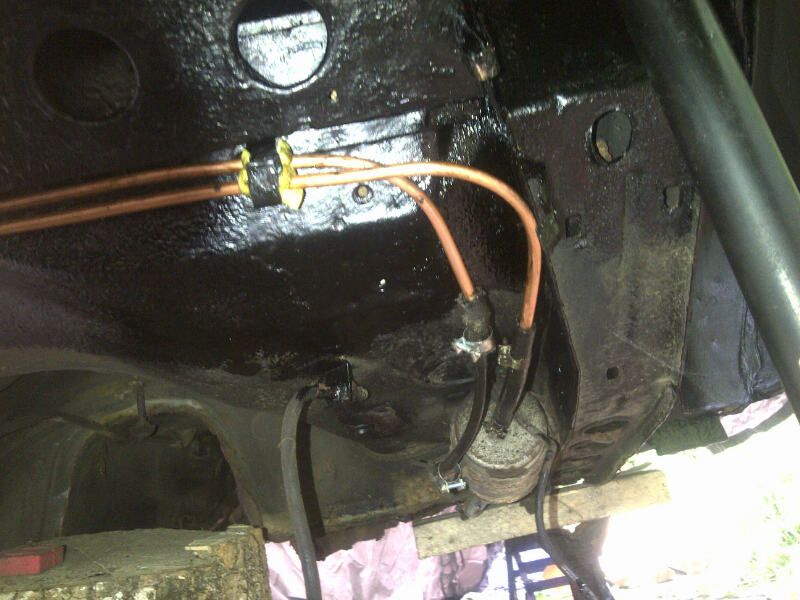
Cleaned the pump up and refitted
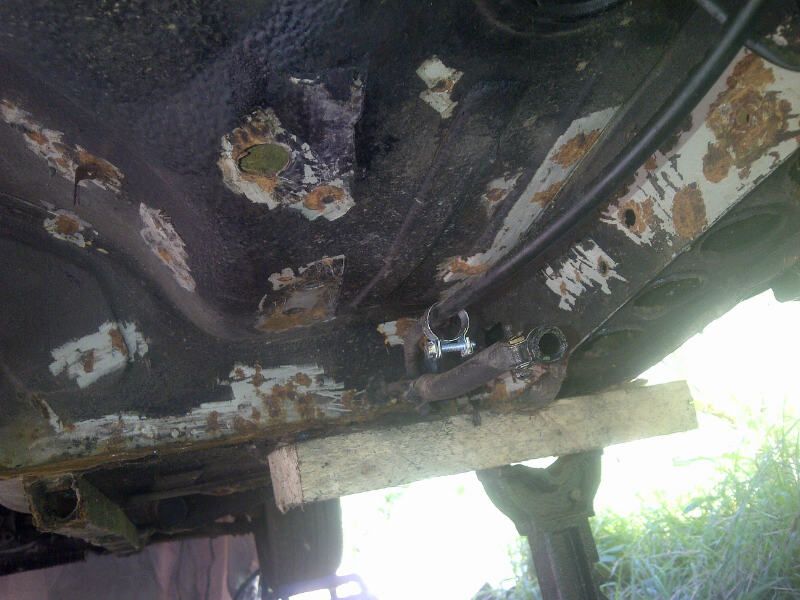
On the other side I fitted a new fuel filter as for the cost and the state of the old it was not worth using the old!
Can someone confirm that I have the new filter pointing the right way??? I have the fuel flow pointing in the direction of the engine?!
My copper arrived to do the fuel pipes and I set about making them yesterday evening in an attempt to get a head start today.
Took some straigtening as it arrived VERY tighly curled in post! Go tthe flairing kit out to replicate the slight flair in the end of the stock pipes.
So today set about fitting, and sacrificed a sanding sponge to put some protection in to prevent rubbing between pipes
First I riveted in a new mounting tab as the gap was too big between in the middle.
Then put it together. But I had made my new pipes a little longer and flaired the ends far too much and in attempting to push them into the rubber sections I bent them
So its all getting binned and Im starting again!
So while I wait for new copper I cracked on with the endless job of scraping old underseal in rusty sections and treating it all.
I could not get to the insides of the chassis rails and my fuel pump and filter where decidedly groty so decided to remove.
In fact the mounting for the fuel pump had been bodged with a zip tie long ago so needed sorting
So stripped off both sides (after cutting rust bolts and fuel clamps!) then prepped the areas behind and the rear of he transmission tunnel.
Cleaned the pump up and refitted
On the other side I fitted a new fuel filter as for the cost and the state of the old it was not worth using the old!
Can someone confirm that I have the new filter pointing the right way??? I have the fuel flow pointing in the direction of the engine?!
-
SirTainleyBarking

- Posts: 413
- Joined: Mon Feb 14, 2011 12:41 am
- Location: Solihull, where Landrovers come from
Re: Alfa Romeo 75 3.0 V6 1991 Ongoing Project
Fair play to you chap, I'd have given up and chopped it by now.
Landrovers and Welding go together like Bread and Butter. And in the wet they are about as structurally sound
Biting. It's like kissing except there's a winner
Biting. It's like kissing except there's a winner
Who is online
Users browsing this forum: No registered users and 7 guests