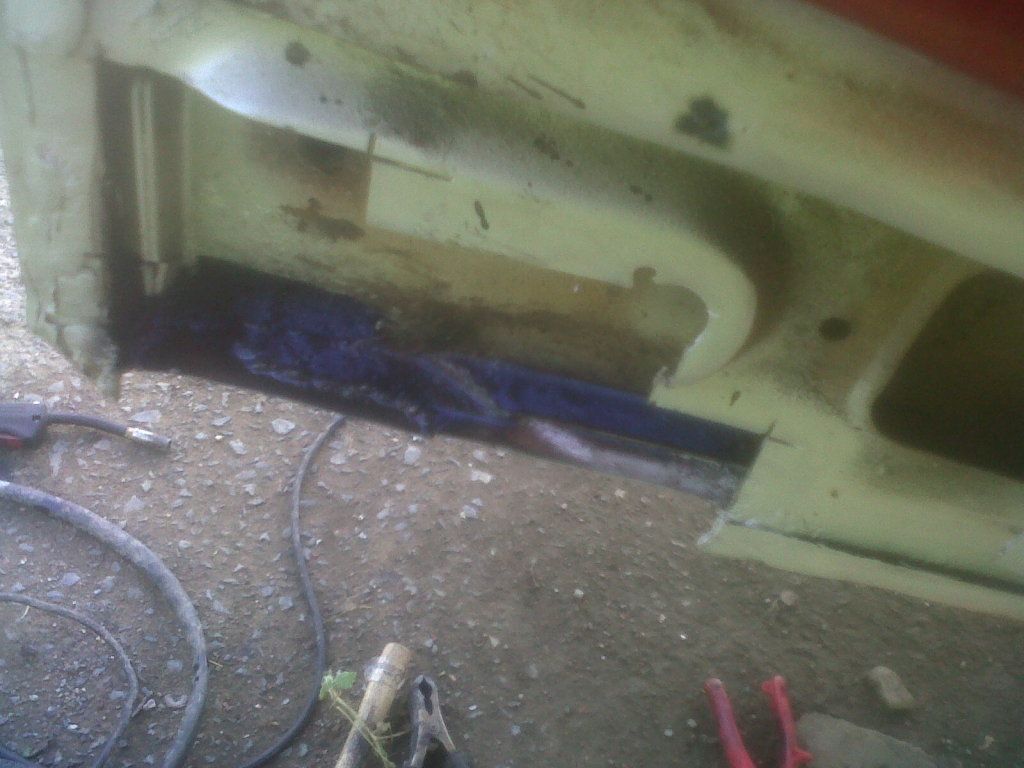
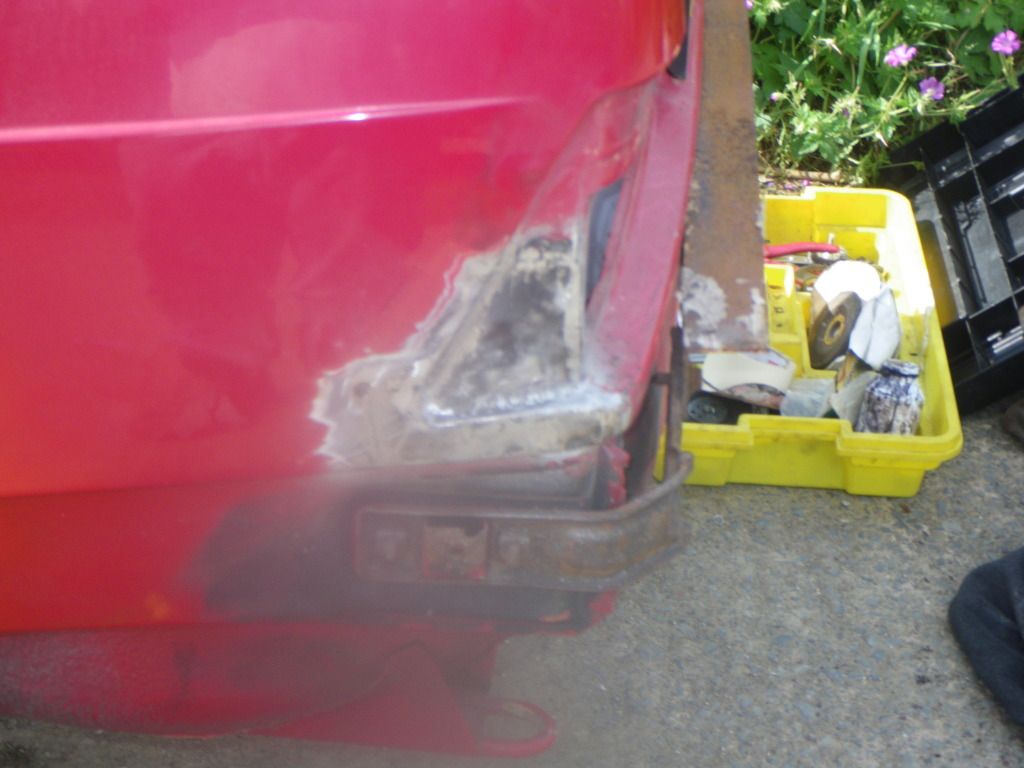
Passenger rear light area was next on list. I had left my mobile at the pub last night so did not get my early fab pictures , but grab a camera later and took some pics.
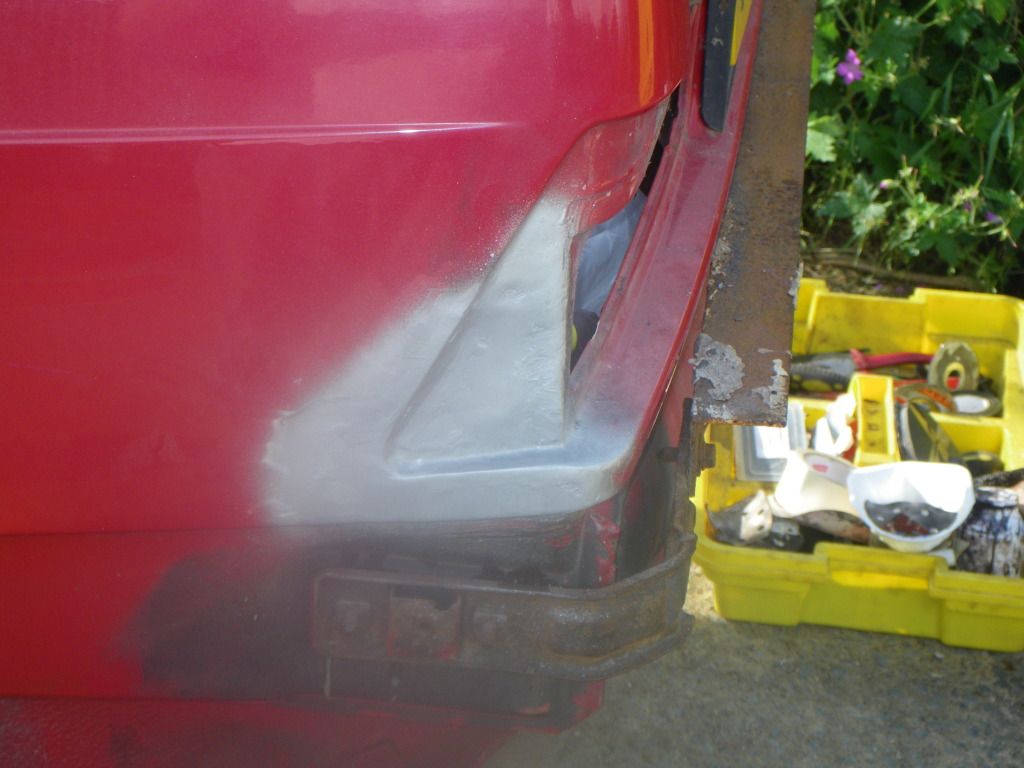
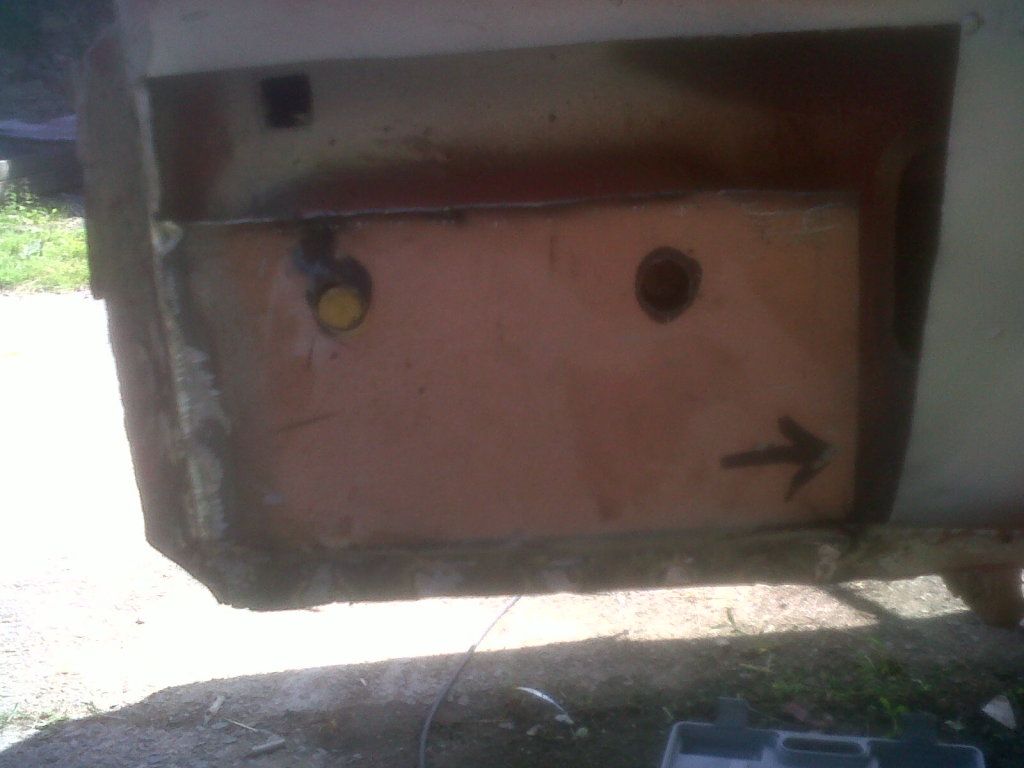
So the bodged area that was bubbling rot
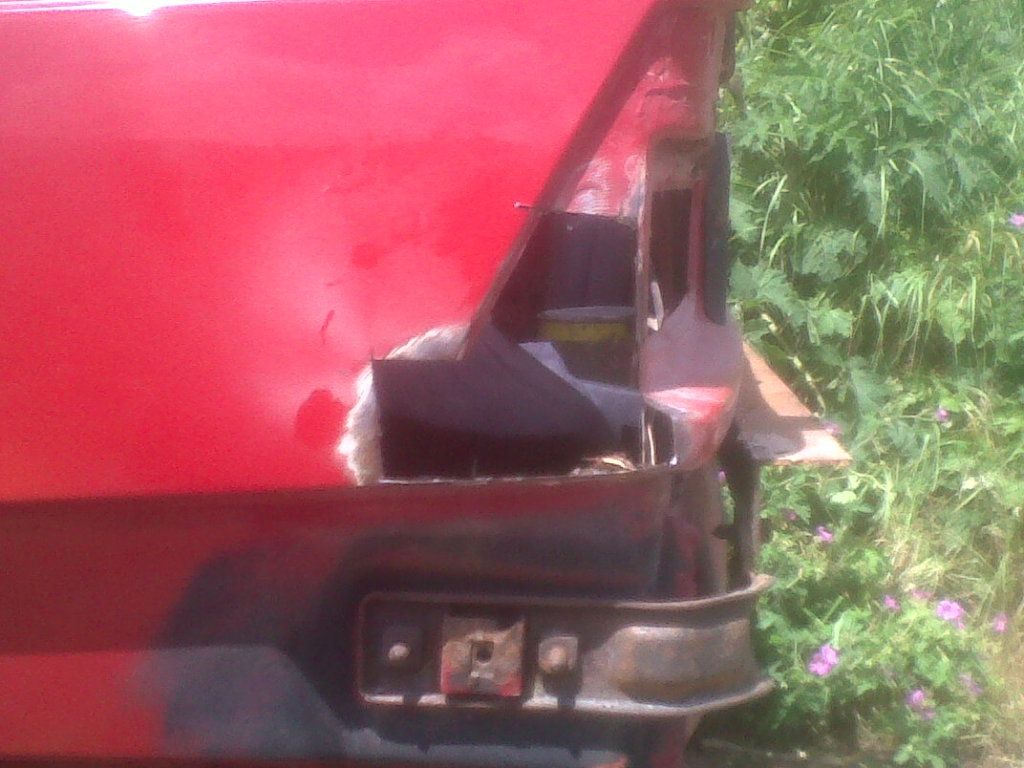
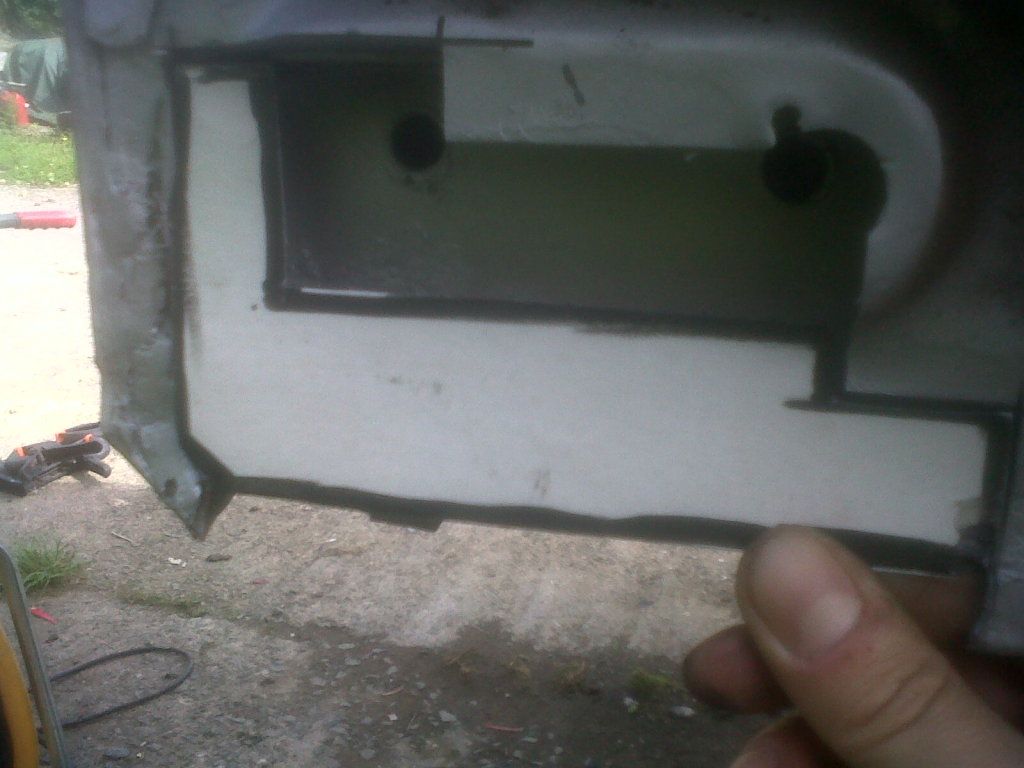
Basically I used the old masking tape trick on the drivers side to copy the area.
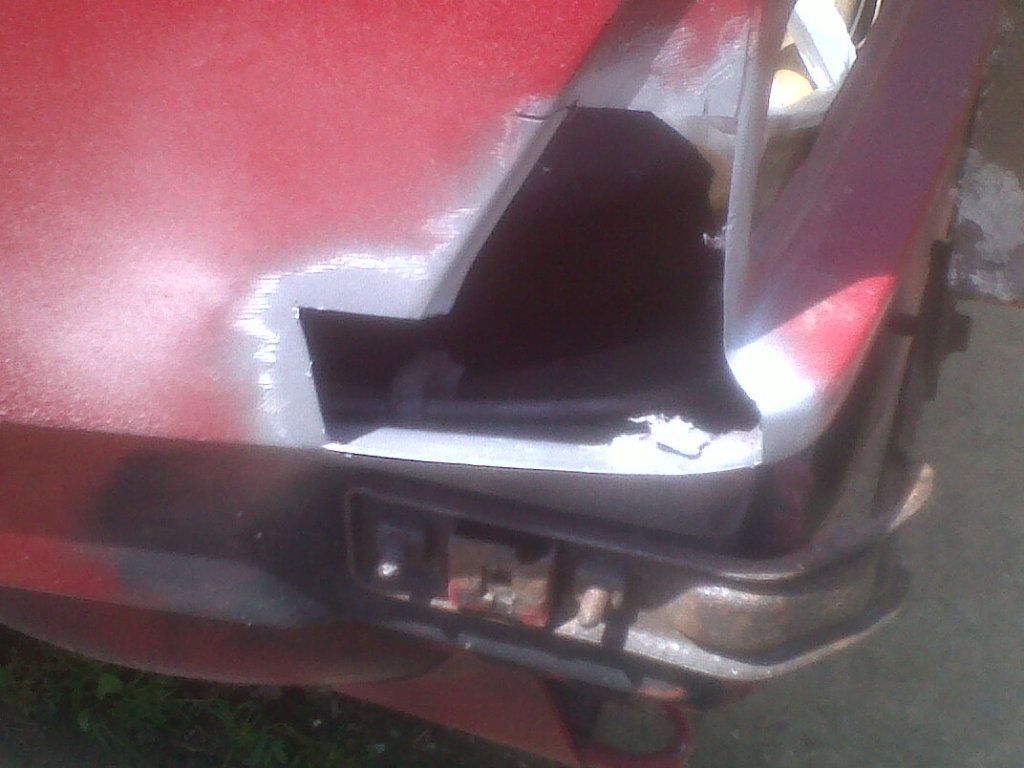
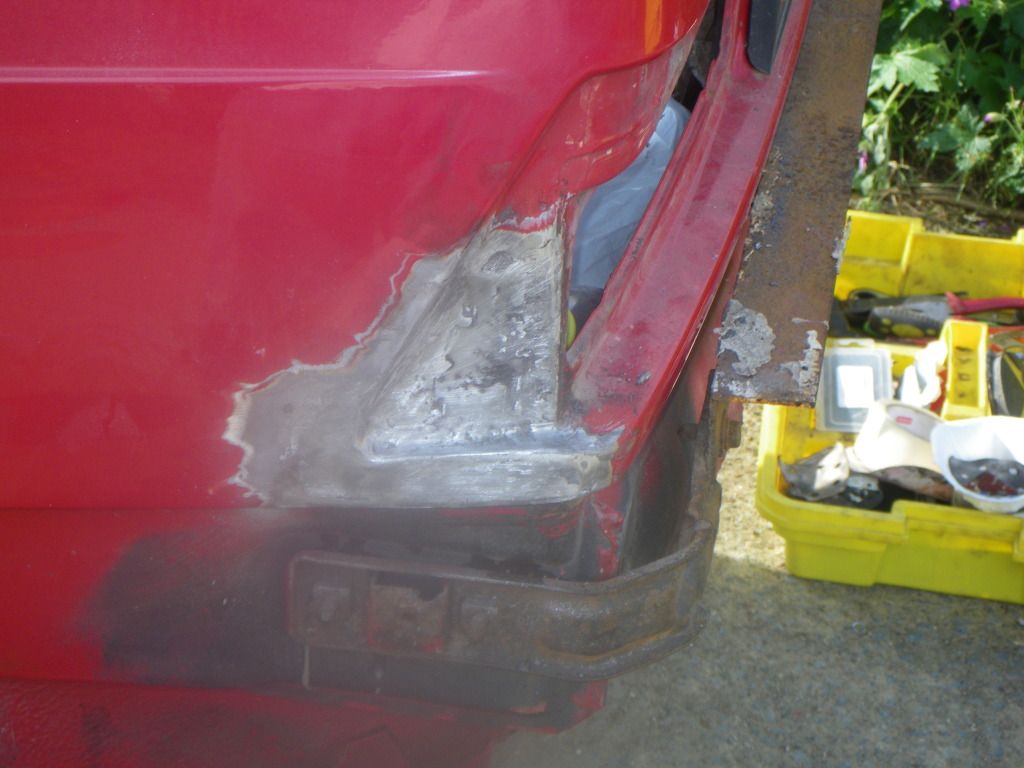
Its got a few complex curves but I did not want to use a load of little panels to make the shape up and it would increase risk of moisture getting in there later. So I resticted it to 2 panels, the upper section with the triangle section and then the flat section at the bottom.
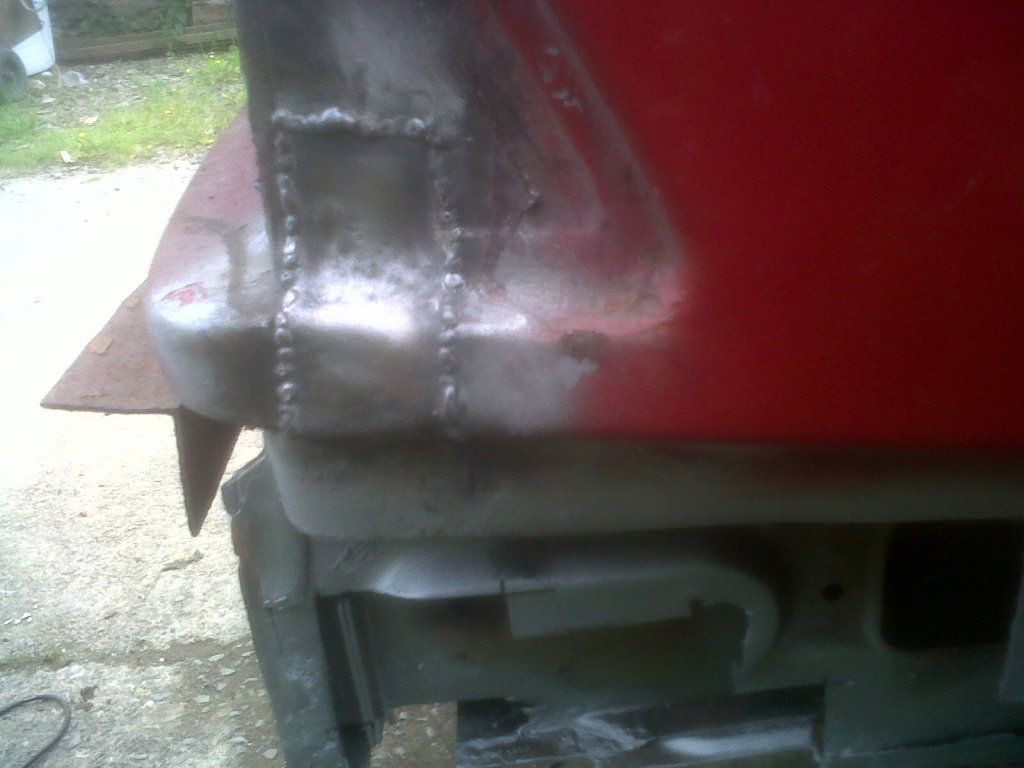
I used plier to bend the curve and hammered it out more with litle hammer and doly set.
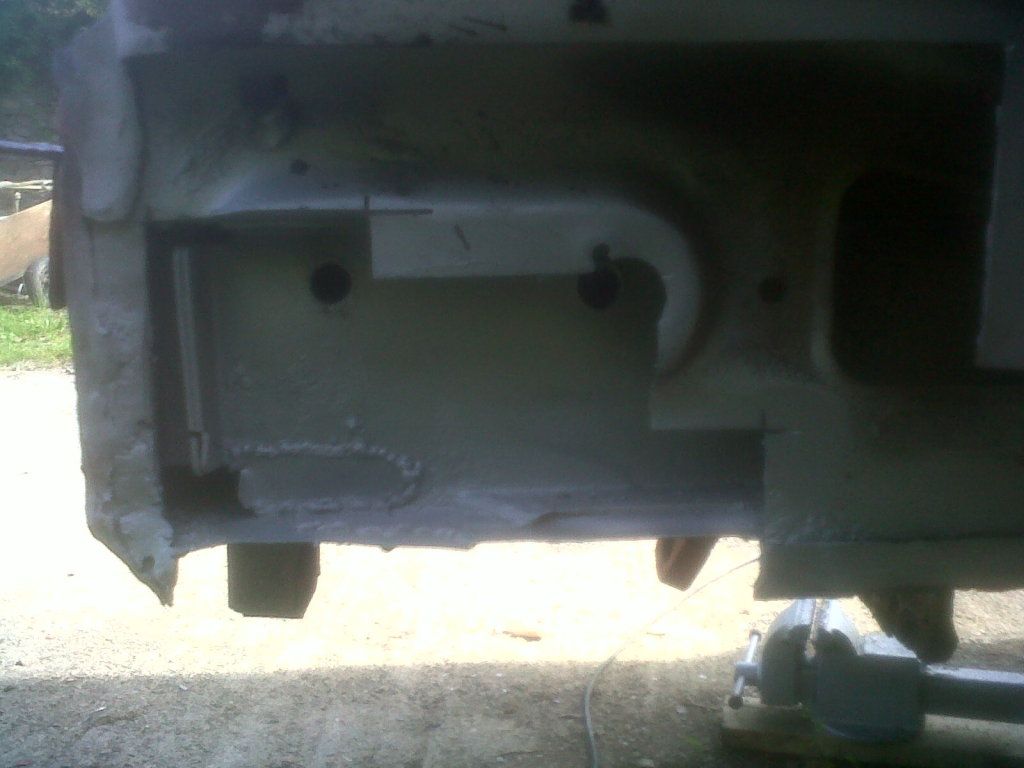
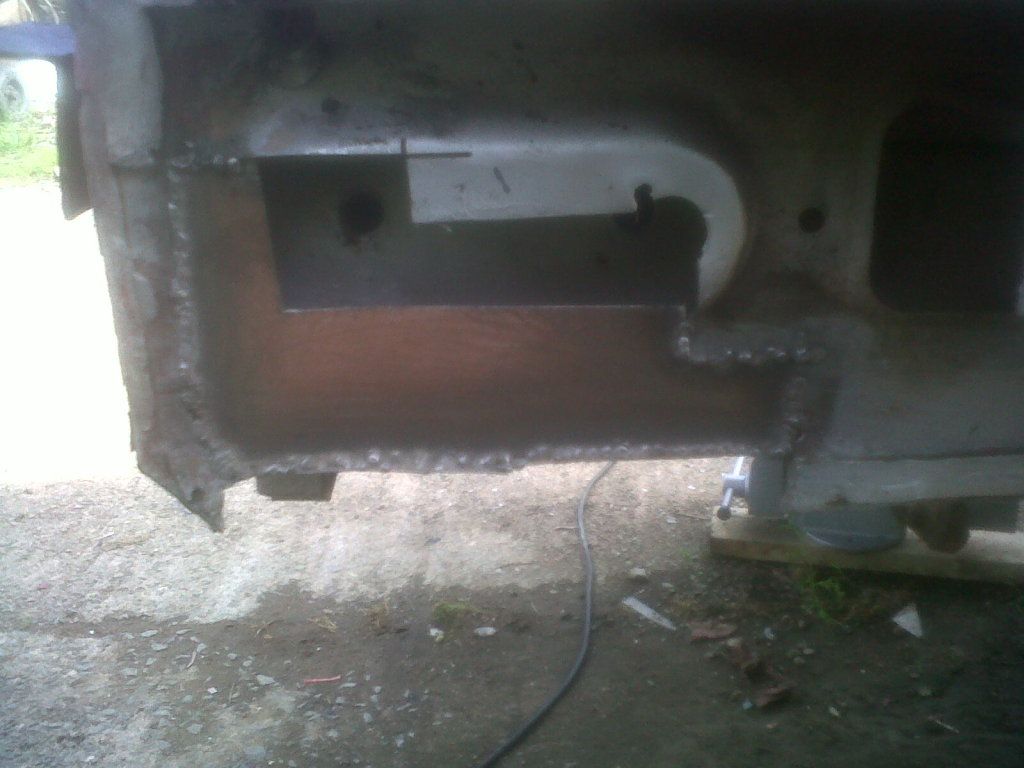
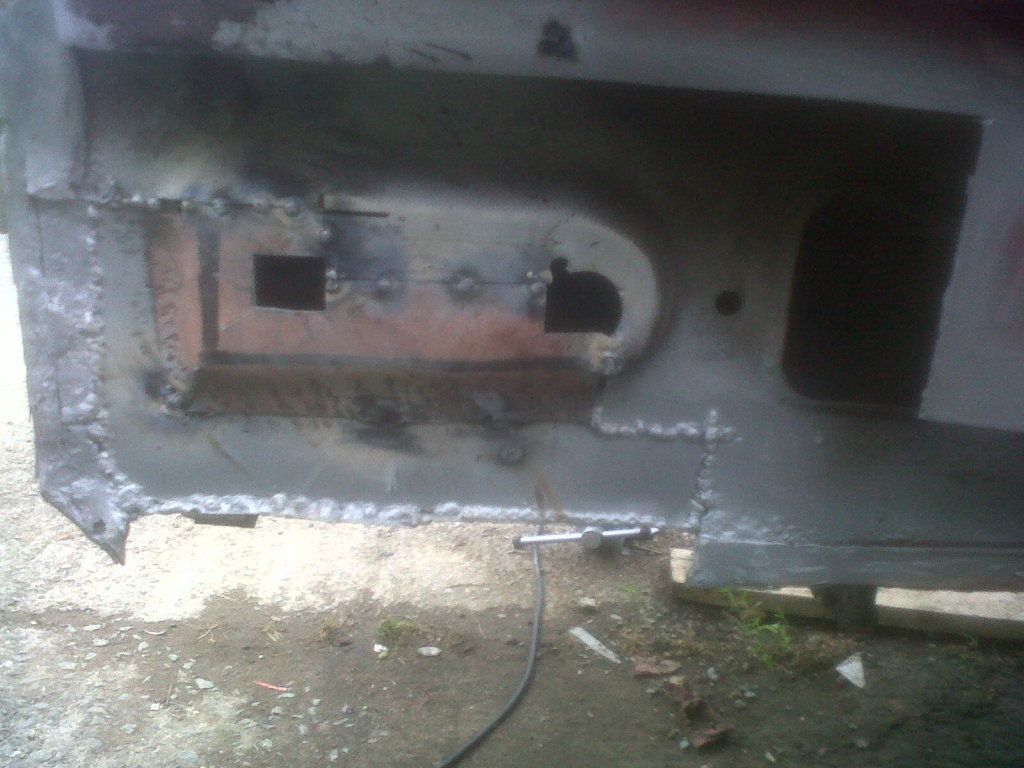
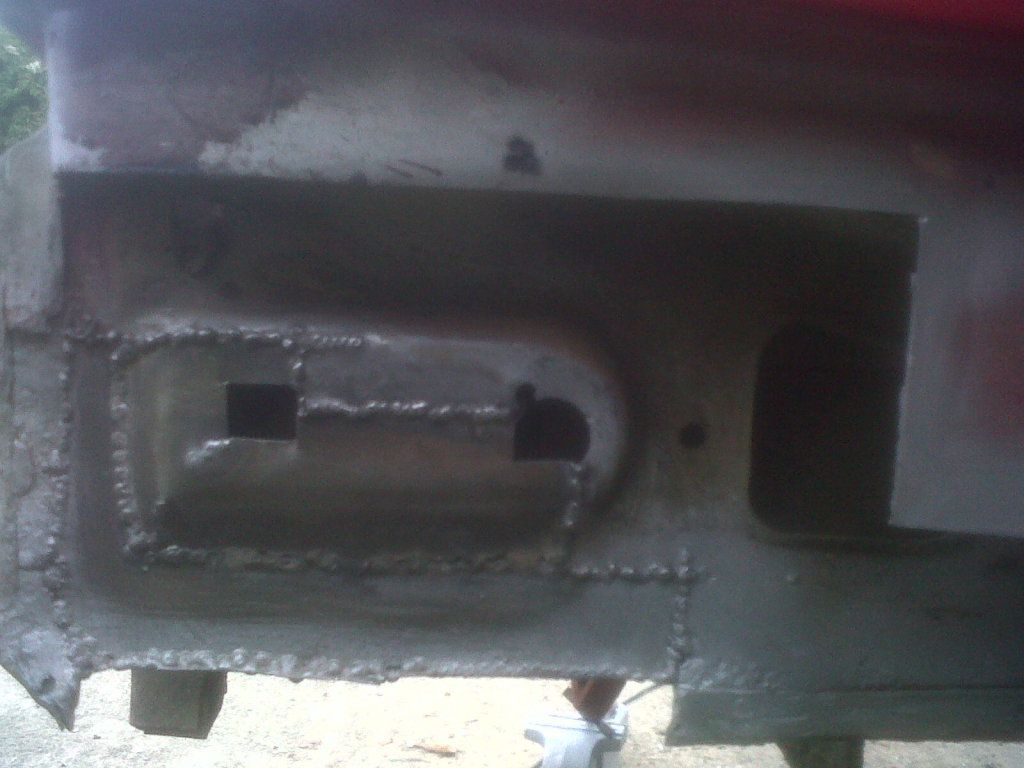
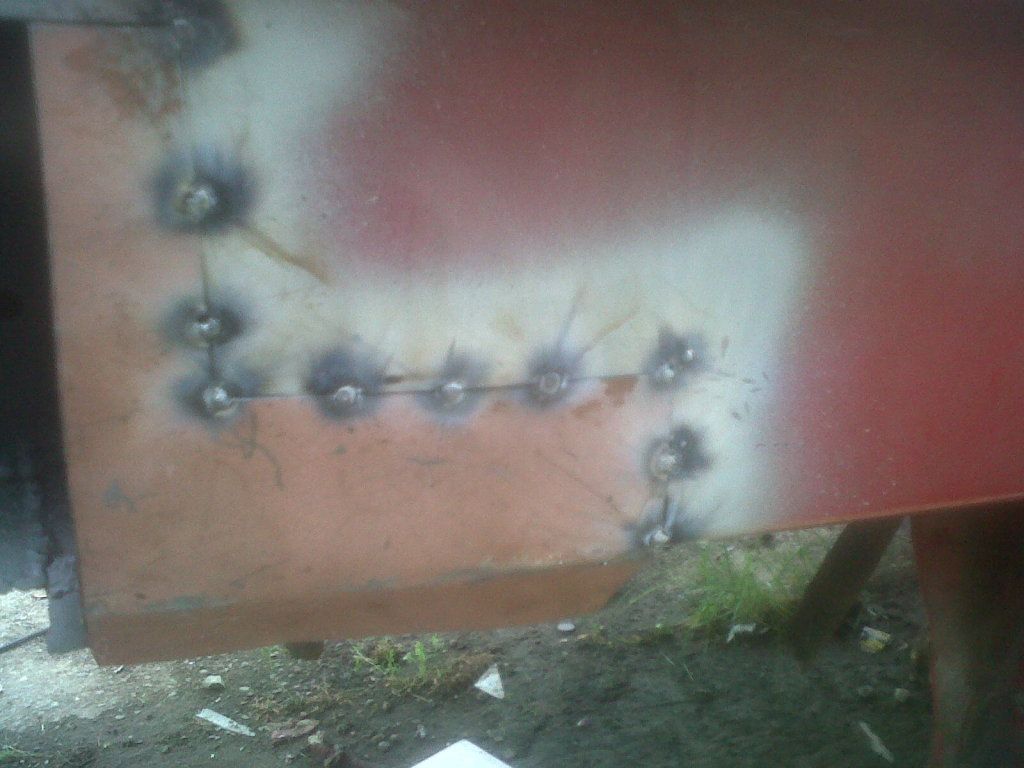
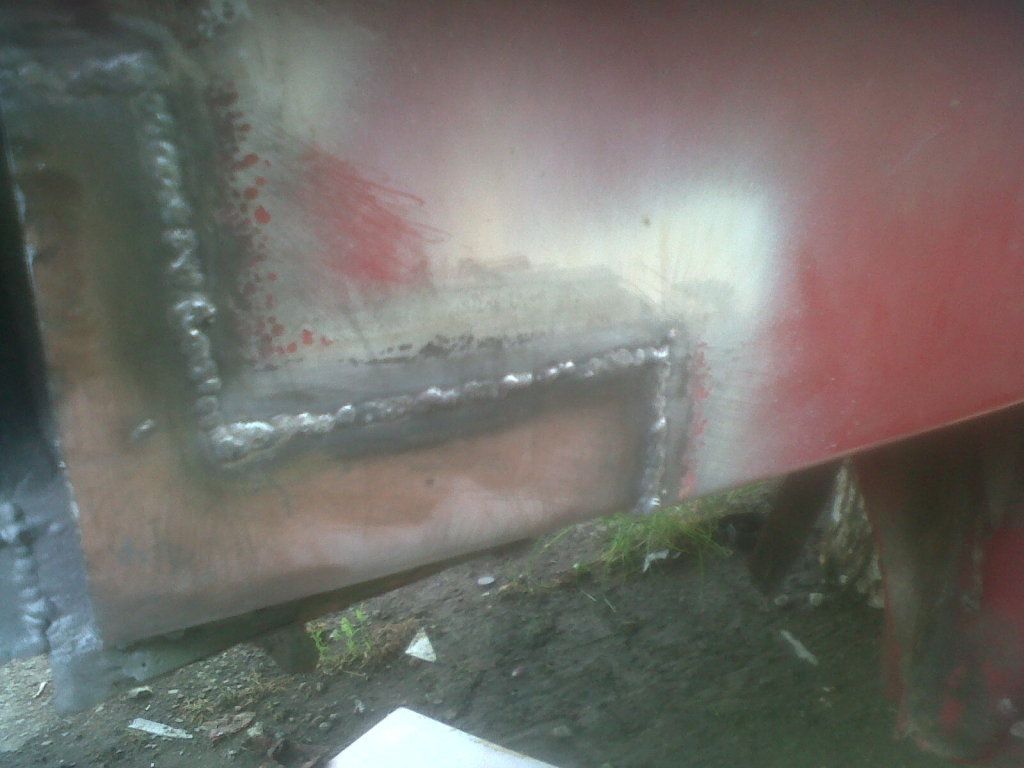
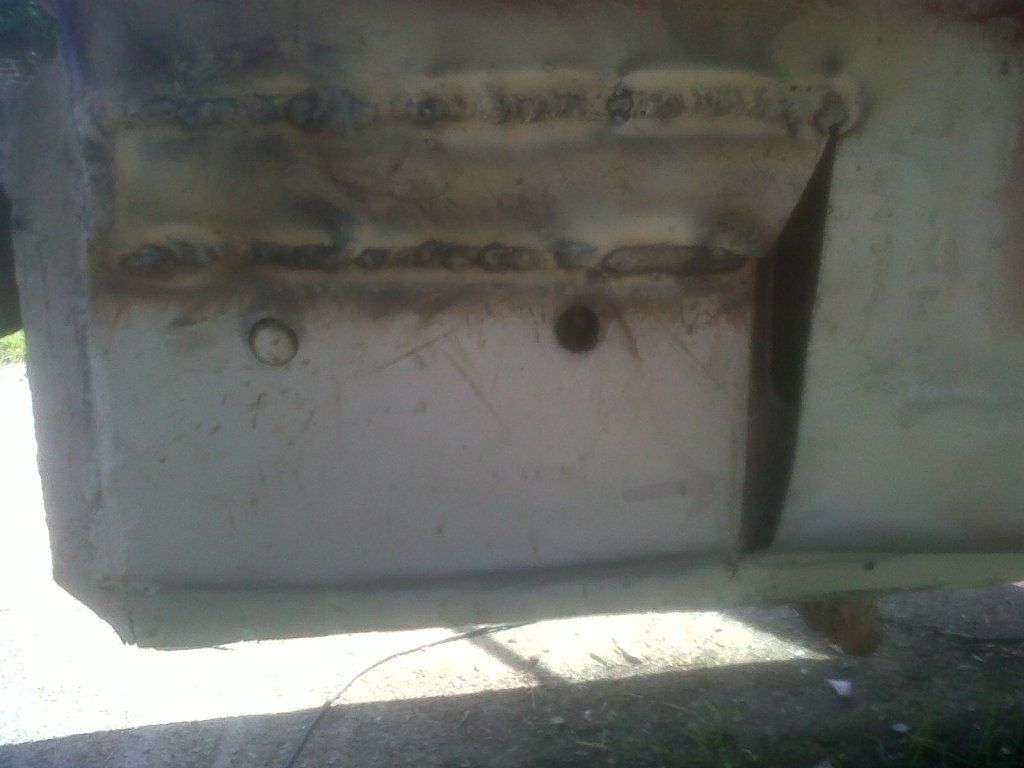
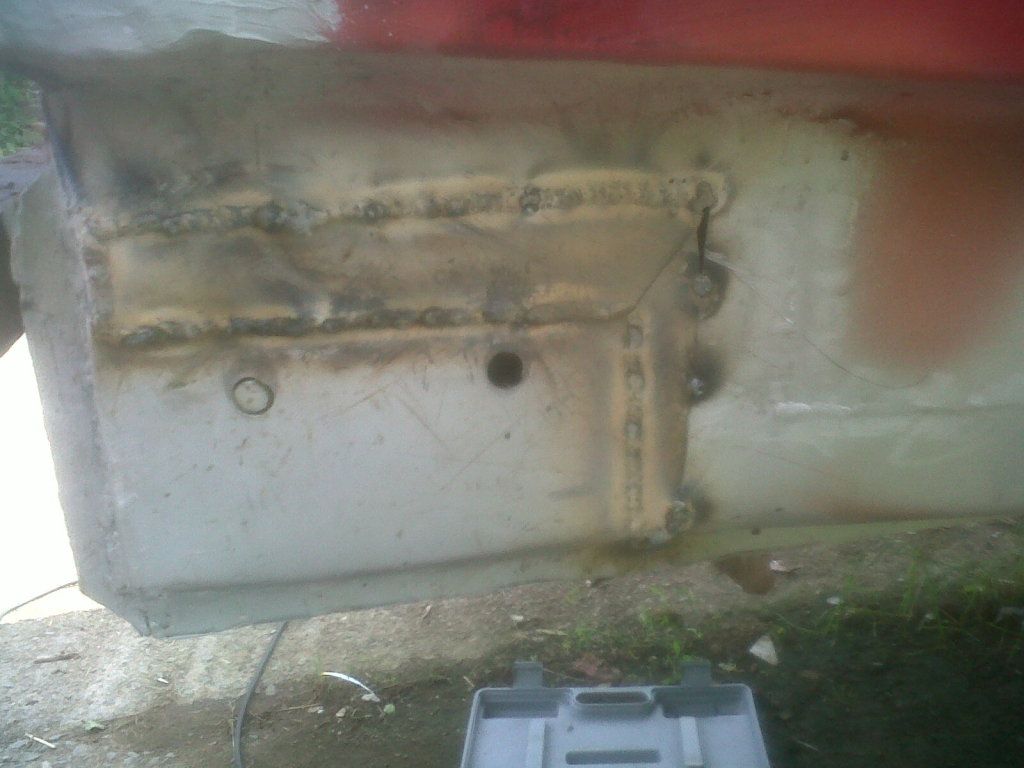
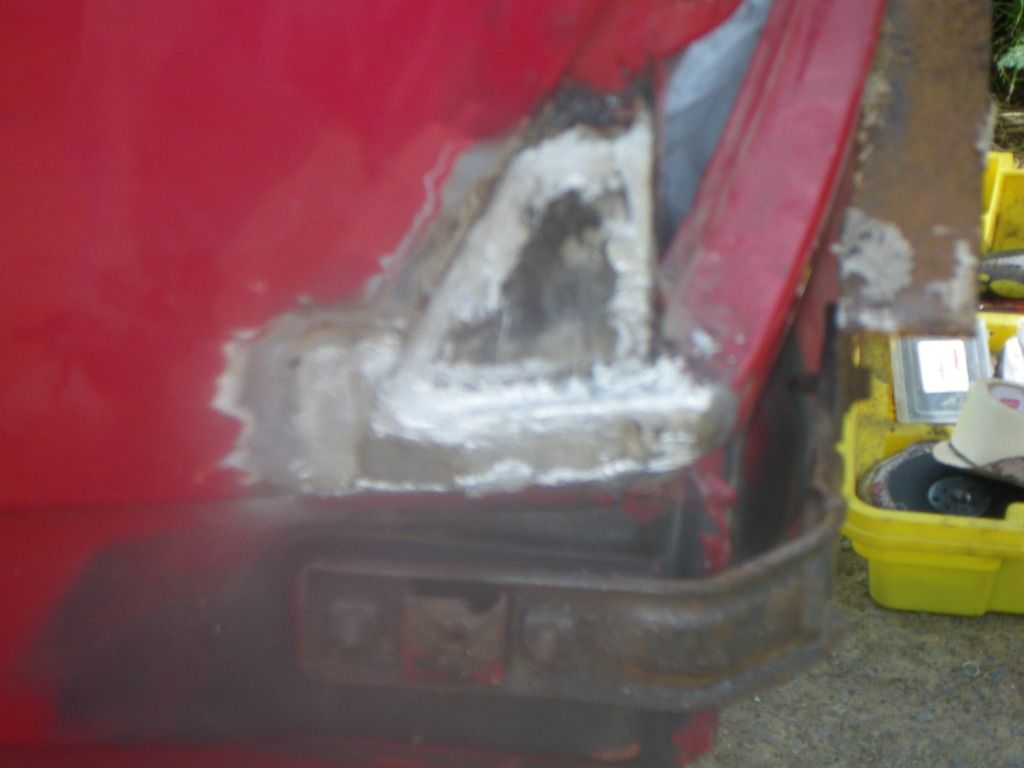
I weld the 2 sections together and then tack welded into the hole and fully welded in with a series of short high setting spot welds to avoid distortion.
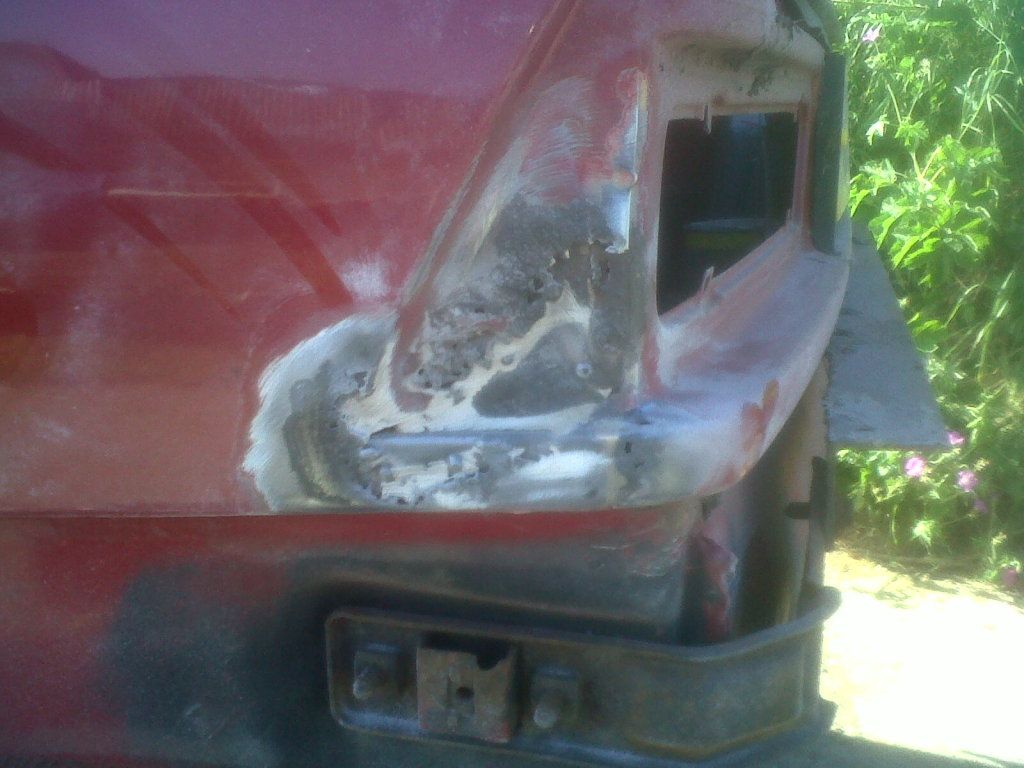
This was ground down with a flap wheel then the dremmel to get in the tight section. Then added lead to cover any pin holes and reduce filler application. Lead was then shaved down to a smoother finish. And then heavily zinc'd front and back. And light trial fitted to check, and it looked ok.
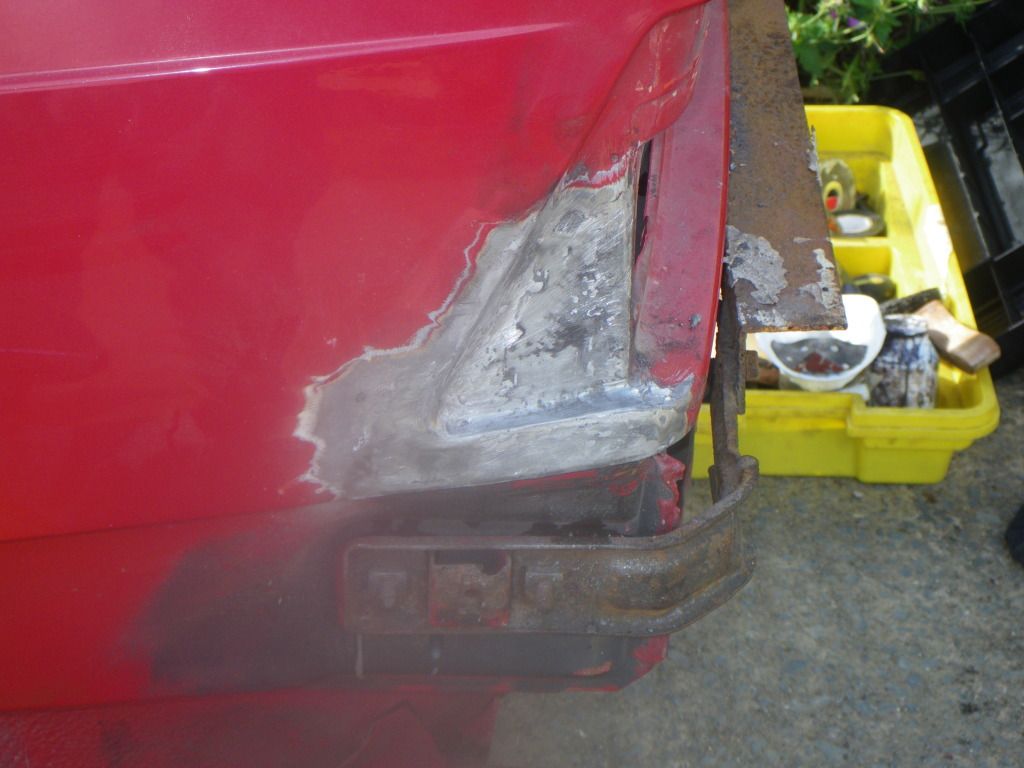
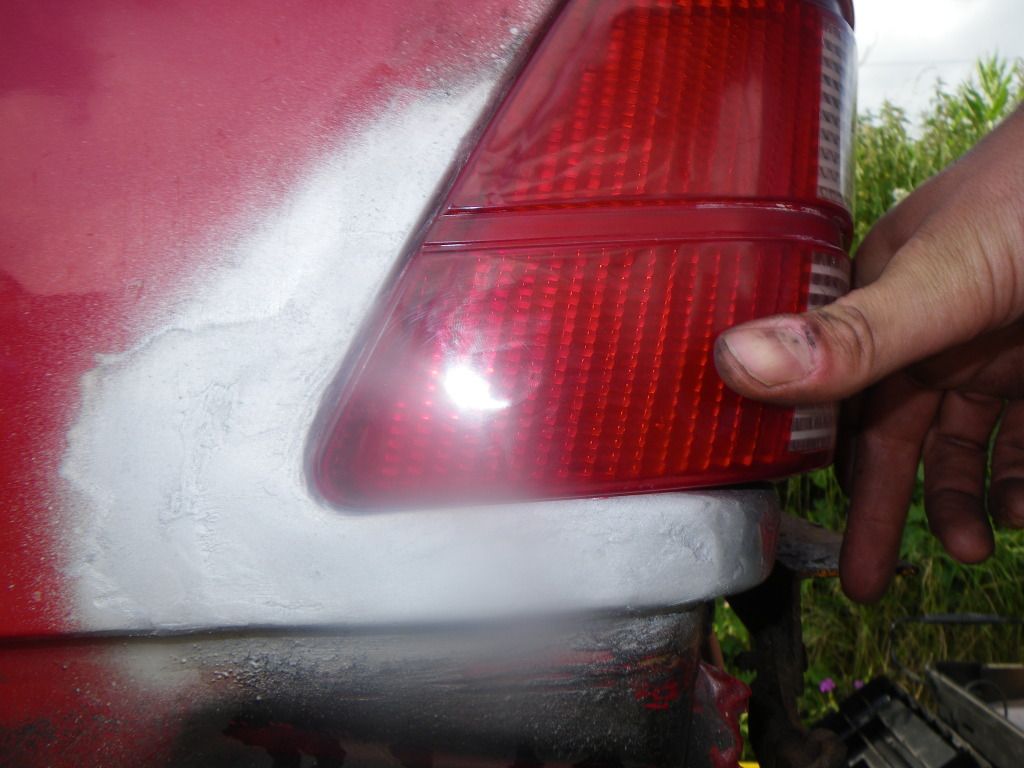
It needs some filler now and smoothing and will then get a temporary coat of primer and red before final fettling.
So next it will be the other side!